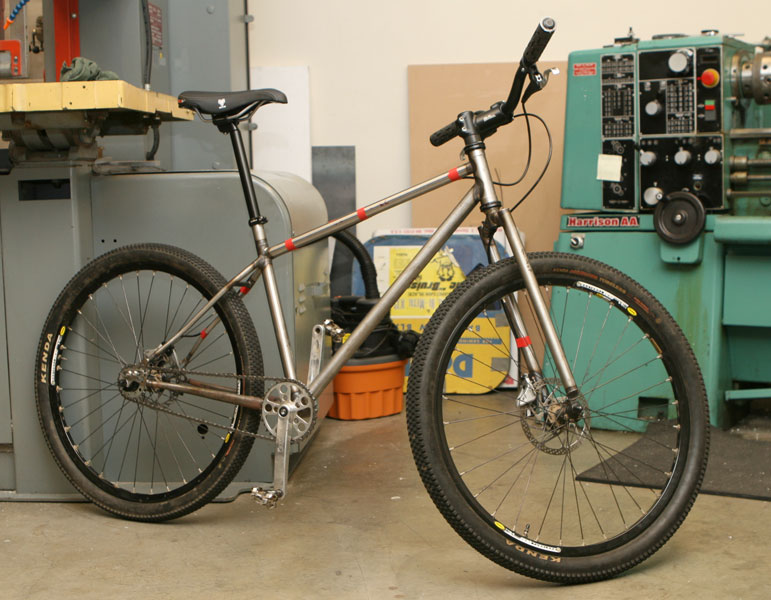
PVD The Girly Bike
This is a special bike for my wife. A mountain bike. She is very light and rides very light. Making a light bike is one thing, getting it to flex just right is quite another.
It's going to be capable of single speed or gears. She's probably not going to ride the bike much, 'cause she likes her suspension bike so much, but this will give us maximum flexibility with just a little more weight for this goofball bike.
Contents
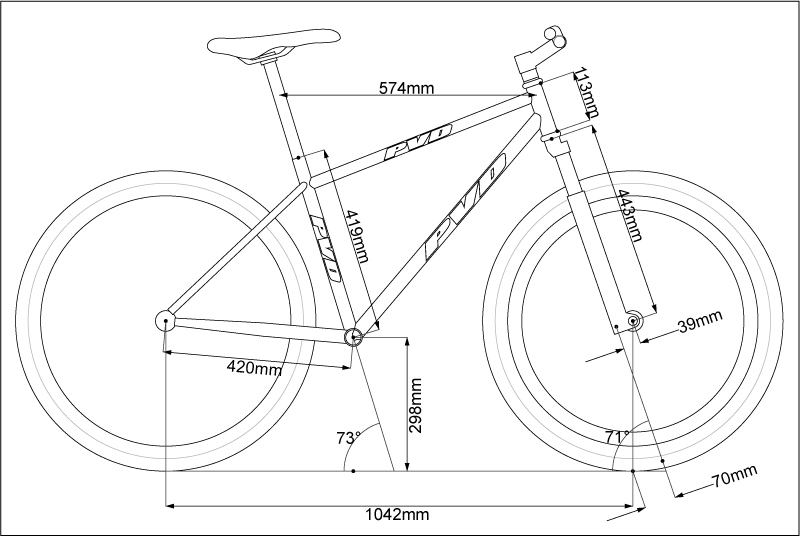
The Print
The Tubes
- Top Tube: True Temper OX Platinum #01, 25.4 OD, 620mm, .7/.4/.7
- Down Tube: True Temper OX Platinum #06, 31.8 OD, 680mm, .7/.4/.7
- Seat Tube: True Temper OX Platinum #05, 28.6 OD, 580mm, .7/.4/.7
- Seat Stays: True Temper OX Platinum #SS1
- Chain Stays: True Temper OX Platinum #CS3
- Head tube: Custom machined tube
- Bottom Bracket: Paragon 1.5"
- Drop Outs: Paragon Sliders
- Hydo Stops: Pacenti SS Stamped Bikelugs.com
Successes and Problems
The Good
- The machined head tube looks awsome. It appears that it did not ovalize much at all in the welding process. I am very happy with that part of the project.
- The front triangle looks really neat with the 1" top tube and 1.25" down tube. The head tube/top tube joint is especially cool looking.
- Custom bending of OX Platinum stays is a great success. It took a lot of failure and some improvements on my bending set-up. Things look great in the end.\
- Because I had an issue with seat tube reaming, I made a seat tube sleeve that reduced the post size to 26.0mm, a lot nicer for the lighter rider. Kinda cool looking too.
The Bad
- OX Platinum is REALLY, REALLY, REALY hard after welding. I wasn't able to ream the seat tube. I destroyed a brand new reamer trying. I had to cut it down and weld in a sleeve. Lesson learned. Keep OX Platinum to DTs, TTs, and SSs.
- My welding still looks like shit. It may be the OX platinum causing issues, but most probably more due to the extremely thin wall tubes. I do need much more practice.
- Using the OX Platinum #05 cut down as a seat tube was a really bad idea in more than one way. Welding the super crazy thin (0.4mm) tube at the bottom bracket with complex curves was hell. I made it work, but it ain't pretty.
- I should have bent the chainstays a bit more. Tire clearence is limited to a 2.1" tire.
Repairing the Seat Tube Issue
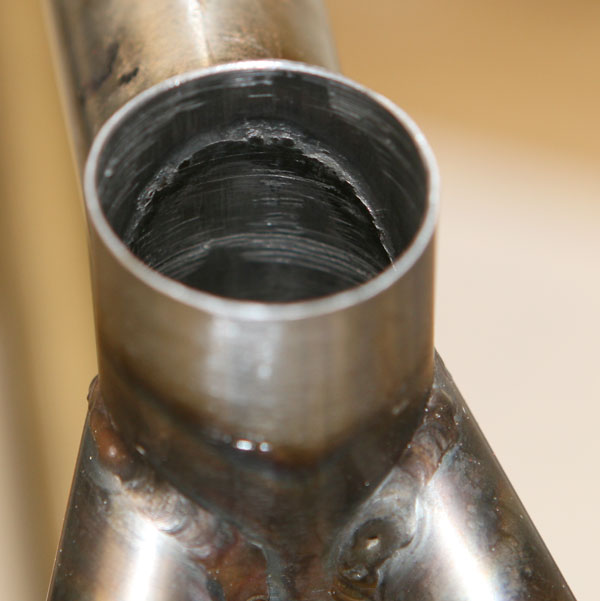
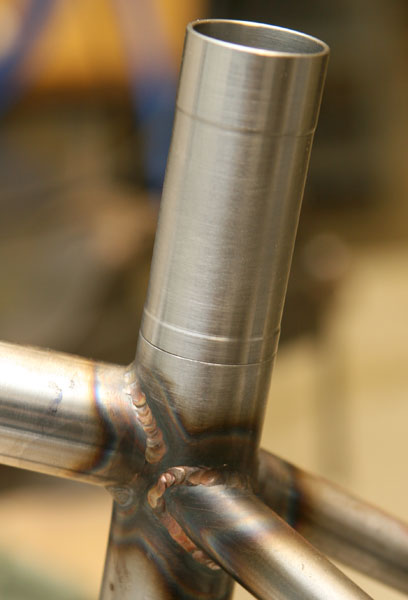
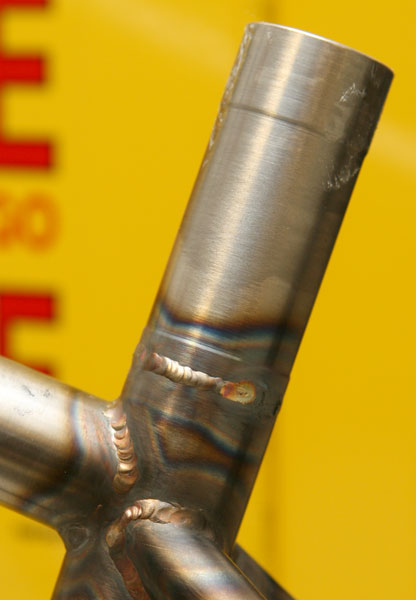
I'm really sadened by this fix. It's lame. It's not quite straight. I will try to never have this happen again.
The Paint
It's going to be a cheap powder coat pink. Hopefully the cost will be less than $150.
I have used Poly Engineering of Richmond, CA but may use Olympic Powdercoating for this one. Poly Engineering did an OK job, but it could have been better and their stock color choices could be better as well. I will have to ship the bike, but they have an excellent reputations and a but load of colors to choose from.
