Difference between revisions of "Grip Preparation"
From Pvdwiki
(→Champhering the Clamp) |
(→Champhering the Clamp) |
||
| Line 5: | Line 5: | ||
==Champhering the Clamp== | ==Champhering the Clamp== | ||
[[Image:Grips_5995.jpg]] | [[Image:Grips_5995.jpg]] | ||
| + | |||
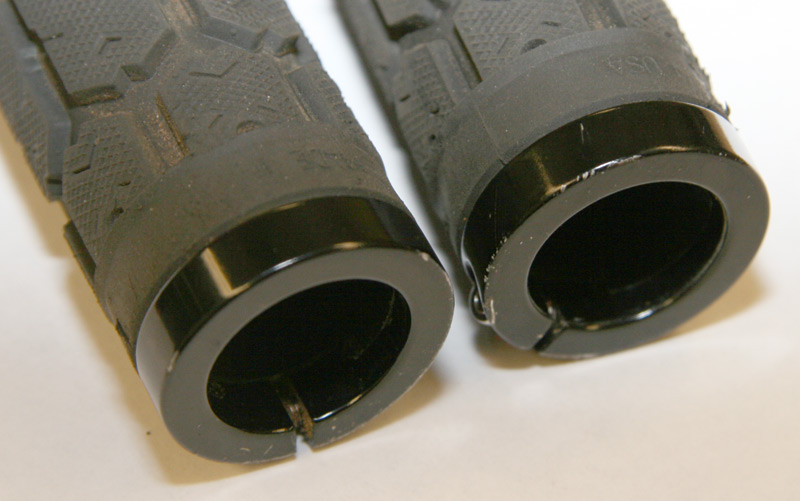
This is how the grip clamp is in stock form. | This is how the grip clamp is in stock form. | ||
[[Image:Grips_5996.jpg]] | [[Image:Grips_5996.jpg]] | ||
| + | |||
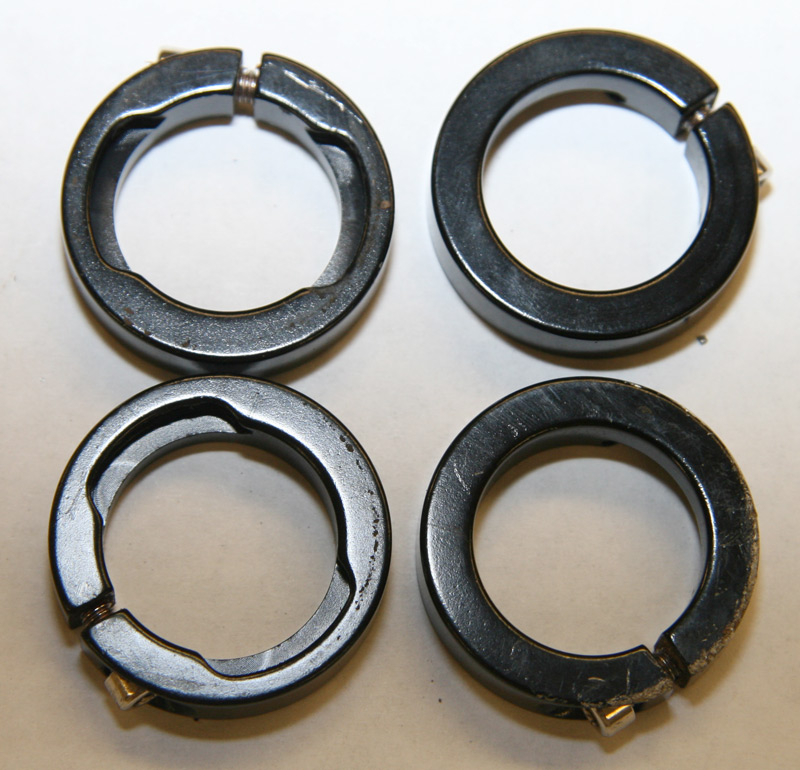
Both sides shown. | Both sides shown. | ||
[[Image:Grips_5999.jpg]] | [[Image:Grips_5999.jpg]] | ||
| + | |||
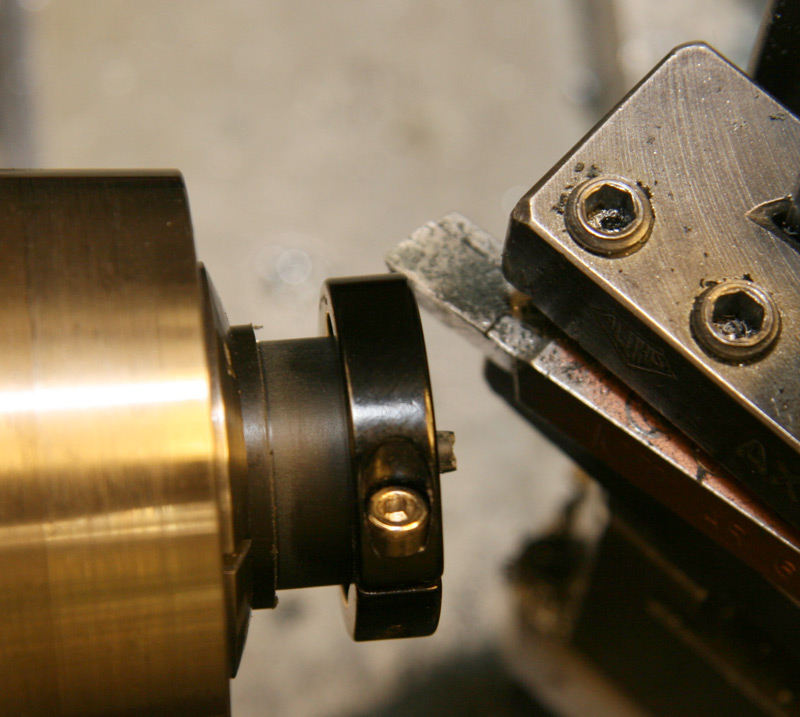
The clamp is clamped to a shaft on the lathe and set-up. | The clamp is clamped to a shaft on the lathe and set-up. | ||
[[Image:Grips_6000.jpg]] | [[Image:Grips_6000.jpg]] | ||
| + | |||
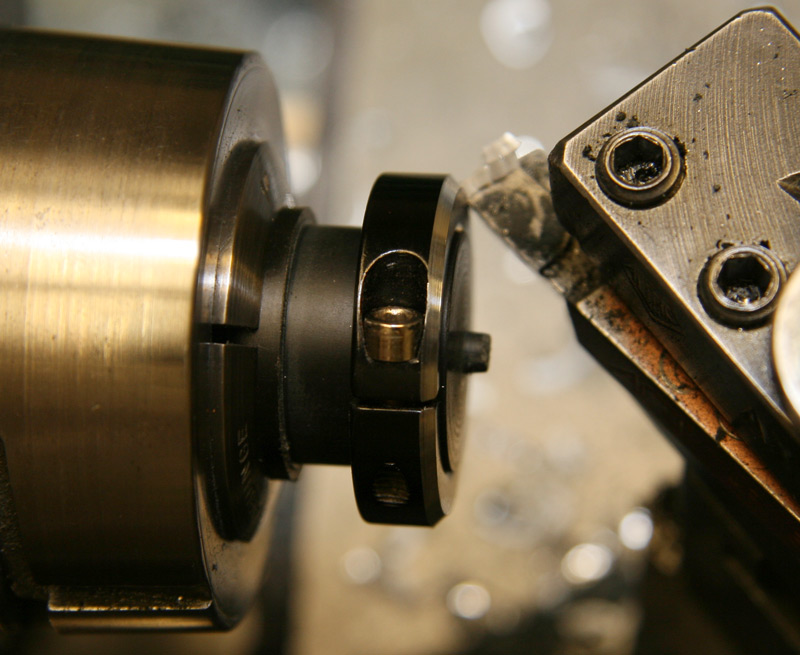
Time taken so as to not damage the screw. | Time taken so as to not damage the screw. | ||
[[Image:Grips_6004.jpg]] | [[Image:Grips_6004.jpg]] | ||
| + | |||
This is what you are looking for. | This is what you are looking for. | ||
[[Image:Grips_6006.jpg]] | [[Image:Grips_6006.jpg]] | ||
| + | |||
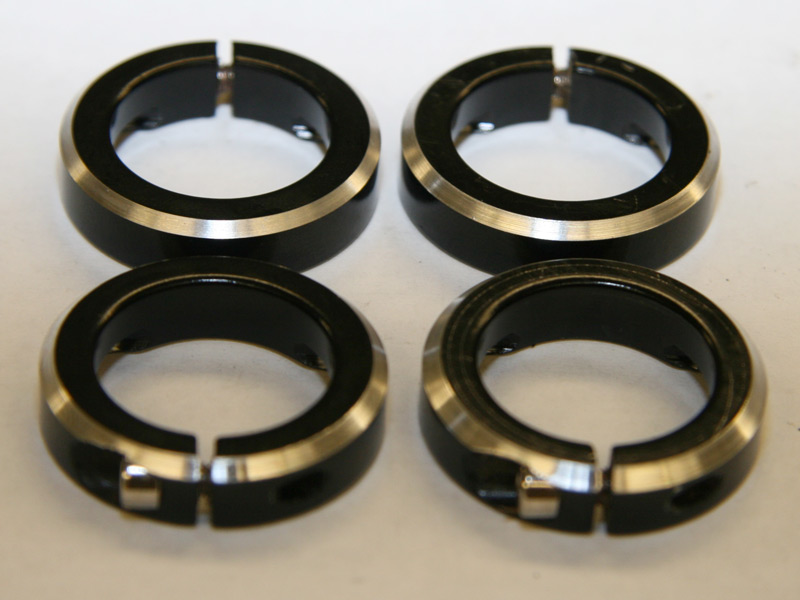
The set. | The set. | ||
[[Image:Grips_6009.jpg]] | [[Image:Grips_6009.jpg]] | ||
| + | |||
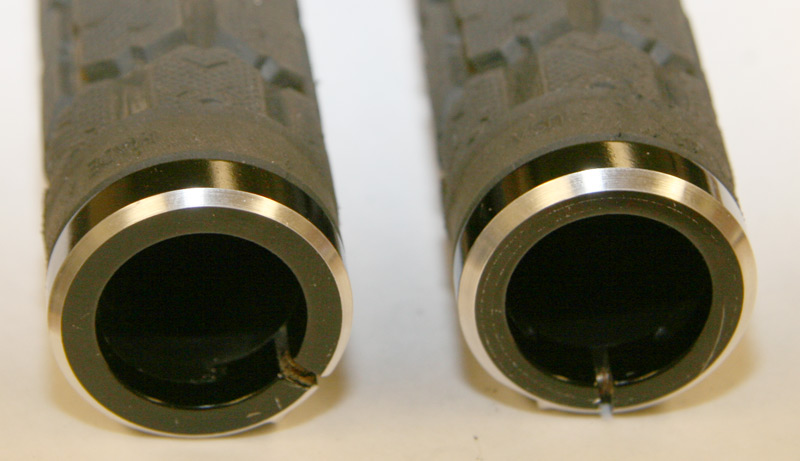
Modified clamp re-attached to the grip. | Modified clamp re-attached to the grip. | ||
Revision as of 18:26, 13 October 2006
Most bicycle grips are simply glued to the handlebars using grip cement. This is fine as long as the end is left exposed so that a delrin handlebar plug is allowed to protrude.
In seriously wet conditions, one of the best choices for grips are ODI Lock-On Grips. ODI Lock-On Grips require a few modifications.
Champhering the Clamp
This is how the grip clamp is in stock form.
Both sides shown.
The clamp is clamped to a shaft on the lathe and set-up.
Time taken so as to not damage the screw.
This is what you are looking for.
The set.
Modified clamp re-attached to the grip.
