I needed to do something about my shop air situation. I have a nice air compressor out in the garage but I’m not in the mood to have it in my basement where I do 95% of my work. I’m a little starved for space and the big compressor gets in the way. This is about quality, space, and flexibility. I needed to sort my air lines and system as well. Years of neglect has left it a hodgepodge of connections, broken pieces, and missing elements. I have too many air lines that needed to be short were miles long and lines that needed to be long didn’t reach. It’s been a mess for too long.
Also, another reason for the compressor in the garage, an “in the house” compressor is a pain when it suddenly boots up in the middle of the night. Really, a few 2 am wake up calls like that and you’ll put up with any hassle not to have it happen….other than putting the compressor on a timer circuit. (ha!). Regardless, the rest of the pluming here is handy for everyone.
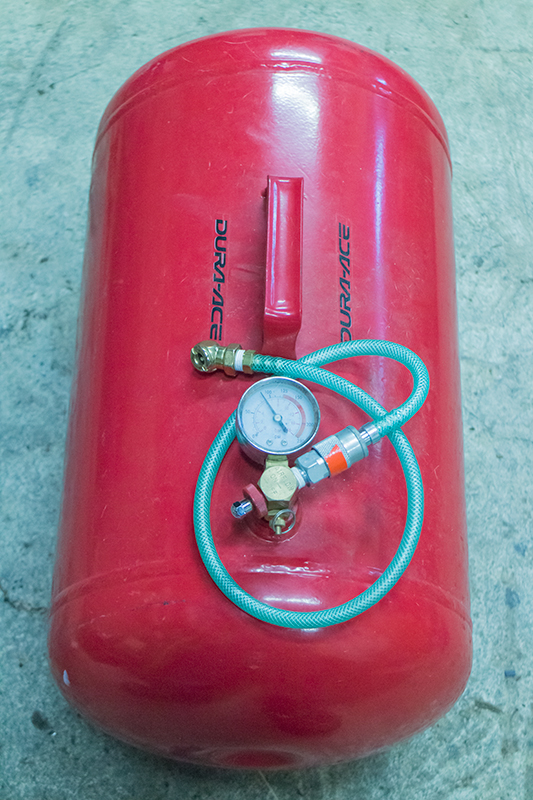
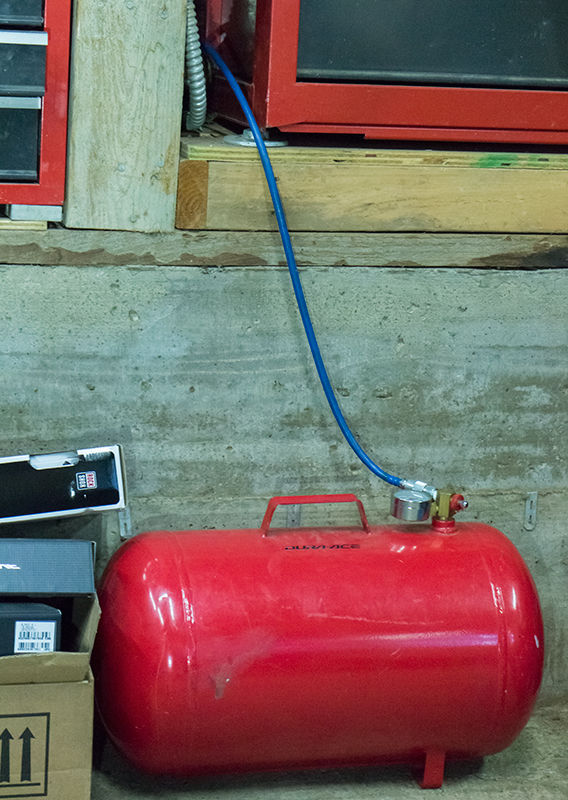
I’ve been using a remote tank for a while, in place when I need it and removing it when I don’t. It’s very light and easy to stow so I’m more apt to change it’s location than if it were connected to a compressor. I like the portability of the tank as I might need it upstairs or at another location. My tank shown is a 5 gallon air tank. It’s what I have laying around from years ago when I needed something small and easy. I think a 10 gallon would be a better purchase if I was making it now for the system I’m using. These tanks cost less than $40, so they are the kind of thing anybody with an air compressor should have around. They are very convenient especially wen you need to fill a flat tire on the car or have on a camping trip. One problem with portables is that regulators tend to not be nice as they get beat and break. So, without a regulator, air runs out quick and lacks control. I needed to get a regulator and filter/dryer set up in my work area.
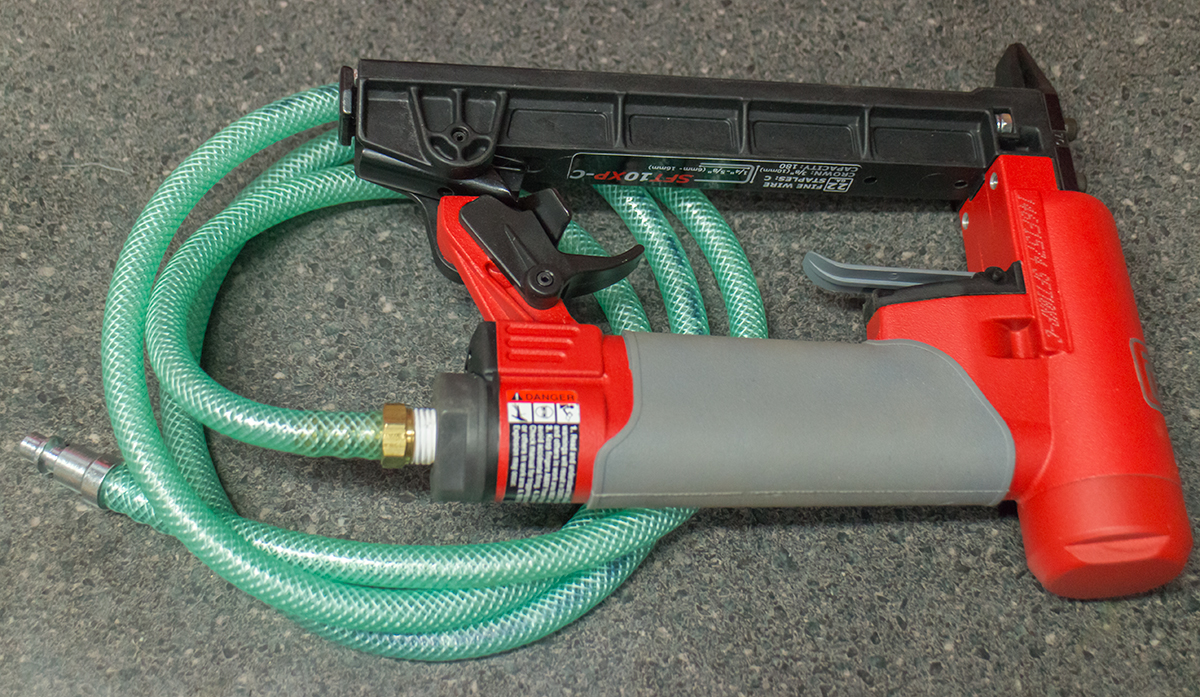
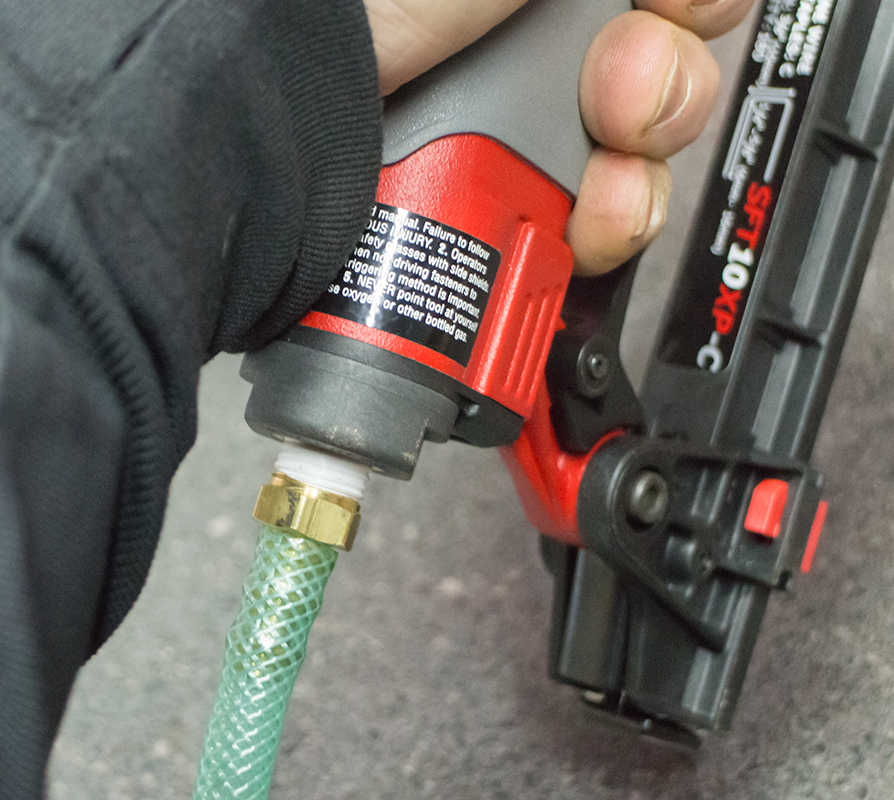
A recent purchase of a pneumatic stapler for my saddle reupholstery project forced a lot of this to light (such a sick tool, btw!). The stapler requires 60-95 psi, so that’s a consideration in all this as unregulated air wreaks havoc here. Running a stapler at 120 psi tends to overpower everything in its way.
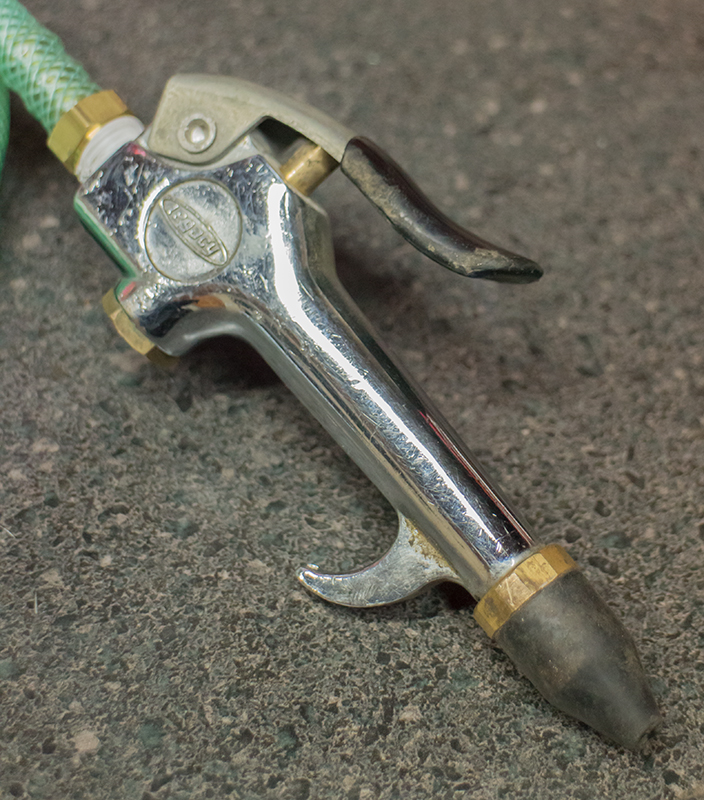
You’ll see that I don’t like quick disconnects located at a tool. Usually, I’m connecting air directly to a tool and the quick disconnect is four feet or so later so it rests on the floor. This makes the tool lighter and easier to maneuver. This may not be important to some but I’ve been in production environments enough where there’s just ways of doing things.
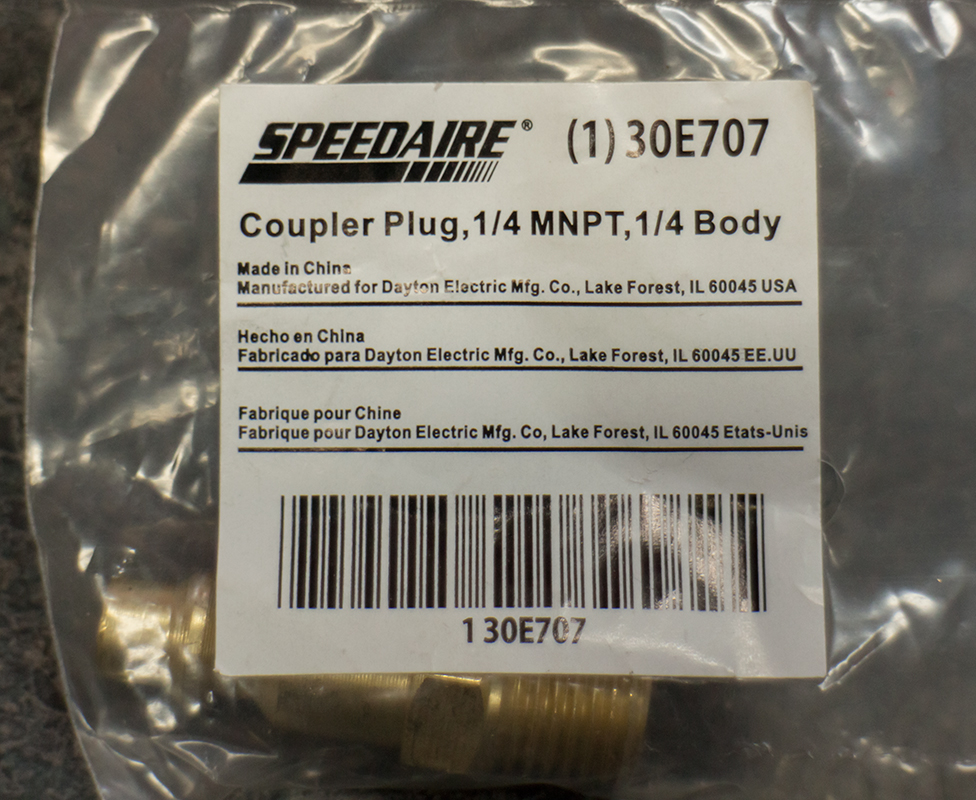
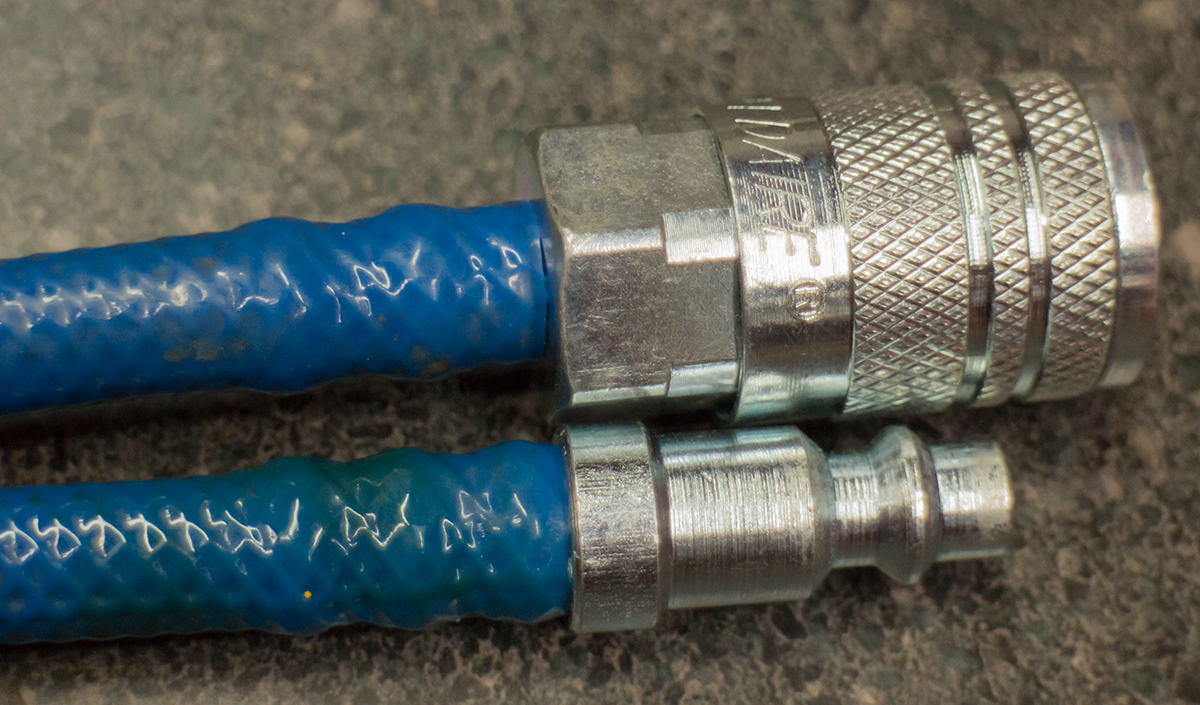
The first goal is to sort out what fittings would be used for quick disconnects. There are many types of quick disconnect fittings available in all sorts of industries. McMaster-Carr has a nice chart displaying the differences of many of the types of connectors. The two most common for the average person or shop to use is the M-Type (Milton) ‘Industrial Interchange’ or the Tru-Flate (Parker) ‘Automotive’ designs. Both will most commonly be in the 1/4″ NPT sizes. Make sure not to confuse the Industrial Interchange 1/4″ connection with the ARO210 1/4″ connection. They look similar but are different. I choose the Industrial Interchange connectors whenever possible. Tru-Flate is rarely the system I’m around and I don’t like fighting standardization.
Parker Industrial Interchange & Parker Tru-Flate Design
Whatever you do, don’t put any money in the ‘Universal’ couplers that are often sold or supplied on compressors. They completely suck and are just a waste of time. Commit and keep it real.
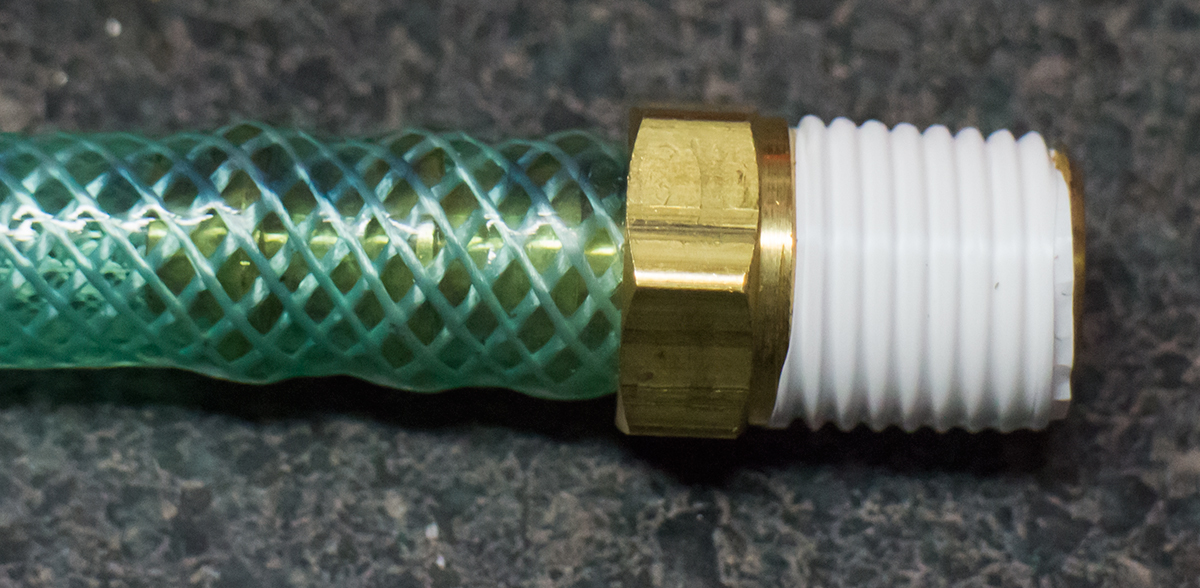
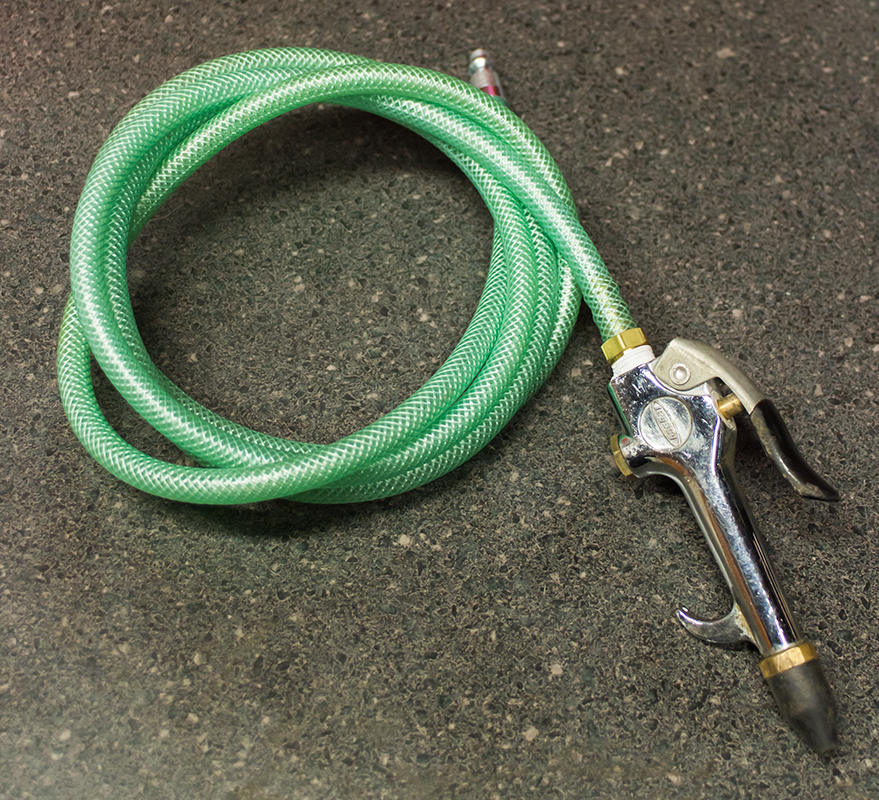
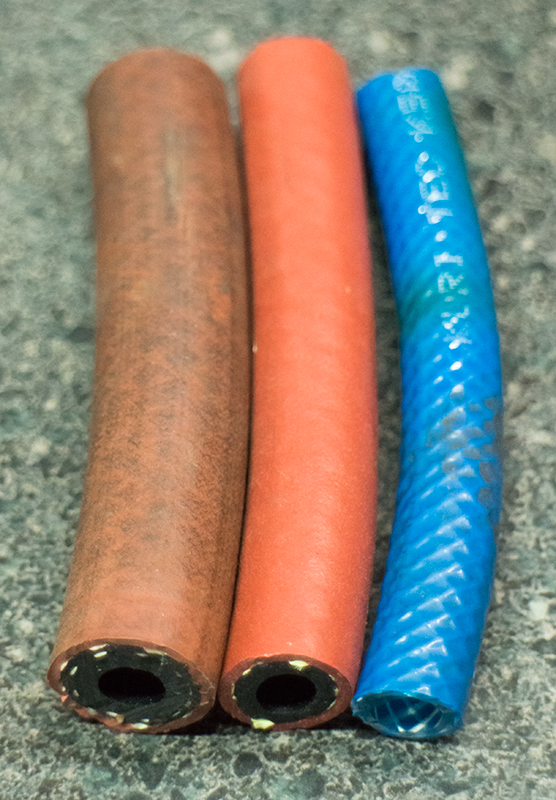
Hose is the next to work out. There’s a lot of garbage or mis-applied hoses out there in peoples garages. Klunky, oversized hose that is hard to funtion well around. In light duty and highly dexterous situations I like a nice tidy hose. My favorite hose is the Kuriyama PNEU-THANE™ Lightweight Reinforced Polyurethane HS5090 (Aqua), HS5094 (Red), HS5096 (Blue) hose (Marked ‘Kurt’ here, but it’s just branding). It’s got a 1/4″ ID and a small 3/8″ ID. It’s light and very flexible so it’s very nice to work around. My only problem with it is that it’s got a springy feel and reaction rather than the dead feel of most pneumatic hose. It’s available from several common suppliers, McMaster, of course, but Amazon as well.
Not all 1/4″ ID hose is the same. Here, comparing the 3/8″ OD Kuriyama hose to 1/2″ or 5/8″ OD general use hose we see that the difference is staggering. There’s a place for the big hose, at the work bench of a small home shop isn’t it. Save the big stuff for the floor a of a large service shop where it will be needed to handle the abuse.
Note: The Kuriyama hose I’m using is not officially specified for push-on connections.
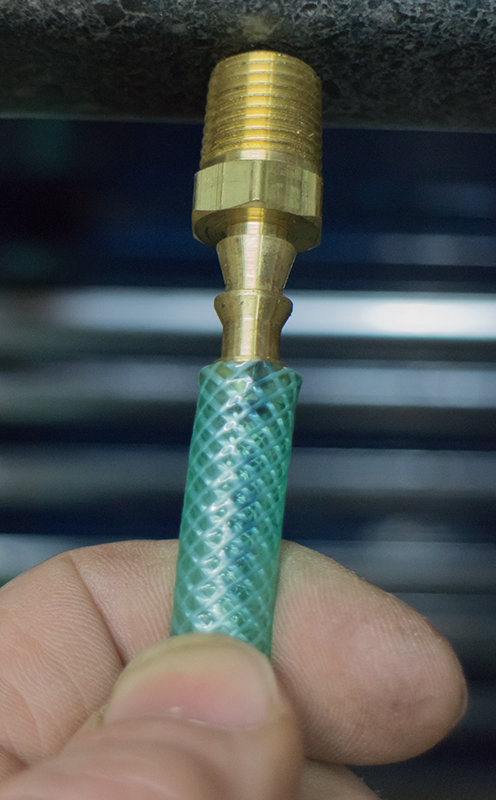
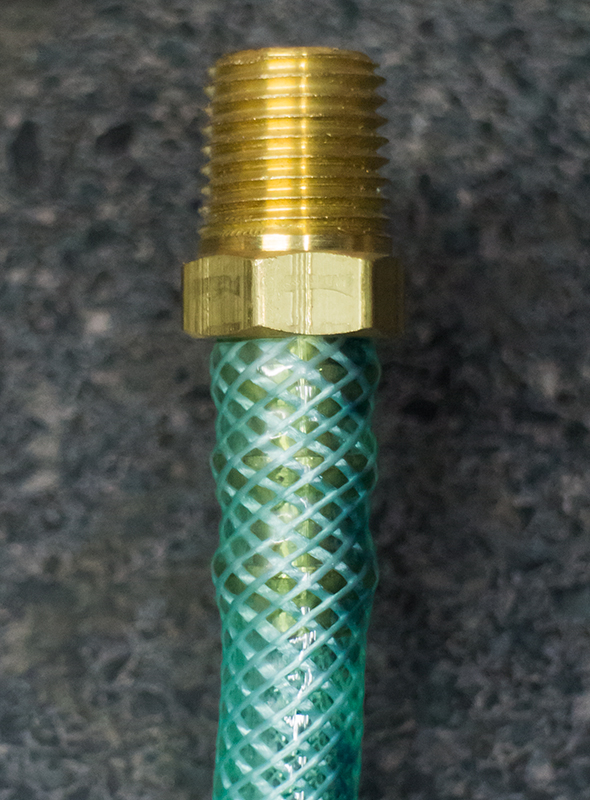
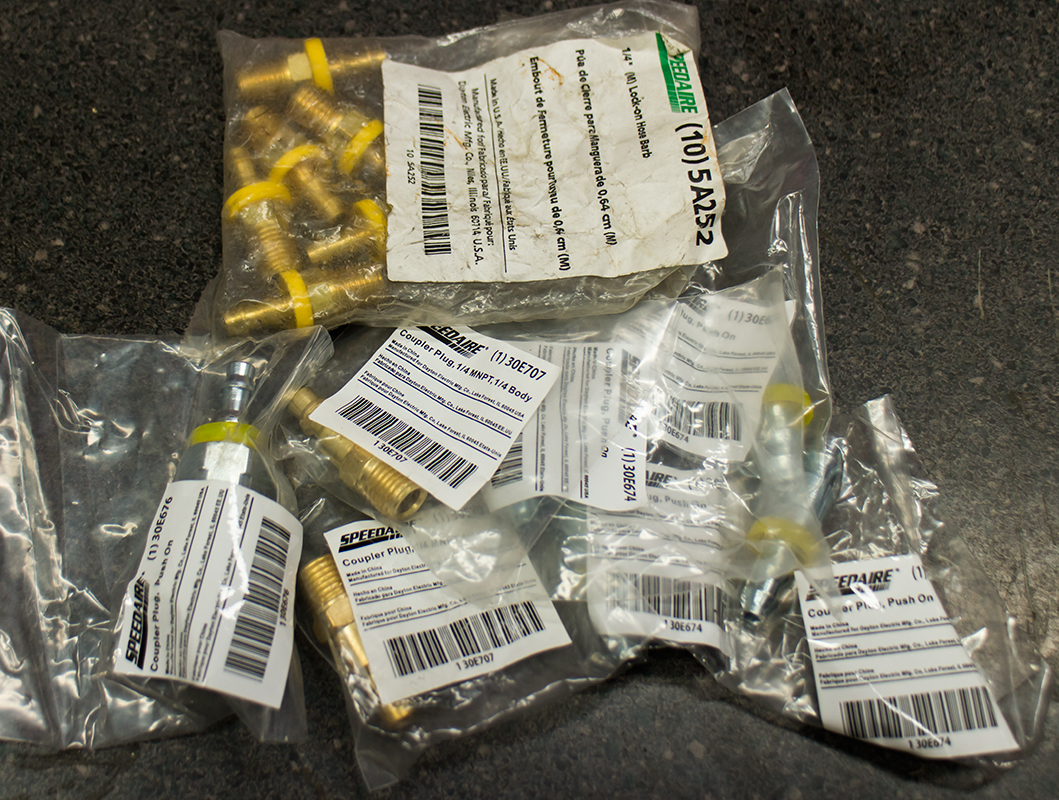
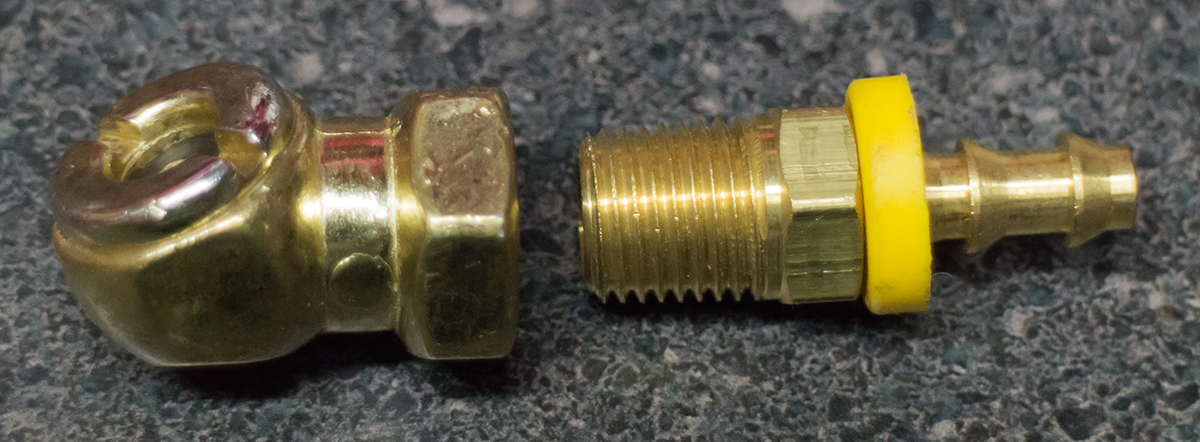
To match the hose with the fittings, I like to get the ‘Push-on’ or ‘Push-loc’ type connection. This will keep things nice and tidy and looking good. You’ll see a lot of Speedaire parts here. Speedaire is a brand of Grainger so it’s handy to spec those parts as Grainger is the go to supplier for facilities maintenance. One thing that so nice about going with this ‘push on’ system and cut to length hose is that I can make the right line for just the right use. I have a nice tidy 26″ line for the schrader valve chuck, a 6′ line for the blow gun, and a 12′ extention. Any time I need another size I can make it in just a few minutes. I made sure to keep a few extra connections on hand in my plumbing drawer for future use.
Note: Don’t worry about cutting off the yellow ring that comes on the Push-on connectors. That’s primarily there for identification (250 psi max) and cosmetics. In a home shop, you can clean things up by removing it.
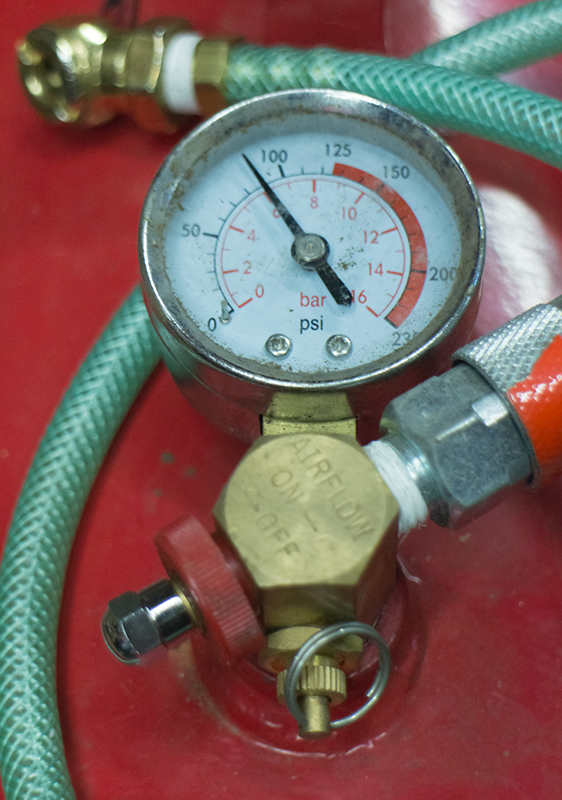
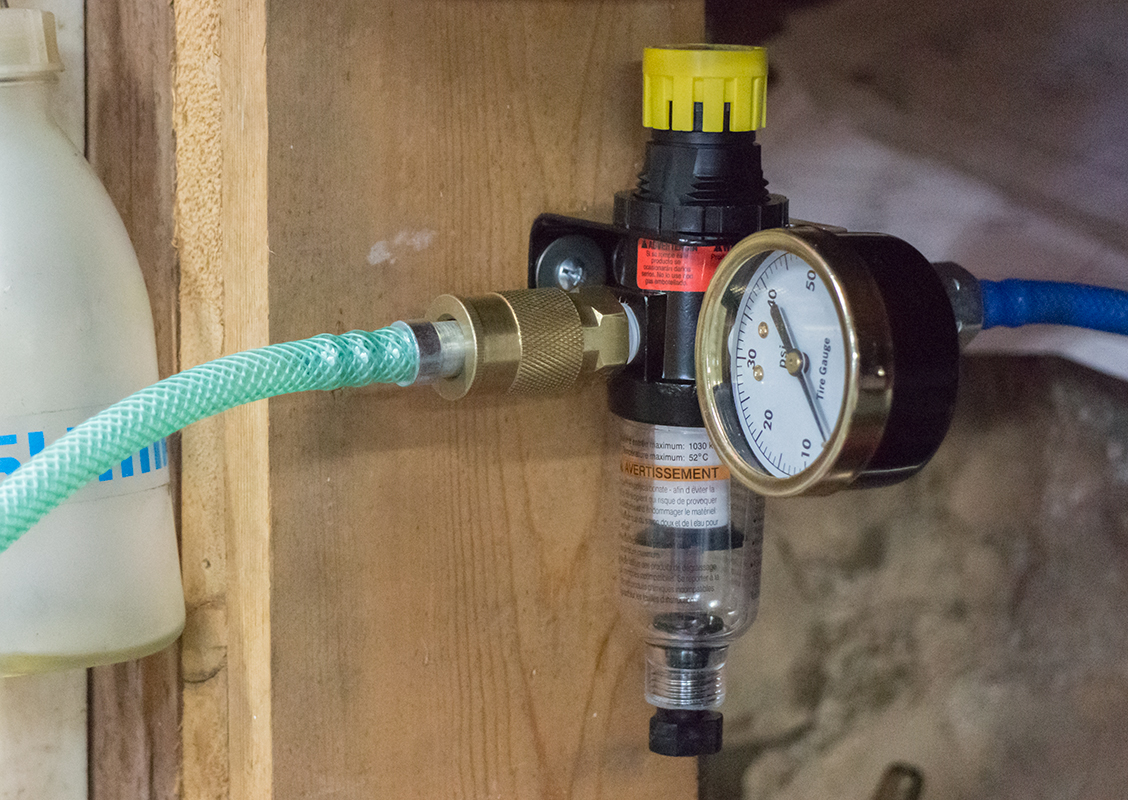
Air Control!
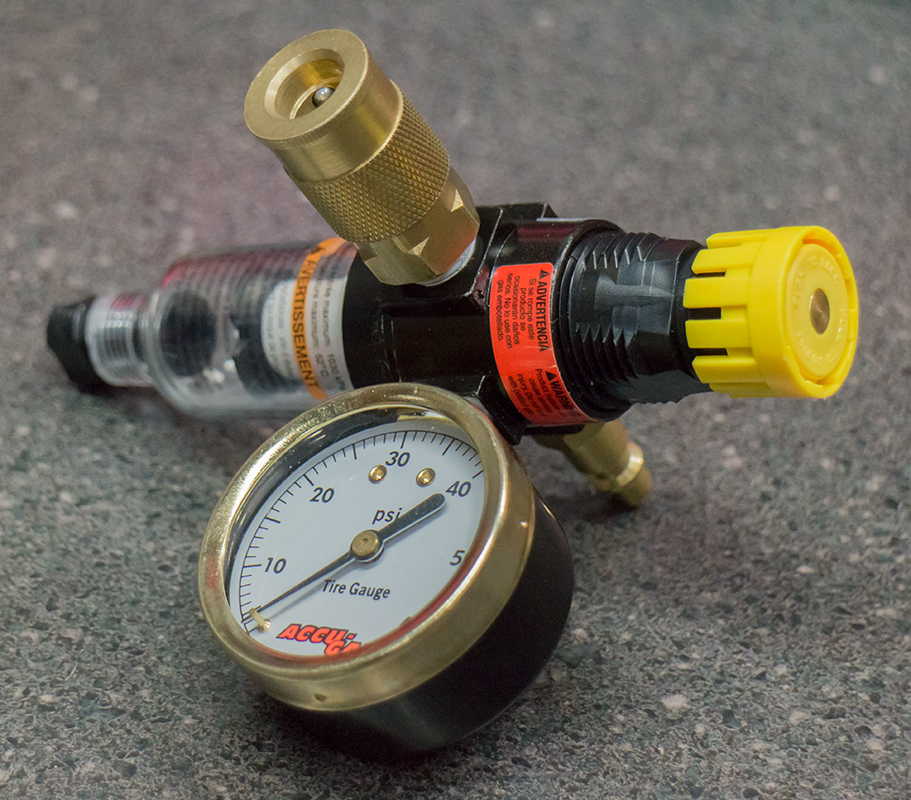
Regulator (90-125psi)/filter/dryer: Parker 14E11B13FC
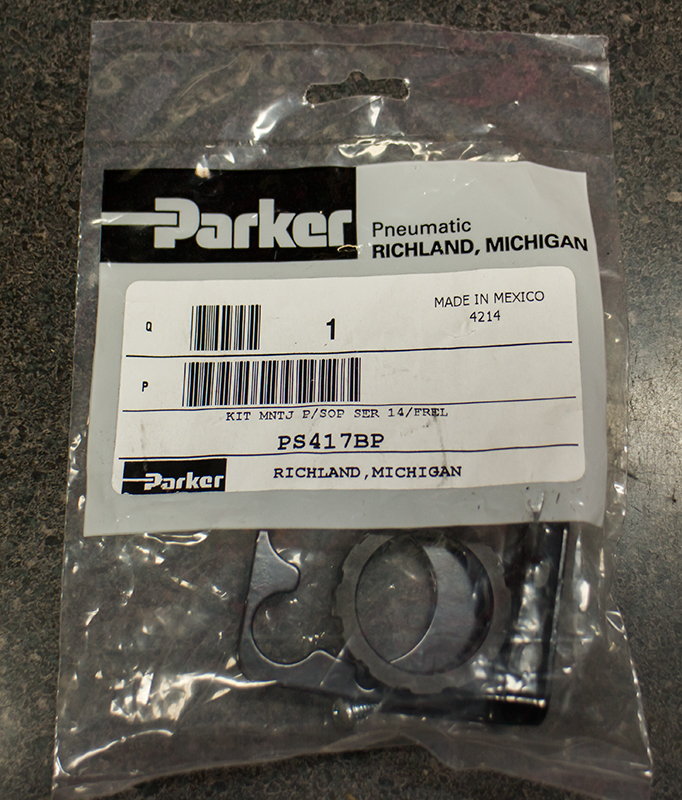
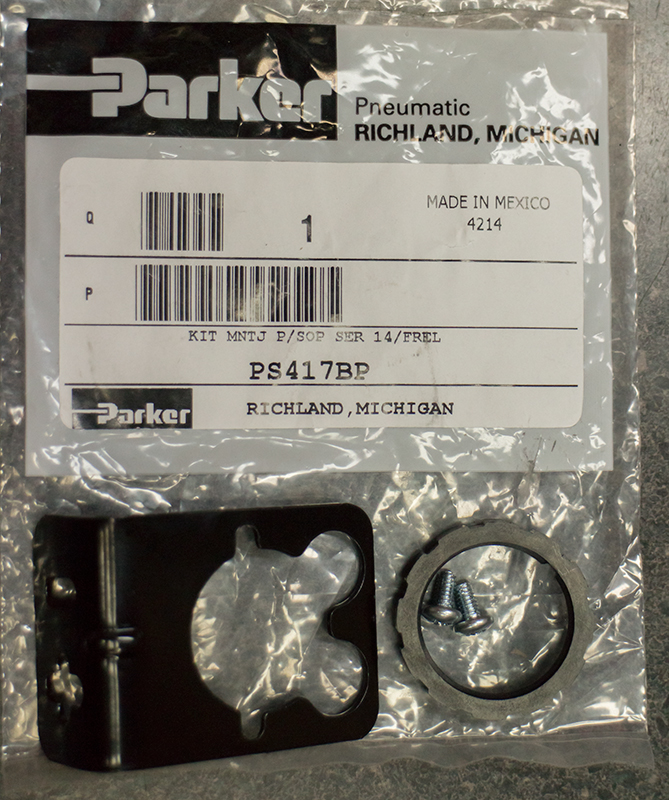
Wall Mount Bracket: Parker PS417BP
0-60psi Gauge, 1/8 NPT: Grainger 4FLR1 (on order)
I used to work for Parker so I often choose those parts when I can. It’s always top tier product. Thus, my regulator choice. For most uses at the workbench, a 0-60 psi gauge is going to be fine and give you good resolution. It’s nice to use the lowest pressures that work for you, I’d say 30-40 psi for most air cleaning use. The stapler, requiring 60-95psi will just require that I boost the regulator to 60 psi as I will mainly be using short staples in soft material.

I’m excited to have this system up now. Having ‘clean and dry’ air on hand is going to be handy as I’m hoping to do more ghetto two-part painting in the next few years.
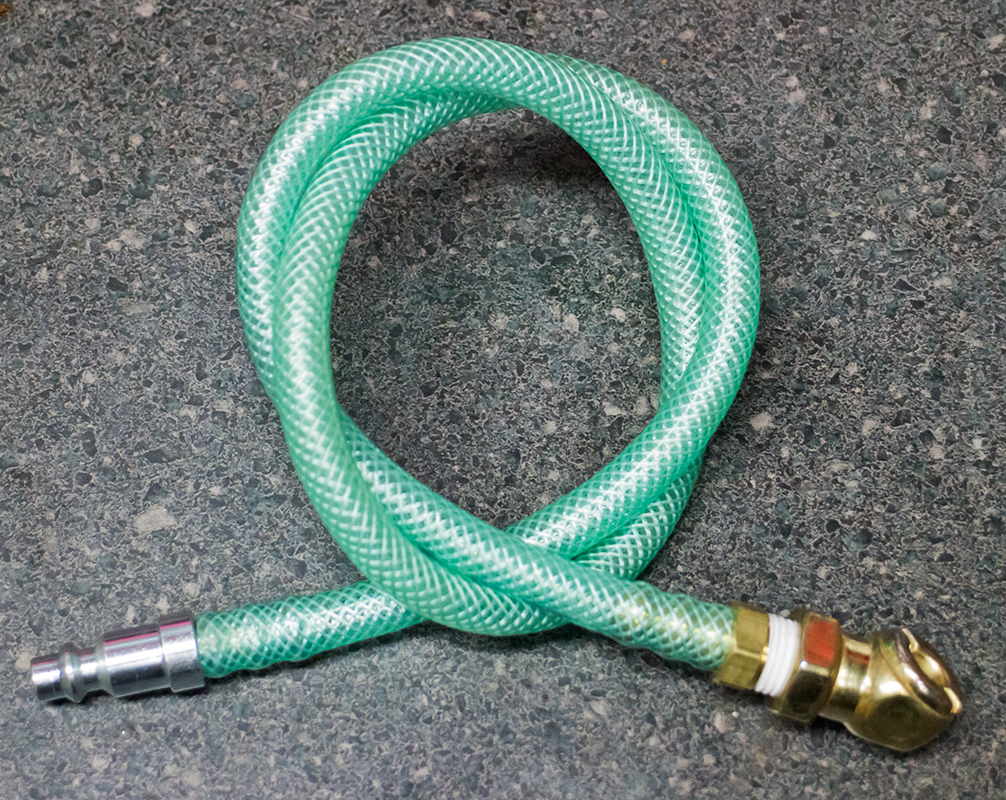
Here’s a cool little tool that I made a long time ago:
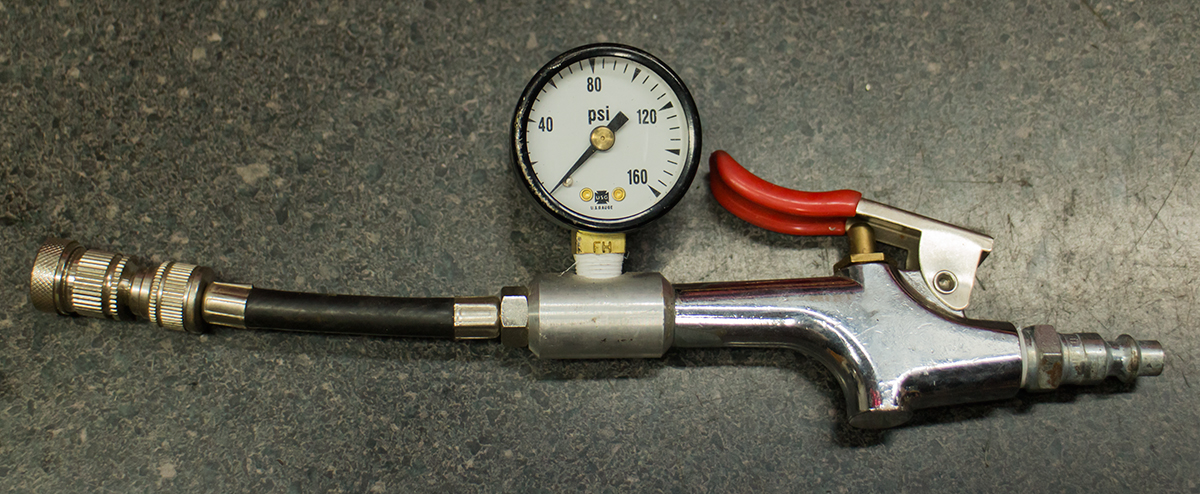
It’s for quick filling Presta valves for bicycles. At the time, these were hard to find or very expensive. I put this together with a few parts laying around. It comes in handy from time to time.