I’m a known hater. I love some things though and one of those things is skateboards. Riding them specifically. Because of that, I really don’t like stupid gimmick skateboards like the 4 foot longboards or toy plastic novelty decks that have become all the rage lately. The pain inside me that occurs when seeing people riding these pieces of junk is intense. Why not a real skateboard? A fun skateboard? What’s wrong with people riding this junk? Why is it that people who don’t have any idea how to ride a skateboard insist on riding boards that I would find impossible to use or enjoy?
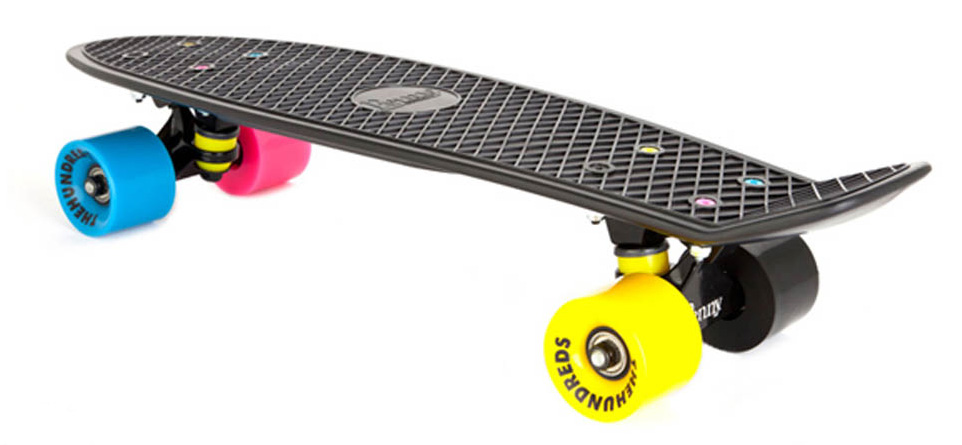
Here’s a serious piece of garbage from Penny:
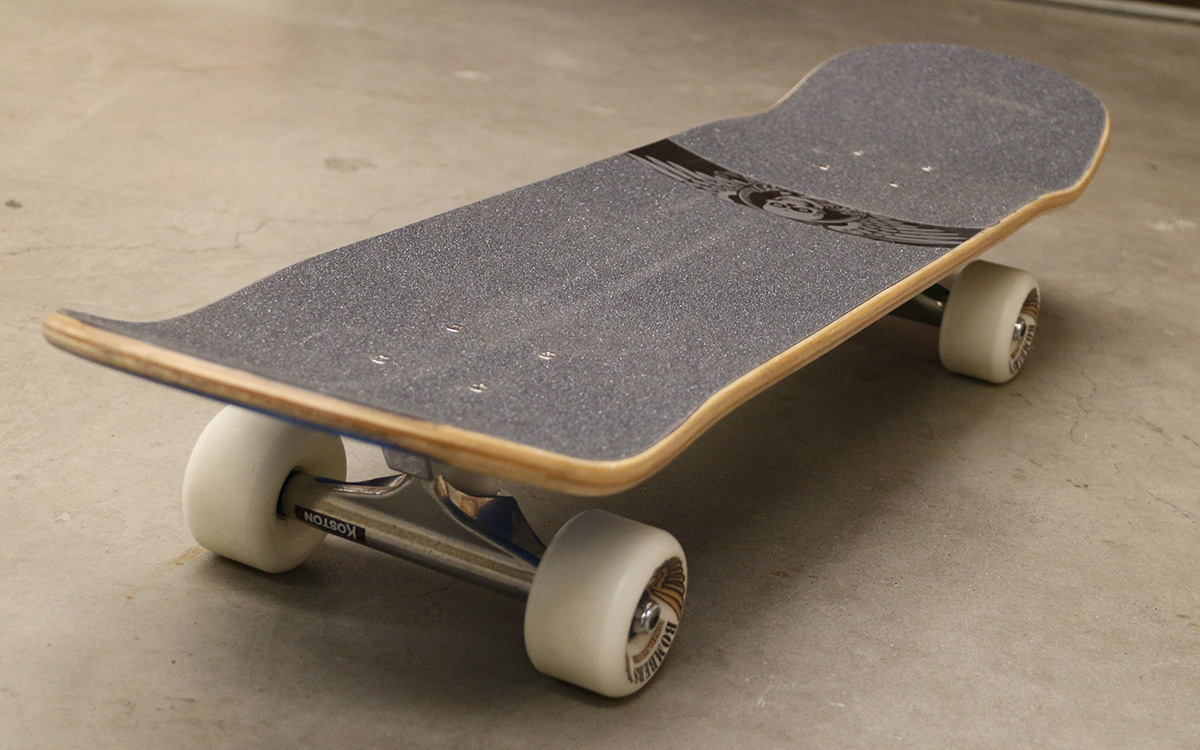
I needed to put together another transport skateboard. Something for cruising around on in the city and commuting with, I carry one of these when I travel as it’s the perfect tool for getting around an urban environment. Recently, I was in Barcelona and Paris. I rolled all around the cities and connected via subways and buses. I even got to ride the entire mountain in Barcelona from the Expiatory Church of the Sacred Heart of Jesus to the Mediterranean Sea. Quite the experience.
This is longboard country. By longboard I mean something very different than most mean by longboard. I mean a real usable longboard. It’s easy geometrically to stand on. It’s not for trick but for putting weight in the right places, covering ground and going fast down hills with. The board should be reasonably light as it might be carried a bit and pushing a heavy board is lousy. Also, I’ve found that very narrow boards are quite nice out in the real world of luggage compartments and tight spaces. So what do I need? Simple. A 7.75″ popsicle stick with a 16″ wheelbase and large diameter soft wheels. This isn’t rocket science. Popsicle sticks work very well for a reason, they are efficient and handy. Large wheels smooth out the rough surfaces and go fast. Why does everyone think they need to kook out just to have a usable, non-trick skate?
Here’s an interesting bit of numbers for the nay-sayers. A change of 2.0″ in wheelbase, from 14.0″ to 16.0″, is a 14% increase. A change of 10mm, from 54mm to 64mm, is an 18.5% increase. That would be like going from a skateboard designed for a 5’2″ rider to a 5’10” rider and for speeds increasing from 16 mph to 20mph for a given wheel rpm. These really are significant numbers and real differences.
Here’s the shopping list:
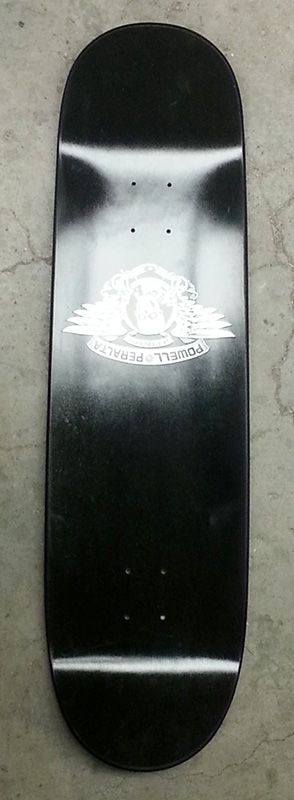
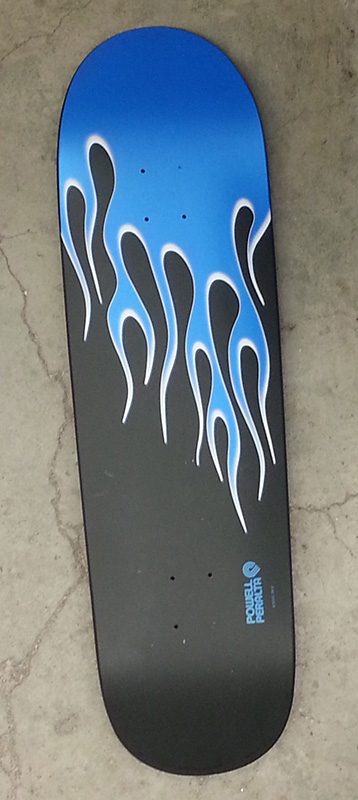
* Powell-Peralta Hot Rod Flames Deck
* Bones Super Swiss 6 Bearings
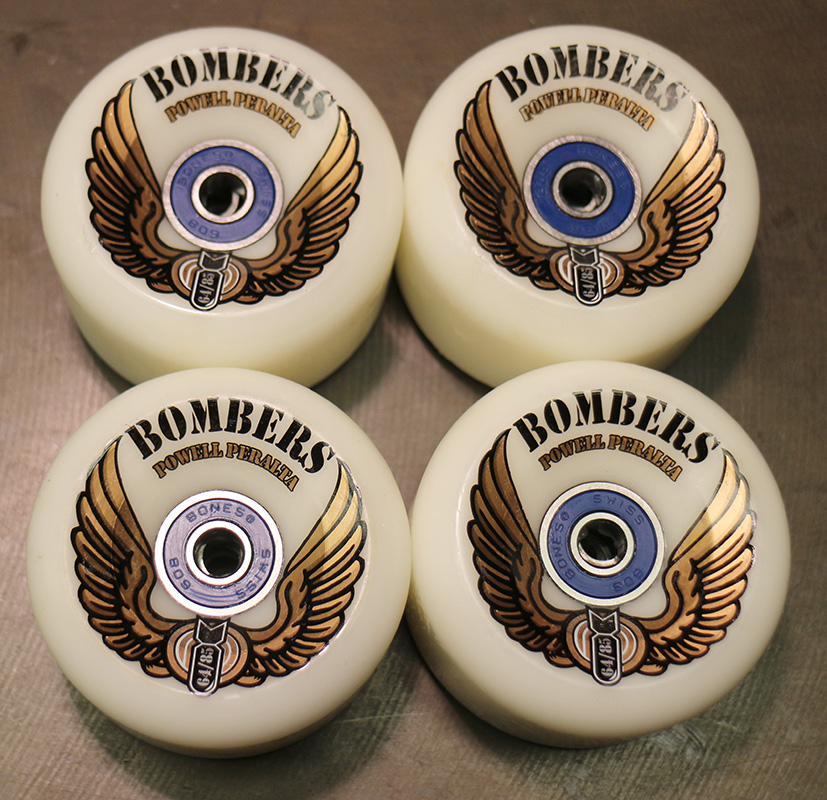
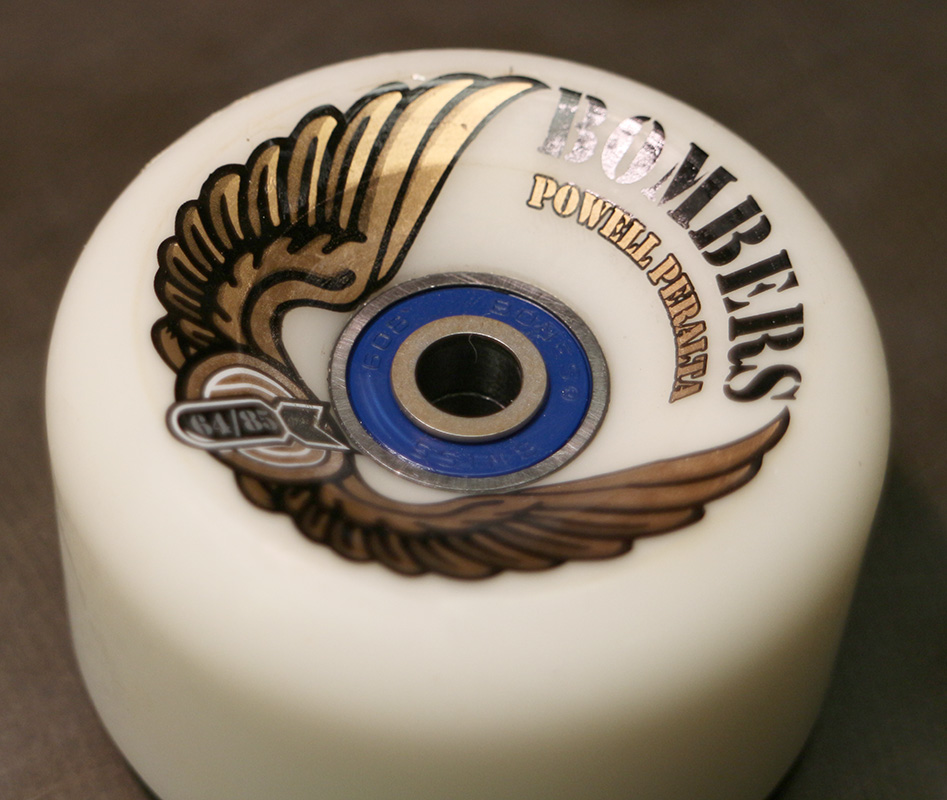
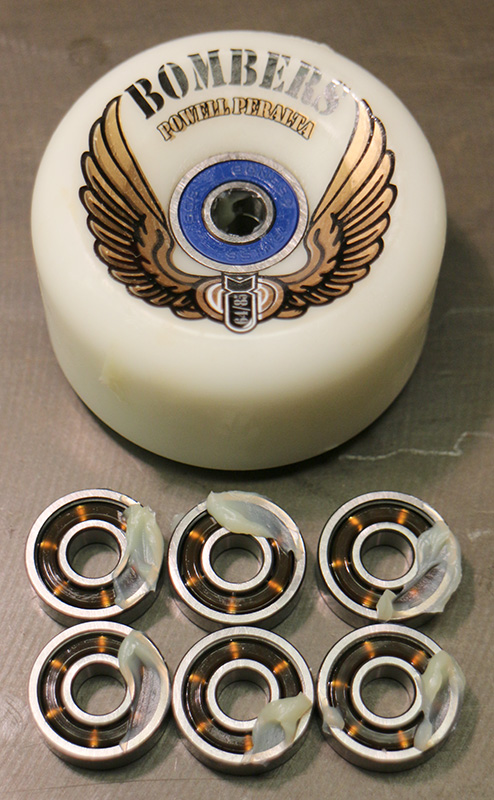
* Powell-Peralta Bombers 64mm 85a – White
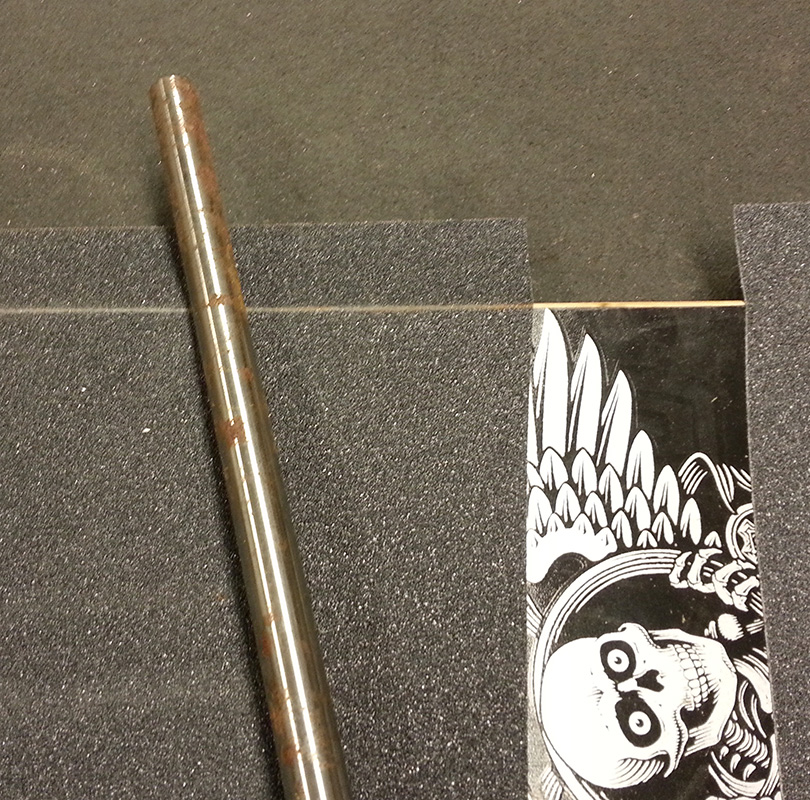
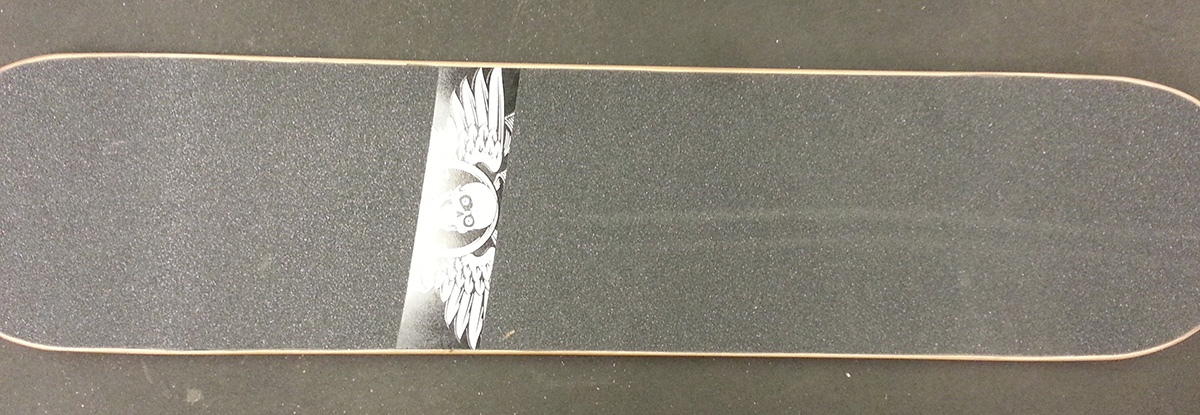
* Bones grip tape 10.5″x36″ (included free with deck purchase from SkateOne)
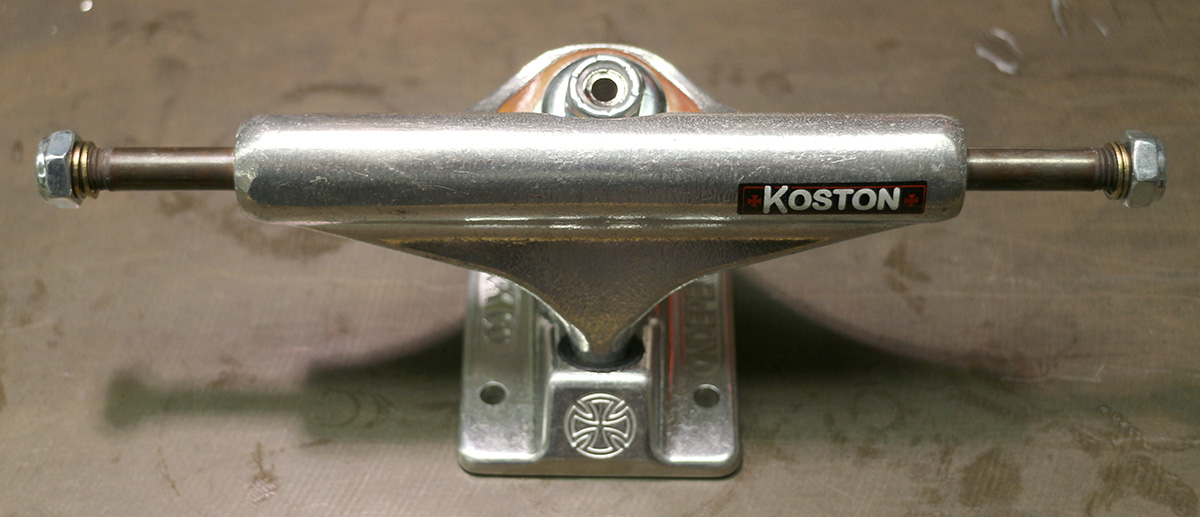
* Independent Forged Hollow trucks, 129mm Koston
*BONES Hardcore Bushings – Medium – White
* 10-32 x 1 1/8″ Stainless steel screws.
* 10-32 nyloc stainless steel jam nuts
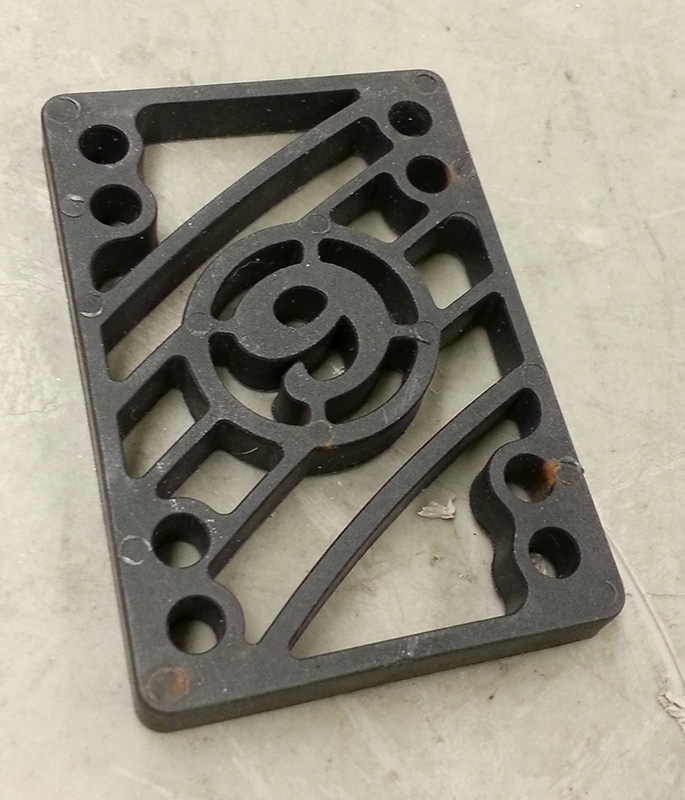
* 3/16″ Risers
* PVD Axle Washers
* PVD Bearing Spacers
* 0.0020″ stainless steel shim
* SKF LGLT2 Grease
The Deck
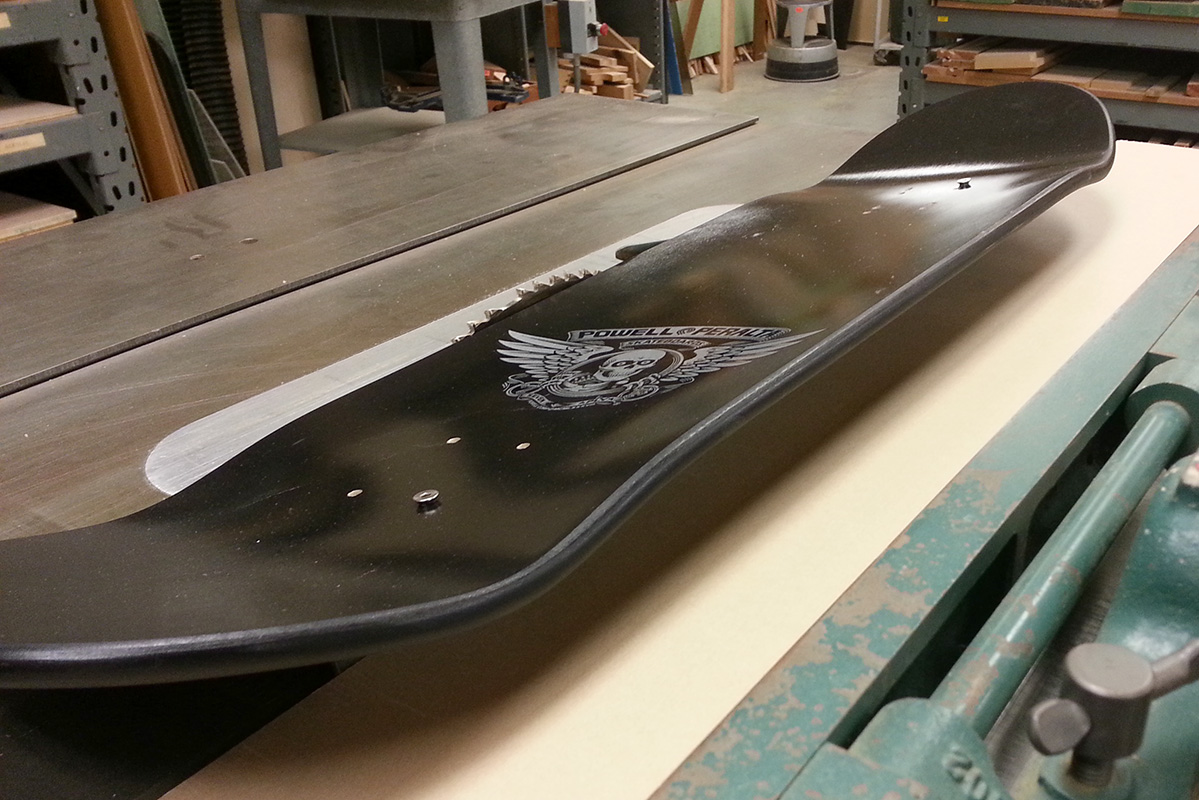
It’s amazingly hard to find longboards these days. Not the junk, a real one. I’ve found that the only way is to modify something existing so that it’s functional. After a bit of searching, I found a good deck to base from, the Hot Rod Flames!
The first step is modifying the Powell-Peralta Hot Rod Flames Deck. Here are the details provided:
| SKU | DCGAPSHR15 |
|---|---|
| Brand | Powell-Peralta |
| Deck Shape | 94 |
| Deck Concave | K15 |
| Deck Wheelbase | 15.5″ |
| Deck Length | 33.875″ |
| Deck Width | 9.375″ |
| Deck Nose | 7.125″ |
| Deck Tail | 7.125″ |
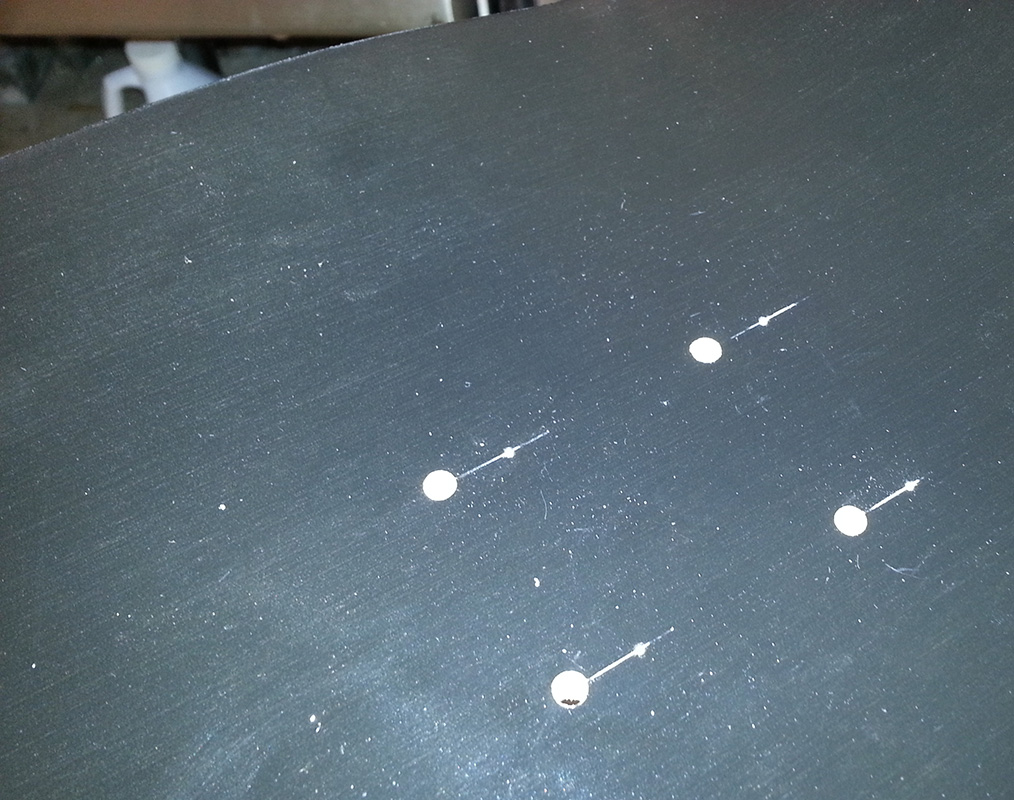
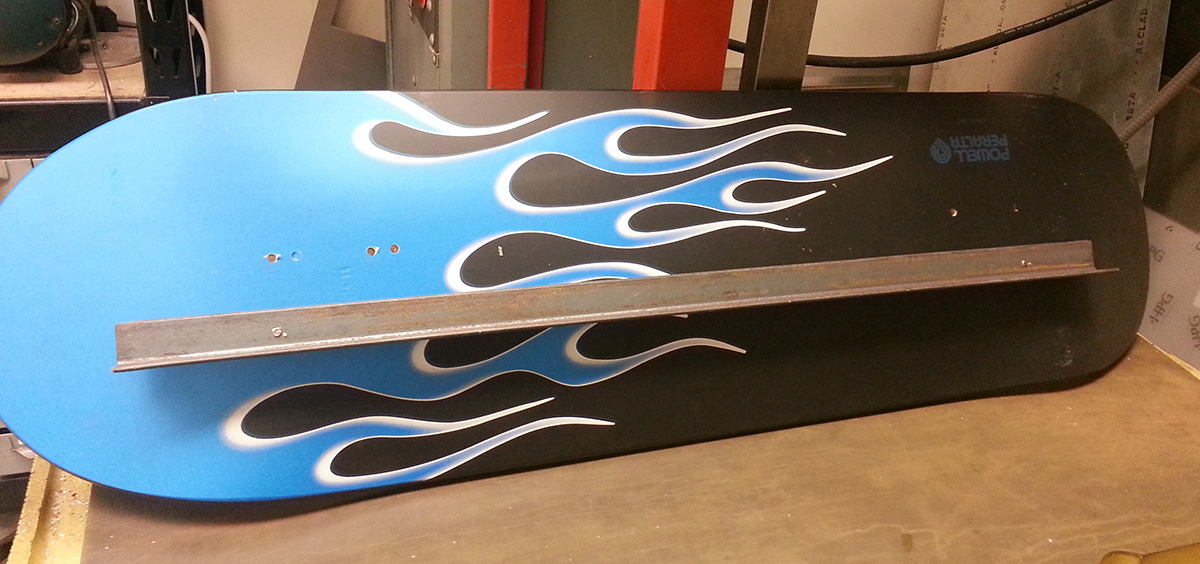
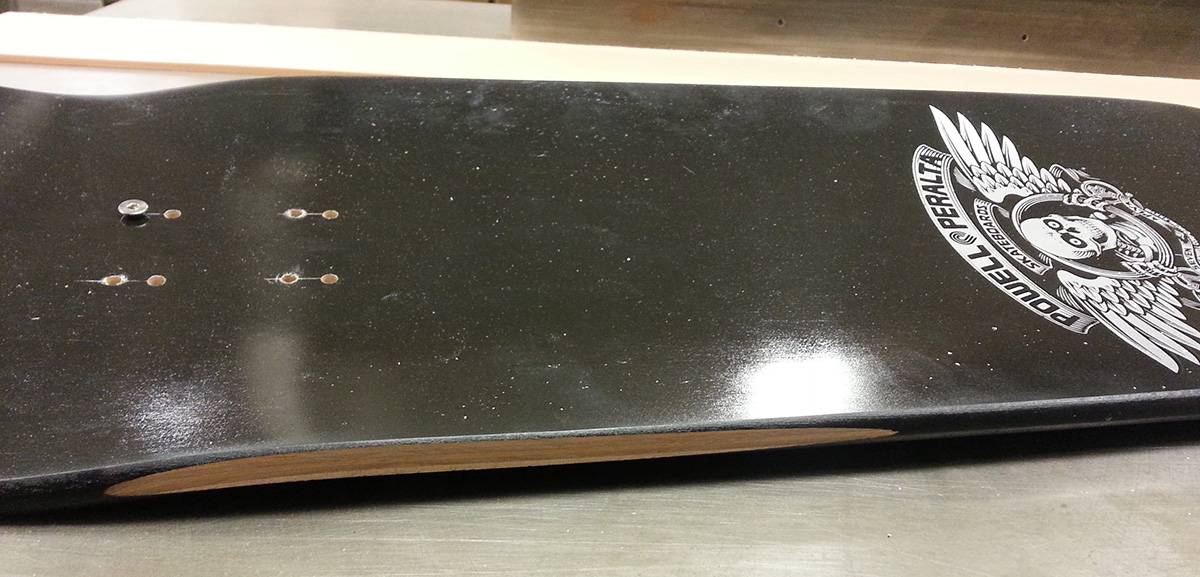
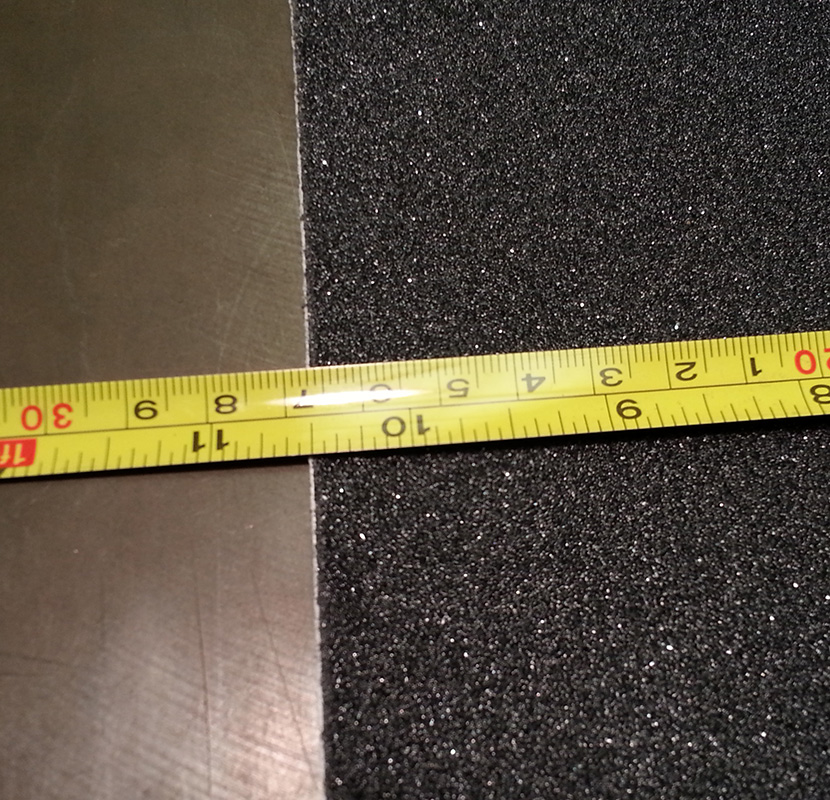
The board is far too wide, the nose too long and the wheelbase could be longer. Cutting the board down and redrilling the front mount holes produce a far better board for real world use. Here’s the print for what I’m looking for:
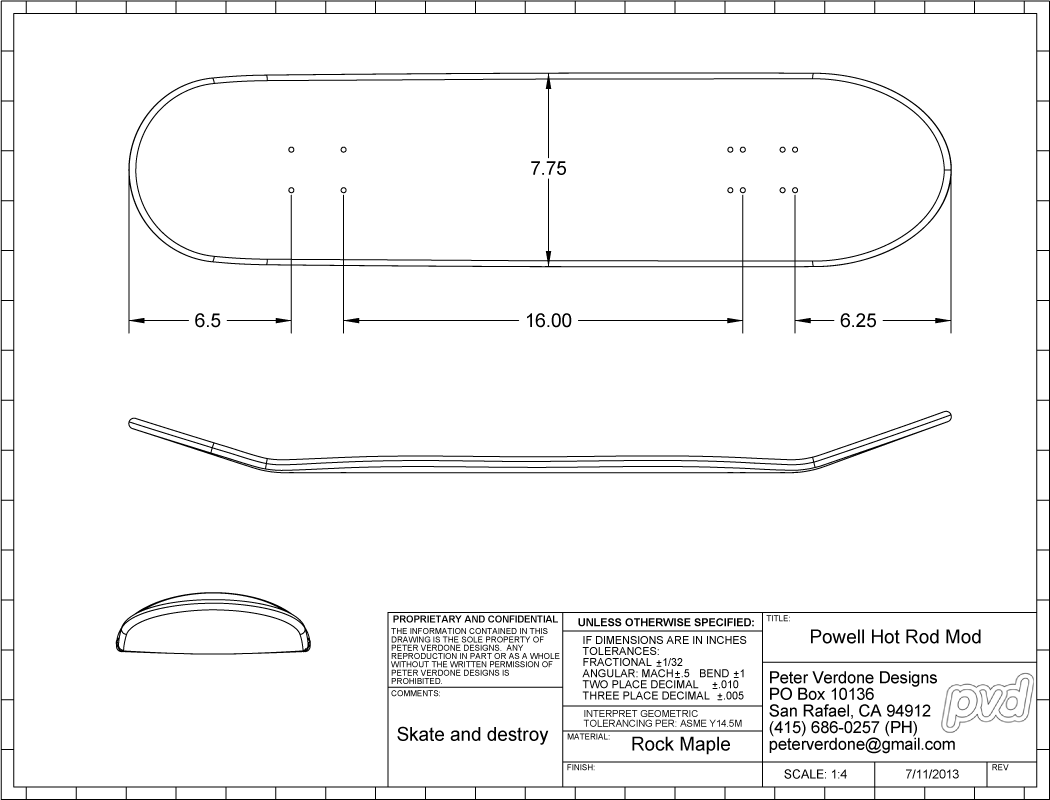
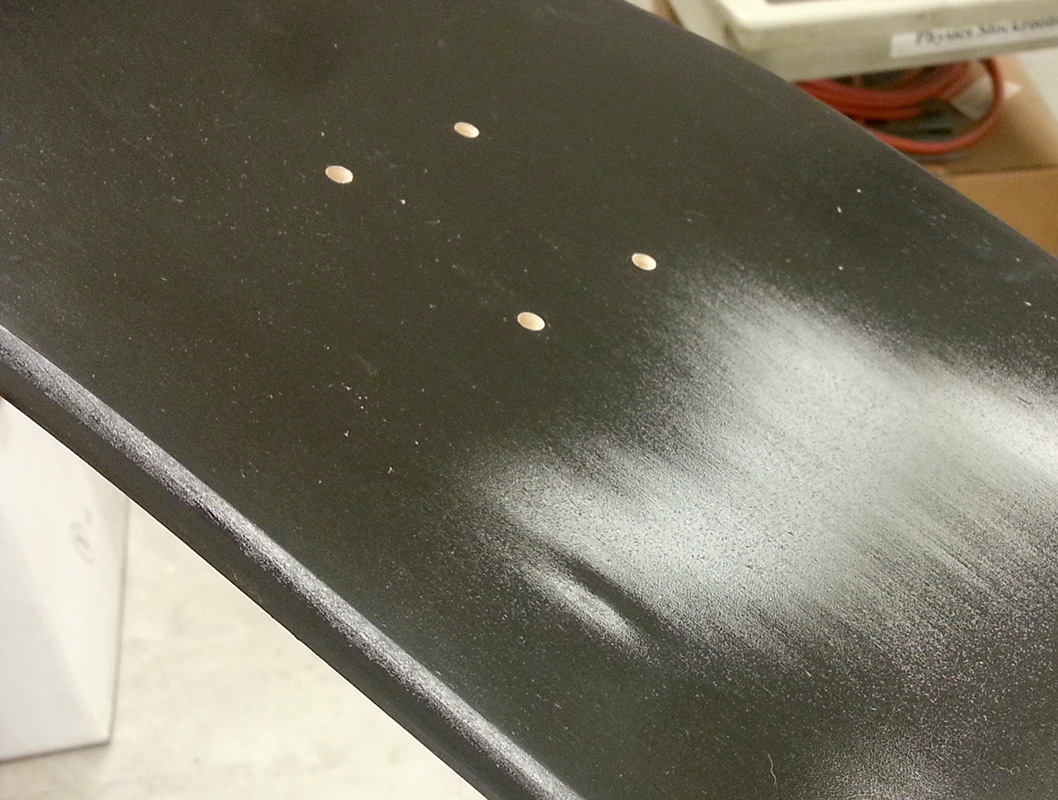
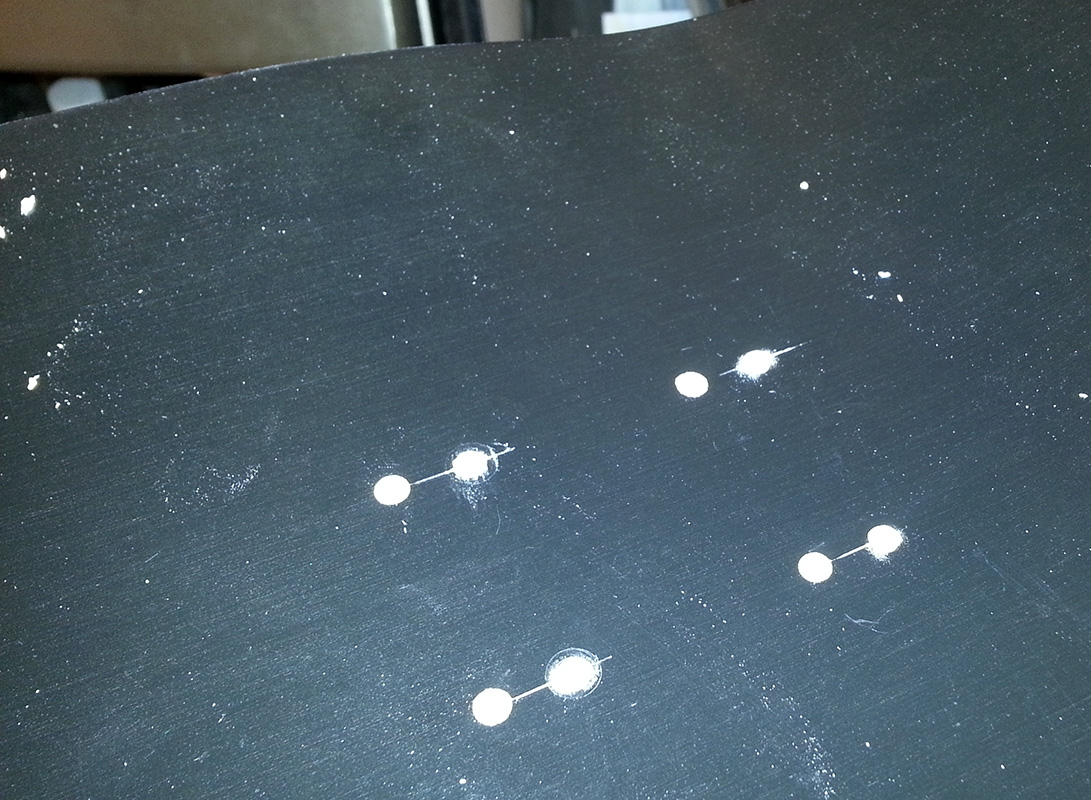
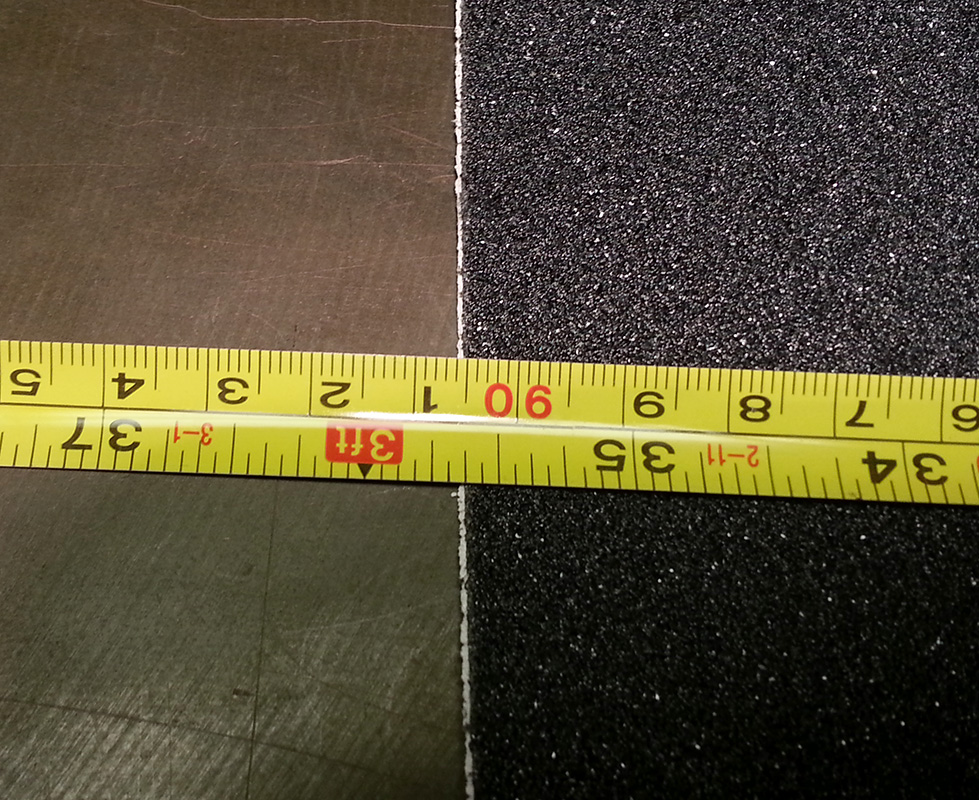
The first step was to move the front truck forward 1/2″. This brought the wheelbase from 15.5″ to 16.0″. Doing this also got the truck in the right position to match the kick of the nose properly. An improvement no matter what and I’m surprised that Powell didn’t do the placement better.
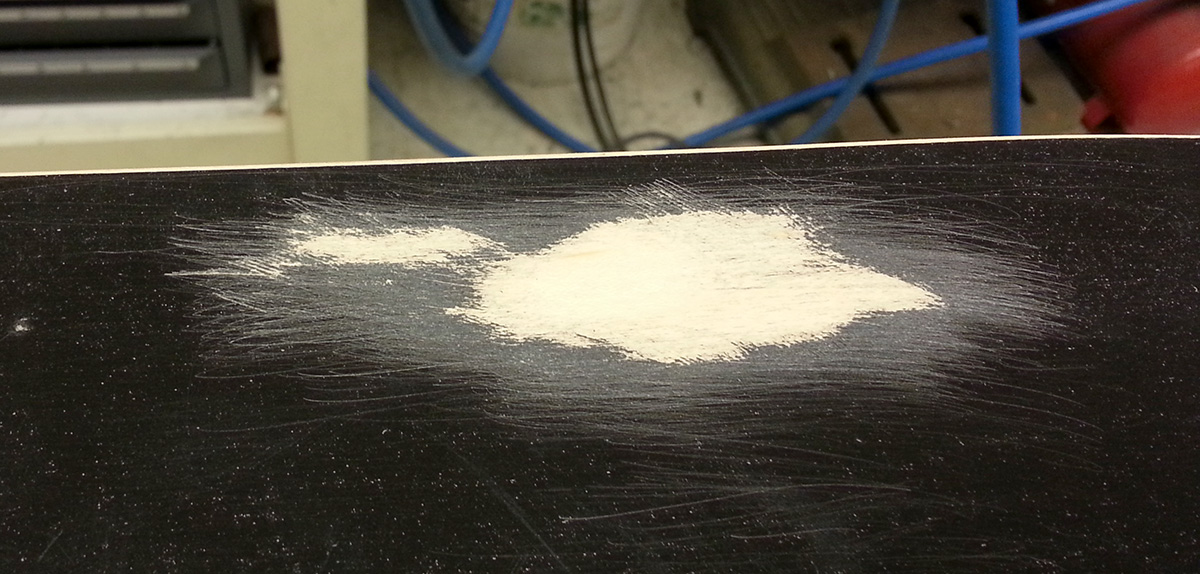
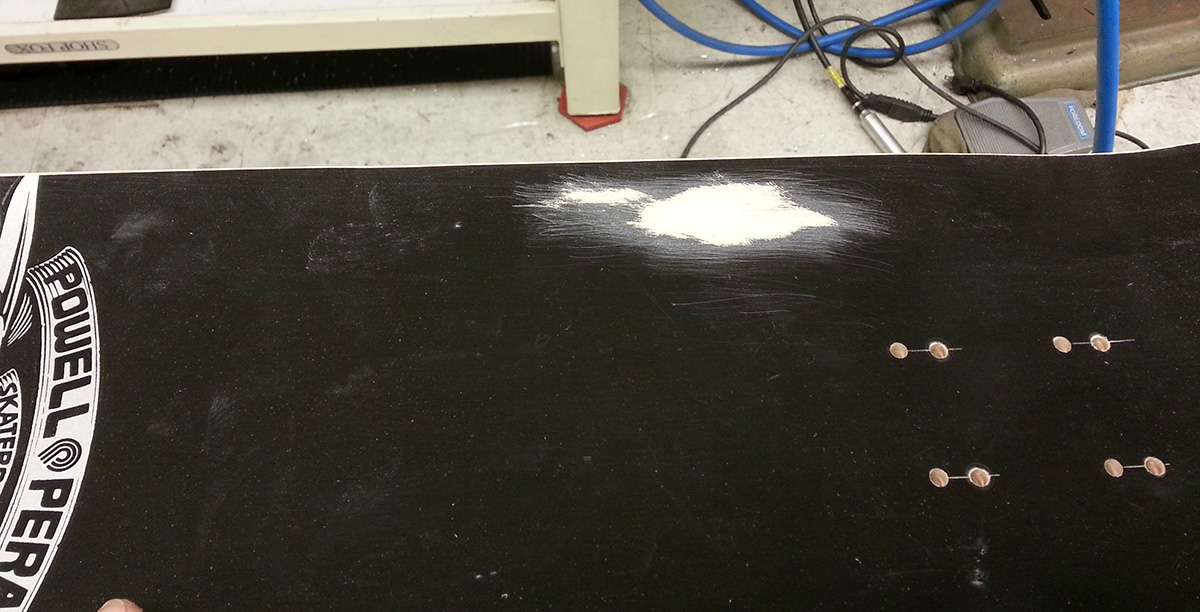
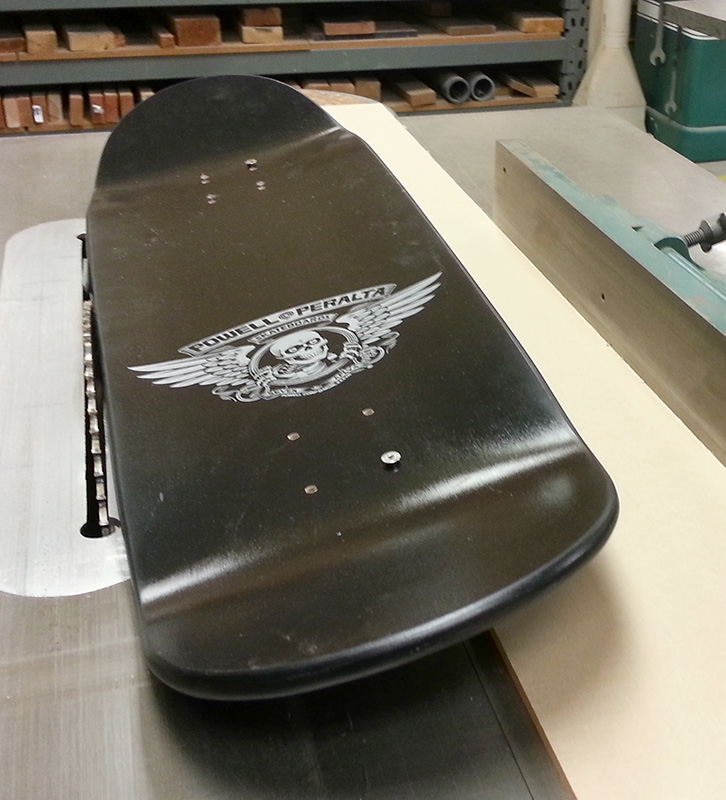
The board had a blister on the top so I needed to file that down. It came out fine. I even threw a little poly over it to protect it.
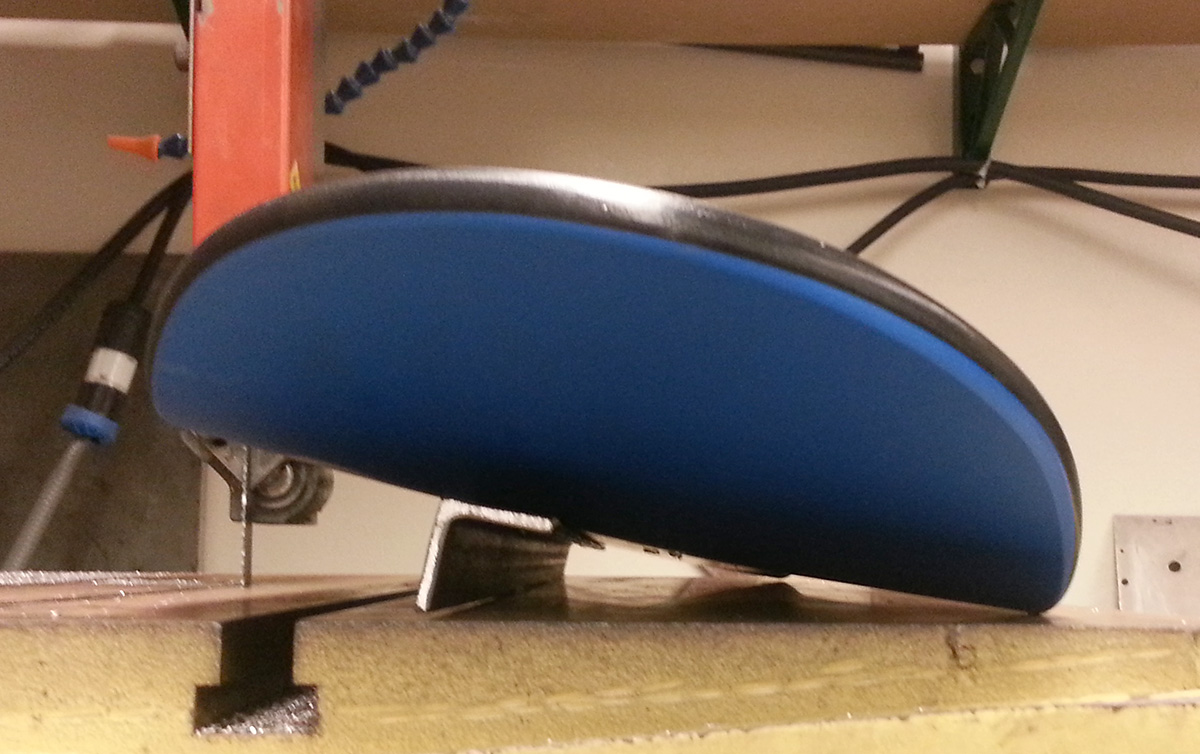
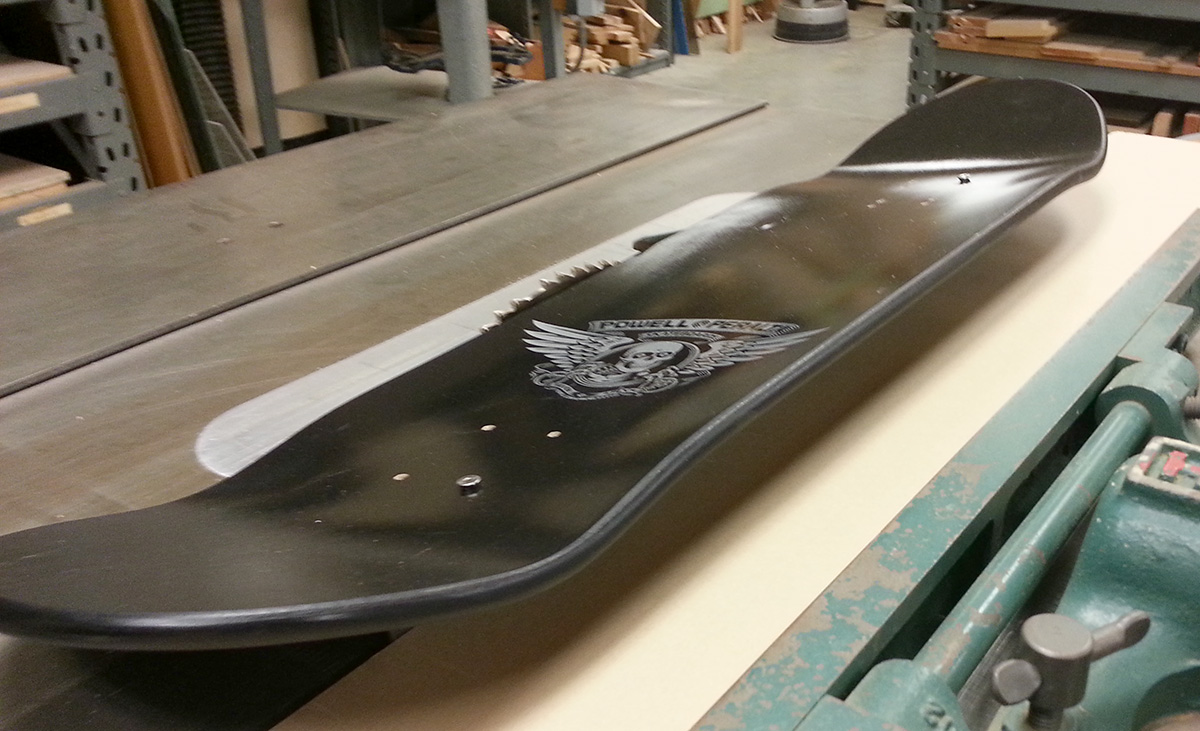
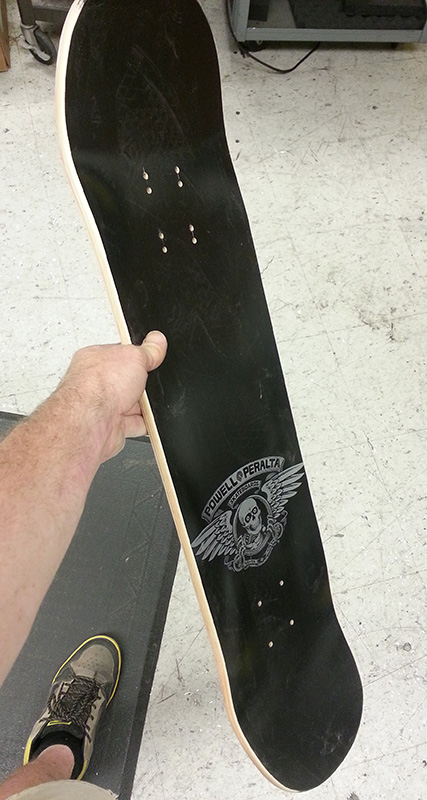
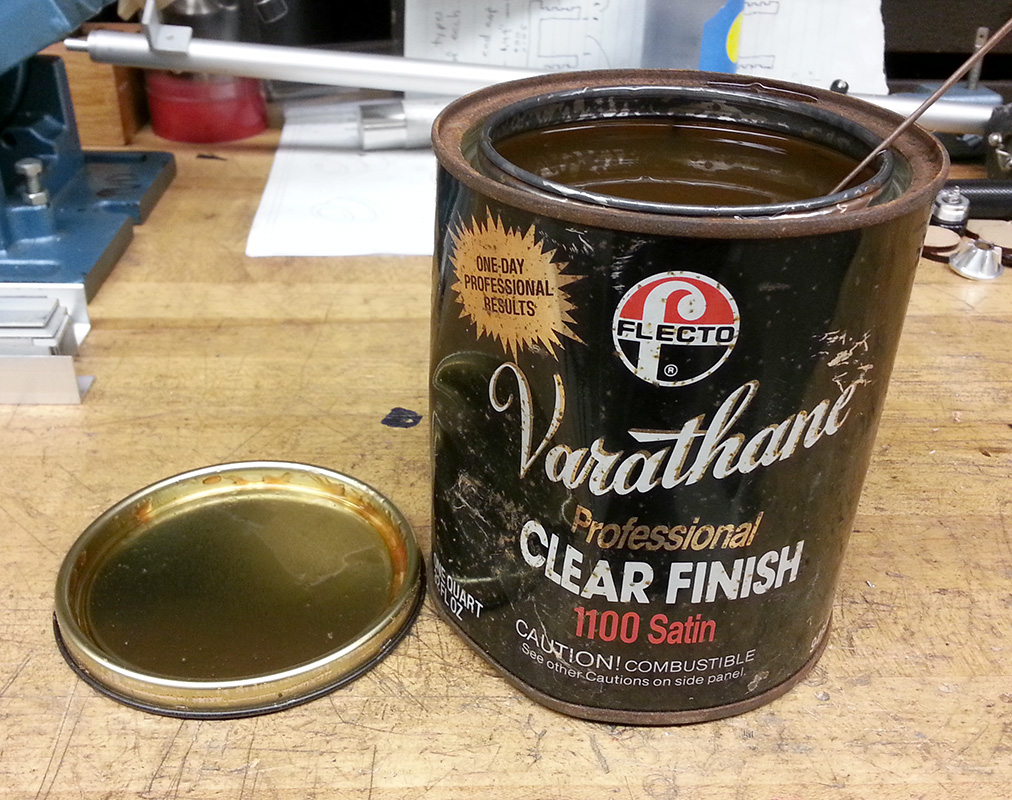
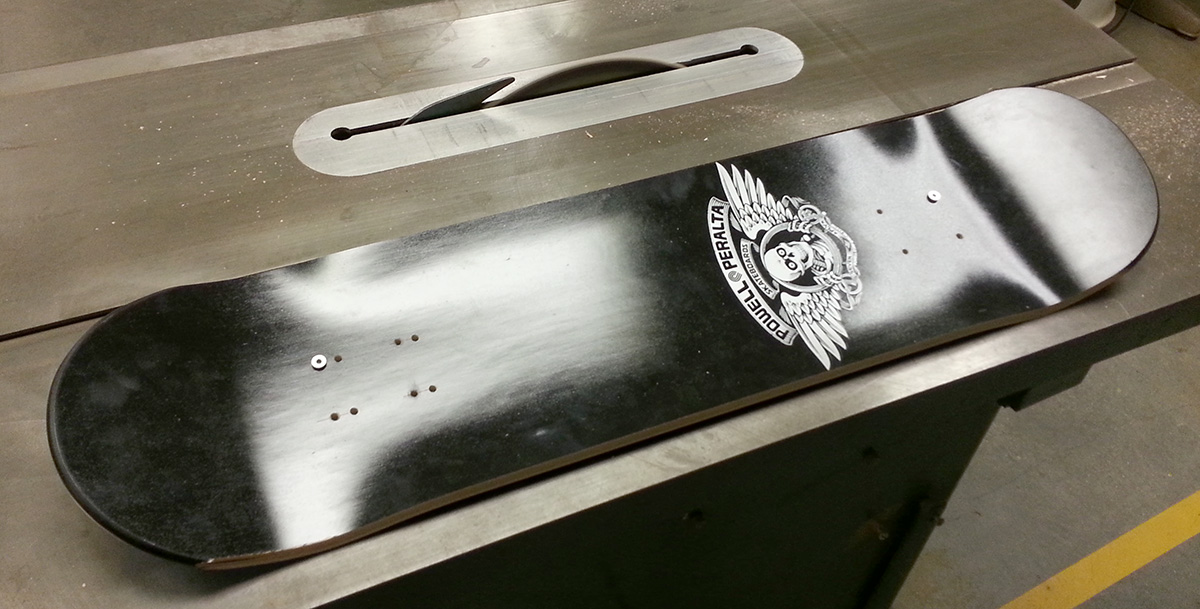
I cut the board to width on a table saw with a constructed reference rail and reshaped the nose and tail transition with a rasp and sandpaper. Cutting the concave deck at a slant makes it a lot easier to finish the edges nice. Fully radiused edges very smooth and applied a coat of finish to protect the exposed wood from moisture. It came out looking like a nice finished retail deck from a shop.
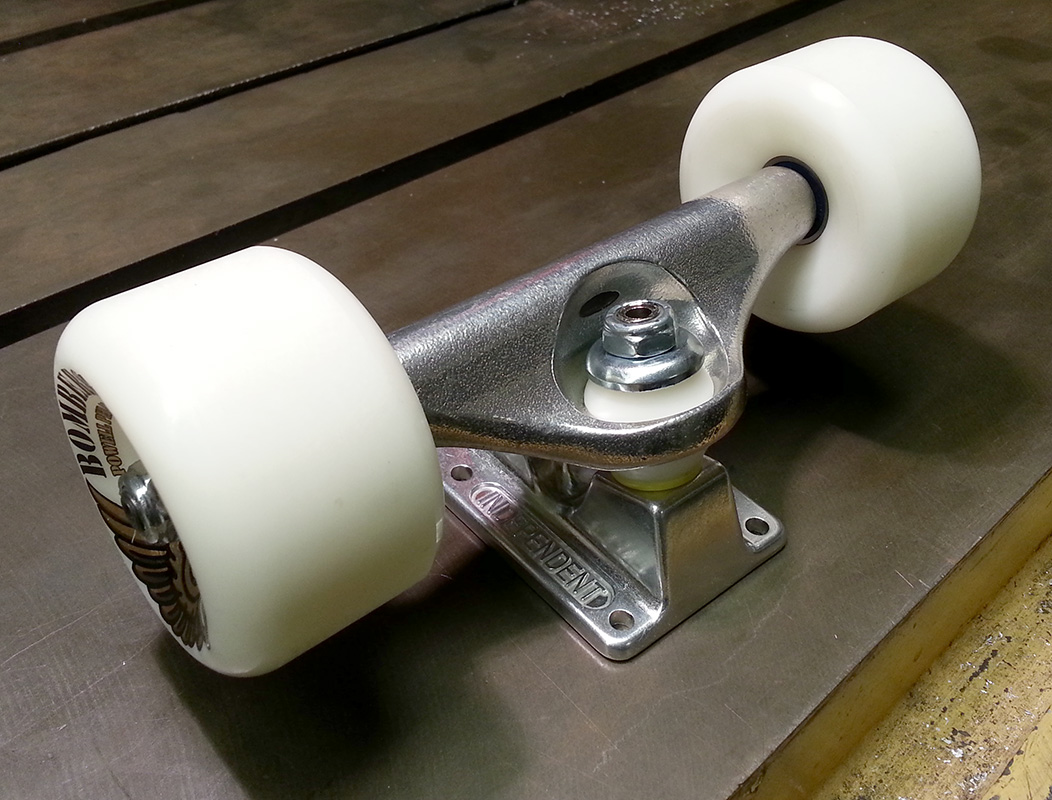
The trucks.
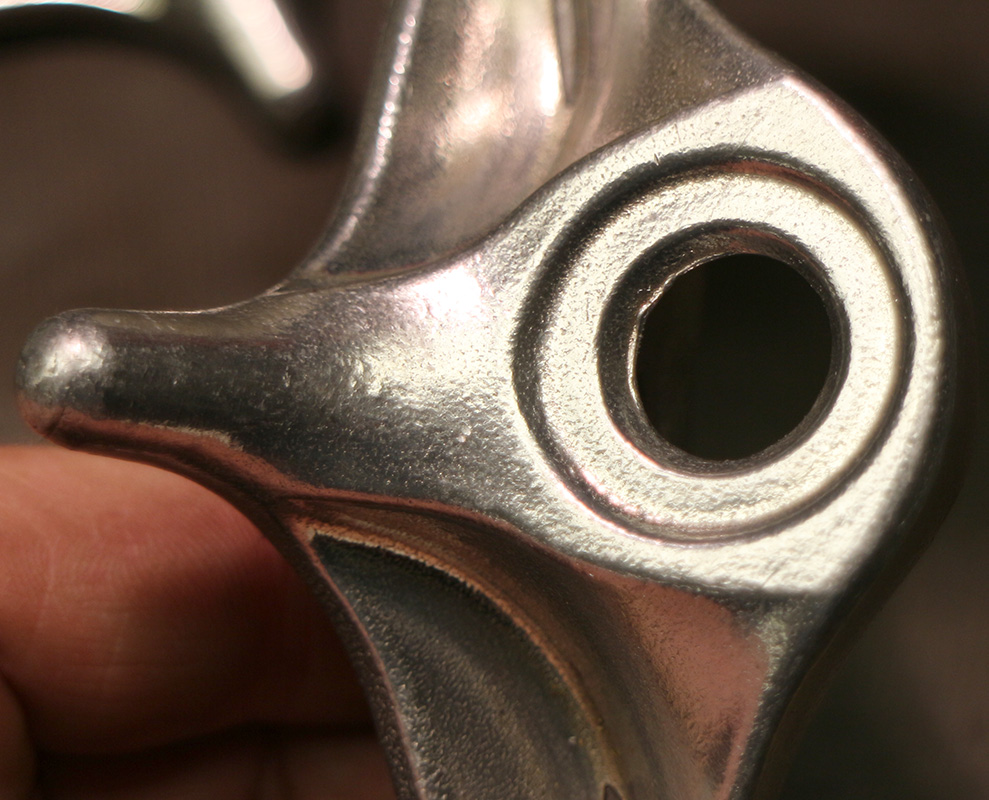
These new Indy Stage 11 trucks are really cool. Slightly taller (53.5mm) than earlier models but with hollow kingpins and axles bringing the weight down considerably. The new forged baseplates are clean and light too.
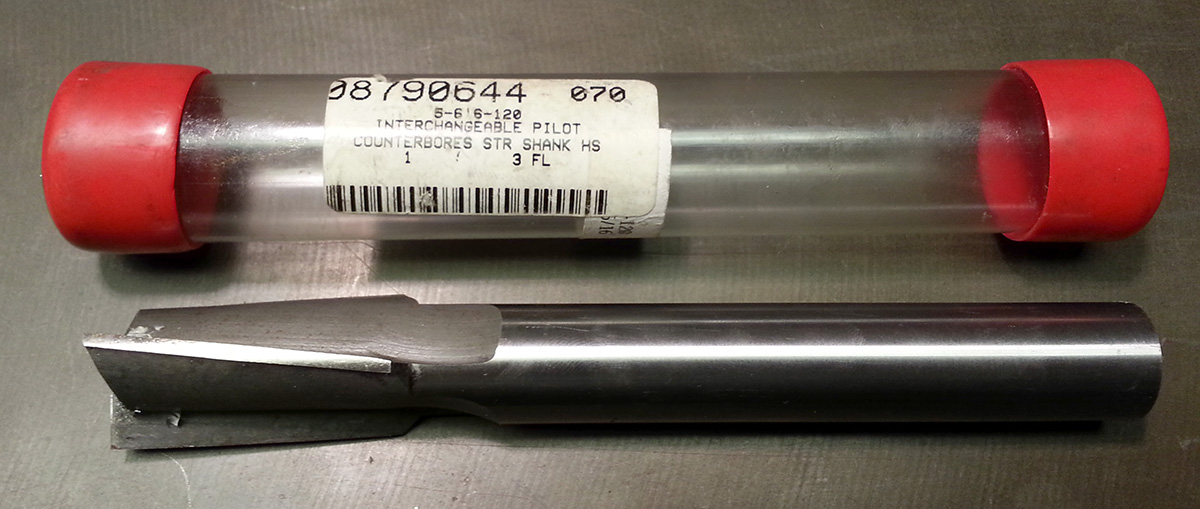
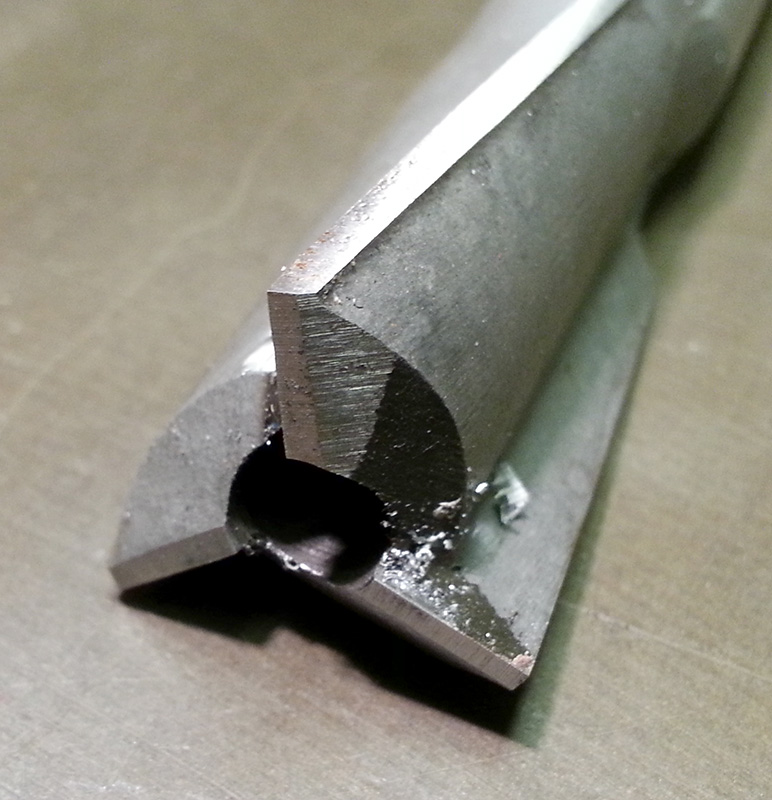
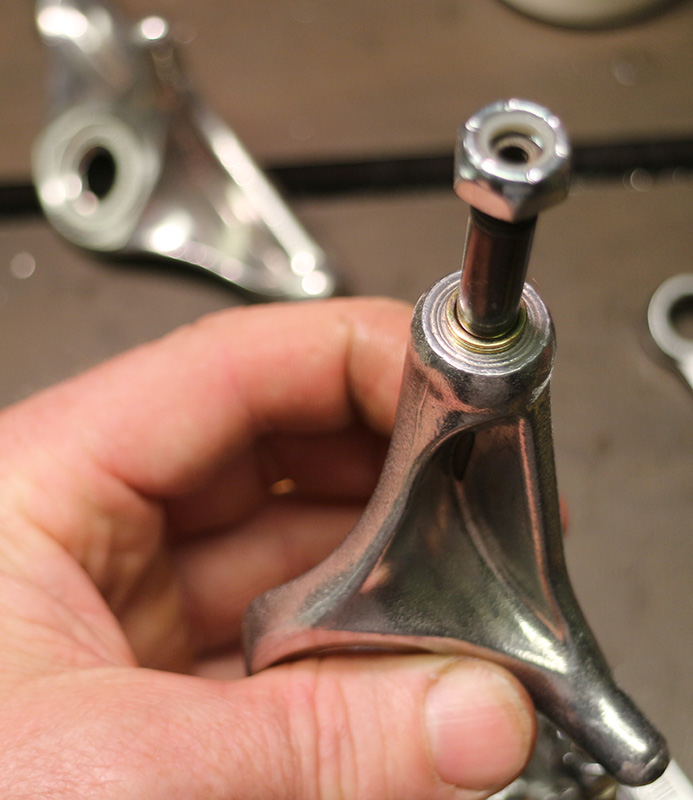
In the past, Indy was really really bad with regard to quality and hanger ends that met the bearings were way off of square. Wheels would bind horribly if tightened much and it took some working to get these ends square. While they are much better now, I like to ensure my own quality level. I devised an easy way of doing this by hand using a counter bore tool.(MSC # 08790644). These days I just spin in up in the shop lathe.
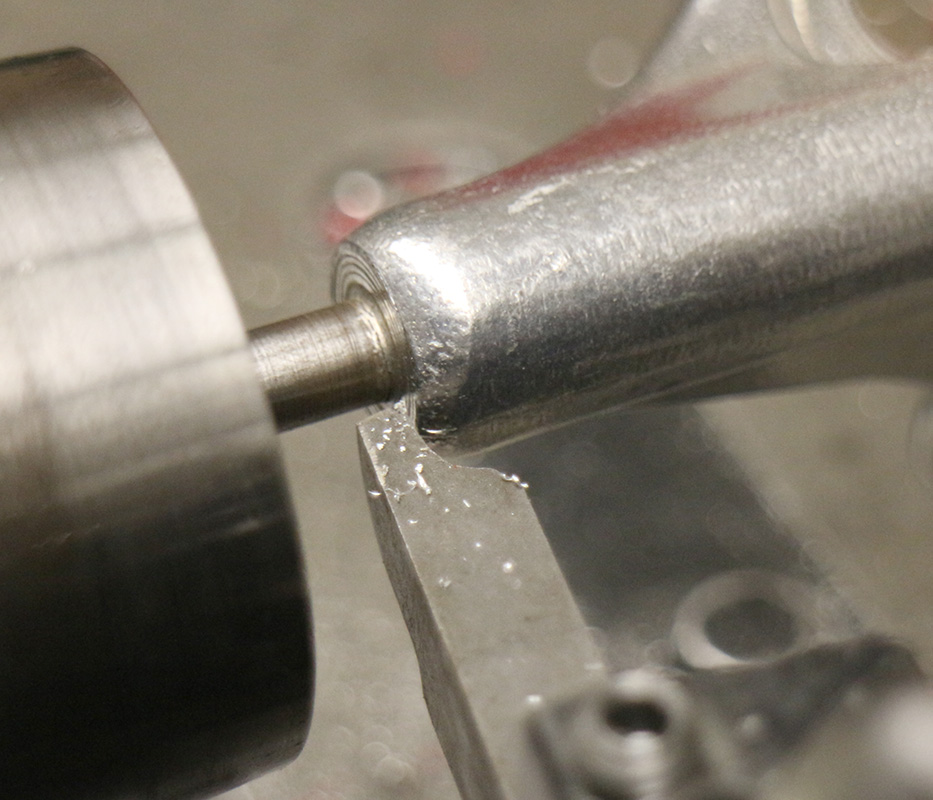
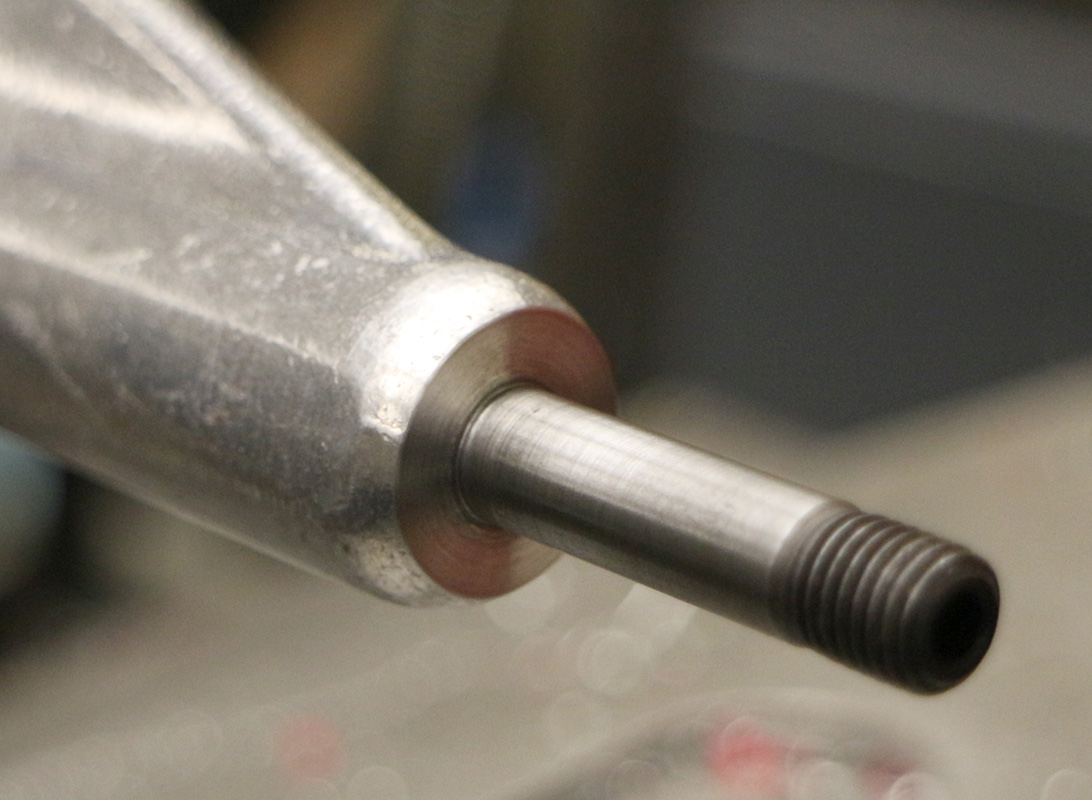
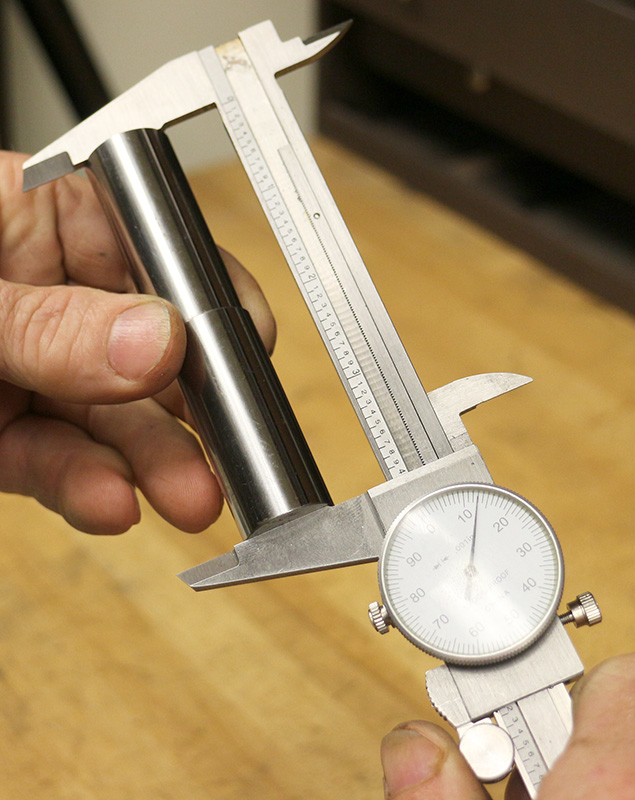
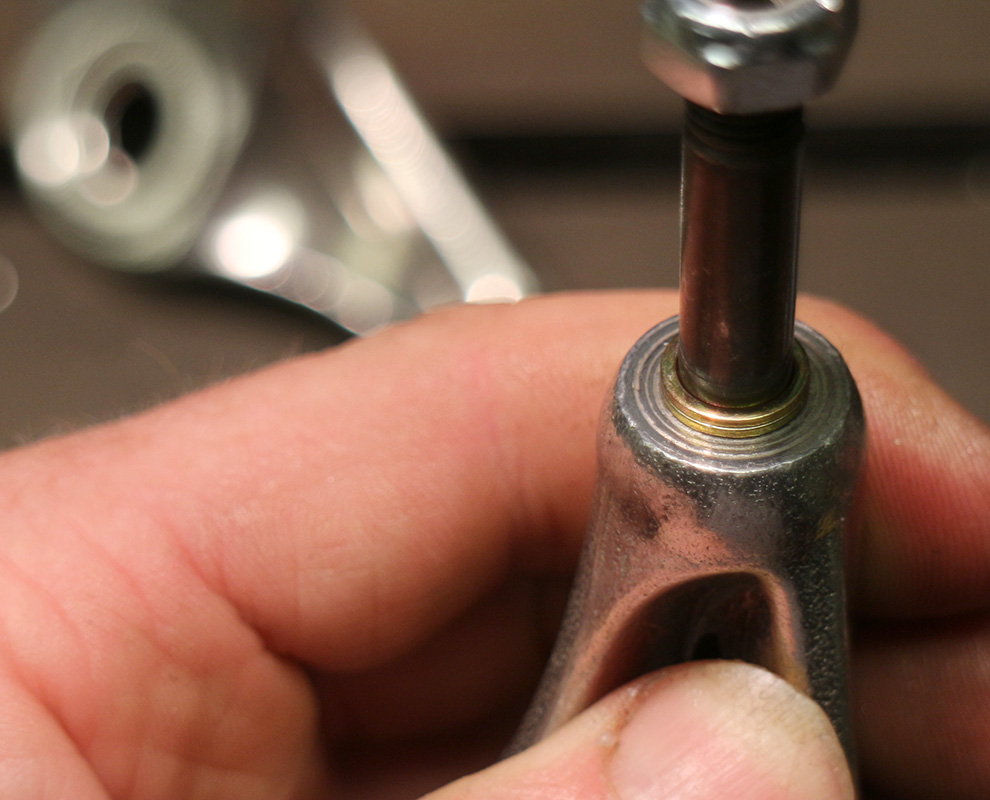
The axle is then cleaned up with scothbrite and a shim is prepared to bring the undersized 5/16″ (0.3105″ diameter) axle up to tru 8mm (0.3150″) for the 608 bearing. This is incredibly important for performance use. 0.0020″ stainless steel shim stock brought me very close to size. Please don’t use brass shim for this application. You need steel.
I use my own axle washers in my setups. These are left over from when I made my racing trucks. They provide a very good seat for the 608 bearing and a bit more labyrinth for sealing. In this case I used two on the inside to get the wheels slightly farther apart. This left just enough thread for the nyloc jam nut to catch.
A small file is also used to clean up the hanger hole where the kingpin goes through. Often, casting slag is left in this area that can shear bushings. Don’t get too heavy handed here. You just want to get rid of slag.
Of course, the stock orange bushings are swapped out for the super nice Bones Hardcore bushings. I like the mediums (yellow). They turn really nice even though I weigh 185lbs. A much lighter rider would go for the softs for good turning. If you’ve never tried the Hardcore’s, you should. They are fantastic.
The Wheels
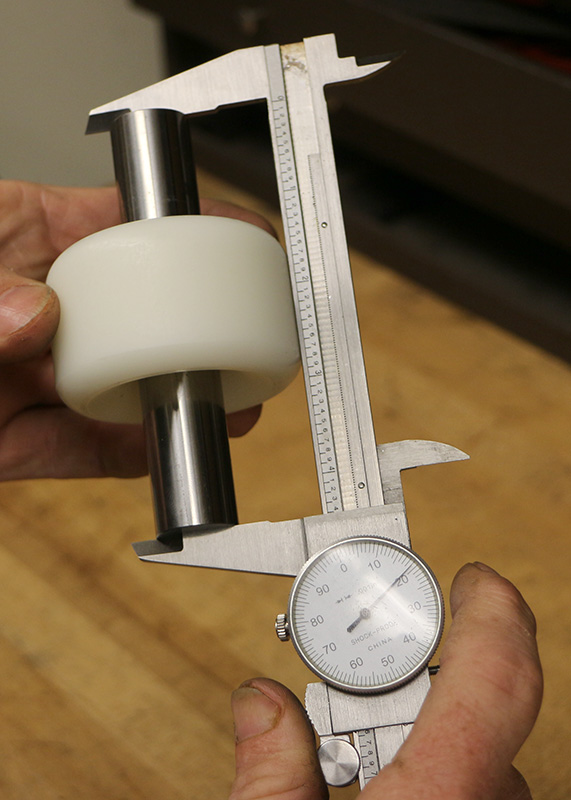
Wheel cores are measured to determine the exact size of the spacer. The spacers that come with the Bones bearings run a little small, very small if using wheels from other companies. 0.398-0.399″. On these wheels I measured spacings of: 0.404″, 0.405″, 0.409″, 0.404″. I decided on a set of 0.405″ spacers. These were cut from stainless steel for durability. Some material could be removed if a super light setup was required.

The Super Swiss 6 bearings are a little lighter than standard 608 bearings, so I saw a little more weight reduction for the better.
Oil should only be used on skate bearings for race day use and contest situations. The problem with oil is that it doesn’t stay in the bearing very long and almost all skaters will not service them properly. Over time, this leads to a complete lack of lubrication. I’m no exception. So, I grease my bearings using special SKF LGLT2 high speed grease. This keeps them rolling for a very very long time. You don’t want to use just any grease here, this is the stuff used in bearings for high speed electric motors and keeps bearings well lubricated over time. I push the grease deep into the bearing where it will stay.
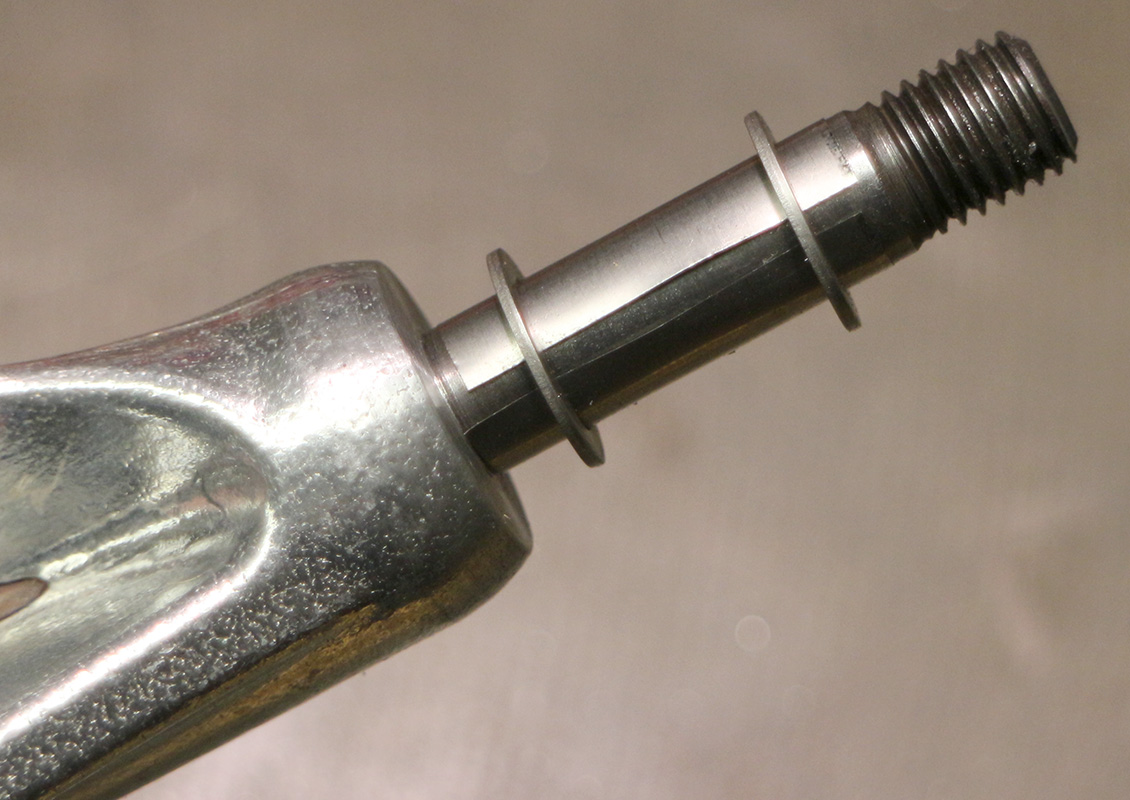
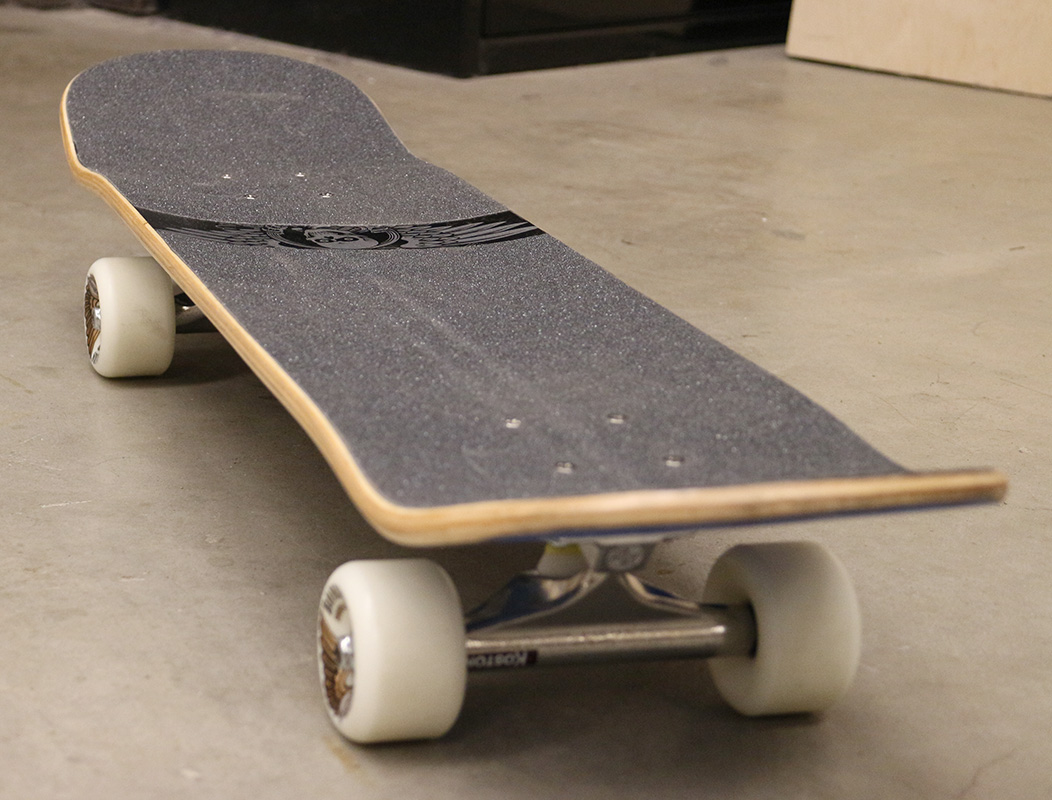
The truck is finally put together. With all the facing, spacers, and special washers, the locknuts are tightend down very firmly holding the wheel assembly very tightly in place. Still, the wheels spin freely and solidly. You should feel some faint play in the wheels due to the internal play in the bearings but no play from the bearings relating to the axle. The board will ride fast. Slides and turns done with this kind of setup are more controllable than anything I’ve ever tried. It’s an amazing difference that few have ever been able to try.
The board gets assembled!
Initially, I used a Sector 9 0.300″ riser under the truck. 64mm wheels need a bit of room to prevent wheelbite. I found that it was a bit much and I went to 0.250″ and then went to 3/16″. It’s pretty good now. Since this isn’t a trick board, I don’t expect to be hitting the limits too hard. Lower is better but wheelbite sucks. A lower board is much easier to push and tap the tail when needed. Tall boards just suck.
Riding impressions
This is a very fast and nible setup. I did a skate commute on it on Thursday (7/12/13). Probably 10 miles total in San Francisco and Marin if full urban situations and bike path and empty road. It was so nice and easy. It’s just what I was looking for! It’s compact size (width) made it nice to carry although it would be nice to bring the weight down more.
Riding Market Street from Castro to the Ferry, I was keeping ahead of the bicycles and just flying down the road. I didn’t expect to be going that fast in traffic and it felt awesome!