
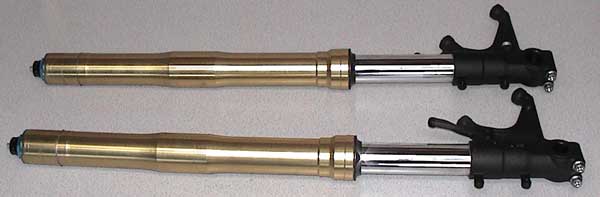
2005 CBR600RR Fork Tuning:
Fork Info:
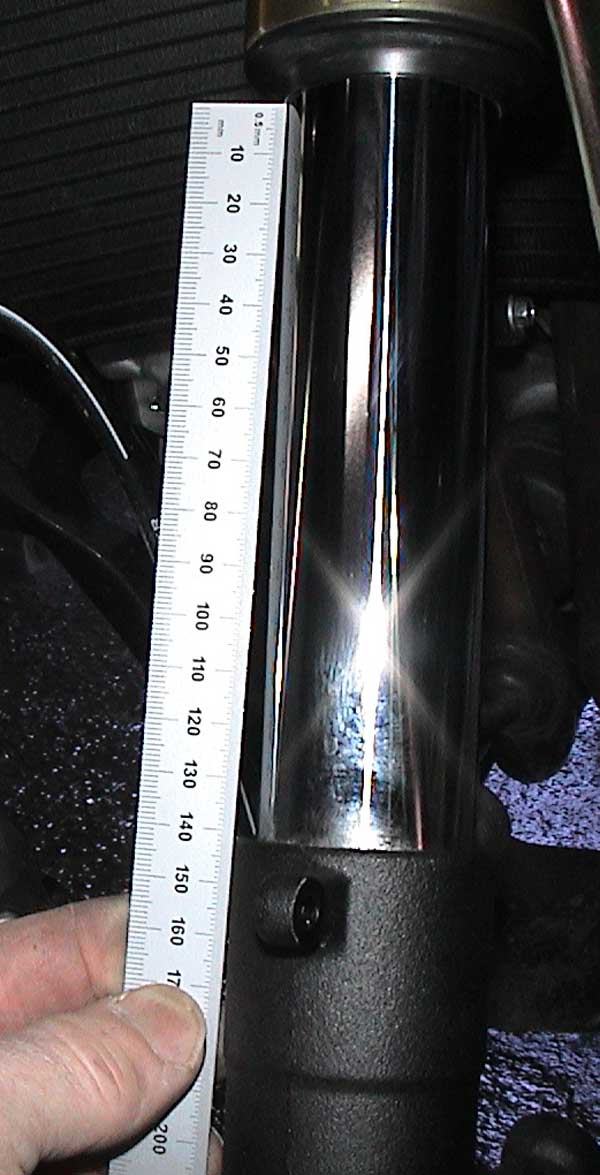
Chrome showing at 0mm external preload (stock): 129mm (670mm OAL)
Chrome showing at 15mm external preload (stock): 139mm (680mm OAL)
Chrome showing at bottom: 21mm
Internal preload (stock): 41mm
Preload spacer (stock): 58mm
Spring lenth (stock): 275mm
Spring pocket: 292mm
Chrome showing at top out spring: 104mm
Compression travel after top out spring: 83mm
Oil lock active: last 15mm
Rod over locknut: 11mm
Oil (stock): Showa SS-55
Oil height (stock): 120mm (362ml)
Two things are very different on these forks (and CBR1000RR forks) compared to almost all other forks on the market. The first is the overly long top out springs (ala Ohlins Superbike forks, I think), and the second is the mid-speed compression valving on the back of the rebound valve. We will look at the spring issue first.
I figured out the top out spring issue with the forks. The math points to the solution. I'm surprised nobody ever measured the parts.
A standard fork will only have the main spring interact with a top out spring in the last 5-10mm of possible extension travel to prevent harsh topping out. This means that about 35mm of fork extension past JRA (Just Riding Along equilibrium) has the same rate as JRA. When the fork extends past JRA equilibrium, the load on the front end is usually reduced, as in hard acceleration, and the bike is pitching very quickly. The quick pitching of the bike about the rear wheel effectively raises the front end faster than the fork can keep the wheel in contact with the ground. From time to time you may notice while spectating, a race bike go by you on a track the front wheel comes off the ground in a power wheelie, but it seems like the front wheel is still extending in the fork after it has left the ground.
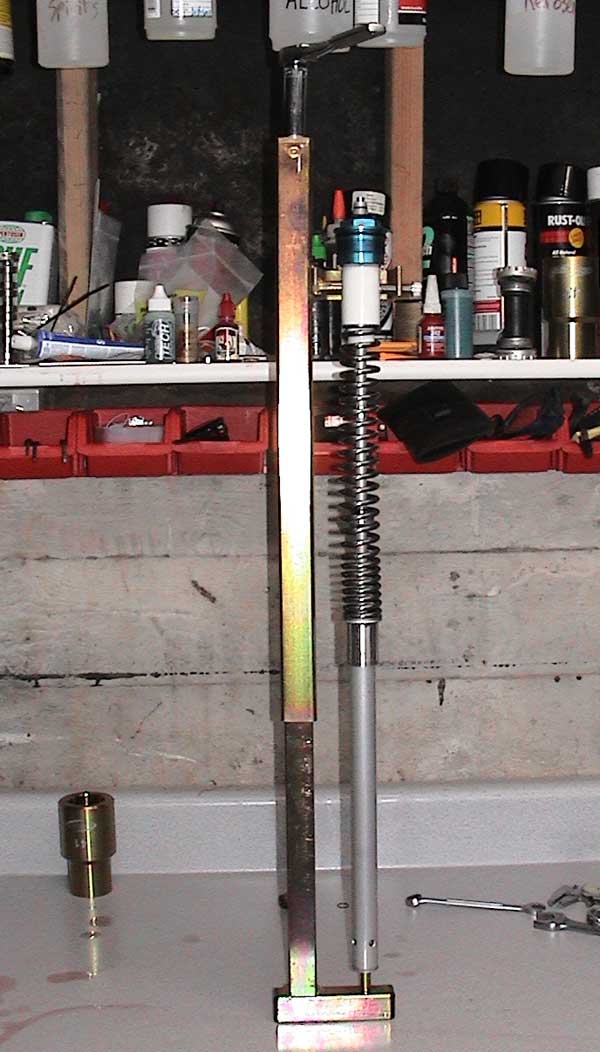
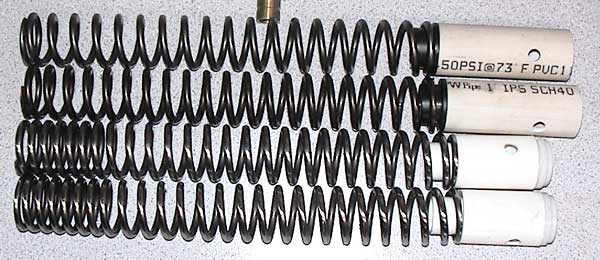
Long top out springs (blue) in the fork compared to short top out springs. This is what happens if the long top out spring is cut in half with the rate doubled (red):
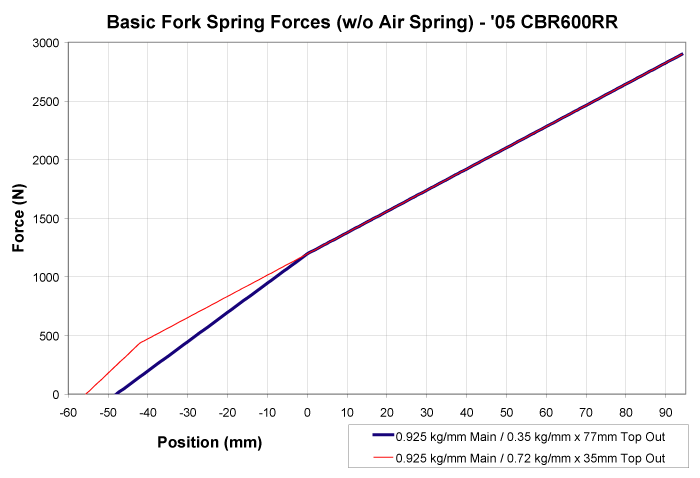
The same long top out spring with a change in main spring rate:

The long top out spring type forks are superior (I have realized) to the standard design. The long top out springs essentially produces an effect opposite that of oil height except at the maximum extentending. With oil height, as the fork compresses due to load change under braking, the effective spring rate is increased. Under acceleration, the bike squats and attempts to rotate about the rear wheel (pitch). This lifts weight off the front end (change in load), and the fork extends from JRA (Just Riding Along) equilibrium. With a long top out spring, as the fork extends passed JRA it enters the top out region (TOR), where the top out spring is interacting with the main spring and the spring rate is the sum of the rates of the main spring and the top out spring. Why do this? For the wheel to track well under power and keep the wheel in contact with the ground as long as possible, the spring rate must increase to reduce the forces pushing the wheel to help it track the ground under acceleration. It is important to understand that we are looking at the force curve, where the force pushing the wheel out is disipating quicker than on a traditional fork.
Why all the problems? After getting my 600RR forks together and tested, I have found that the top out springs are not a problem. WE are the problem, specifically the way we traditionally set up the front end.
With the long top out spring systems, we cannot use sag to correctly set the front end. The fork free length changes considerably as preload and spring rate are changed. By using traditional sag techniques, the front end could end up running within the TOR while in JRA equilibrium. We have to use ride height to set up the front end, so that we know where we are only on the main springs and just about to enter the TOR while in JRA. On my 600RR, the correct ride height would be between 110mm and 115mm of exposed slider and the fork in the stock position in the clamps. Set up this way, the bike steers very close to neutral, and is just below the top out spring at JRA equilibrium.
The 1000RR may have different numbers, but the forks work exactly the same. The word on the streets is that the 1000RR front end works well with 43mm of sag. This according to Jeff Tigert's Aftershocks prepped bike.
Before dismantling the forks, I measured the exposed slider with the wheel removed from the bike. Total exposed slider is 140mm, with the preload adjuster screwed all the way in. What had not occurred to me is that due to the long top out spring, this free length measurement will change to 130mm when the preload is screwed all the way out. The preload adjuster moves a total of 15mm. So the displacement is distributed 2 to 1 (with stock springs) between the top out spring and the main springs. It must always be remembered that the fork will increase in free length as preload or rate is added. So, the free length of the fork must not be used in setting up the front end.
Stock bottoming occurs with 30mm exposed on the slider. The length of stroke that is not affected by the top out spring is 85mm. If we add to that the 30mm bottoming position, we get 115mm. So, anything over 115mm of exposed slider means that the fork is in the TOR and the effective spring rate is being increased.
With an advertised total wheel travel of 120mm, and a top out spring of 77mm, the block height of the top out spring would have to be 42. Instead it is 35. Actual possible stock travel is actually 127mm. So the exposed slider ranges from 30mm to 157mm, from fully bottomed out to fully toped out no matter what main spring or preload configuration. Of this, the TOR is between 115mm and 157mm. The rate of the top out spring is 0.35 kg/mm, 77mm long, straight rate. The stock main springs run very roughly at 0.75 kg/mm, dual rate. So the spring rates confirm the preload measurements.
Since fork preload is used to adjust the steering geometry on straightaways and corner entry, we must now truly forgo thinking in terms of sag and begin thinking in terms of ride height. To set up the front end, we are going to test ride the bike. We will raise or lower the front end using the preload adjusters (or new spacers) so that corner entry feels close to neutral. Then, we will measure the exposed slider, while the rider is sitting prone on the bike and the fork is compressed (JRA). That will be our 'ride height' measurement. In stock form the 15mm preload adjuster is capable of changing the ride height a total of 5mm. Expect to have to change preload spacers a few times before getting it right. I will bet that for this bike, this will produce numbers very close to the 115mm ride height number mentioned earlier. Since this fork has special considerations in the TOR, I would make sure that if you need to rake the steering out more than is available without going into TOR, do it with fork position in the clamps.
Most performance minded riders, like myself, will choose to toss the stock progressive rate springs in favor of straight rate springs. I am going to begin with one 0.90 kg/mm and one 0.95 kg/mm Ohlins fork spring. Changing the preload spacer poses a problem. The current Honda spacer design makes it difficult to replace. To use 1" IPS Schedule 40 PVC in the place of the stock spacer, an adapter ring for each end should be made. You could probably make the fork work without one, but I highly recommend doing it right.
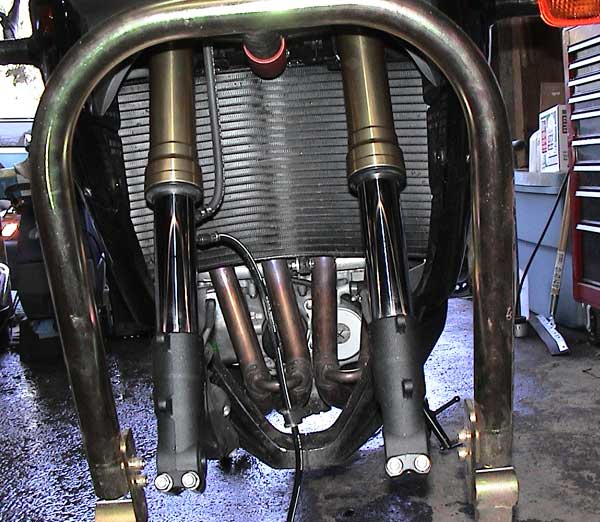
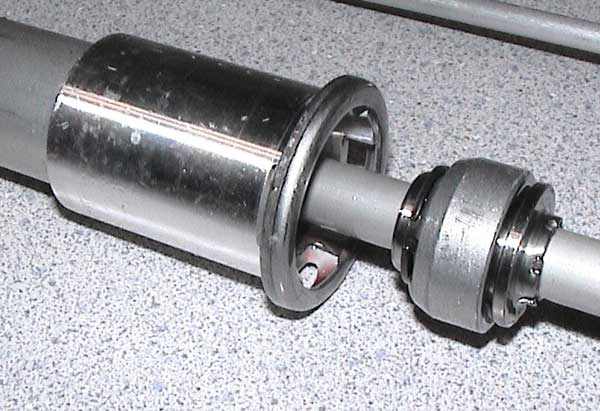
Forks off the ground.
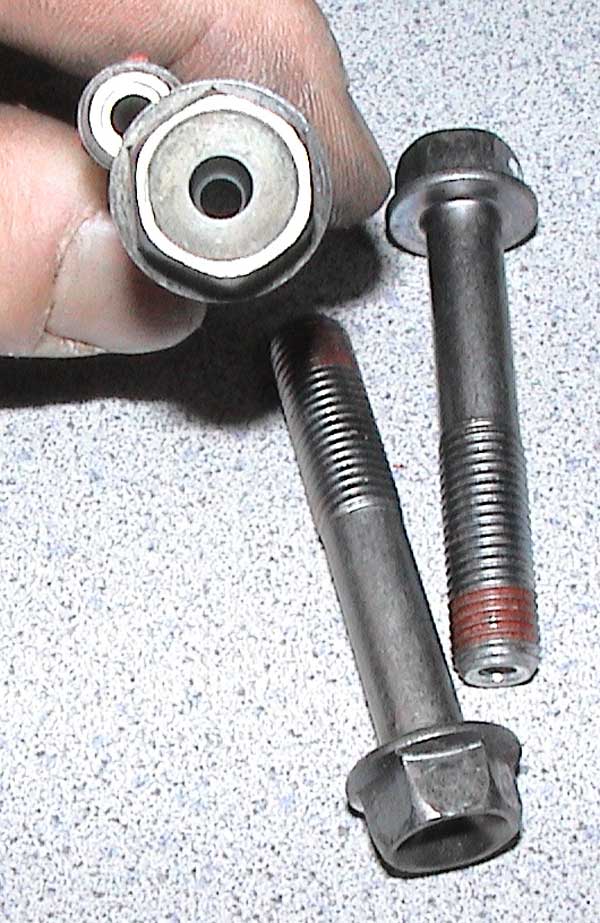
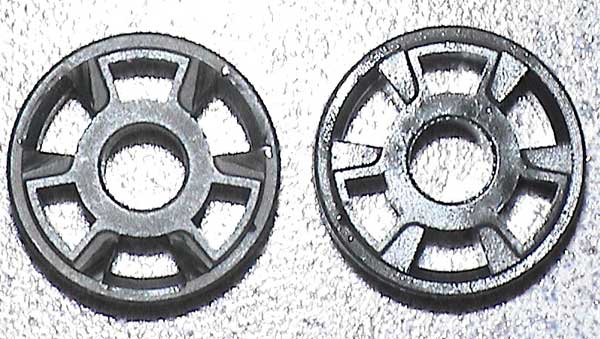
The radial brake caliper bolts were drilled out. Super trick. Very robust and light.
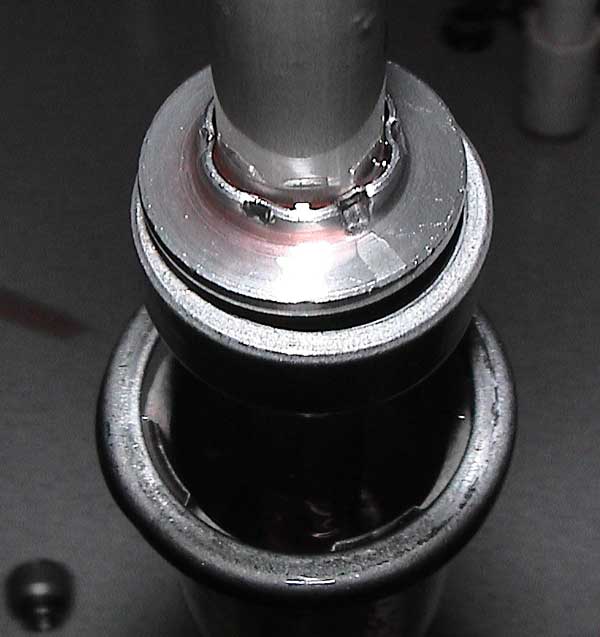
Sex! That's all I can say. BAM!
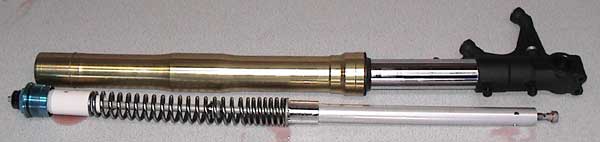
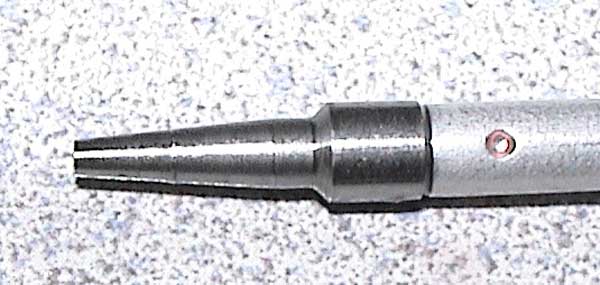
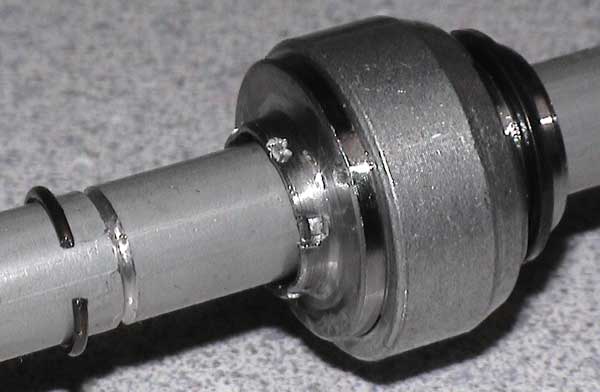
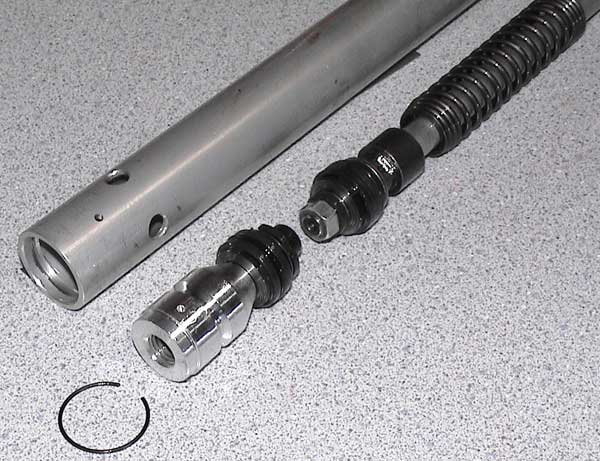
Most people have no idea why these are called cartridge forks. Undo the top cap and bottom bolt and all of the spring and damping parts come out as a cartridge. It is actually easier to dismantle the cartridge inside the fork, but I wanted specific measurements that I would not have been able to get otherwise.

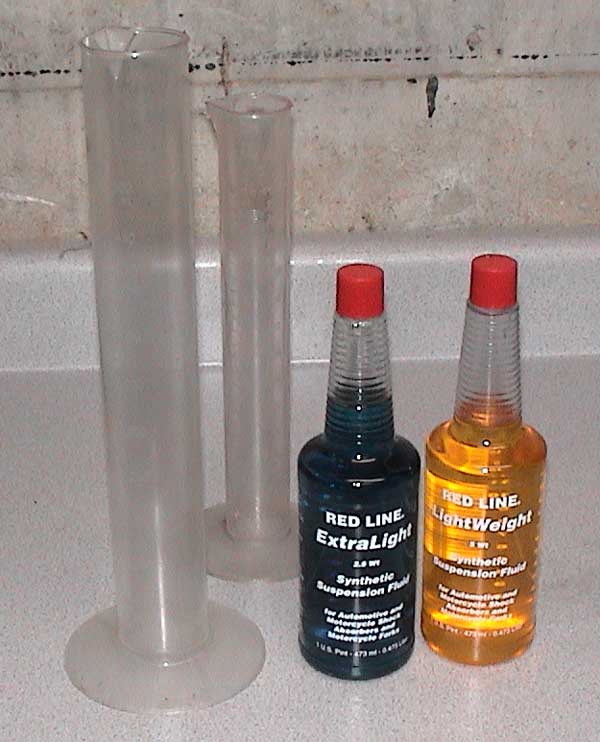
This is the oil that I was able to scavenge. These forks come stock with 362ml in them for an oil height of 120mm. This is the new Pro Honda Suspension Fluid SS-55. The oil was light red in color. This picture makes it look filthy, but it was very clean.
![]()
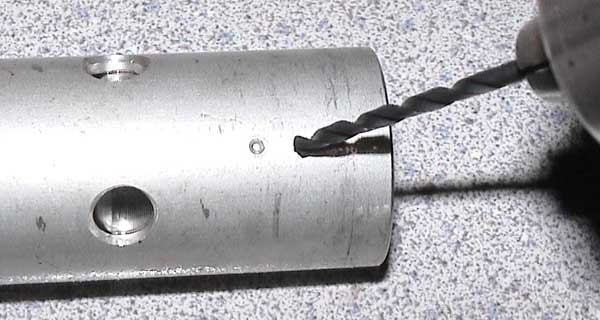
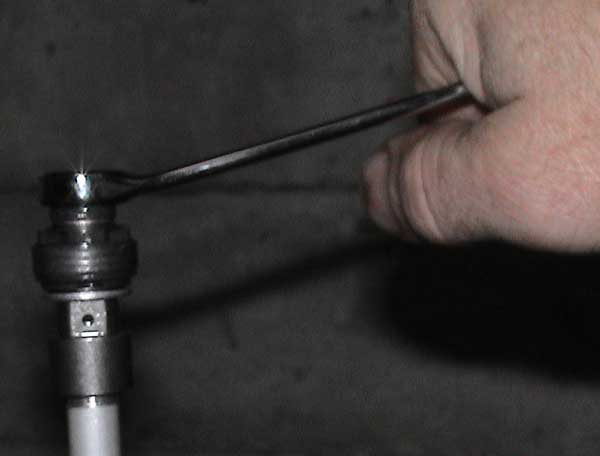
The preload spacer holes were the wrong size for my tool, so I had to drill it out. I will replace this part anyway.
The spring gets compressed so that you can undo the nuts under the cap.
These are the main cartridge parts. The main spring measures 36mm OD x 26mm ID x 274mm. It has a dual rate wind with an initial rate of 0.75 kg/mm. The main spring has 14mm of installed preload when in the cartridge.
This is the slow speed rebound needle. It's pretty nice.
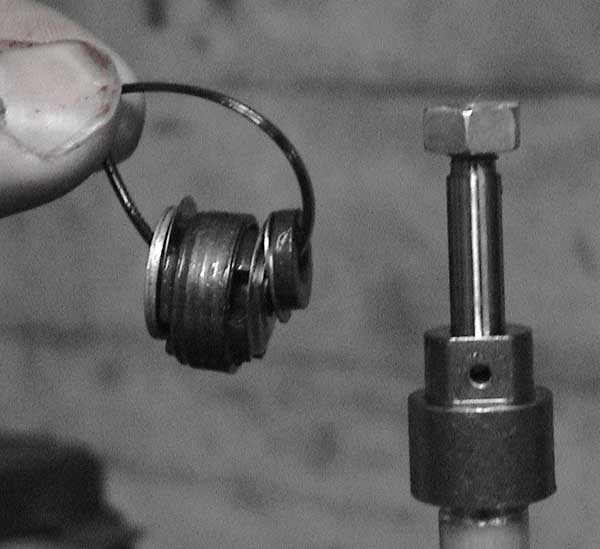
The dreaded oil lock. Racers and street riders that understand suspension must remove this. It slows down the fork speed dramatically in the last 20mm of travel effectively shutting the fork off. If you remove this, you do run the risk of damaging your fork by bottoming the fork if it is not tuned correctly for where you are riding. This feature is very important for off road bike performance, but is mearly a saftey feature on street bikes.
The oil lock is fixed by peaning over a ring.
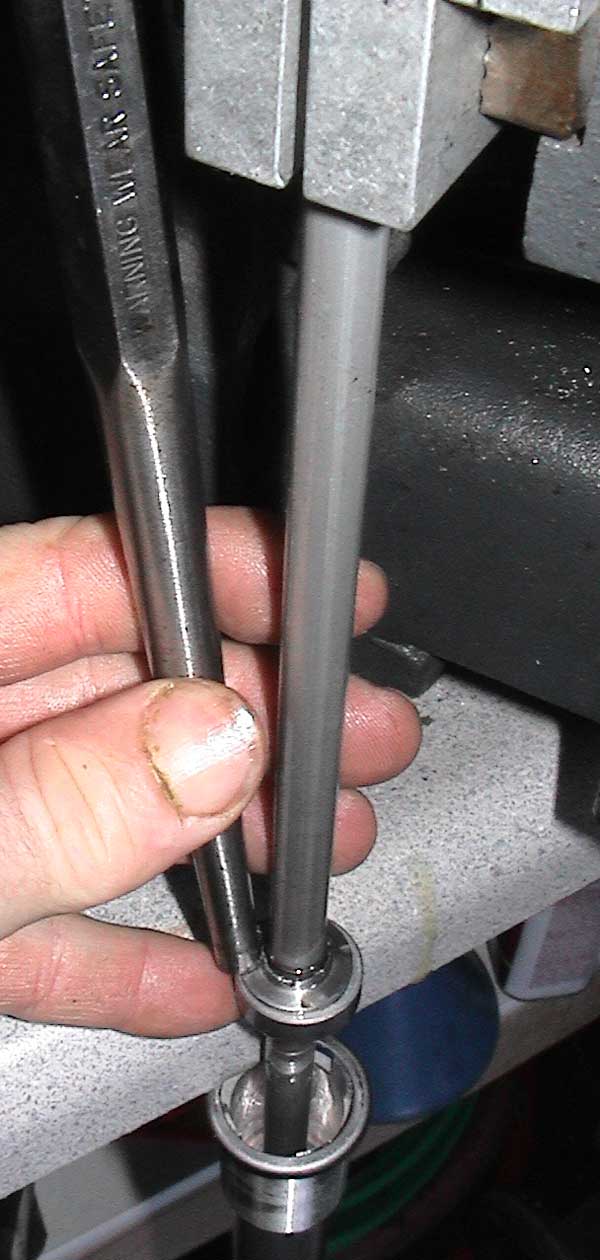
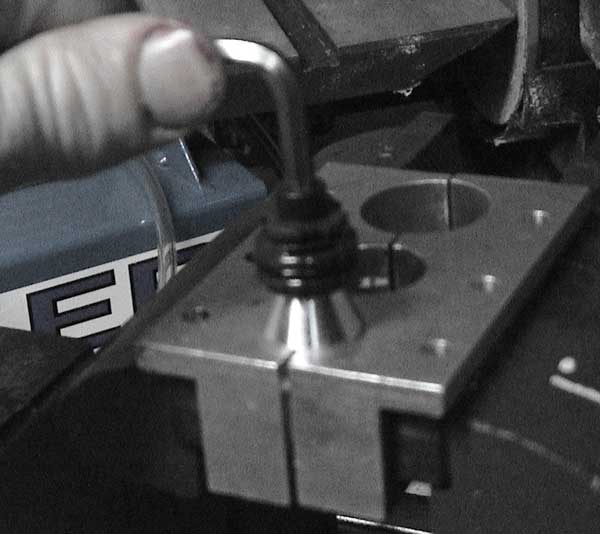
Hold the top of the damper rod in a vise and ram this bitch down.
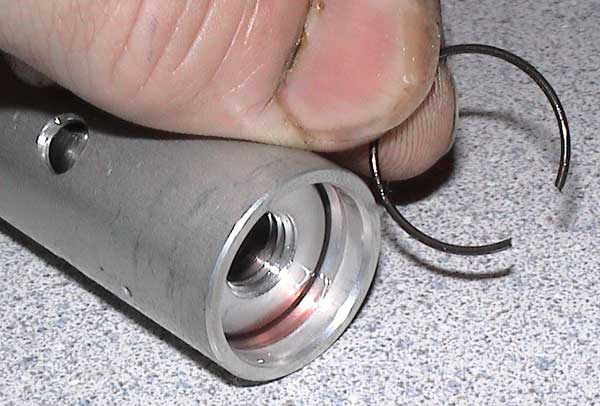
Release the ring from the grove and slide all of this off the top of the rod.
The compression valve lug is peaned in place. Drill it out with a small drill.

Use the bottom bolt to tap the comp lug into the pressure tube a few millimeters.
You can now get the stop ring out. Make sure that no burr is left behind. Ram the comp lug out with the rebound valve.
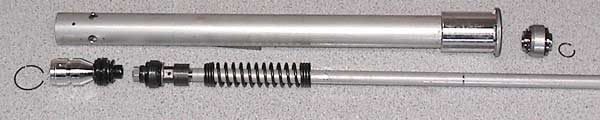
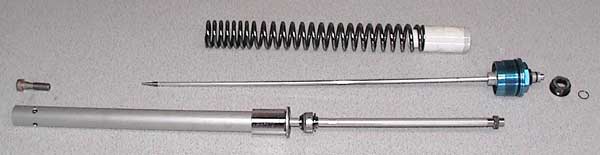
Damping parts.

Look, a 77mm top out spring!! Three stage compression valving, slow, medium, high.
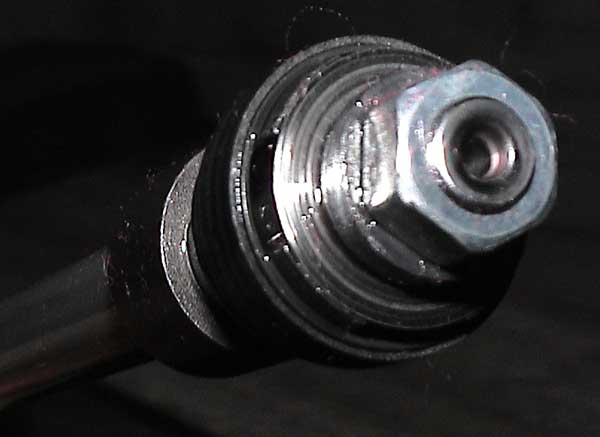
An allen bolt holds the main compression stack together.
The end of the damping rod is peaned over the nut. This has to be sanded or filed down to get the nut off. Do not try to remove the nut without doing this. You may destroy the rod end.
The easy way.
Hold the rod firmly in the vise and undo the nut. Make very sure not to scar the damping rod in any way.
The stack. Rebound and mid-speed compression.
This is what we were after. Now we can start tuning!

A week before getting the new bike, my flexible shaft crapped out on me. It was a piece of junk that I got for free. Oh well. I just got a really nice new one in the mail today. I love cool tools.
High speed compression valve. Refill valve side. Stock is on the right. Modified on the left I am not very concerned about quantity of flow at this point, but I am very concerned about quality of flow. Entry losses (constriction) increase with speed. I want consistency. Notice the reshaping at the opening. It is the same concept as velocity stacks for intake systems. The valve face gets lapped for a precision seal.
Same thing on the compression stack side. Just making flow more stable and less turbulent. It has been lapped, although it is very hard to see in this picture. The rebound valve only required very small details to it. I didn't bother taking pictures of it.
These are the stock shim stacks:
High Speed Compression |
Mid-Speed Compression |
High Speed Rebound |
| 3 port, open flow | 3 port, open flow | HMAS, 4 port 1.6mm |
| 17 x 0.11 | 17 x 0.11 | 17 x 0.11 |
| 17 x 0.11 | 16 x 0.11 | 16 x 0.11 |
| 17 x 0.11 | 15 x 0.11 | 15 x 0.11 |
| 16 x 0.16 | 8 x 0.22 | 14 x 0.11 |
| 15 x 0.16 | 12 x 0.22 | 14 x 0.11 |
| 14 x .016 | 13 x 0.11 | |
| 13 x 0.16 | 13 x 0.11 | |
| 8.5 x 0.22 | 8 x 0.22 | |
| 11.5 x 0.41 | 11.5 x 0.41 | |
| 12 x 0.22 | ||
| 12 x 0.22 |
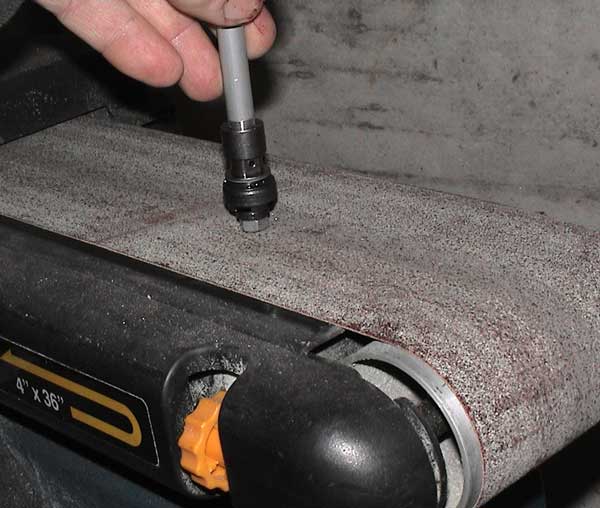
I was going to polish the damper rod, but as I tested some areas, it seemed to be clear or light gray anodized. This is a good thing and would be a shame to remove. So I just lightly sanded the rod with 600 grit paper.
The forks are stock with an oil height of 120 mm with an oil in the ISO 36 range (Showa SS-55). I am still working on exactly what mix of oil and height that I need to run in the forks, so these details may change. My latest attempt was 100% Red Line Medium (red), ISO 30.4 at the stock oil height plus 50 ml. The forks damp very well now. I spent a lot of time trying to use a lighter oil, but the thicker oil just works better in this fork. I may thicken the oil up a bit to get more rebound adjustability and hopefully bring the oil height down.
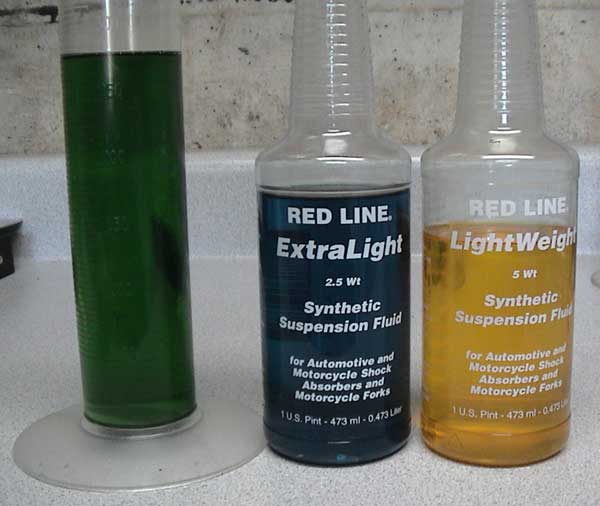
Look. Blue and yellow make green. Pretty colors!!! (note: I did use equal portions for this mix. I just had some ExtraLight left over in another bottle that I needed to use up)
Since stock preload spacer is a real pain to modify and since it will probably take a minimum of 3 tries before getting the spacer length right, I'm just going to scrap it and make an nice adapter so that I can use 1" IPS Schedule 40 PVC. I will also make an adapter for the top of the spacer. This centers the spring at the top and keeps things in line better when dismantling the cartridge.
The spacer length that I first used was actually pretty darn close. 75mm rather than stock 58mm. With the adjusters screwed all the way in, the bike handled fairly well, and had a ride height of 110mm. Next time I'm inside the fork, I will replace it with an 92mm spacer. That should put me in the middle of the adjustment range with a 115mm ride height, just at the point where the top out spring starts hitting.
![]()
The new fork springs that I will be putting in these forks are about 3 times stiffer than the top out spring. If I am in the top out spring, then the 15mm that the preload adjuster moves, I will get about 3.75mm of ride height range for a given spacer. This is going to be a serious pain in the ass to get right.
The Ohlins Superbike springs that I got from Dan Kyle were perfect. I got exactly what I asked for, a mix of springs that would rate at 0.93 kg/mm. You hit the nail on the head, Dan! The stock springs reduce the wind diameter at the last wind. Ohlins exact replacement springs will do this just like stock. I hate springs with odd winds. Dan sent me springs without this feature from superbike type forks. This was ok since I was replacing the spacer that fits that odd wind. If you own a Honda, Dan Kyle is the first guy you need to call. He knows what works, and he only carries the good stuff.
Upon assembly, I found that the fork would now bottom at 22mm of slider showing. You make life way easier on yourself my putting a zip tie on the fork leg. You can see how much travel you use in a given situation.

This site has not been
updated since Fall 2006.
Since then, all new projects
have been place on my wiki
site.
If you like what you see on
this site, Make sure to go
to the wiki for even better
projects.