I’ve got a real problem with hipsters. They completely lack authenticity but they are also compelled to blaze this into everyone’s faces and with such arrogance hidden beneath faux irony. Everything they do seems to be for show and they suck the life out of anything that was once cool. Then, when the corpse of the fashion is cold and empty, they then move on to a new victim to destroy. That is why it pisses me off that they now ride bicycles. I love bikes and I hate them, those polluted fucking souls.
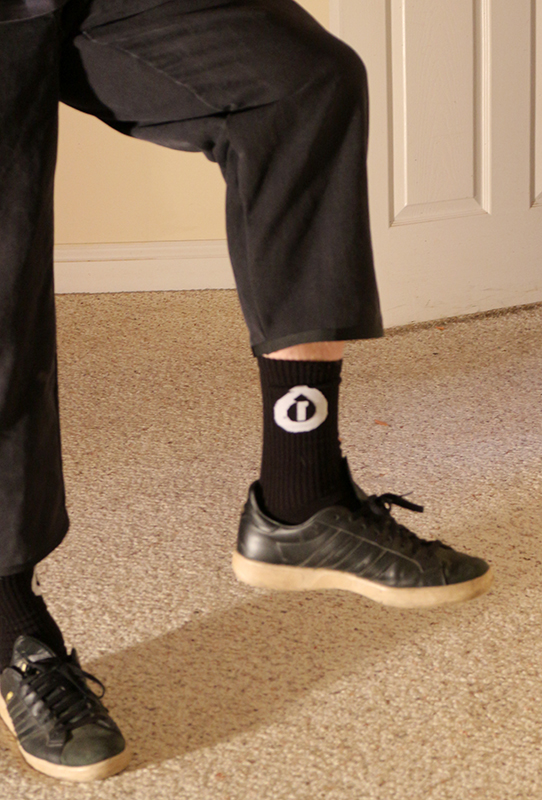
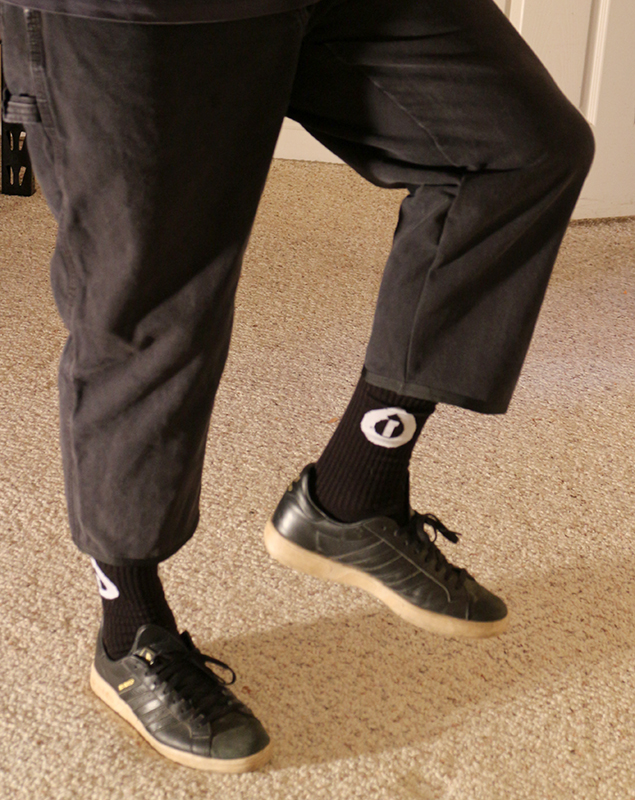
The hipster male is often mocked due to his choice in pants. One particular type of hipster pant, aside from the primary 13 year-old girl pant, is the calf-cut pant. Honestly, it works really well if you spend a lot of time commuting in town by bike or pedaling around in places like SF where wearing shorts can be a bit cold. NorCal in general in the winter is like this. In drizzle and fog, the calf cut is cozy and warm or as much as you can get given the options. The cut keeps me from having to roll the pant up in absurd ways and the bulk that comes with that.
The chill of the winter season brought about my need for more of these pants. I was making a few so I decided to post up some details.
Store bought cycling pants just suck with all the fancy space suit materials that feel like shit and get destroyed in basic bike crashes. They are pricy, work poorly, and look like dung. Really, I have two pair in my drawer and can’t bring myself to wear them. Horrible stuff. Who needs an old auto lap belt to hold up your pants, anyway, when I have quality leather belts to choose from?
Here’s my take on the calf cut:
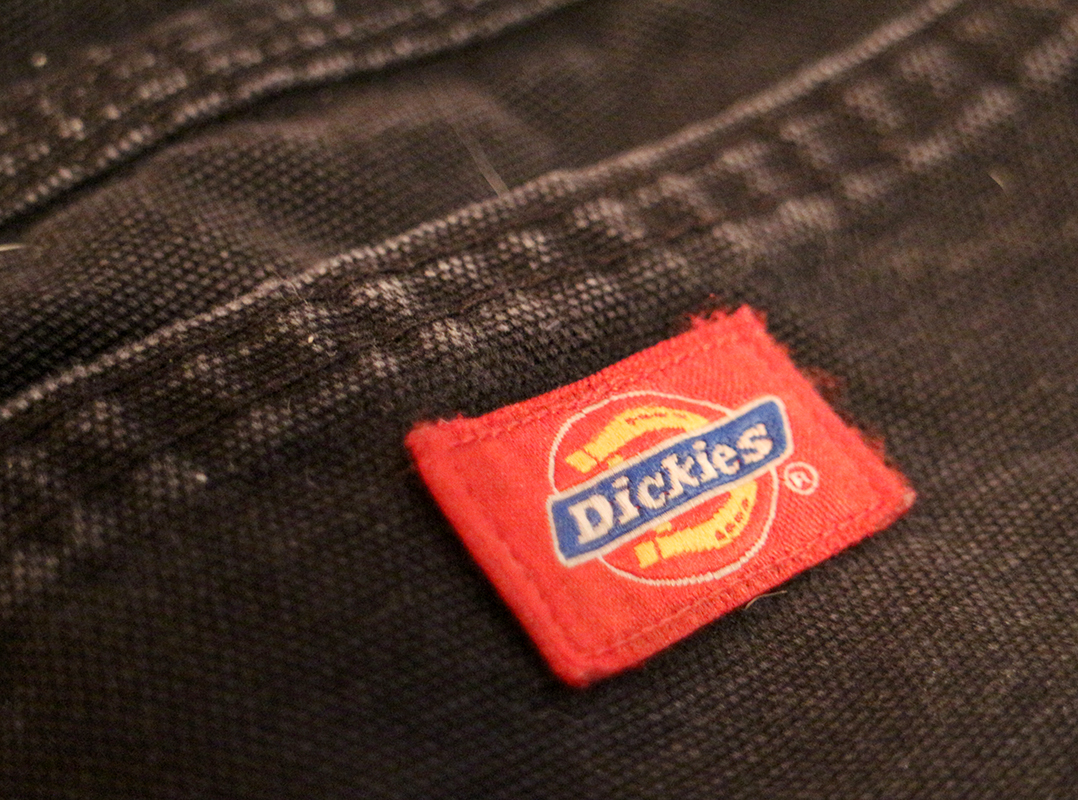
I started with a pair of 34″x32″ Dickies Relaxed Fit Duck Jean. It’s important to start with Dickies because there is no better way a middle class to upper-middle class guy like me can prove my working class bona fide other than wearing hard working class gear. Just ask a hipster nearby. They’ll back me up on this one. I really don’t like polyester pants unless I’m working as a mechanic with uniform service, so I side with the cozy cotton duck. In reality, I’m cheap and I destroy clothes so $30 pants are the finest I should ever waste my money on.
Of course, any pant I wear will have a side pocket for my phone. I just can’t imagine any other way of wearing clothes. The Dickies ducks are nice this way by having a small outer side pocket and a fully buried deep pocket. Great when you want your phone to not drop out on the bike.
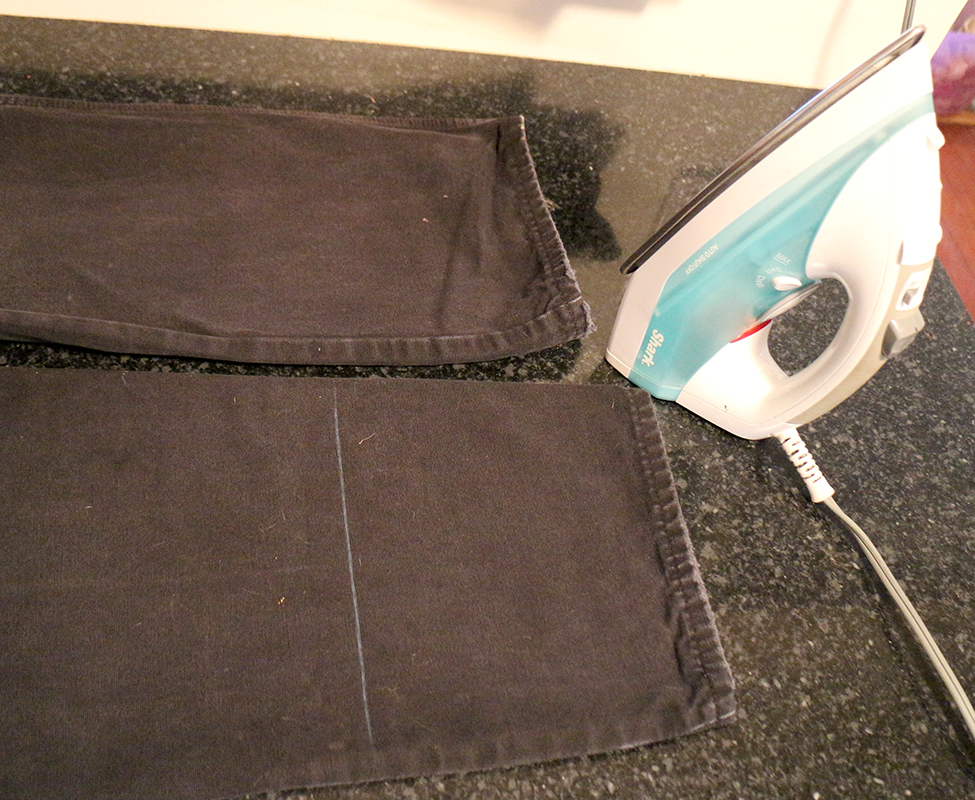
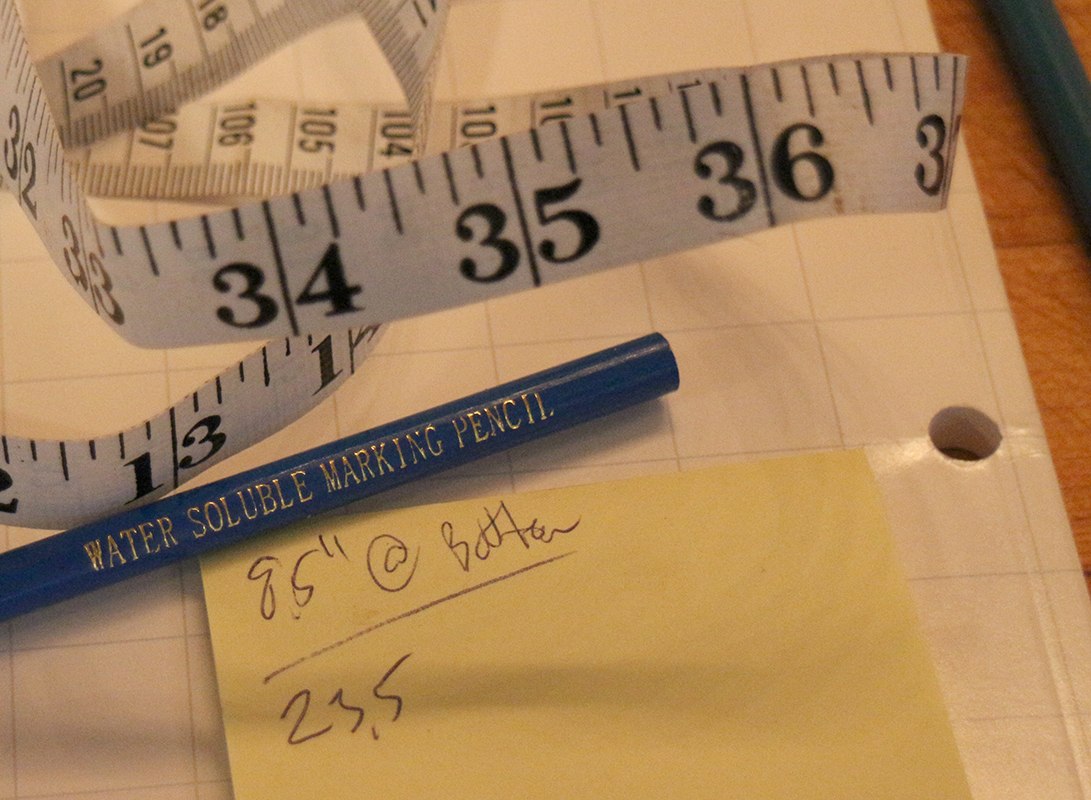
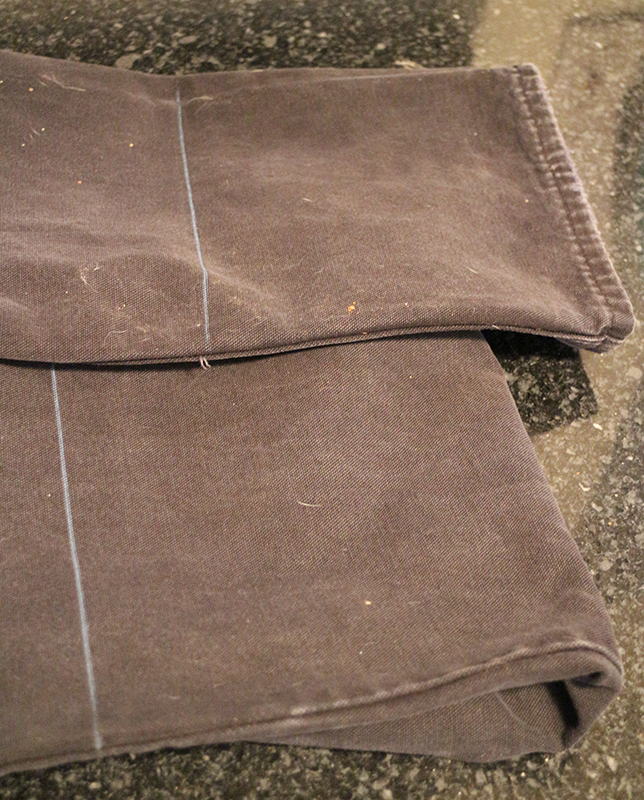
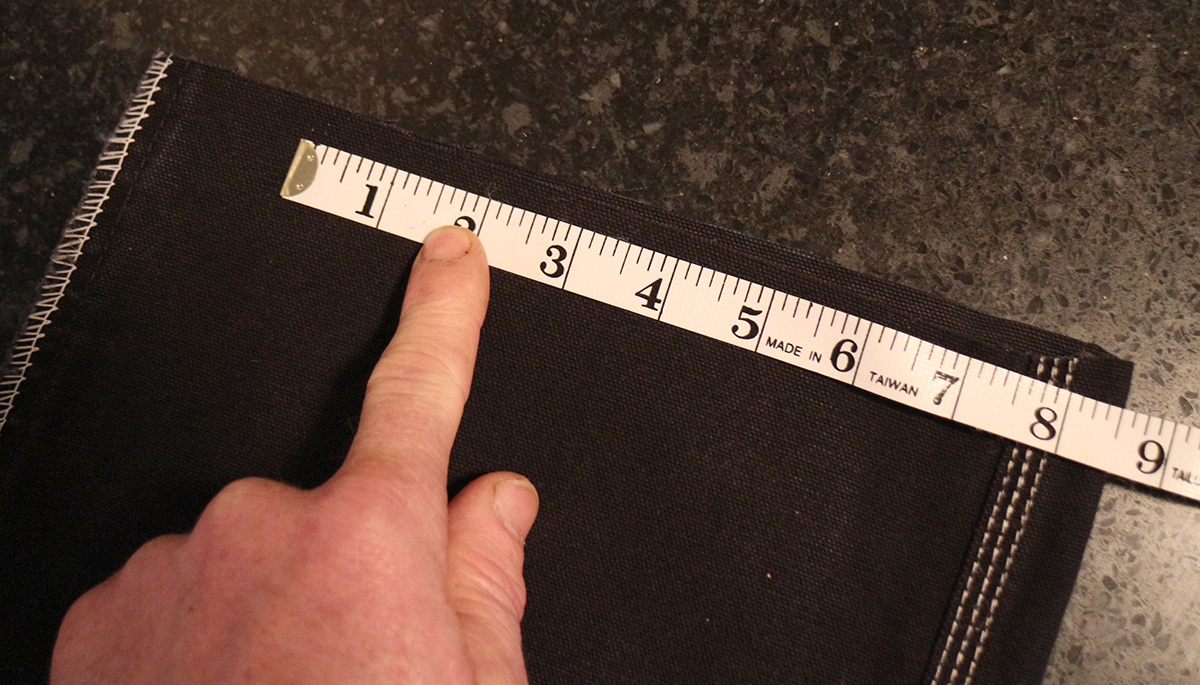
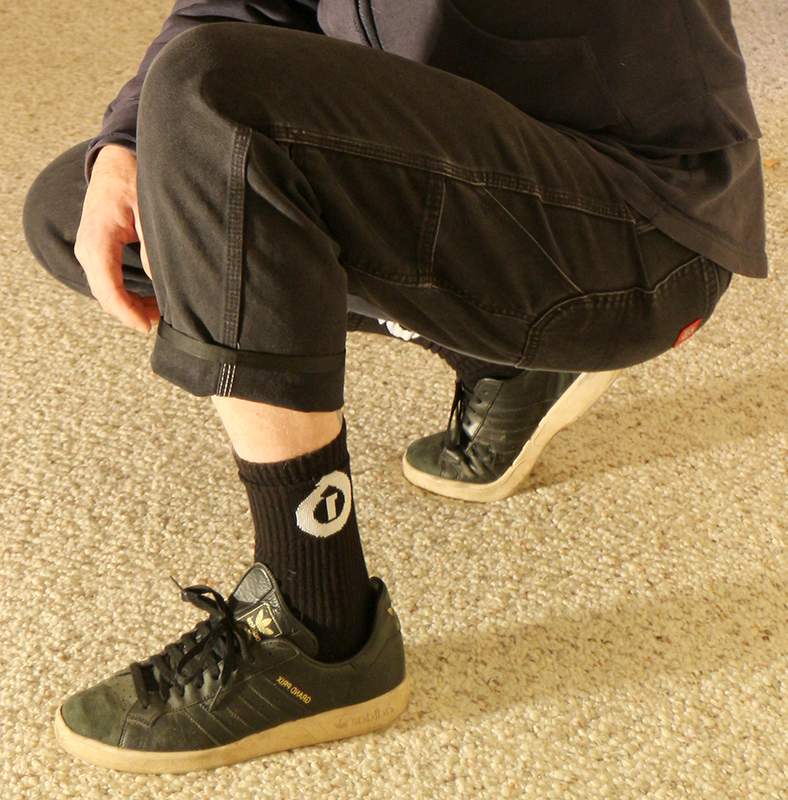
Getting the final dimensions right takes a little time and experimentation. On these, I cut a 24″ inseam. This is as long as I could get (warmth) without getting in the way of the front derailleur of my road bike. I can fold up the cuff a bit on warmer days, enough to cool me down. I could go to 23″ at another time.
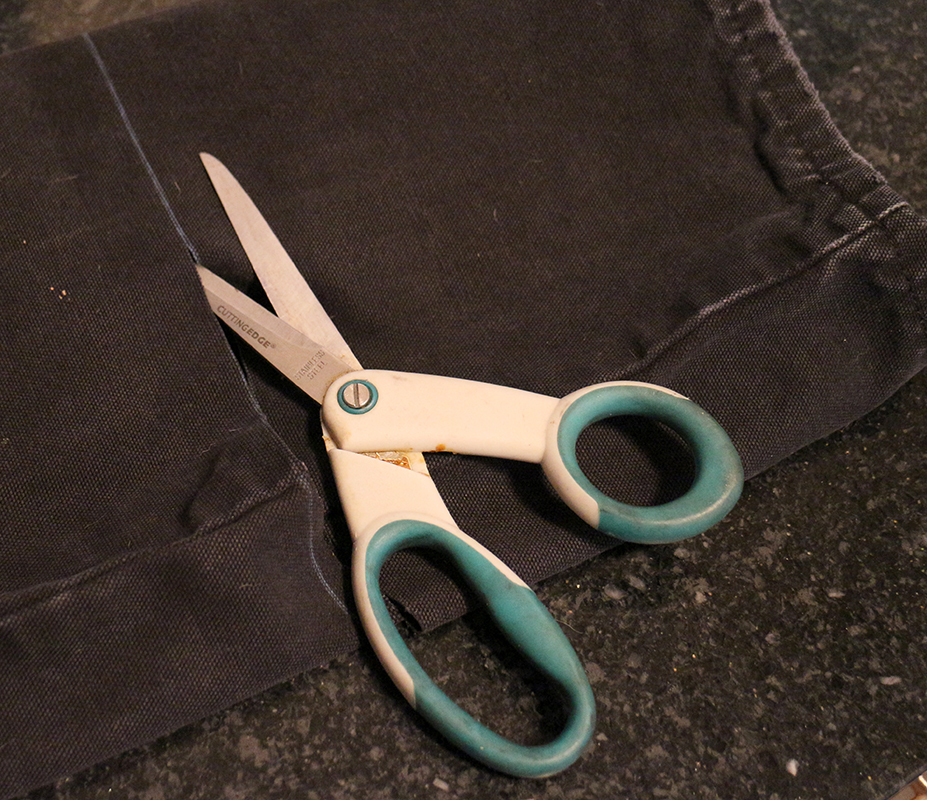
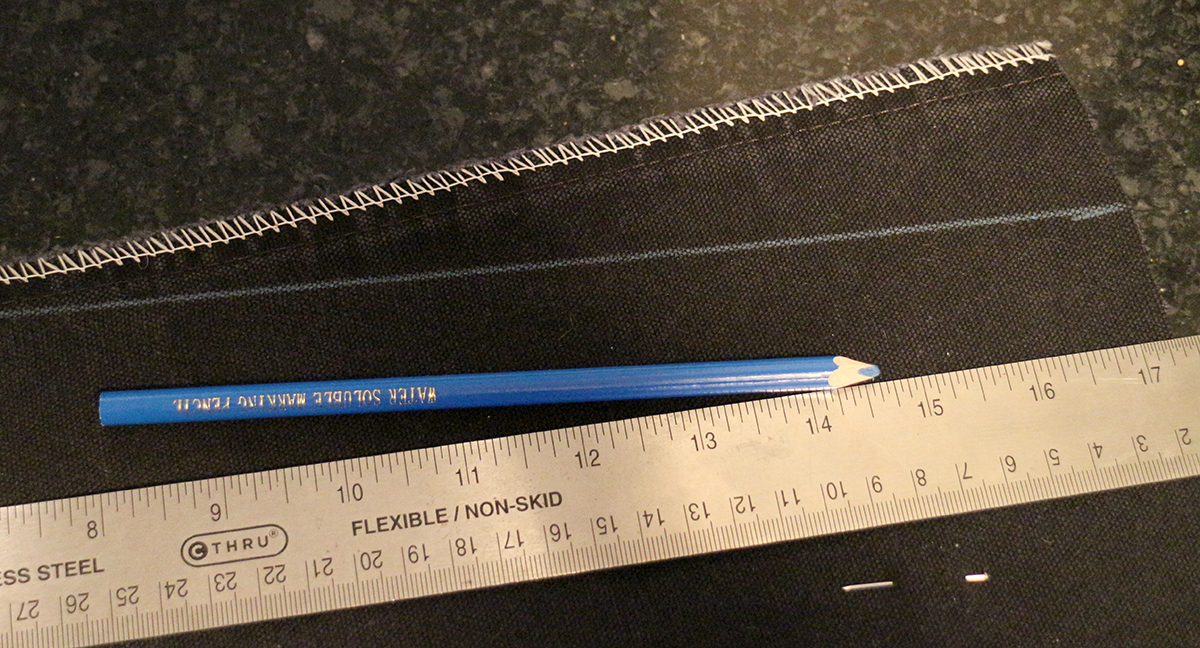
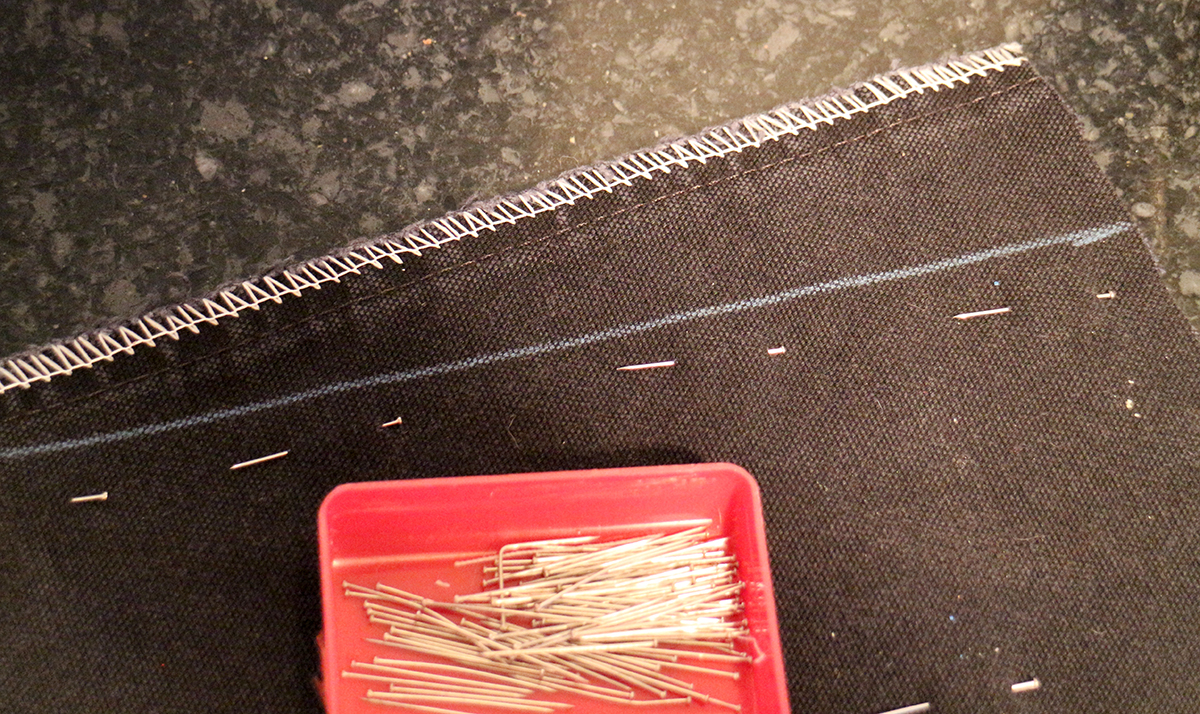
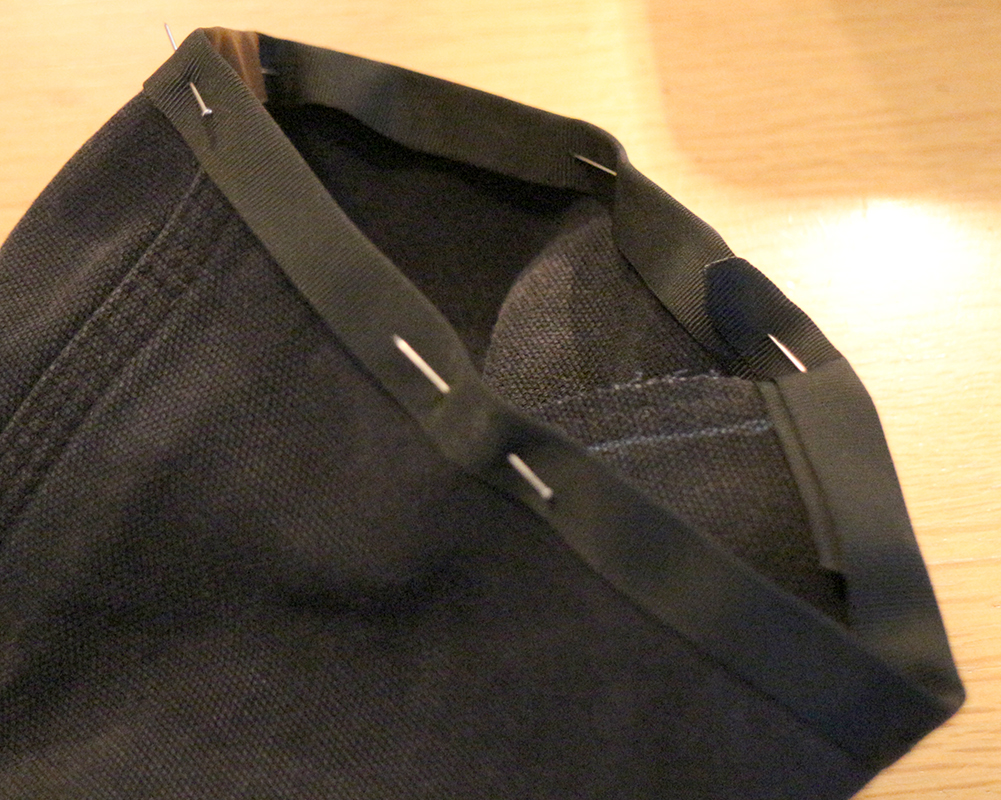
The real trick to these is that the last 12″ of the inseam needs to be reshaped. The leg opening will be too wide and cumbersome on the bike and the pant will look a little silly. You’ll see this around you with the simple chop jobs some bearded fucktard will be wearing outside a fancy cafe. I reduced the leg opening to 18″. I could probably go as low as 17.5″. It’s important (at least to me) that the pant doesn’t get pegged too much. At 18″, I can go to a full squat comfortably without the opening binding around my calf below the knee. This is a good test when you figure your leg opening needs out. I have big calves and I like to have unrestricted movement.
One nice side benefit of reshaping the leg from the inside seam is that this has all of the change pulling the pant away from the bike. The outside of the pant tends to hang in the original place. It’s all about keeping the pants out of the works and every little bit helps.
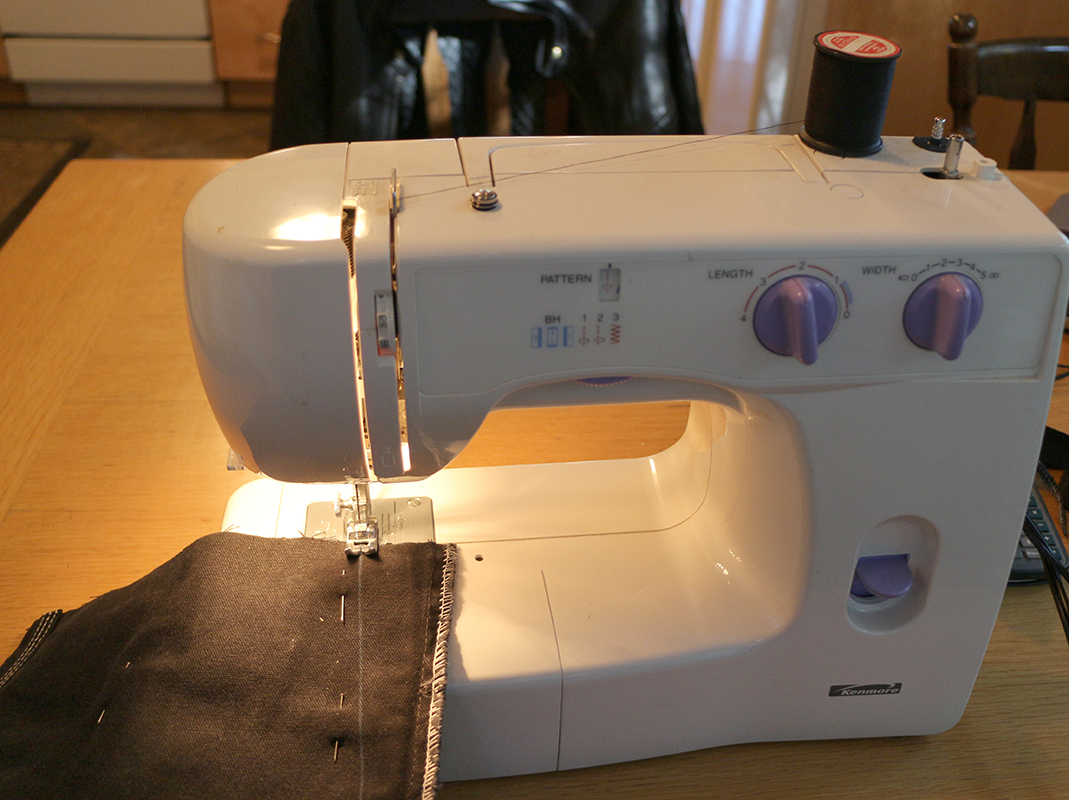
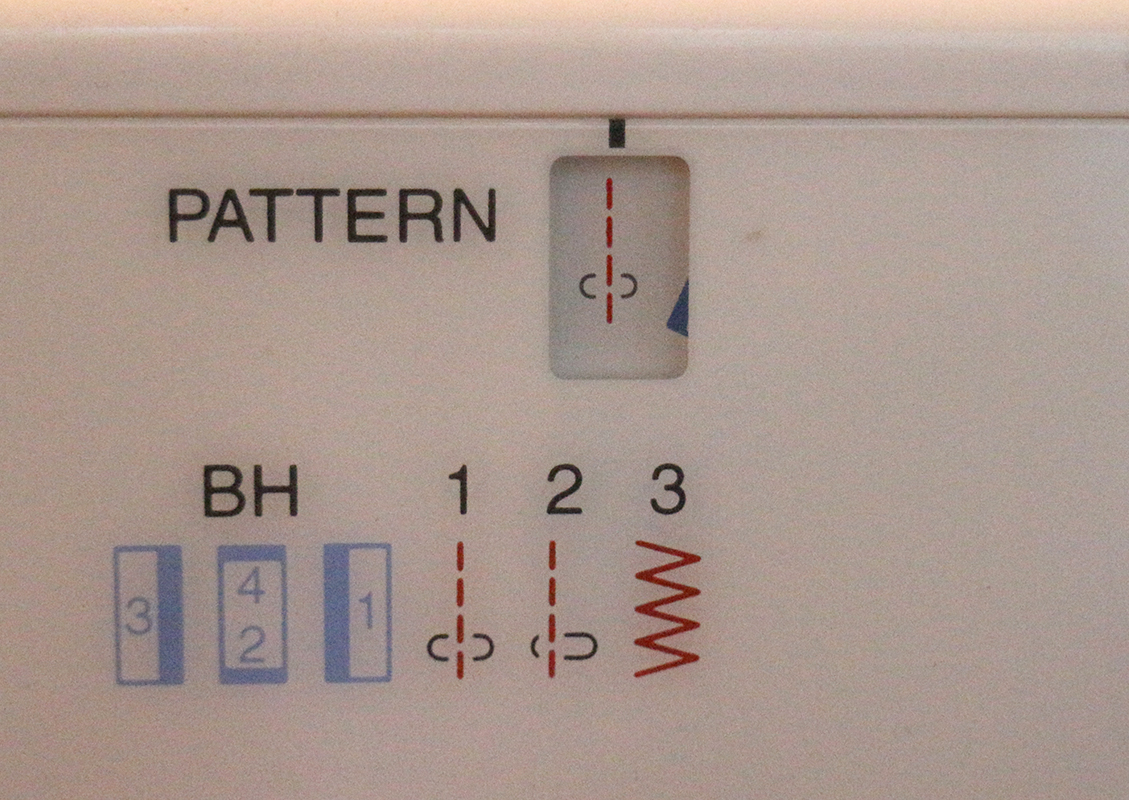
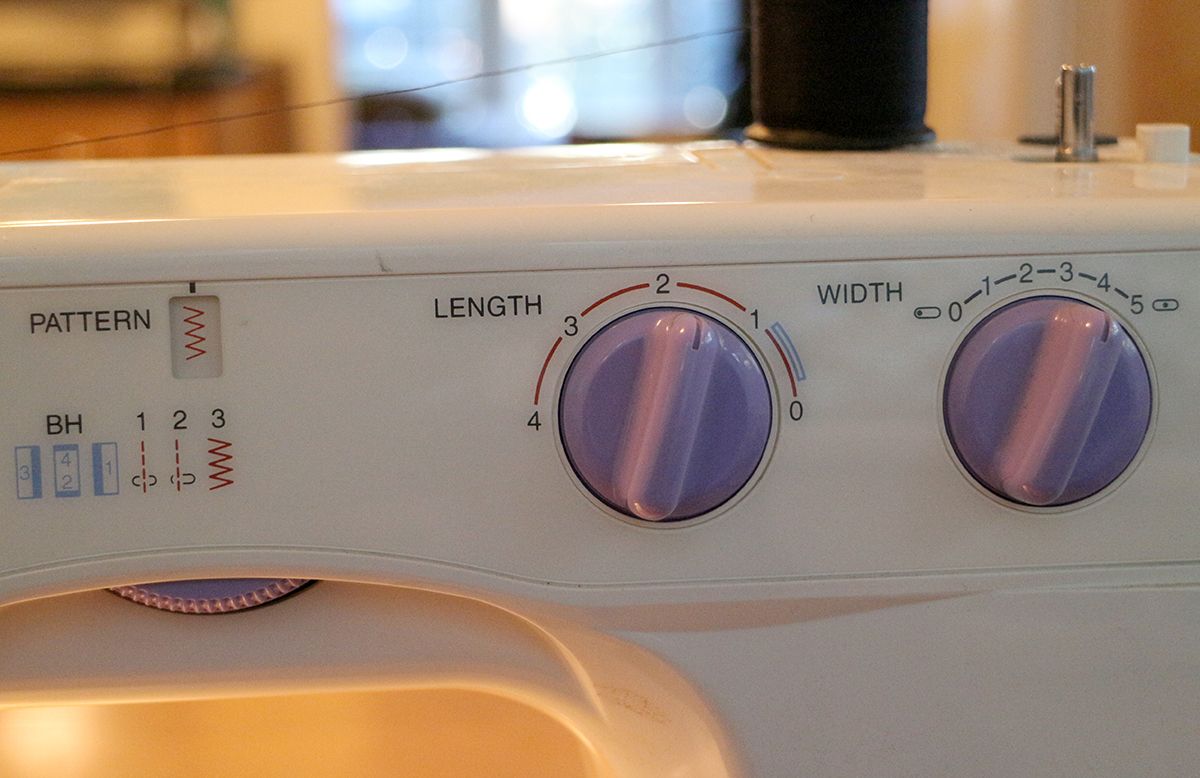
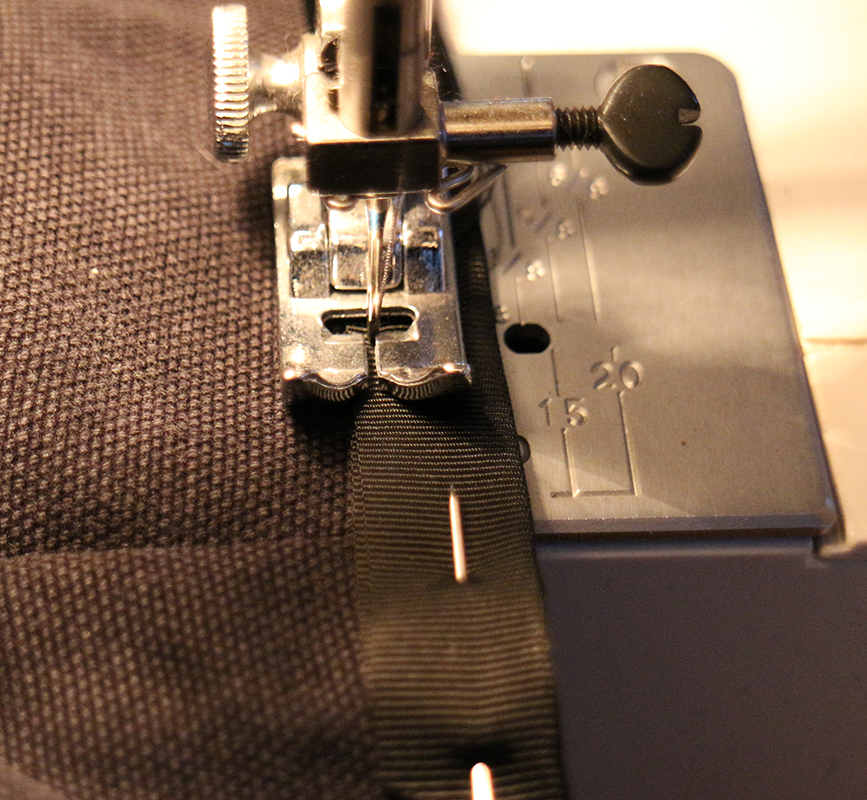
Some folks will balk at doing this project at home for lack of a great sewing machine. Solve that problem now! There’s no excuse for not having a sewing machine and taking control of the textiles in your life. This Kenmore (385.15202400) Sewing Machine cost me $50 delivered to my house on craigslist. It’s cheap and works flawlessly and was basically new. Bang! You don’t need anything fancy for 90% of the uses a machine will be asked of. An iron is just as easily acquired often even at a Salvation Army.
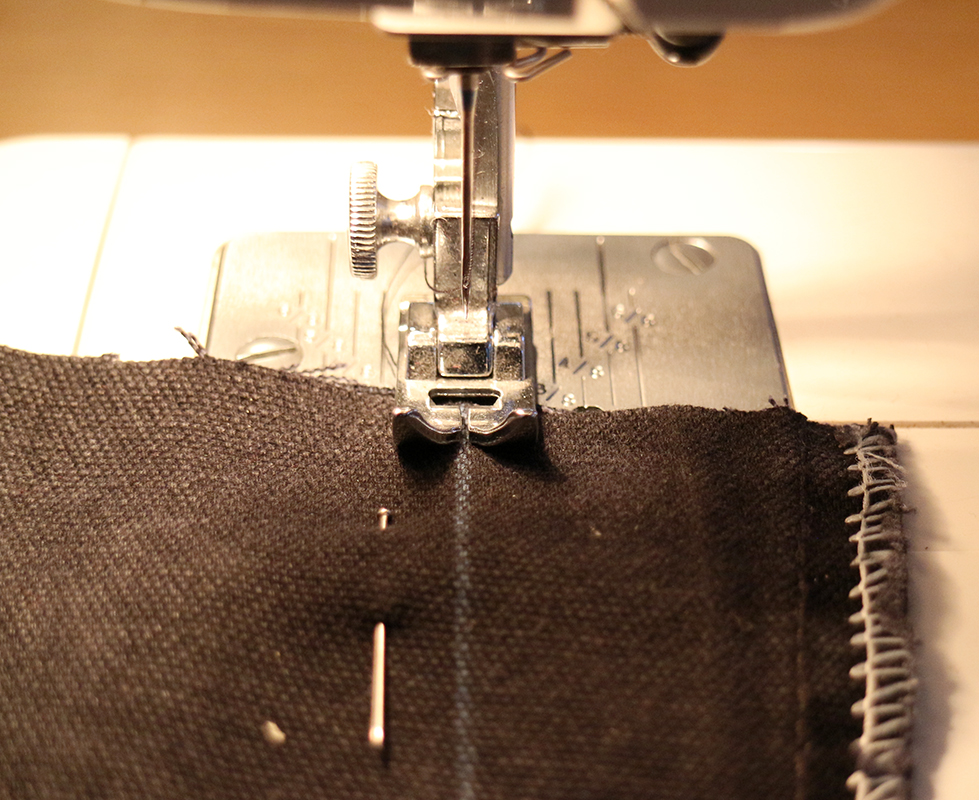
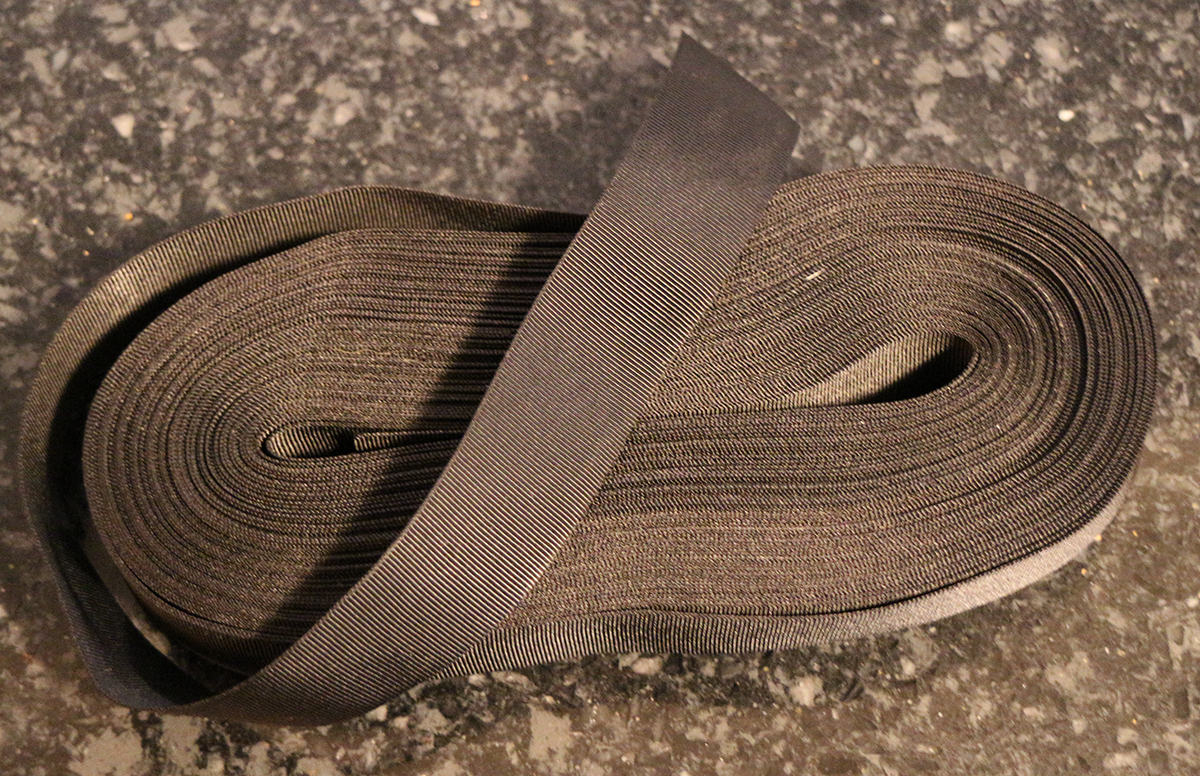
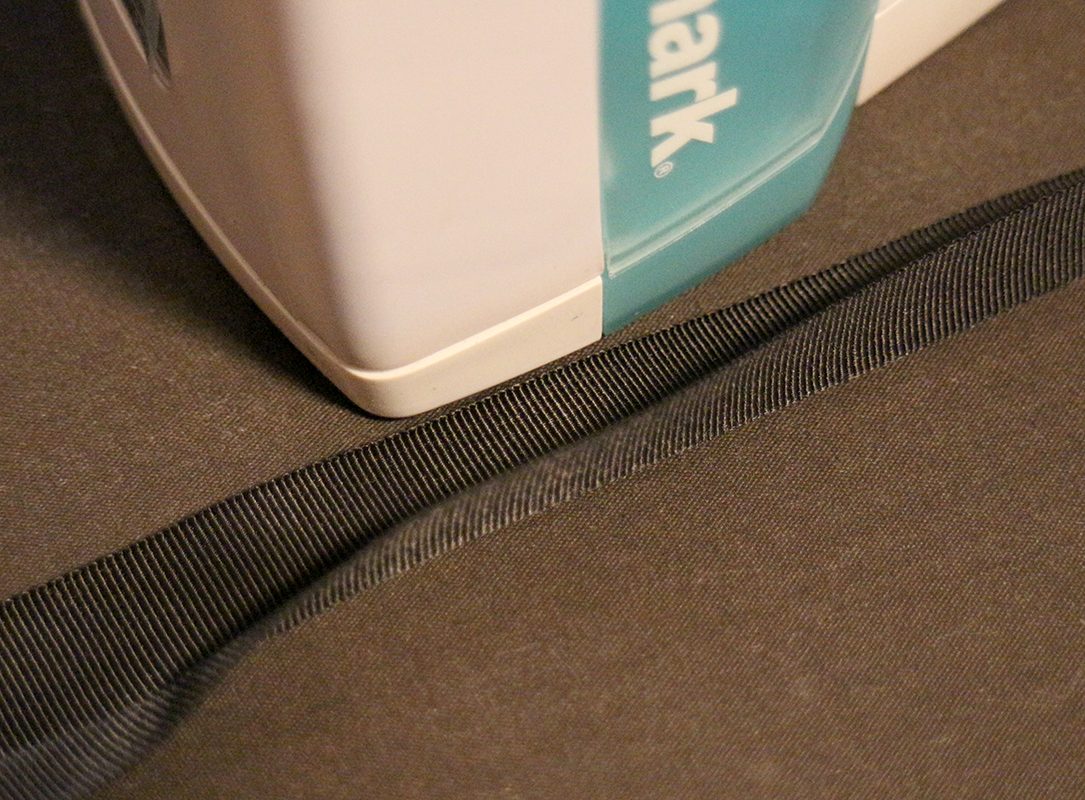
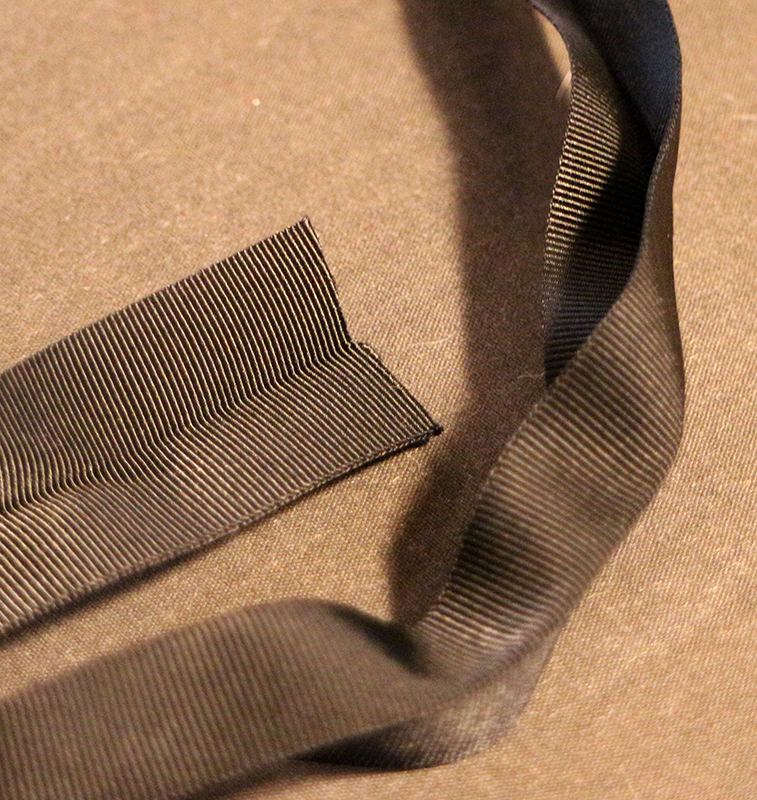
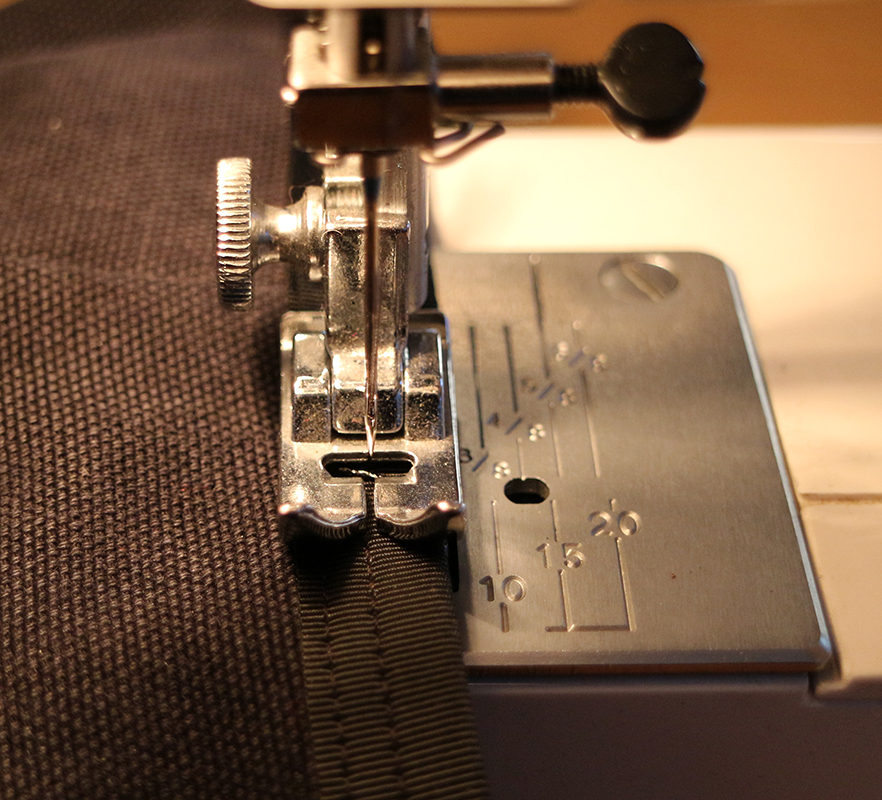
I used to do a standard double fold over to the end of hemmed pants and shorts. Matching the original finish from the factory. After cutting down a buch of downhill racing pants with Mary Moncorgé one riding season, I’ve since changed that approach with a better way. It wasn’t possible to fold over those hems. We finished the bottom with cotton batting. I now use nylon ribbon as it’s super rugged, very low profile, and slippery against elements. Nylon is the king of textile materials. Only the best get nylon! Of course, nothing less than military will do. I sourced 1″ Grosgrain Nylon Ribbon Black, Mil Spec MIL-PRF-5038 Type III (PN GGR1-Black) from Rockywoods. You can get it in a few colors. The ribbon is ironed over in half and sewn in place with ‘Super Tuff’ Nylon thread. Nylon!!!!
It helps to cut the ribbon at a slight angle and leave the oblique side on the outside of the pant. This helps with the finished look. Also, (of course) take a flame to the cut end to sear it closed. Overlap the ribbon about an inch for durability. I like to lay down a double row of stitching to make everthing super bomber and durable.
**Warning: I’m not a master tailor. I really don’t know much about sewing at all. I’m just a problem solver and this time the problem was in my pants. I probably did around 30 things wrong here. Consult your friends on Etsy to find out how to do this all properly.