Things have been changing a lot with modern mountain bike specifications. Dropper posts, long front centers, cable routing, and 142mm rear spacing to name just a few things.
When it comes to dropper posts, it’s settled that internal or ‘stealth’ routing is the standard and preferred way of doing things. Bike frames that are just a year or two old may lack provisions for doing this.
This puts the users (me) in a bit of a predicament. Should I sell an otherwise great frame at a discounted price (due to lack of stealth routing) or …… drill the frame.
Anybody that knows me will know two things about me. I’m a fucking miser and I love fucking shit up.
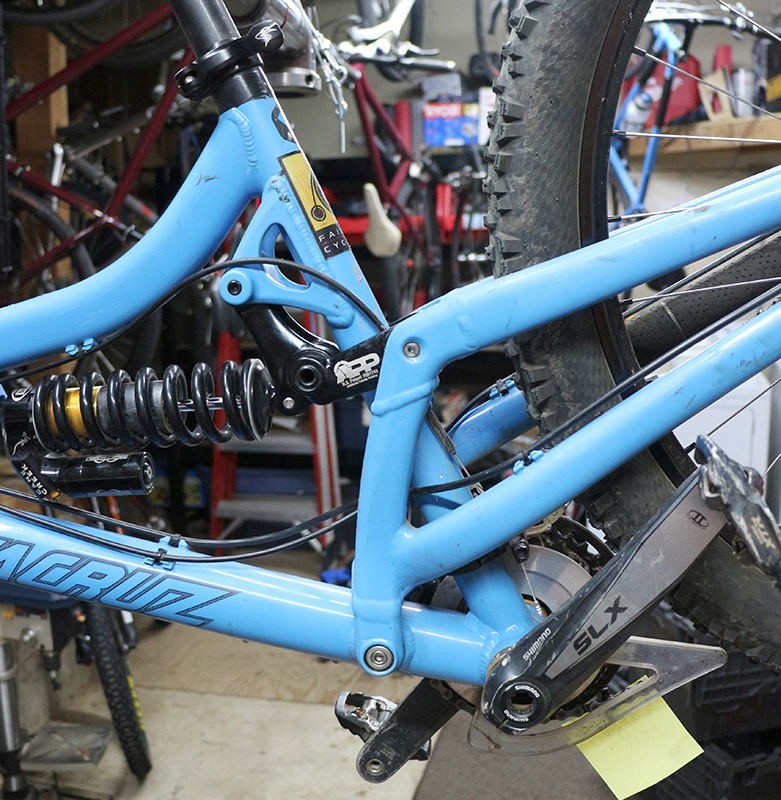
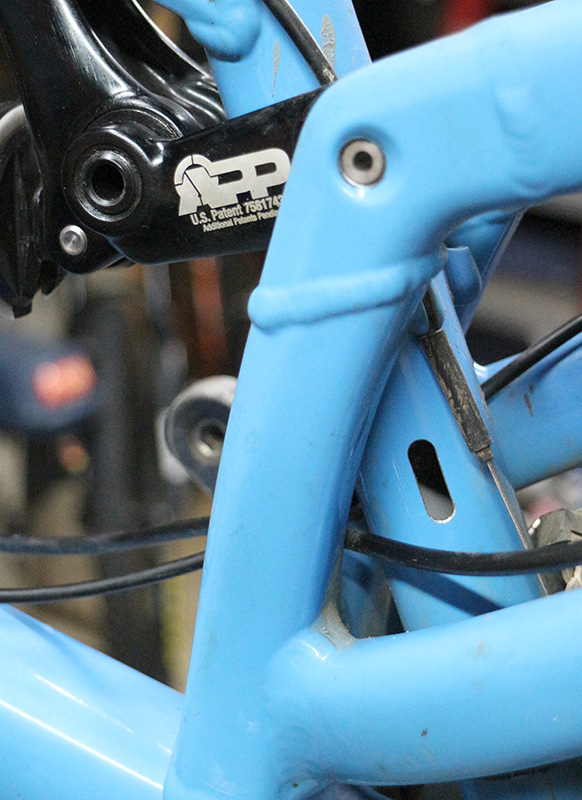
Last night I cut a stealth slot in my Santa Cruz Butcher frame so I can use my Rockshox Reverb Stealth A2 with it.. Simple stuff really.

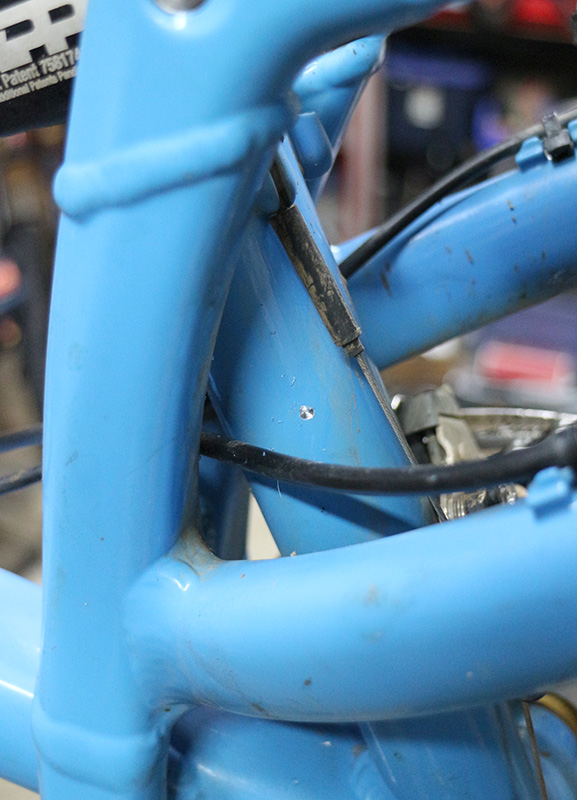
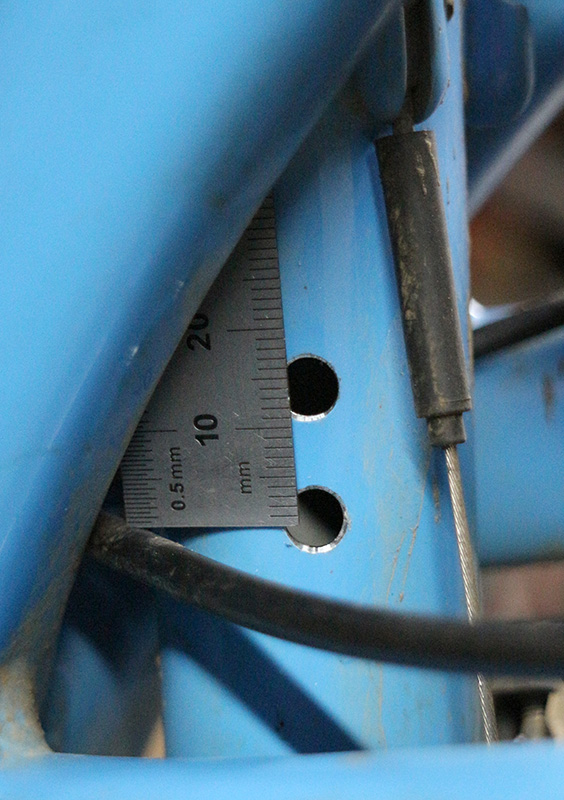
1. Decide on the location for the slot. The slot will have to be about 15mm long (ctc) and about 5.8mm wide. The hydraulic hose of the Rockshox Reverb really doesn’t like to bend around tight radii so the slot is longer than you’d expect to get the hose to lay well against the frame and must be placed fairly high above the bottom bracket to make the turn up the down tube. I put my slot about 160mm above the center of the bb. Take a good amount of time considering exactly how you want the hose routed as you have just one shot at this.
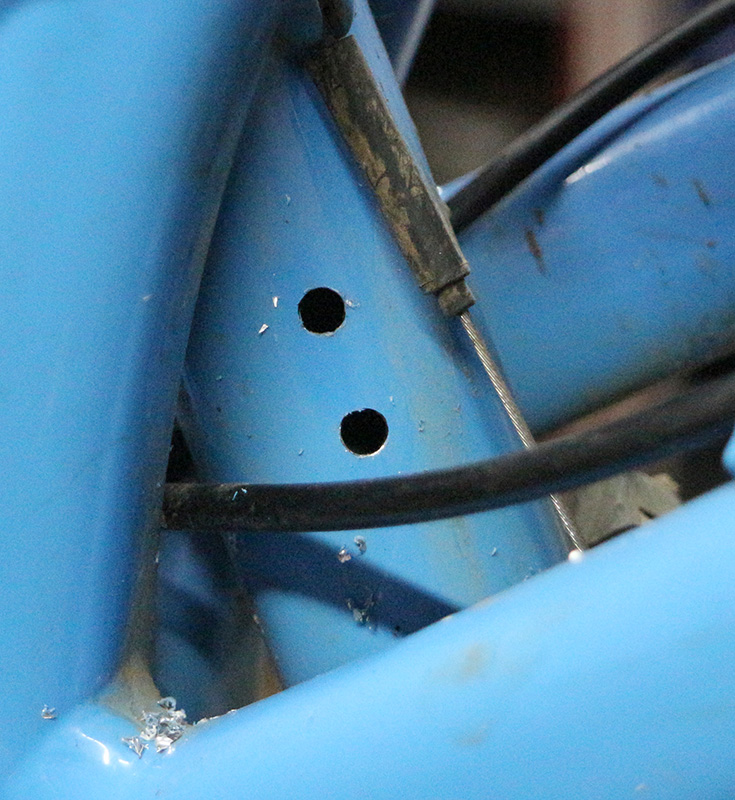
2. Mark and predrill the two end diameters. Use a small drill. 1/16-1/8″ is fine. Be carefull that these holes are in line on the tube. Make sure when drilling into the seat tube that you don’t go through and damage the other side of the tube.
3. Bring the holes up in diameter once, then drill to the final diameter. Here, I drilled up to 15/64″ (0.234″). You can use these drillings as opportunities to guide the holes to perfect alignment. You really want the terminus of the slot to be a nice smooth radius as any sharp edges and gouges will huge stress risers and invite failure.
4. Lightly chamfer the two holes. This helps the end result look finished and now is the easiest time to get the ends done.
5. With an undersized round file, saw from one hole to the other being careful to stay between the edges of the end result.
6. With a small flat file, straighten the sawed slot then bring the slot to size. Be careful not to leave hack marks in the end radii or scratch the frame’s paint.
7. Lightly chamfer, deburr, and otherwise clean up the slot so it looks nice.
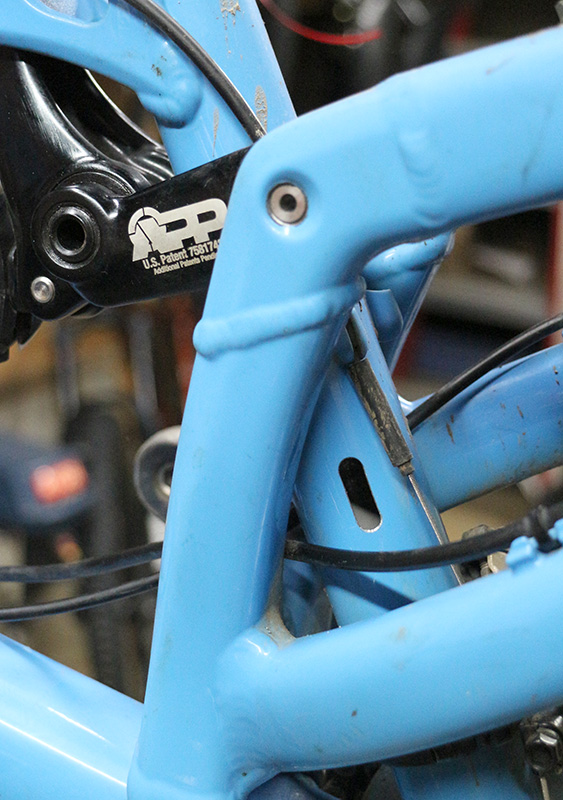
8. Route hose and ride your bike fast. It’s not really critical to seal the slot as any good bike should have large drain holes in both the bottom of the seat tube and the bottom of the bottom bracket to let water out of the frame. Also, I’m trading this post among several bikes so the way it is makes things nice and easy for me.
9. Enjoy the peace of mind in knowing that you’ve just voided any warranty possibilities regarding the frame. Live fast, die young.
The real question I have here is; did I just reduce the value of this frame or add to it? Ha. That’s a question that will keep the forums busy for a while.