I have two Camelbak Maximum Gear H.A.W.G. (1100/100 cu in, older version) bags. One of them is the bag that I use bike commuting and otherwise taking to work and back. The hydration bladder is removed and that pocket is used for magazines, netbooks, or paperwork. The other is my large mountain bike bag for when I need all weather gear or to carry lots of stuff. This summer, I started using a very small back bag combined with a frame mounted water bottle for hydration but winter riding calls the big bag back into service. I have two as they are typically loaded with different contents that need to stay in place and not get lost in the shuffle. Also, it sucks to commute with a bag covered in grime from a recent mud ride.
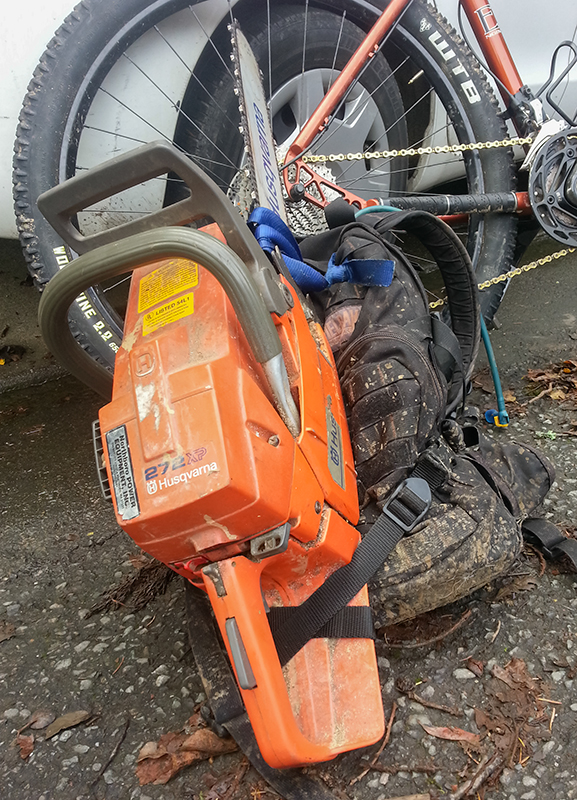
Not every bag can have a chainsaw strapped to it!
I prefer the government/military product from Camelbak. They handle years of abuse and are designed for real adventure. The consumer/sport product is simply flimsy garbage. The G/M bags aren’t light, their only weakness. The chemical warfare hose and end are removed for sport use and replaced with sport versions. Much easier to use.
All of the MOLLE/PAL mounts on these bags are great when there are large items to strap to the bag. Last week I had a chainsaw on the bag. At other times, a wheel set or a new bike frame. It’s always good to have solid tie down points and extra clips.
The new version of the Mil-Tac H.A.W.G. is a bit larger (1400/100 cu in) to be useful for most regular ride. Probably a good option for folks that carry lots of stuff like photographers and such. I don’t really need that kind of thing yet, at least, not for most of my rides.
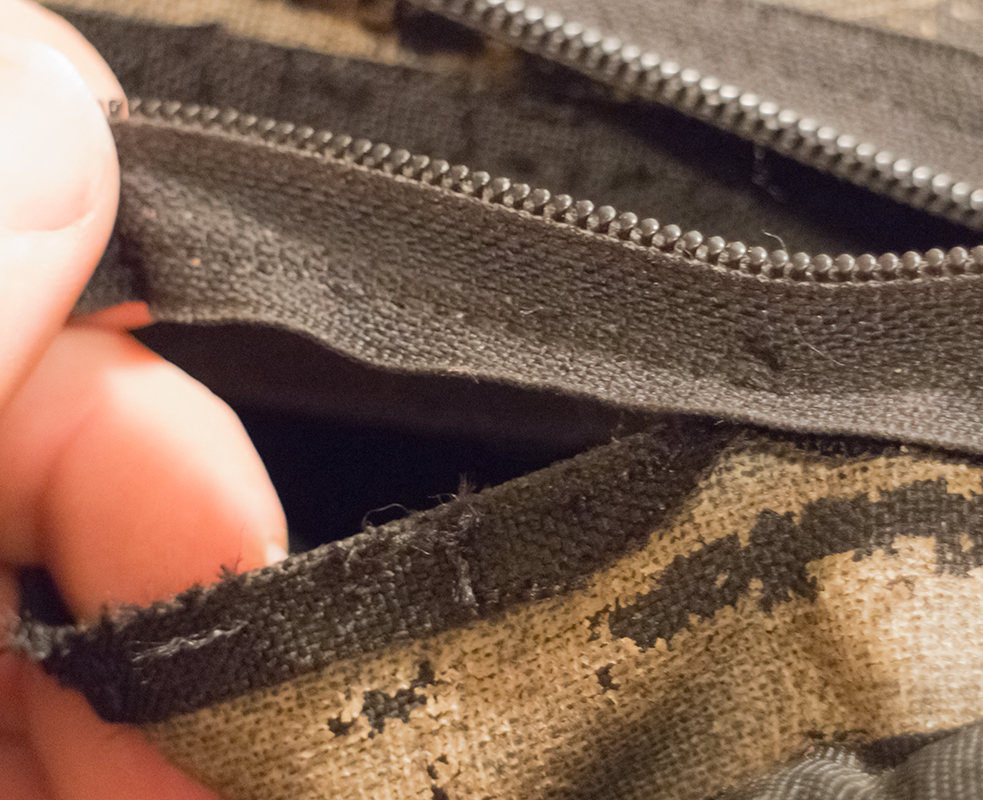
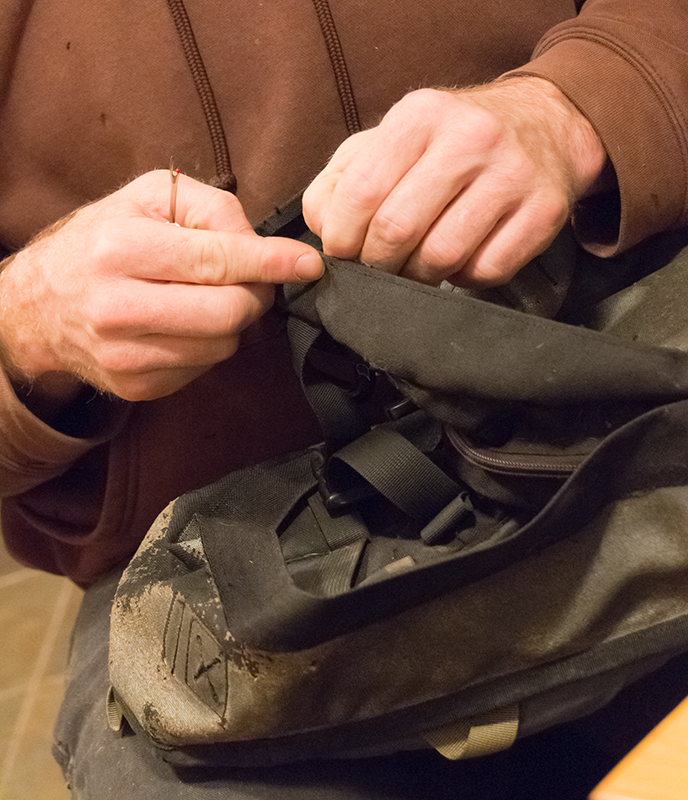
After a few months of struggling with a failing zipper on my commute bag, it finally gave up the ghost and refused to function at all. I was forced to finally make the repair.

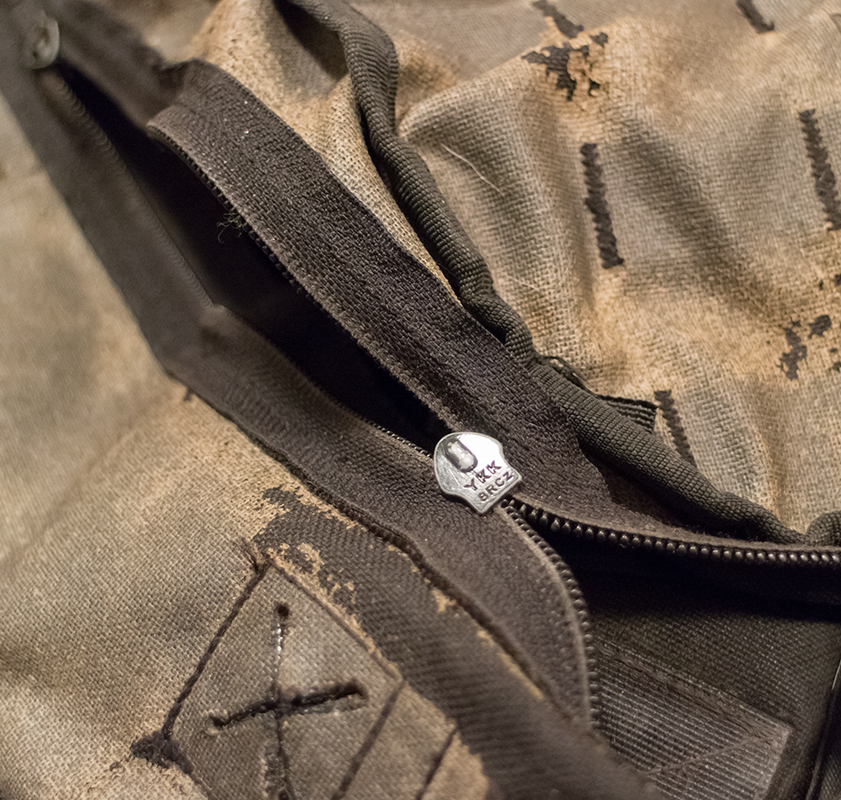
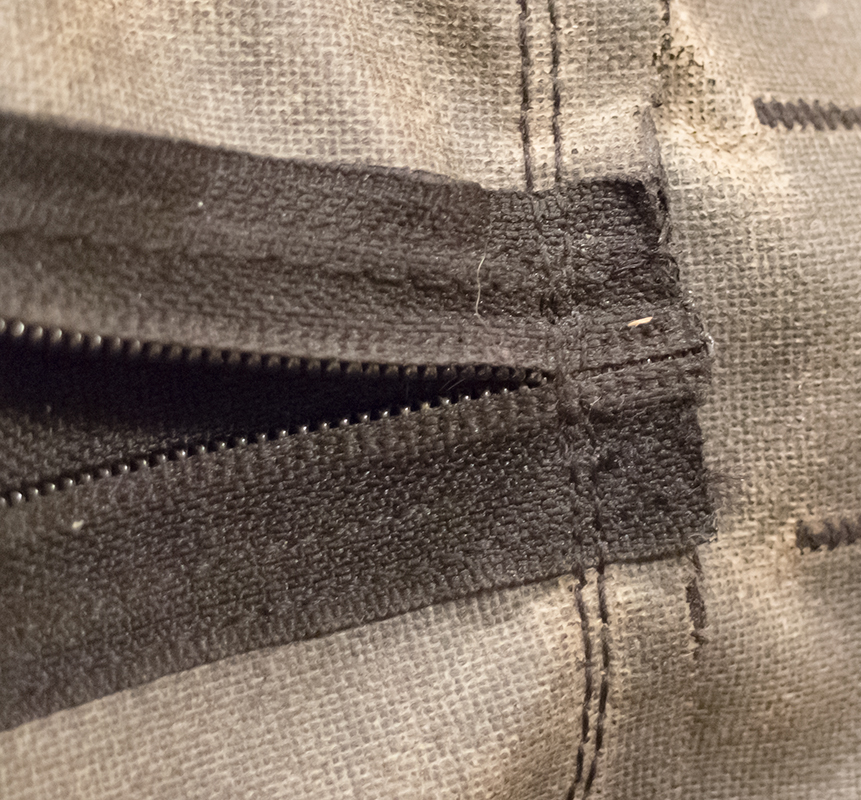
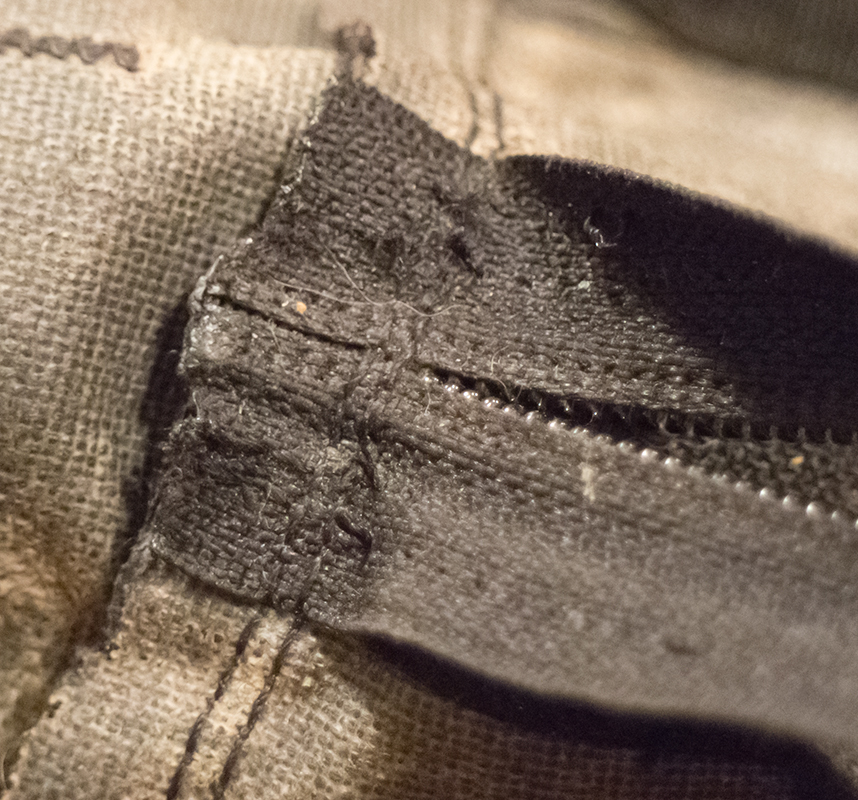
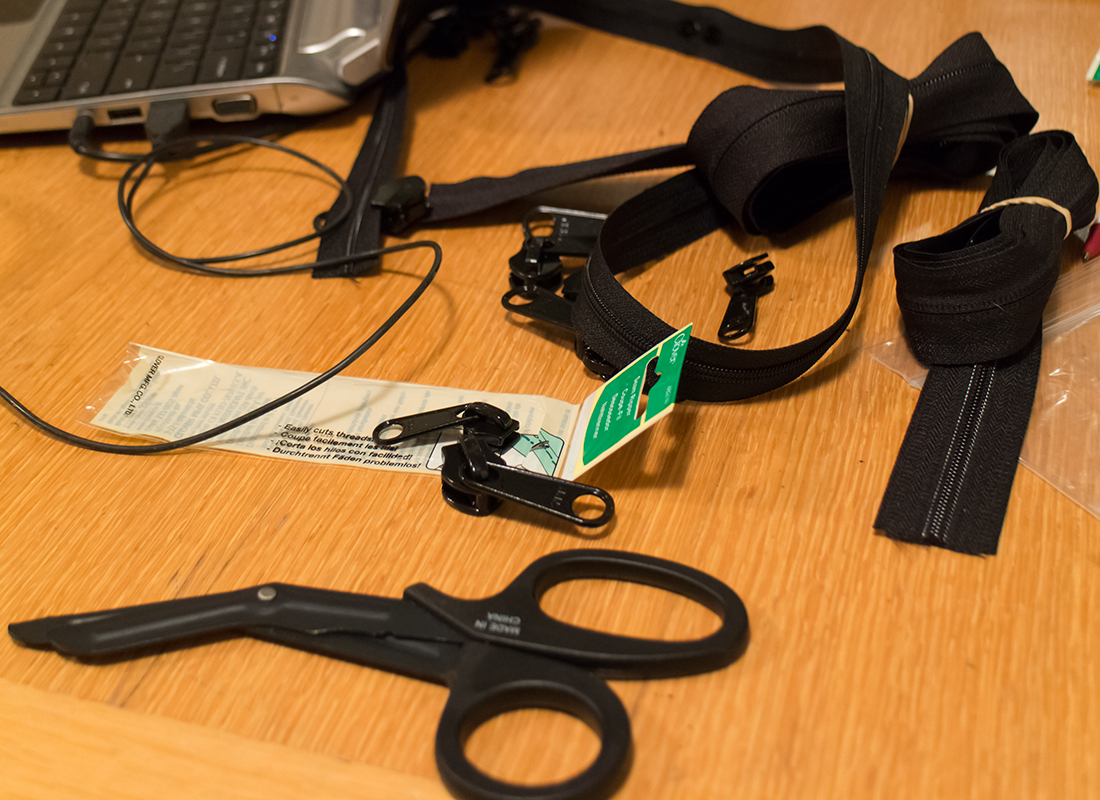
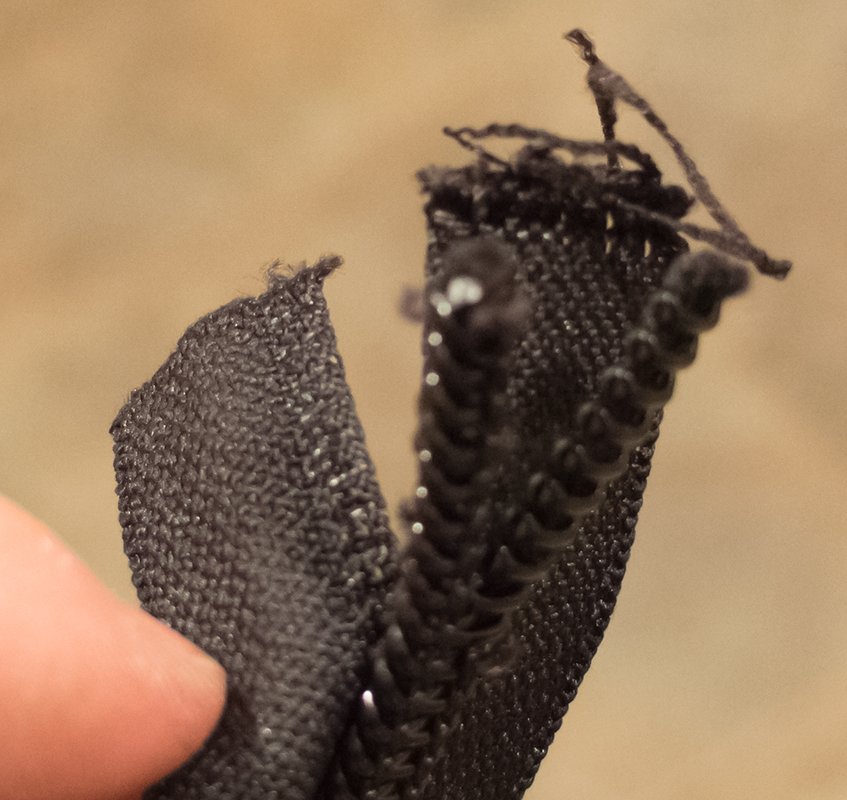
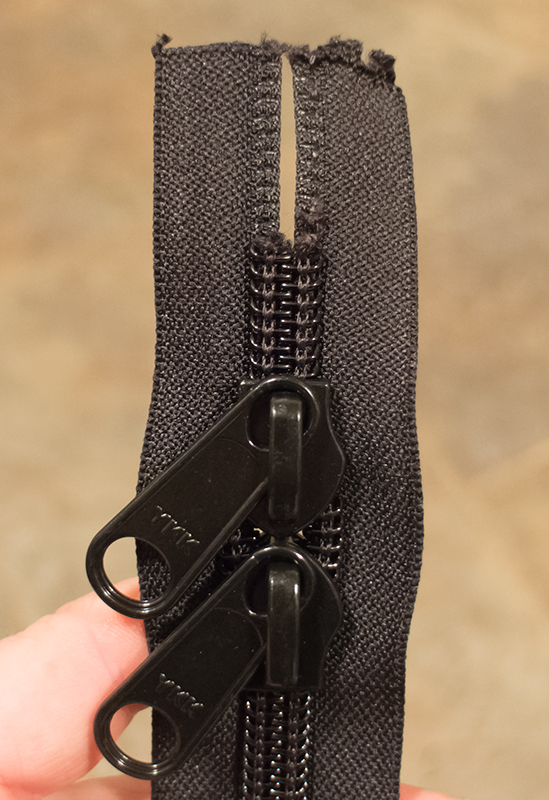
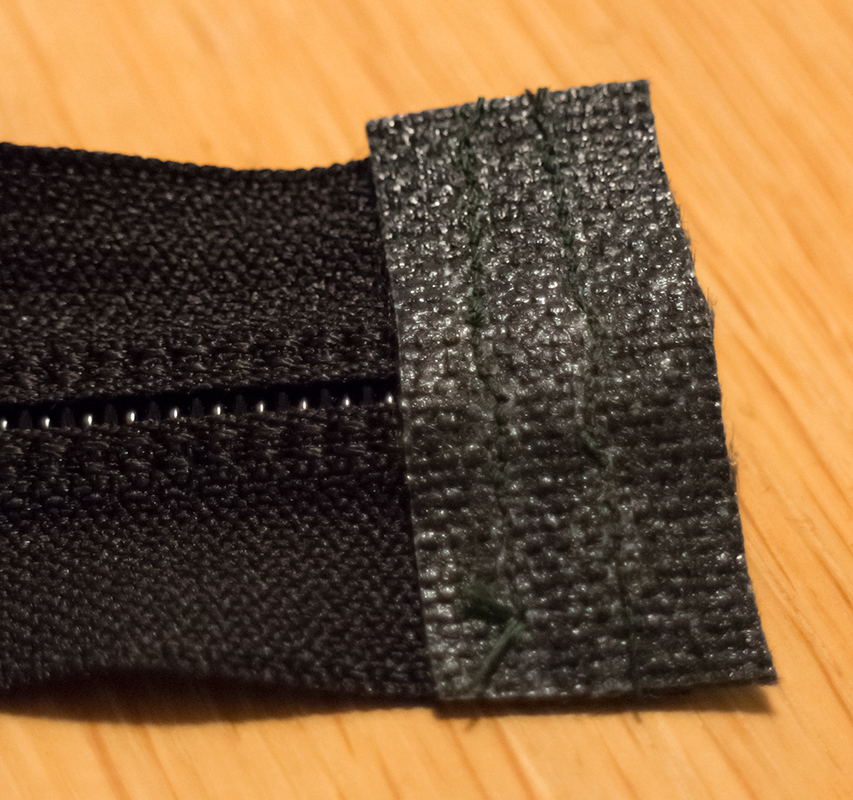
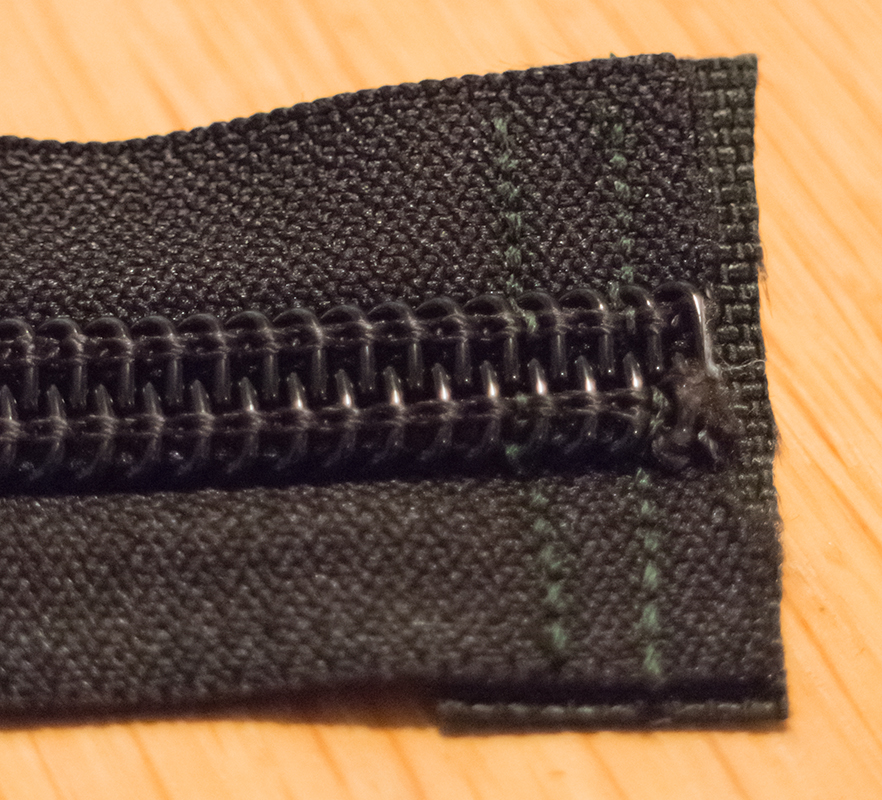
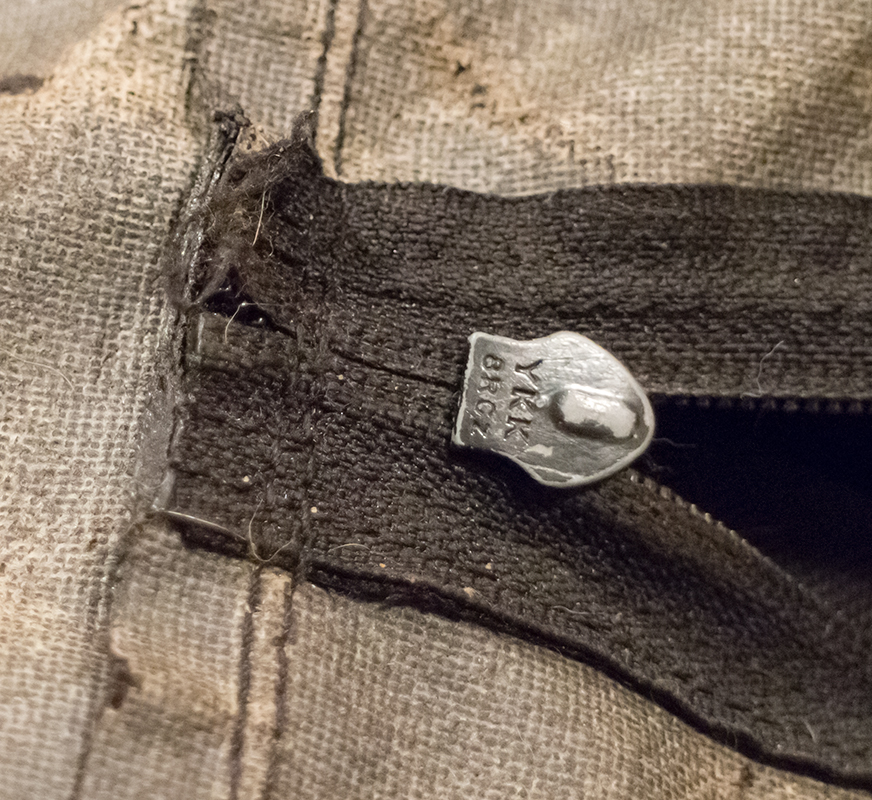
The failed zipper was the one for the main compartment that gets used the most. The teeth of the zipper were ground down in a few places. The zips were jammed and the hole pocket was left to hang open. I needed a 30″ ‘head to head’ non-locking double-slider coil zip. The markings and measurements of the zipper told me that the stock zipper is a #8. I decided to replace it with #10 for more durability and smoother operation.

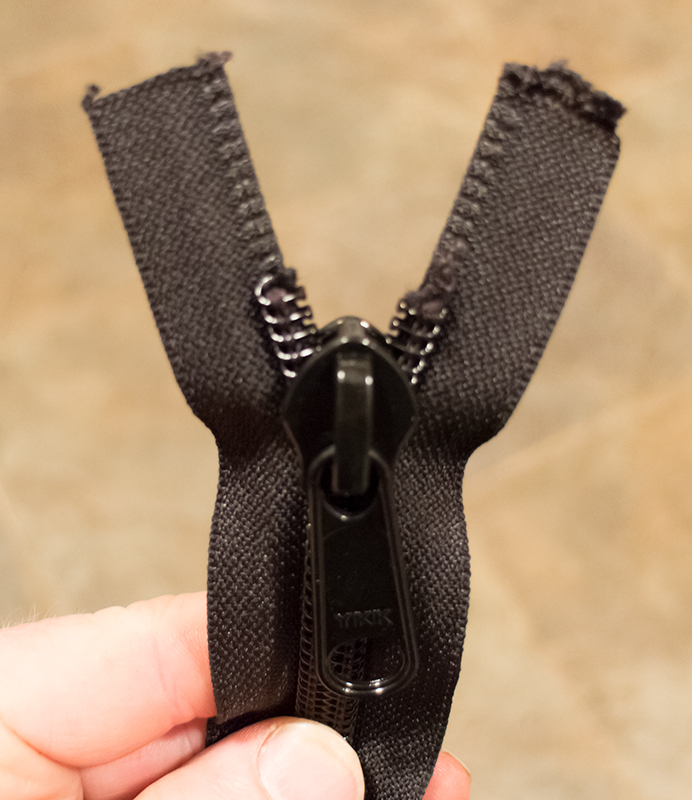
#8 Coil YKK® Zipper (ZBY-C8) –> #10 Coil YKK® Zipper (ZBY-C10)
Rockywoods is one of my favorite stores on the internet. They sell all the cool stuff. From rip-stop nylon to cordura to 100% nylon ribbon. They don’t have everything but they have an awful lot of good stuff. They also have quick and inexpensive shipping which is always super cool.
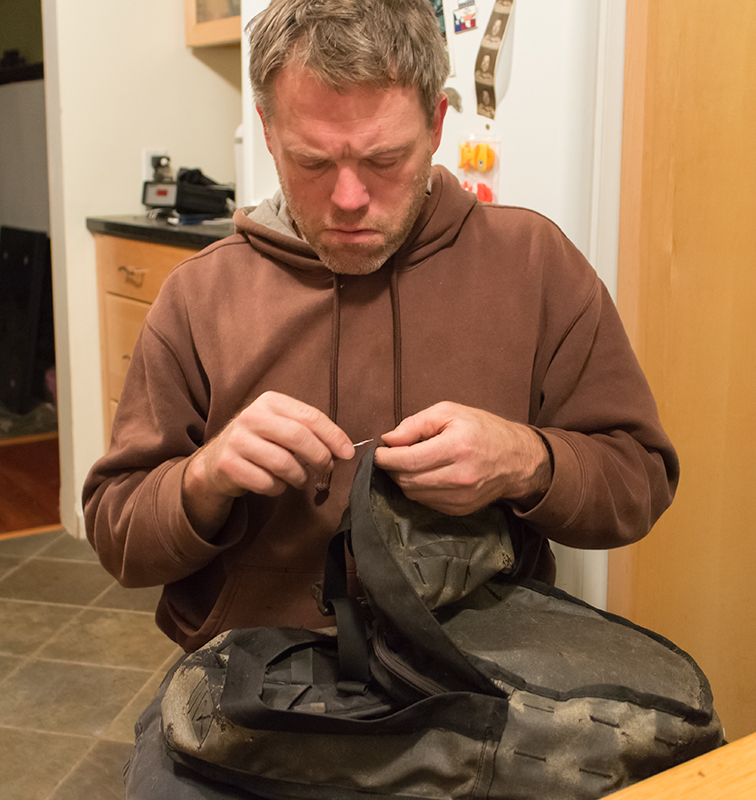
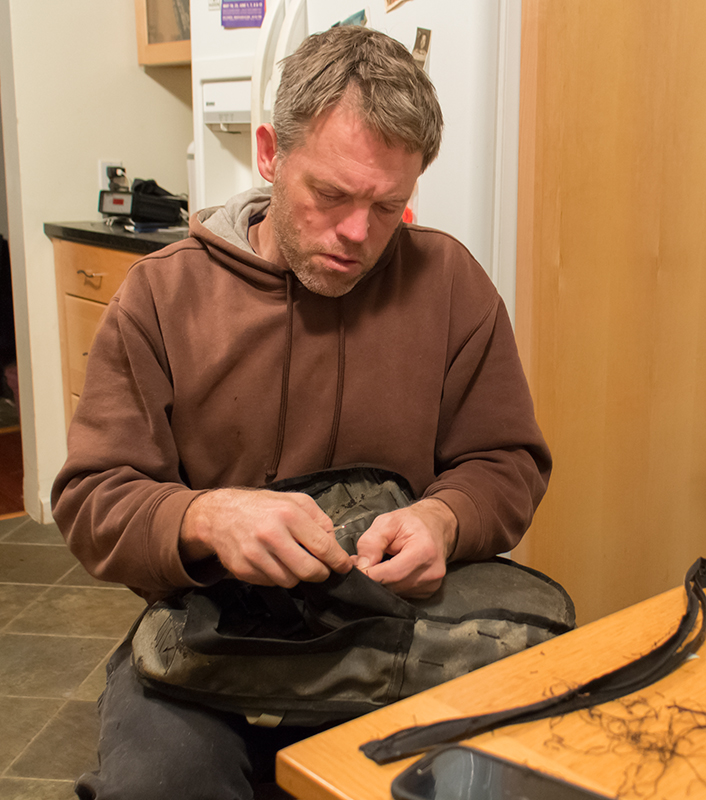
Getting the zipper hardware loaded onto the zipper requires a couple tricks and tugs. It isn’t easy and takes time at first to get the hang of it. After a few curses and false starts, loading will proceed well. It’s worth loading up your hardware inventory all at once to draw from later. Then you won’t need to go though the ordering and shipping process for a while.
I really could have used a zipper foot on my sewing machine while doing all of this. It was a bit of a challenge to get my stitches close to the raised zip. Luckily for me the #10 zipper gave me lots of real estate to work with. This is something I need to remember to get before doing more zipper projects.
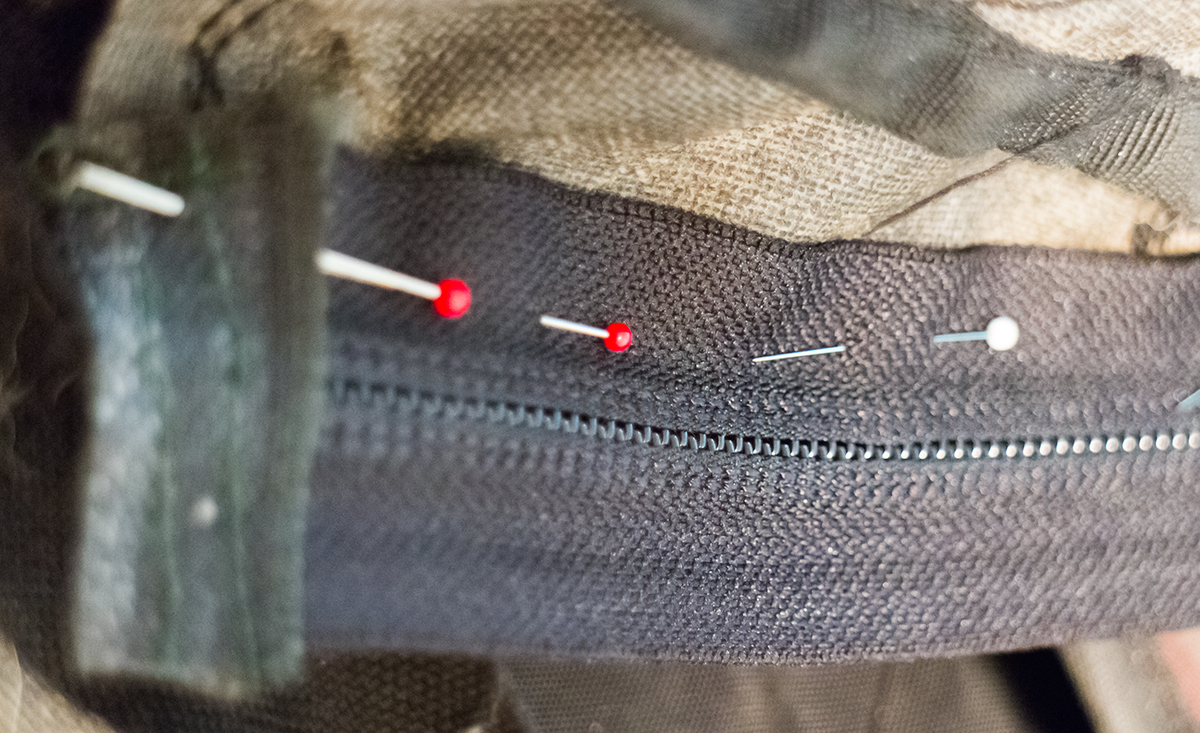
Pinning the zip in place and keeping track of it while moving everything around in the sewing machine is challenging. This is a repair, let’s not forget. The bag was put together in a different way than we are approaching it now and using specialty machines. Take your time. Do your best. Perfection is the goal but we are forced to accept ‘good’ if we do everything we can.
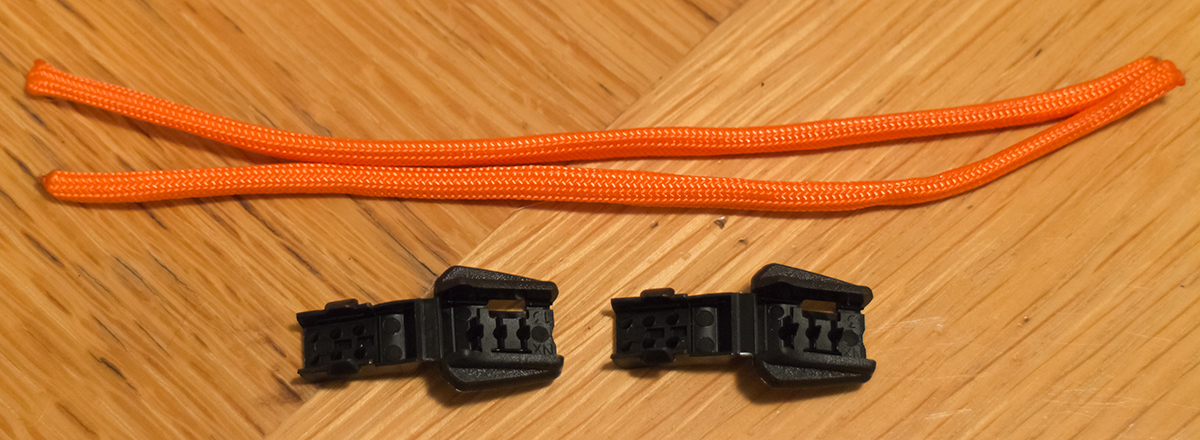
Since the zipper hardware for the #10 coil is so large and heavy, as was already planned, I cut the metal tugs off and replaced them with nylon neon orange 550 paracord and a plastic end cap. This makes the system lighter is quite a bit easier to use.

The #10 zipper really has a smoother and more solid feel. It’s definitely a size to consider on larger bags.
In the end, this project was very involved. A couple of hours of work and $10 in materials my not be for some. Sometimes, though, projects are a learning process that leads to other more important projects that require this kind of experience to accomplish. We can take on lessons and at the very least get rewarded with another 5 years of use of a favorite bag.
FYI, The ITW Nexus side release buckle (female) is a GTSR Loop Body. GTSR is prevalent in Mil-Spec applications. In addition to the military, Camelbak uses this system, as they are a major government contractor. One issue with CamelBak is that they also mix in some WSR25 & WSR20 (world side release) side release buckles for hardware. This crates a challenge as WSR buckles are very difficult to source in small quantities. HERE is ITW’s Nato catalog. Timbuk2 deviates entirely from the mil-spec by using Duraflex Steath SR Buckles. You won’t find them at the local fabric shop. They are available with some investment. I have some I can part with if needed.