Ronen Sarig is a total noob. Julien Absalon is one of the best XC racers there is and a World and Olympic champion. The two have one very uncommon (in a modern sense) thing in common. They both have tied and soldiered spokes on their bicycle wheels but for different reasons.
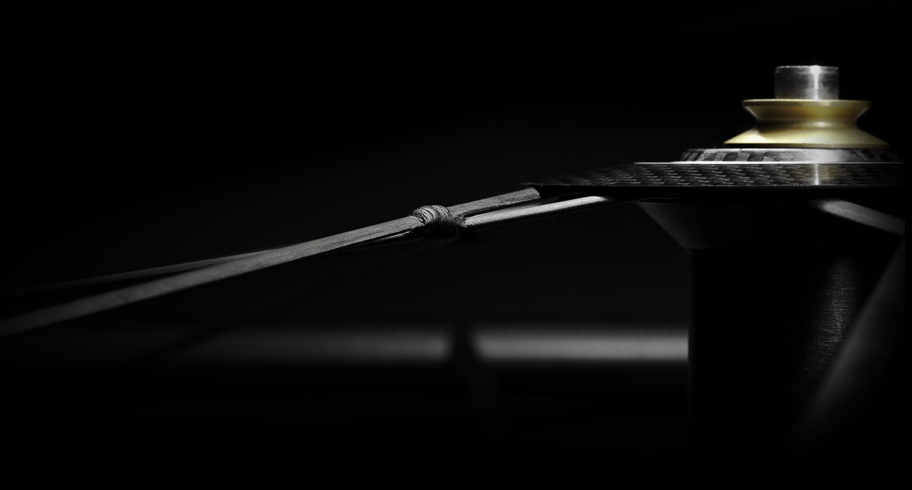
Julien Absalon (BMC) has wire tied and soldiered spokes on his front and rear wheel supposedly to add some stiffness but primarily as a fail-safe for the extremely light 29er wheels he uses. The method acts as a fail-safe during a race so that if a spoke does break, it’s chances or getting caught up in a critical way are greatly diminished. A very cool touch still showing up in top tier racing. (link)
This technique is similarly used on Stöckli’s Marco Quinter wheels but with a carbon filament wrap where his spokes cross. Super trick and light. (link) I’d like to see the way that they wrap these and what kind of epoxy they use to seal it together.
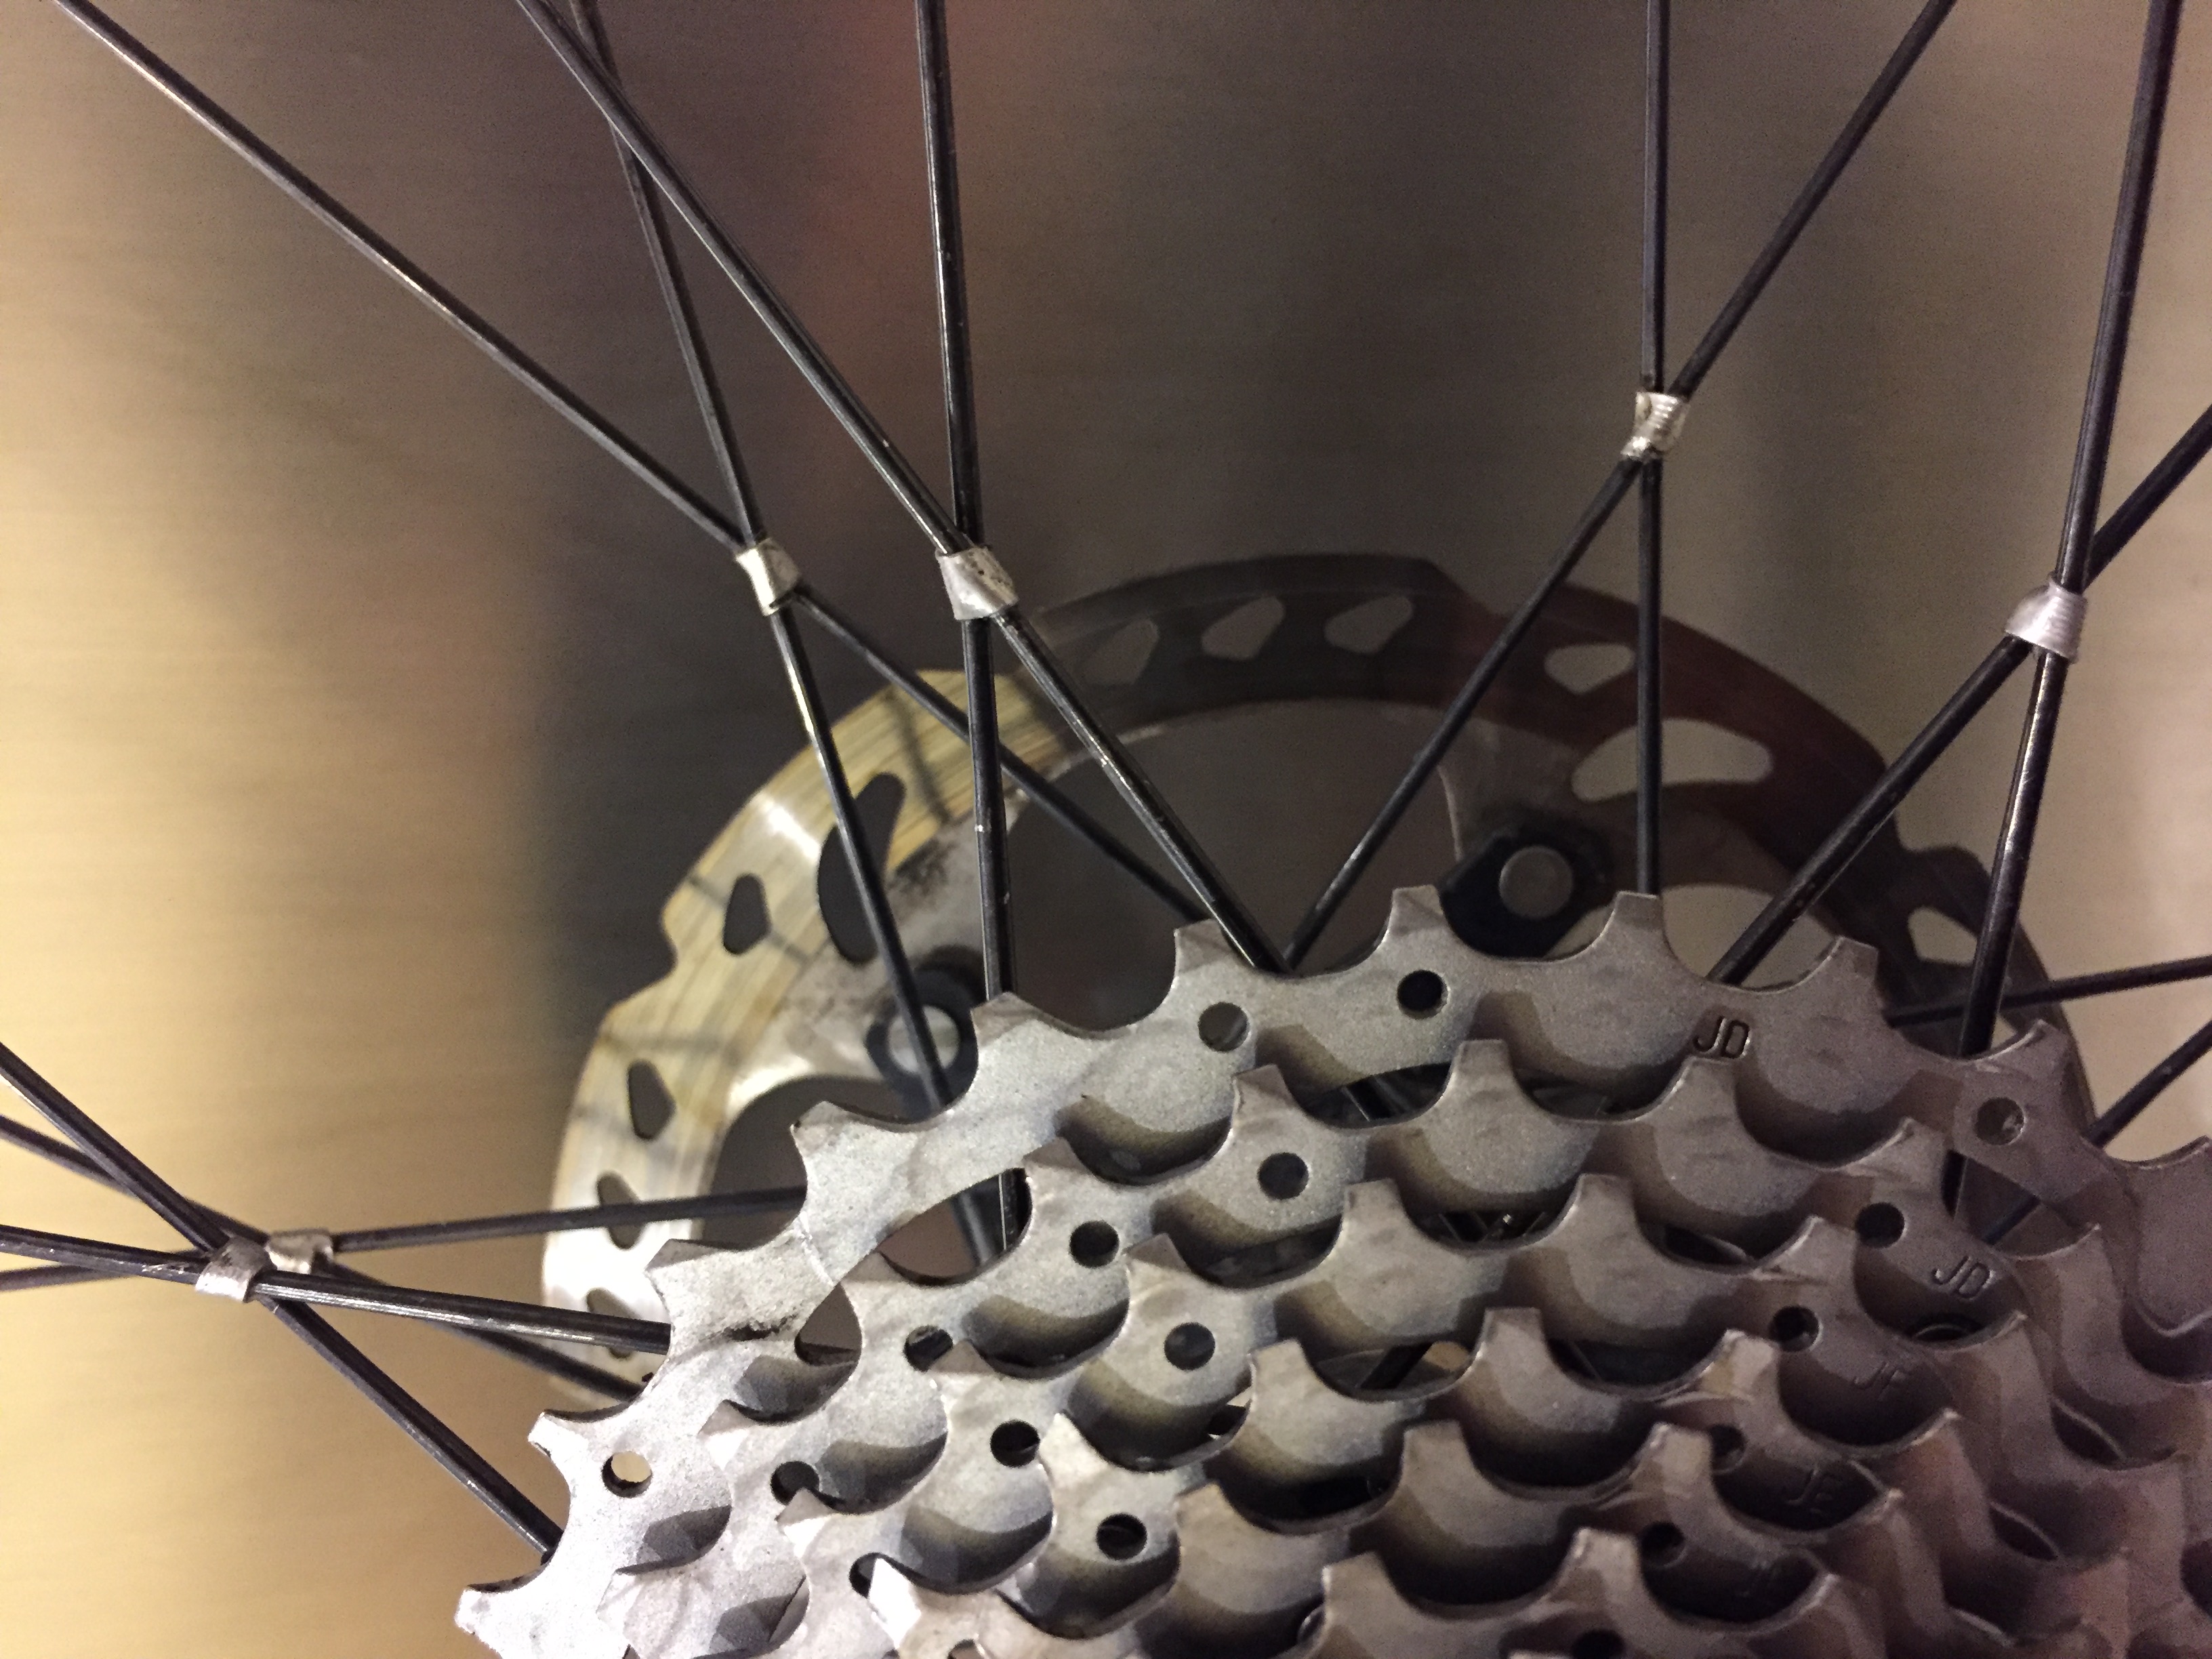
My friend Ronen Sarig is running tied and soldered spokes on his rear 26″ wheel for a related but different reason. After a week or two of chasing down a horrendous creak coming from his bike, and checking every possible source, it was finally determined that the noise was coming from the rear wheel’s spokes rubbing against themselves under power. This seems to happen more with black spokes than with natural stainless. Initially, we thought to cut the spokes and rebuild the wheel with new or to even replace the wheel. We finally came up with the idea that, since there was nothing to lose, why not try fixing the crossed spokes in place with tied wire and soldier. Just like old school track bikes!
Incredibly, this fixed the problem and the wheel is now dead silent. Just 20 minutes and a few dollars of supplies. This is a great trick to try if you find yourself in the same situation and don’t feel like wasting a ton of money on a new wheel or build.
Here are some notes that Ronen was able to share (his words):
– Each tie started with ~5″ of beekeeper’s wire. I used this wire. From jewelry making, I knew that 28AWG would be thin enough to be easily manipulated by hand / pliers.
– Beekeepers wire seems to be the least expensive tinned steel wire that’s readily available to consumers. The wire core should be steel (for strength), but the outer coating must be copper to tin, for solder-ability.
– My personal experience is that it is extremely difficult to solder well to stainless steel. I’ve tried with silver solder, SS specific flux, etc, and even then the joints barely come out with a lot of heat / manipulation. Go with tin or copper coating for soldering.
– I started each tie by making a small hook at the end of each 5″ segment. I used needle nose pliers to fold the last 1/8″ of the wire into a sharp hook.
– Anchor the hook into a spoke crossing, and start wrapping. Spend a little time figuring out the specific “knot” to use in order to get the wrap to come out neat.
– Apply a generous amount of solder flux to each joint. I used the Kester #951 Flux Pen. Flux pens make applying flux easy, but any common solder flux should work.
– Next: soldering. I tried heating the first joint with a small jewelers butane torch (this one) This proved to be uncontrollable. Despite my careful efforts, the flame proved to be way too much heat. A butane torch burning cleanly will output a ~2600F flame. I probably overheated the first spoke.
– Instead, I switched over to my Weller WES51 iron. It has a temperature control knob. I set it to about 700F, way more than enough to melt solder, but not high enough to damage the steel spokes, even with a long exposure. (Of course, as is always the case with soldering – get in and out as fast as possible. The longer that the joint is heated, the more flux will boil away / solder will oxidize and its mechanical and electrical properties will degrade.)
– I used 0.062″ diameter 60/40 Tin/Lead solder from radio shack. Common stuff.
– This trick should generally be used when soldering, but for the rookies: before touching the iron tip to the target, clean the tip (with a wet sponge or brass wool). Then, apply a small coating of fresh solder to the tip. This is referred to as “wetting the tip” – now, when you touch the tip to your target, the area through which heat will conduct is much larger (a solid-to-solid connection generally has very small surface area, unless the geometry fits perfectly.)
– Apply heat with the iron. Wait 1 second. Go in with the solder. Don’t use very much – you don’t need a big ball of solder – it’s just important that the solder wicks in between the strands and fills the gap. Any solder on the “outside” of the joint is basically useless.
– On some joints, I had to move the iron around to the back side of the joint in order to heat it to the point that the solder would flow there as well. Move around the joint with the iron as necessary, getting the solder to flow everywhere. (This should not take more than ~10 seconds per joint.)
– Upon inspection, I later realized that I’d applied too much solder to some joints. It wouldn’t really be an issue mechanically, but it was aesthetically ugly. I re-applied flux, re-heated the joint with the iron, and used a desoldering pump to remove the excess solder.
Peter – you can take it from here! I’d suggest talking about our revelation in your basement – that it shouldn’t matter if the solder bonds to the spoke itself, because when the hub is under torsion (from pedaling or braking), the force on each spoke is such that it wants to slide past its adjacent spoke, and the geometry of the wrapped wire stops that (although the wrap can slide up and down the spoke.)
Let me know if you want any other information!