I finally got to making some progress with the space gun. I’ve been busy and distracted and all mixed up. It also took a long time to get the right tools together to feel confident starting the business of destroying this rifle and build it back better.
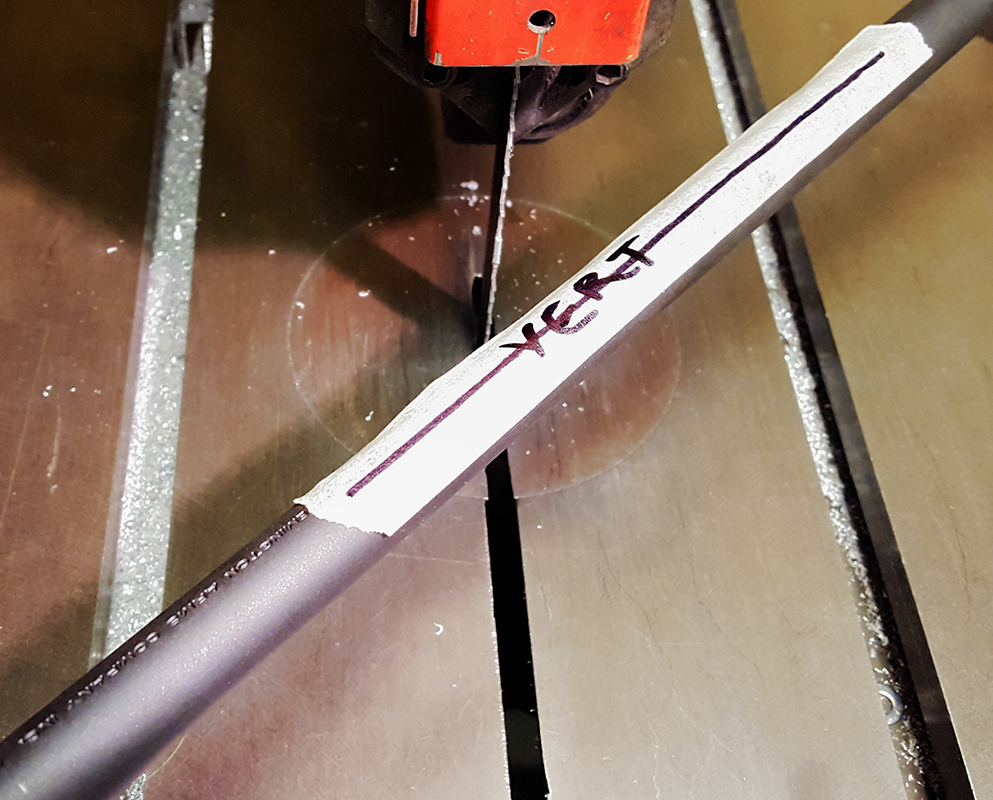
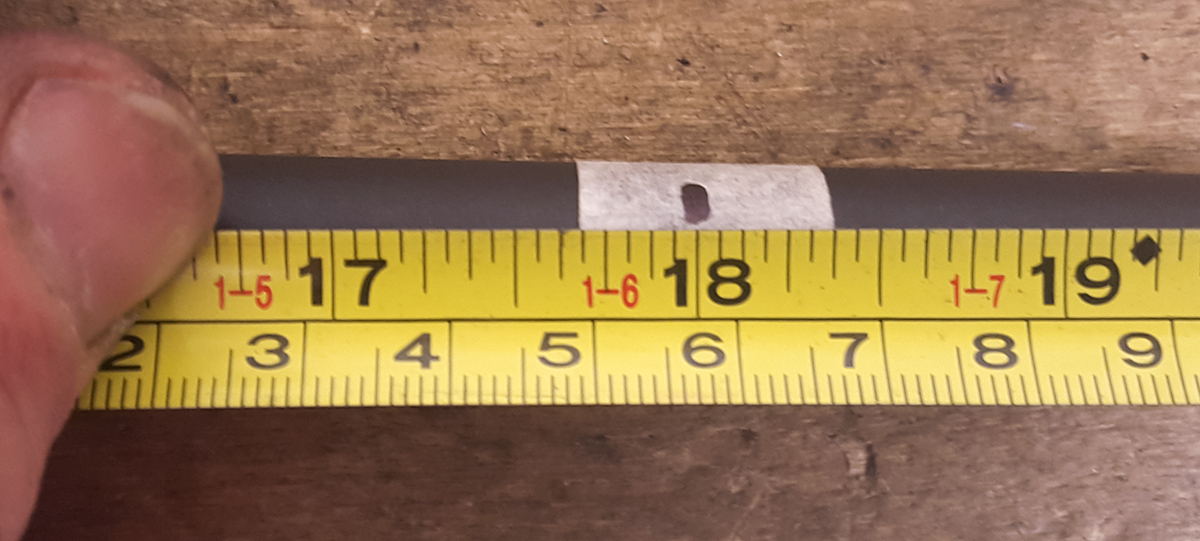
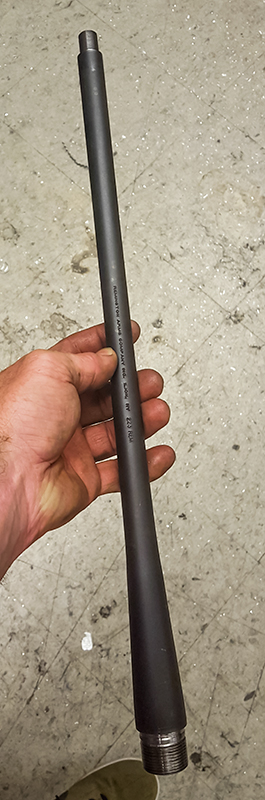
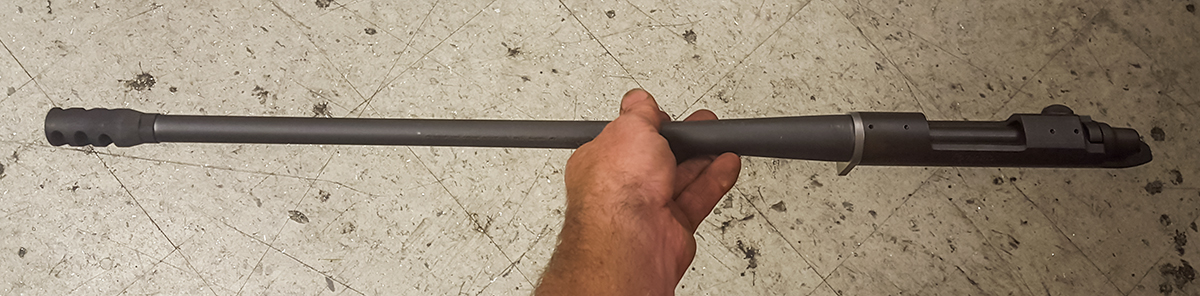
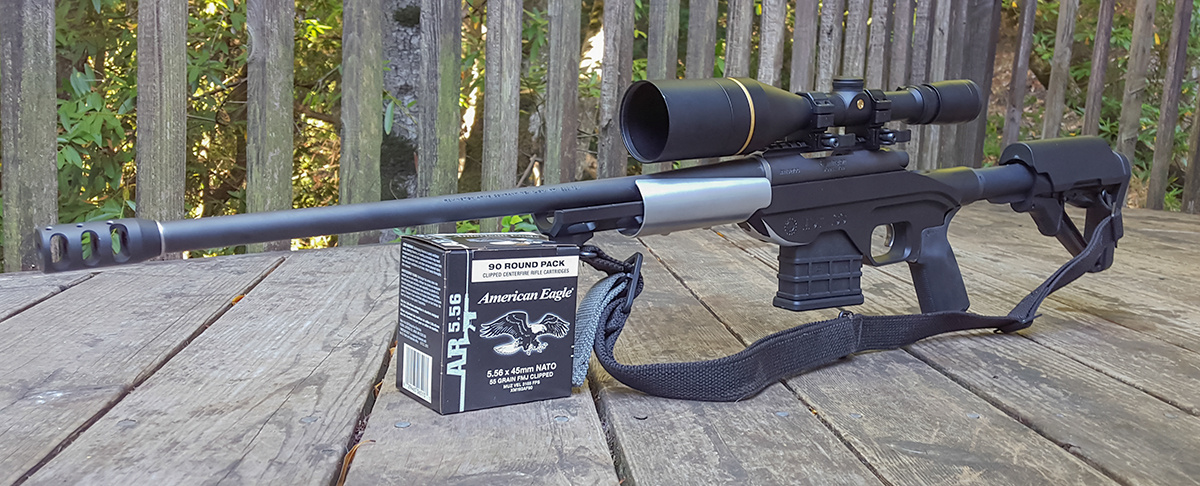
I needed to cut the barrel down from 24″ to 18″ and thread the end for the brake/comp. 18″ is a little short for longer target shooting but one of my goals with this rifle was to have something light and easy to port. If it fits into a smaller case then I’m more apt to bring it with me on trips. This meant complete disassembly.
Poor shooting:
The rifle really hadn’t shot well from the start. To be fair, this rifle originally cost $560. I really wasn’t satisfied with it as it should have been one of my better shooting rifles it turned out to be the worst. Very frustrating. Still, I had planned on really hacking at this thing so this is ok.
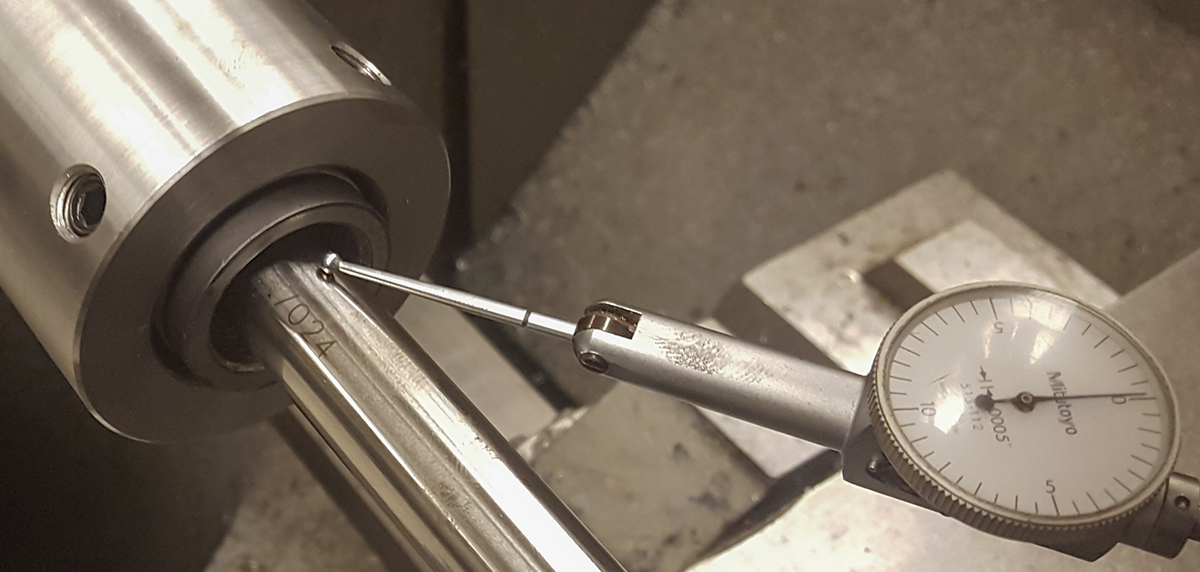
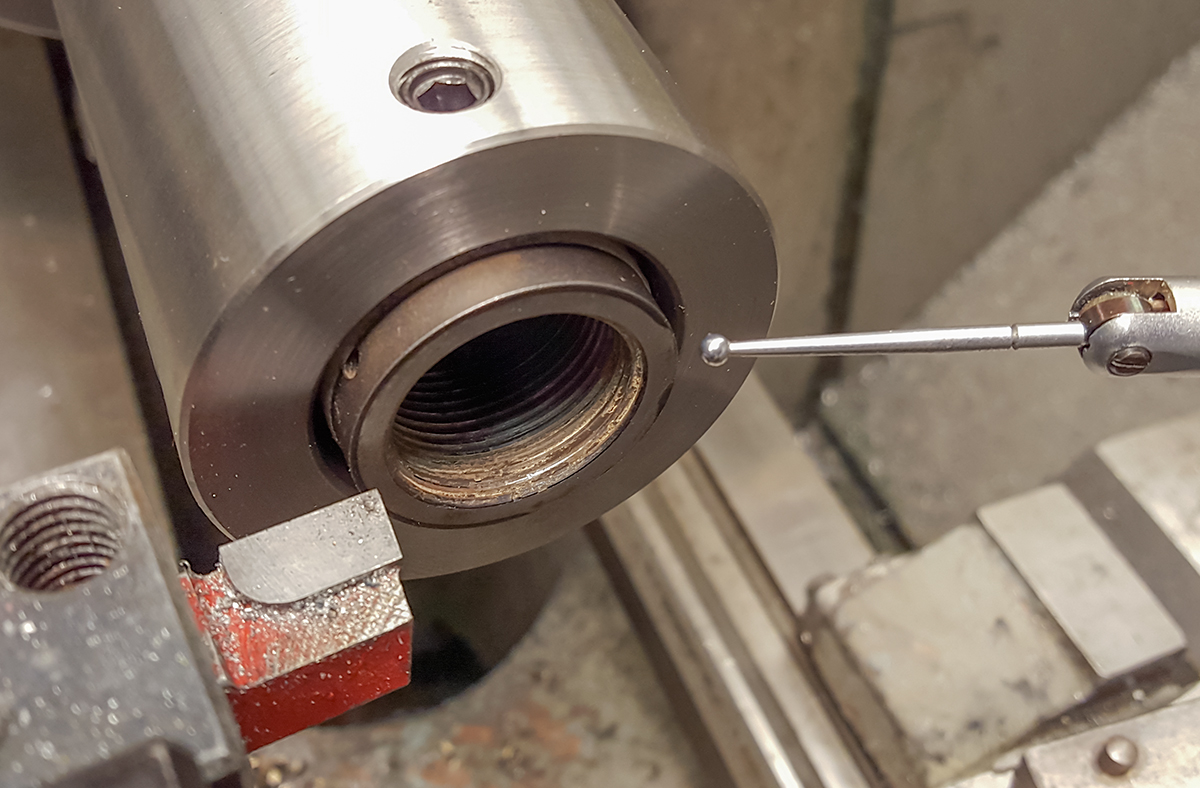
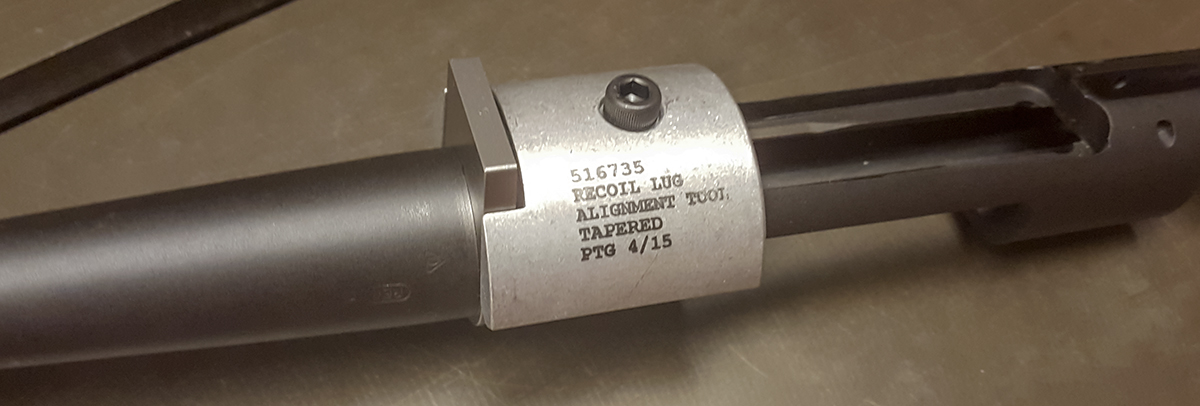
A couple of factors probably lead to the poor shooting. I found a burr in the chamber while adjusting the headspace. Also, the bow of the barrel was pointing full left rather than up/down. The bolt backing face in the action was a few thousandths unequal as well. Fixing these few things and a couple other little details like the barrel/action meeting faces with a precision lug produced an excellent shooting rifle that is now quite accurate and precise.
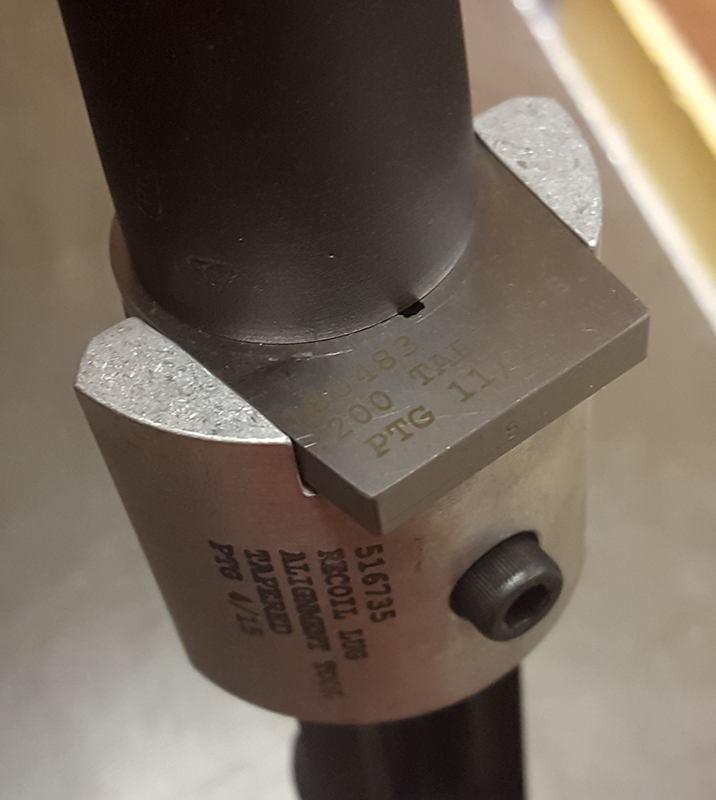
For best results, I used 9″ Vermont ZZ gages to align the barrel and the action. This is far superior to standard gunsmithing tools.
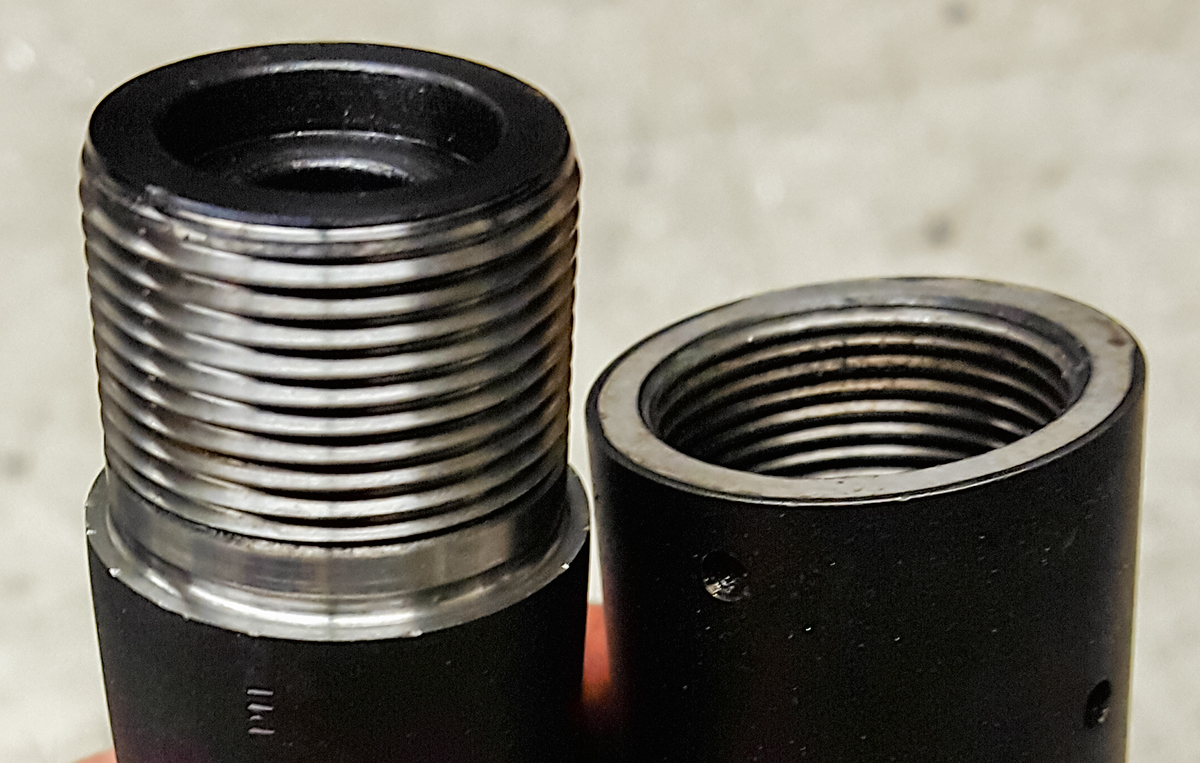
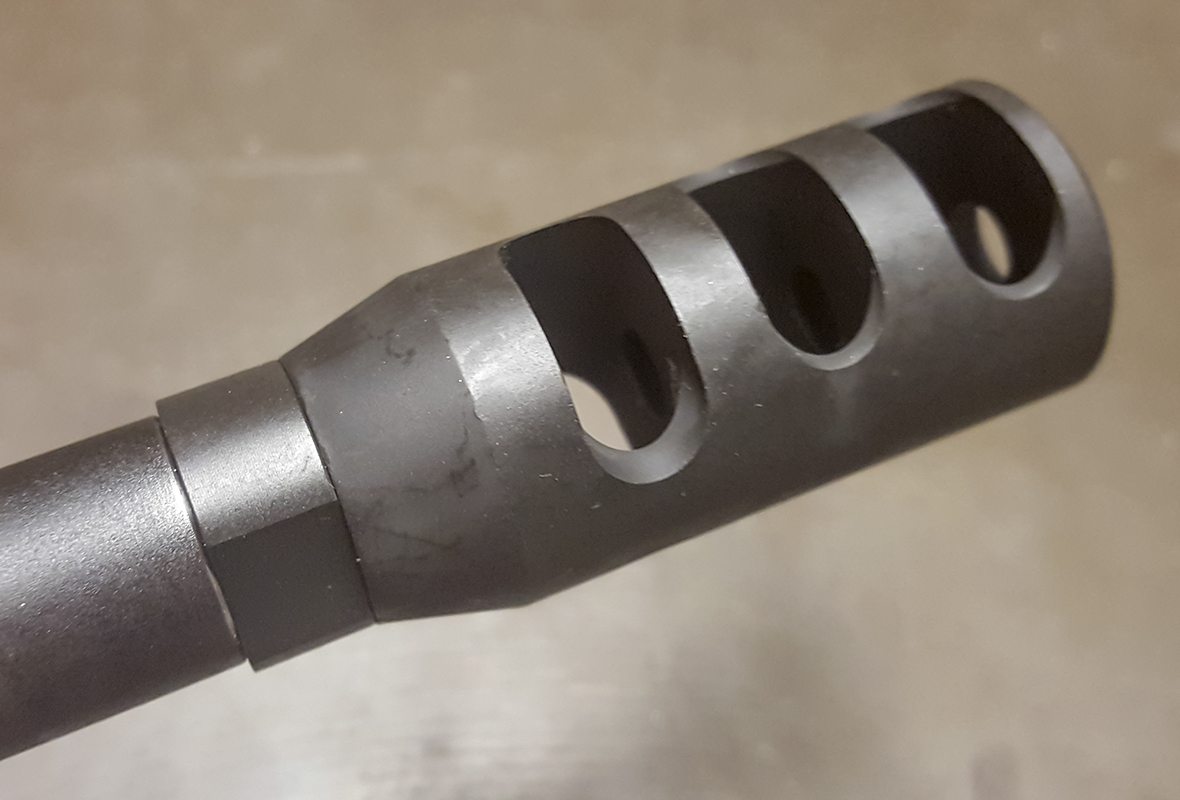
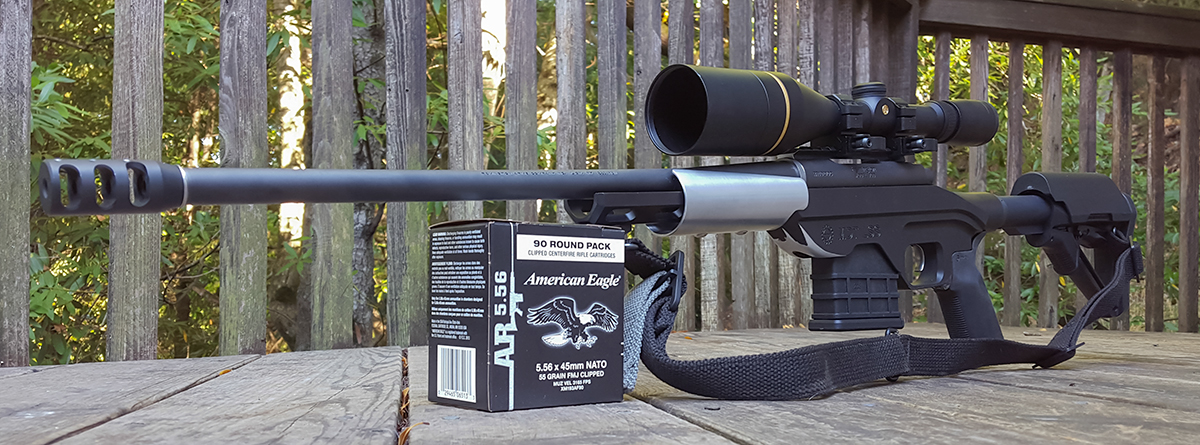
Brake/Comp:
Some will say that a brake/comp isn’t really needed on a .223 rifle. It really isn’t. I was interested in keeping a nice light shooting feel like I get on my 22LR rifles. Of course, a .223 will never feel that light but taking the natural recoil and rise down a bit would be nice. I want easy, comfortable, fun shooting here.
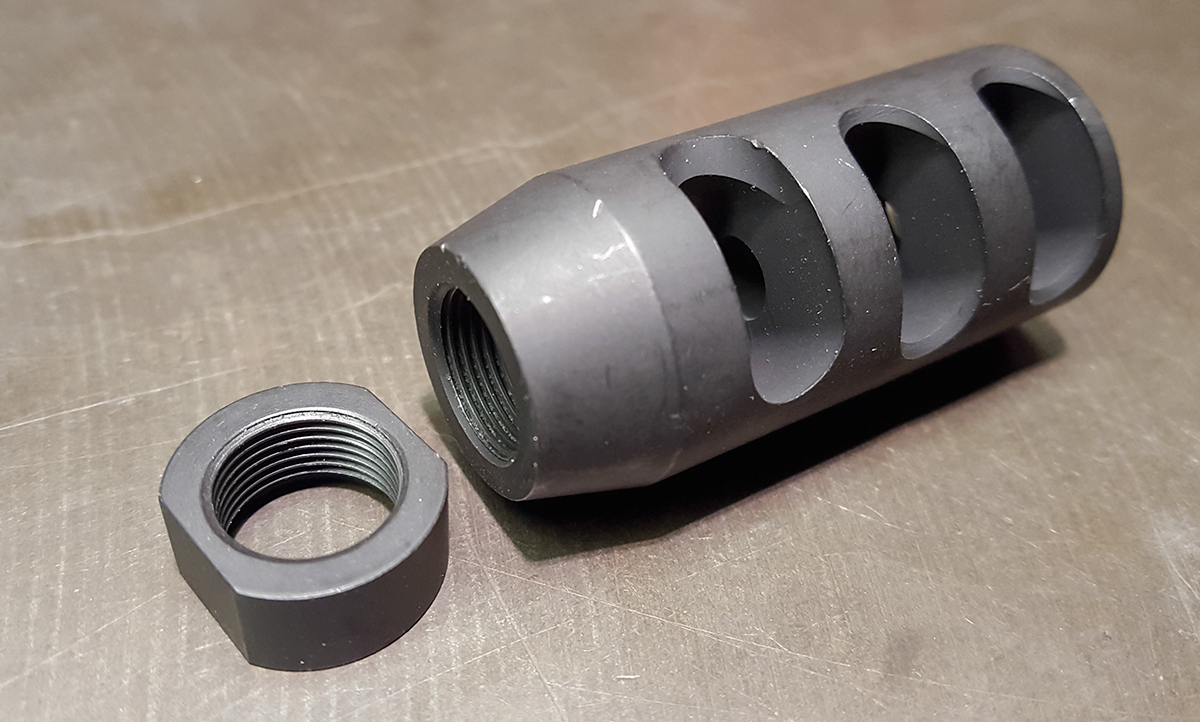
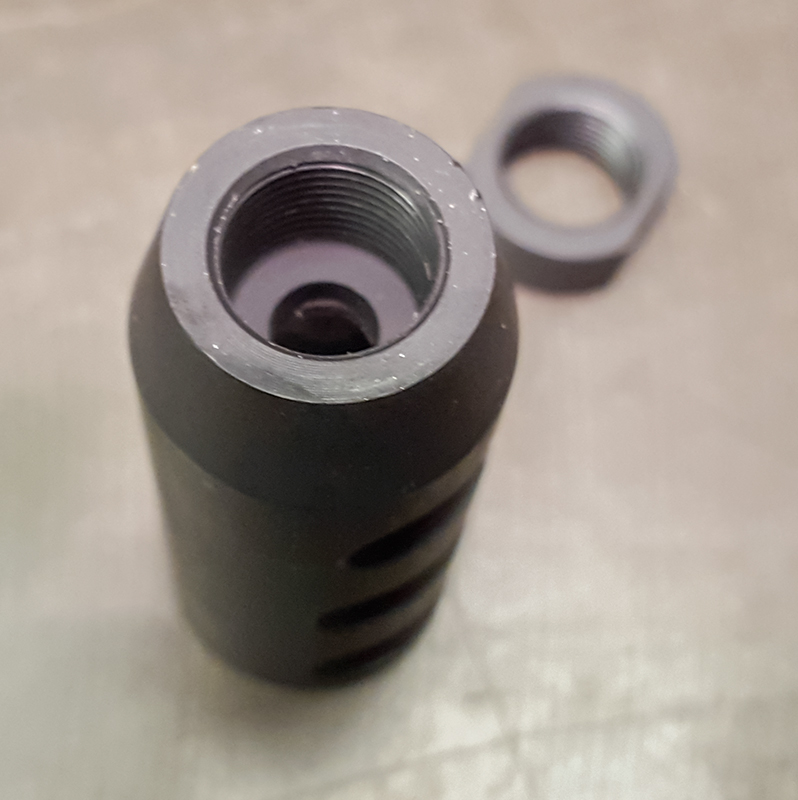
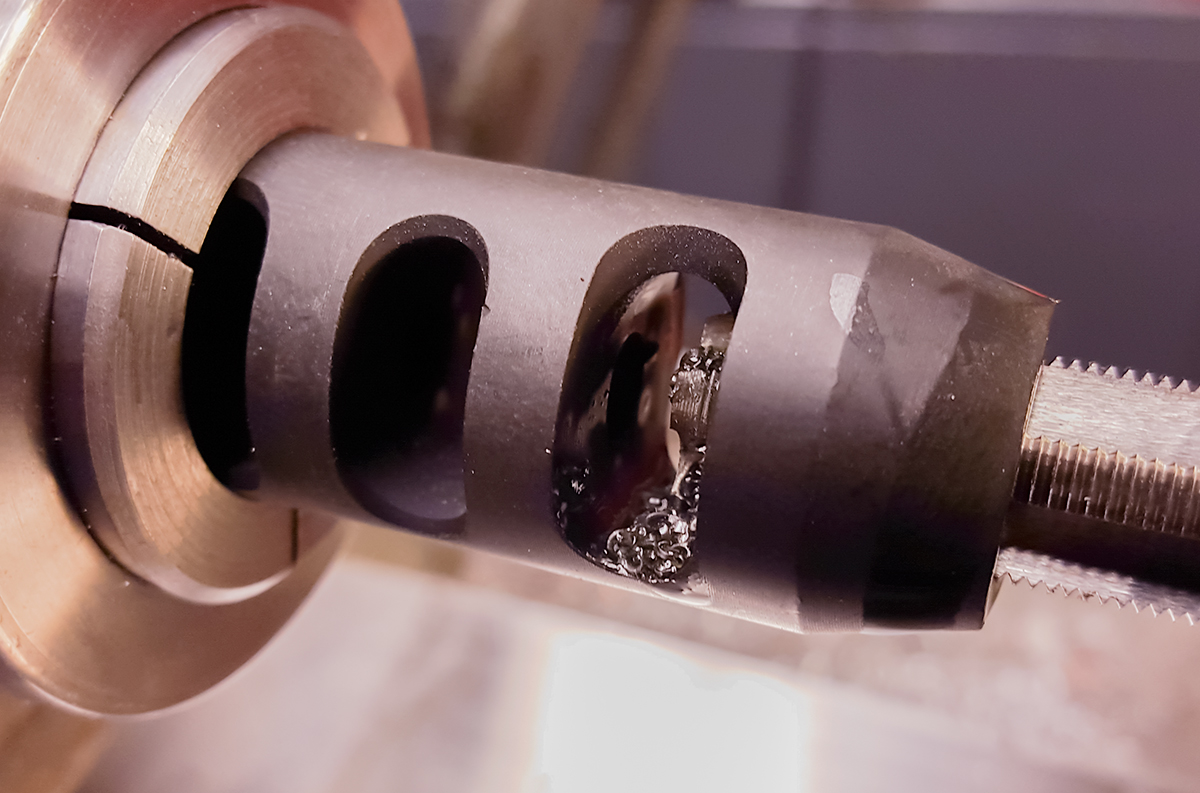
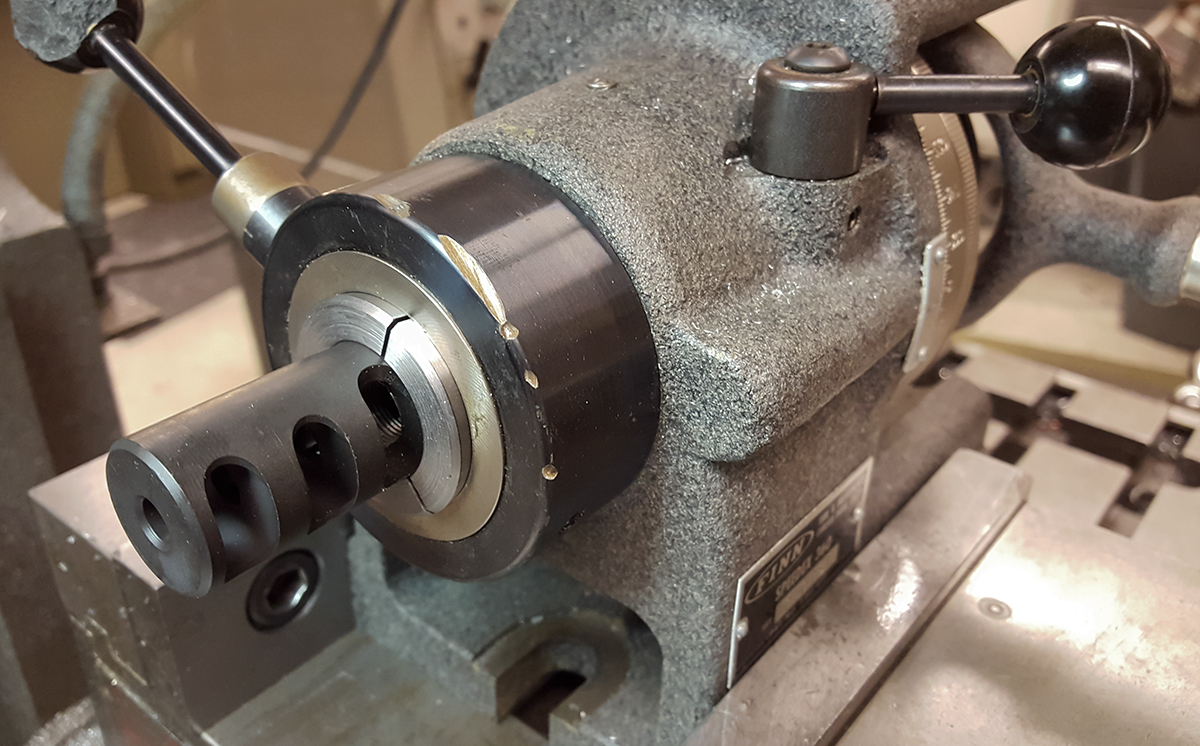
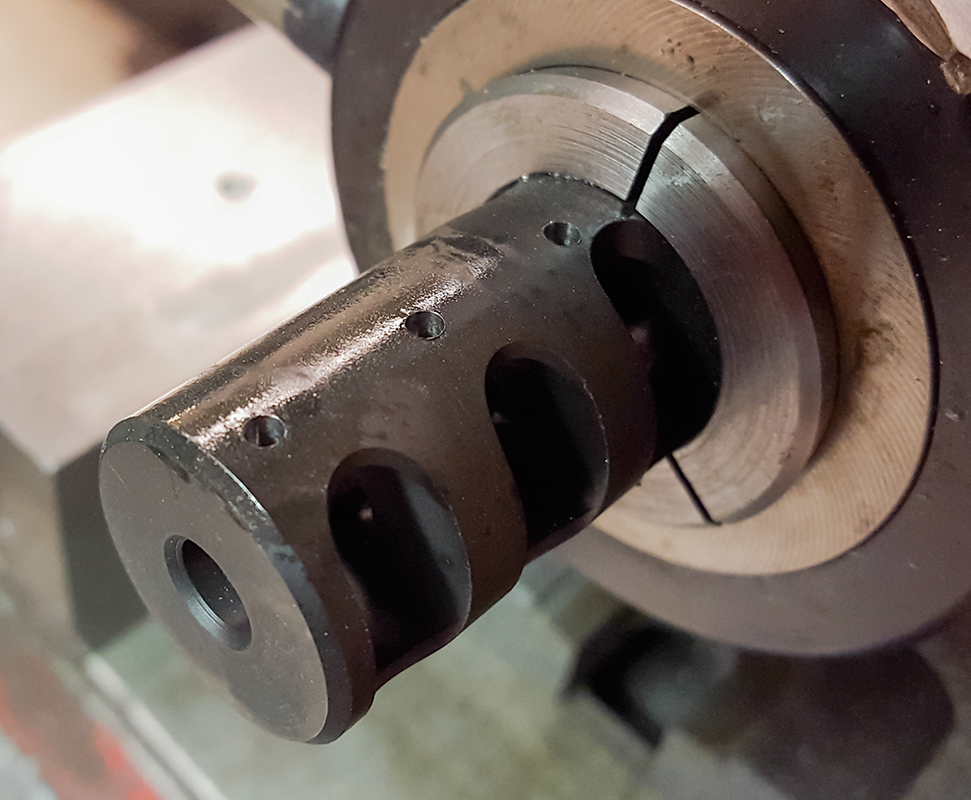
I wanted to find ways of keeping spending down with this project so economy spending on gun parts was the goal so a $38 DPMS Muzzle Brake Miculek 1/2″-28 Thread AR-15 Steel Matte was used and I just had to add compensation drilling. That all went well with 9/32″ holes drilled at 30 degrees. One problem with this brake was that it had a short thread and stop the required it to be used with a nut. That was clumbsy and added more length than I wanted. I cut an emergency collet to fit the odd size of the brake and bored out the hole, added thread, and now the part looks great. The Baker Muzzle Brake and Flash Hider Tap AR-15 1/2″-28 came in handy here.
I had a DPMS peel washer (same as McMaster #90902A224) for alignment. Having never used these before I didn’t know how bad they were. Proper shim washers or trimming the brake is the only way to do this well. I’ll be trimming the part when I get back to the shop. For now I was able to use a few McMaster #99040A816 (0.500 x 0.750 x 0.016″) shims I had laying around. I’ll be adding some 0.0020″ shims to my inventory.
The device’s brake cut does have a subtle top/bottom alignment so you should keep that in mind while installing it or modifying it.
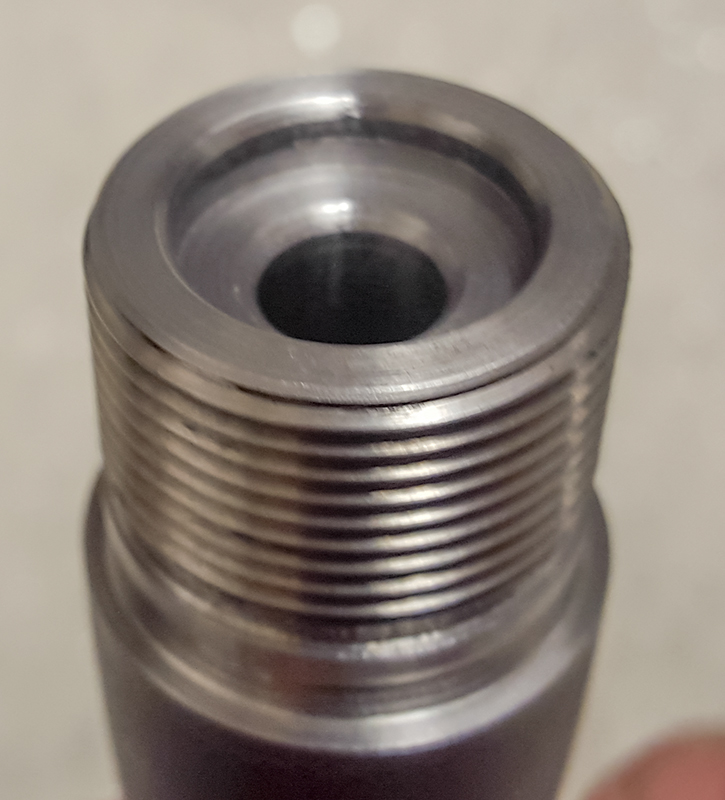
The muzzle was finished with an 11 degree crown.

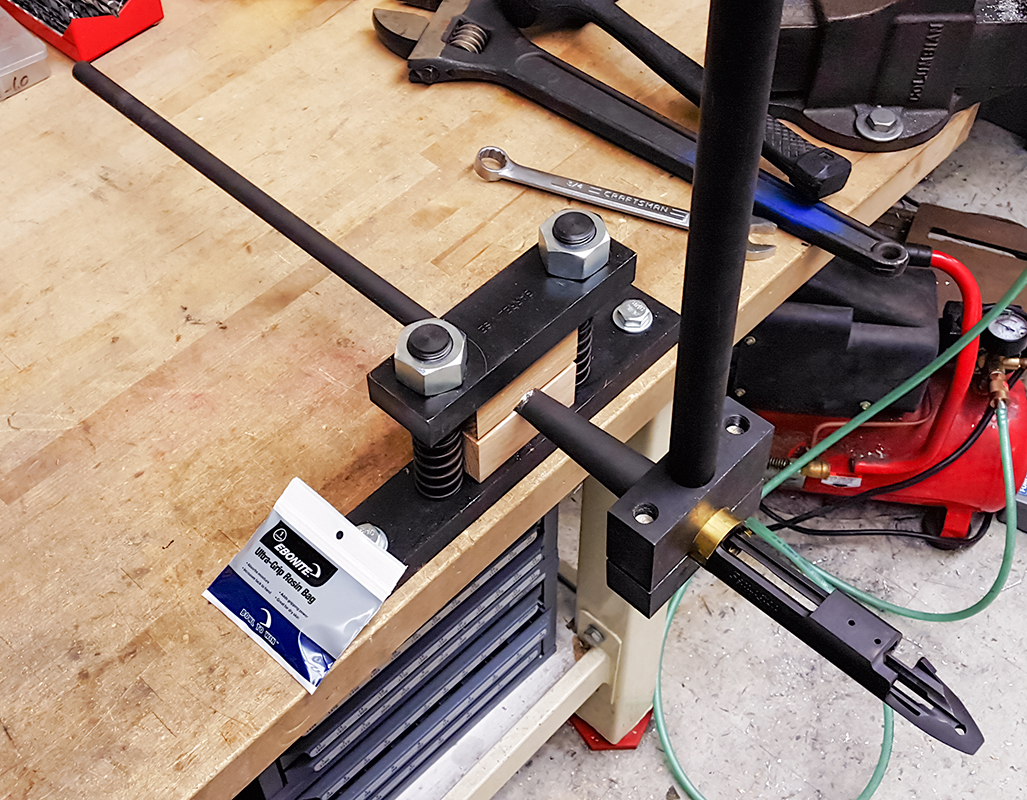
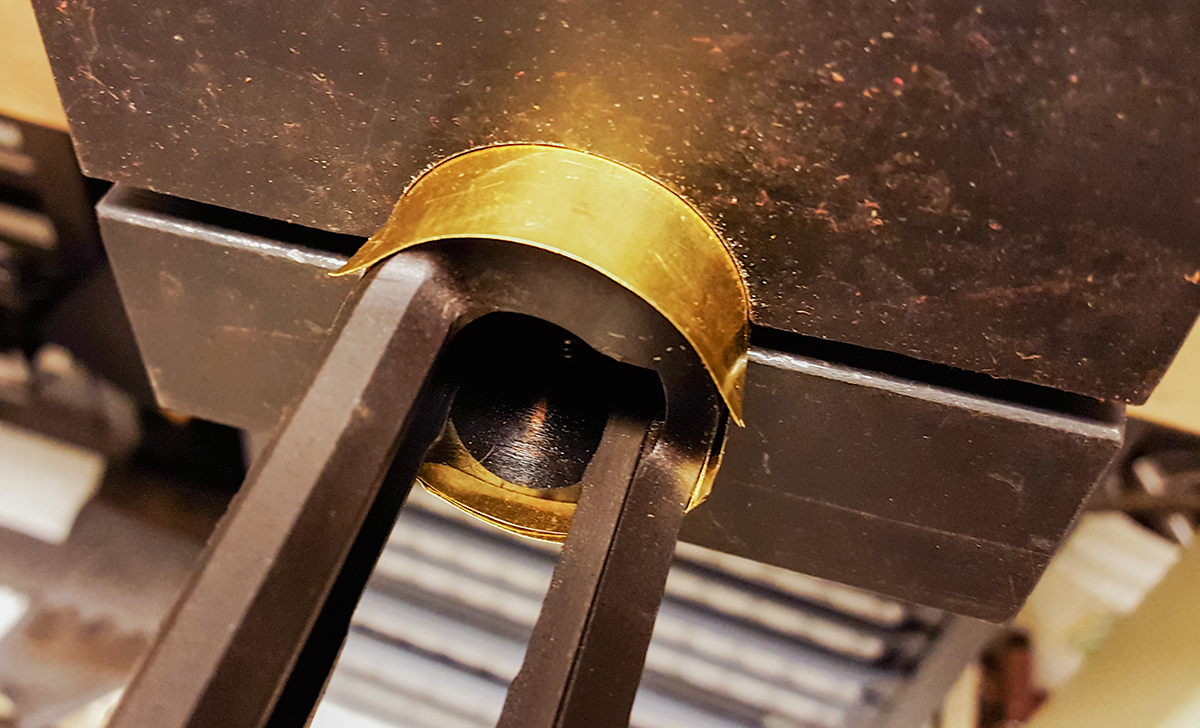
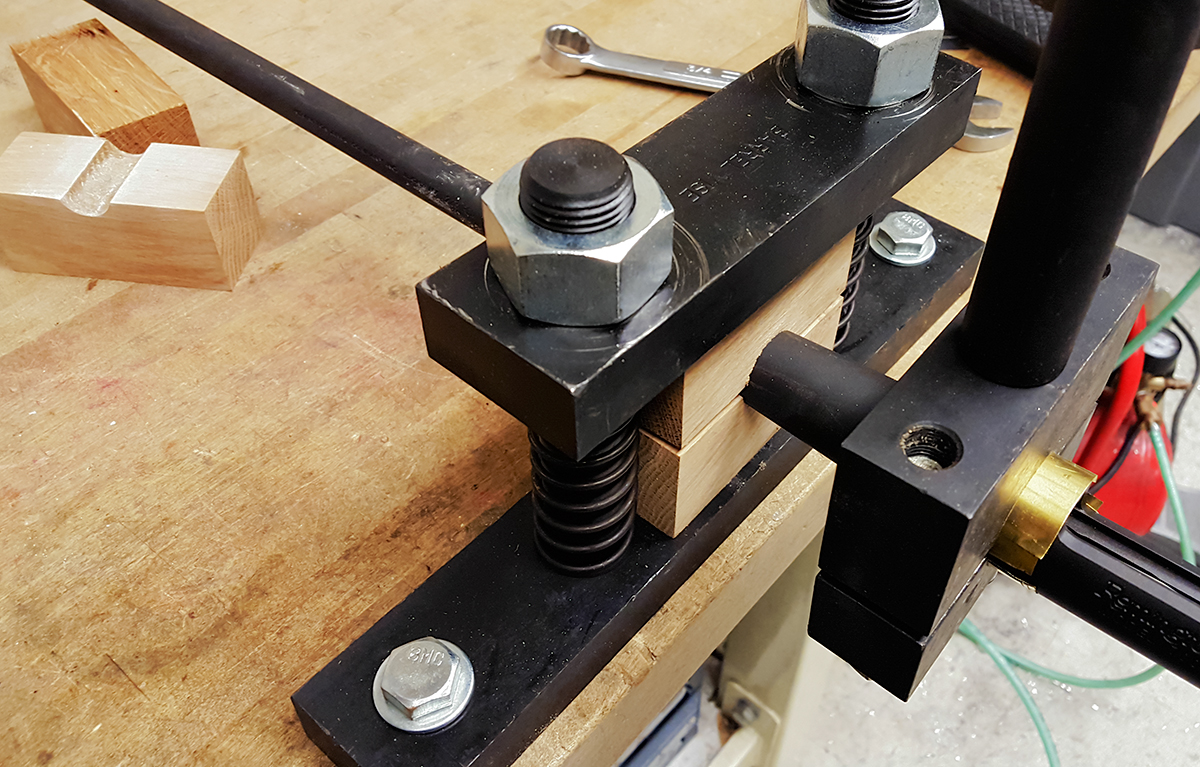
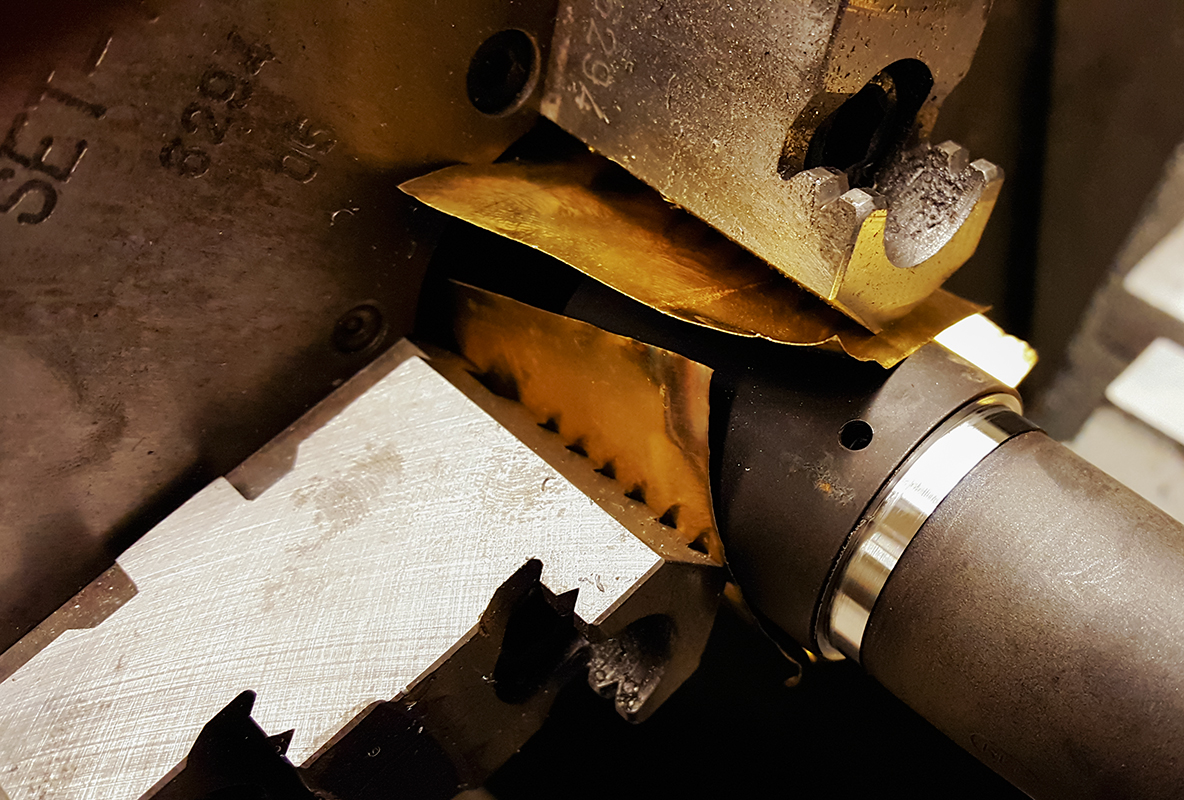
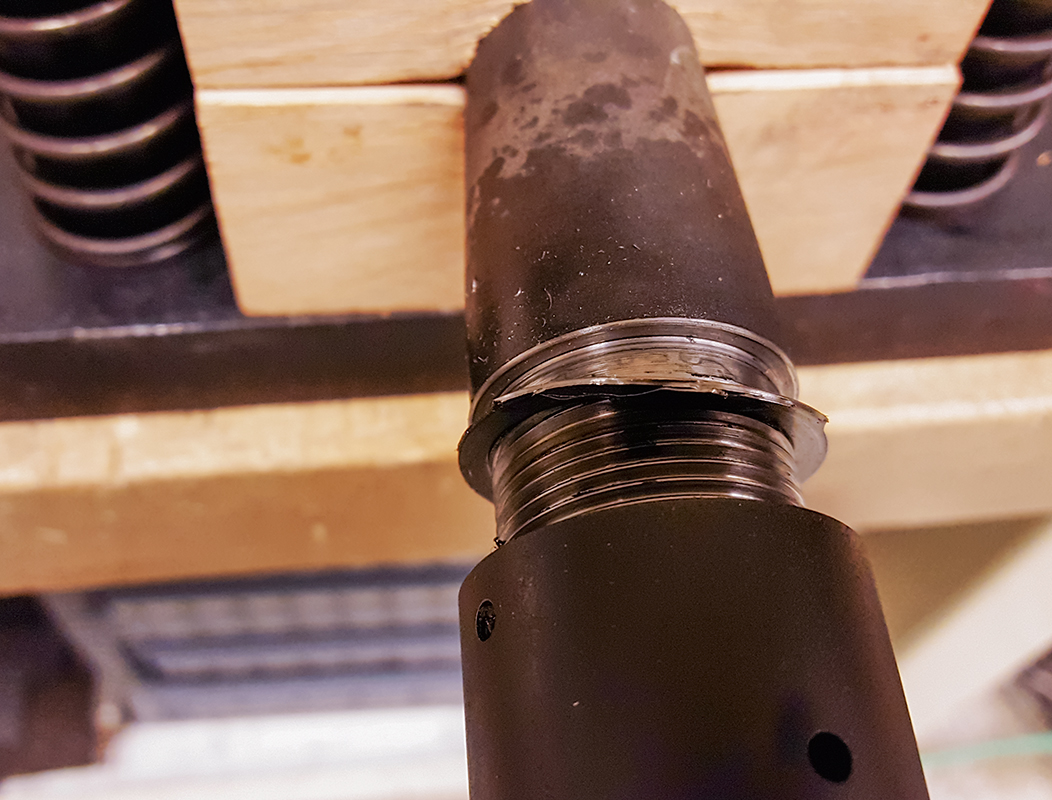
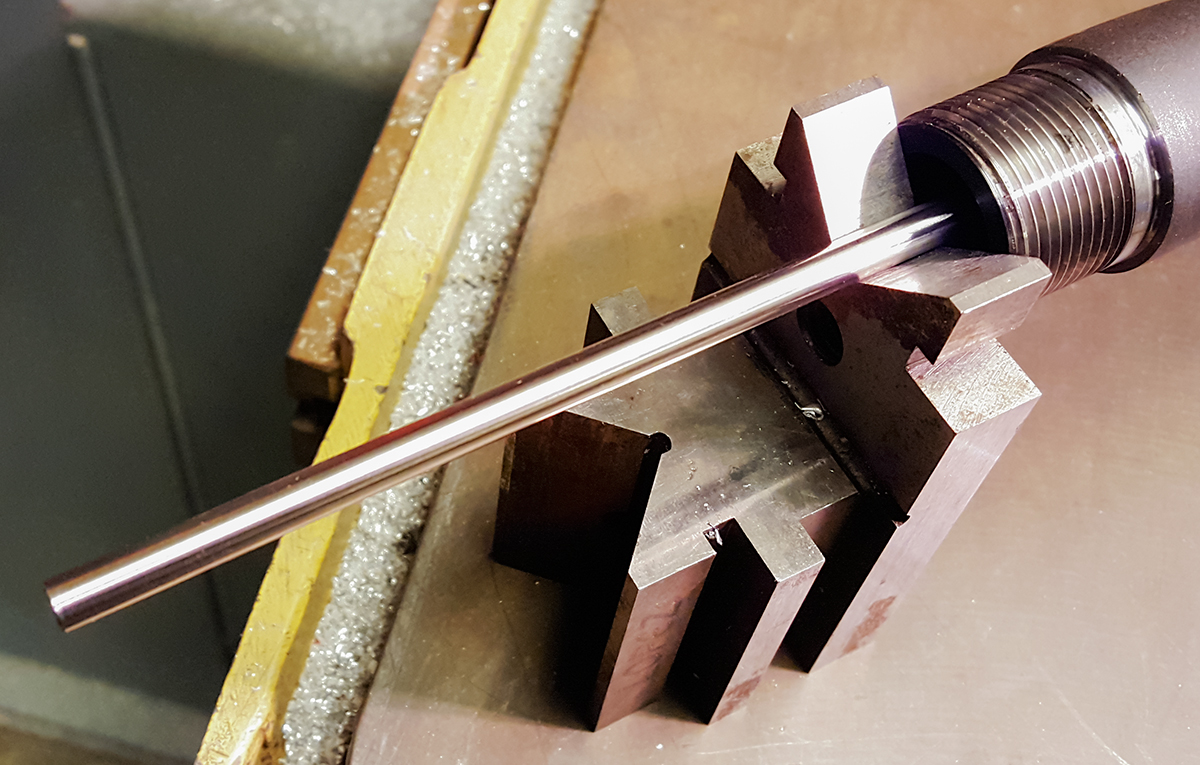
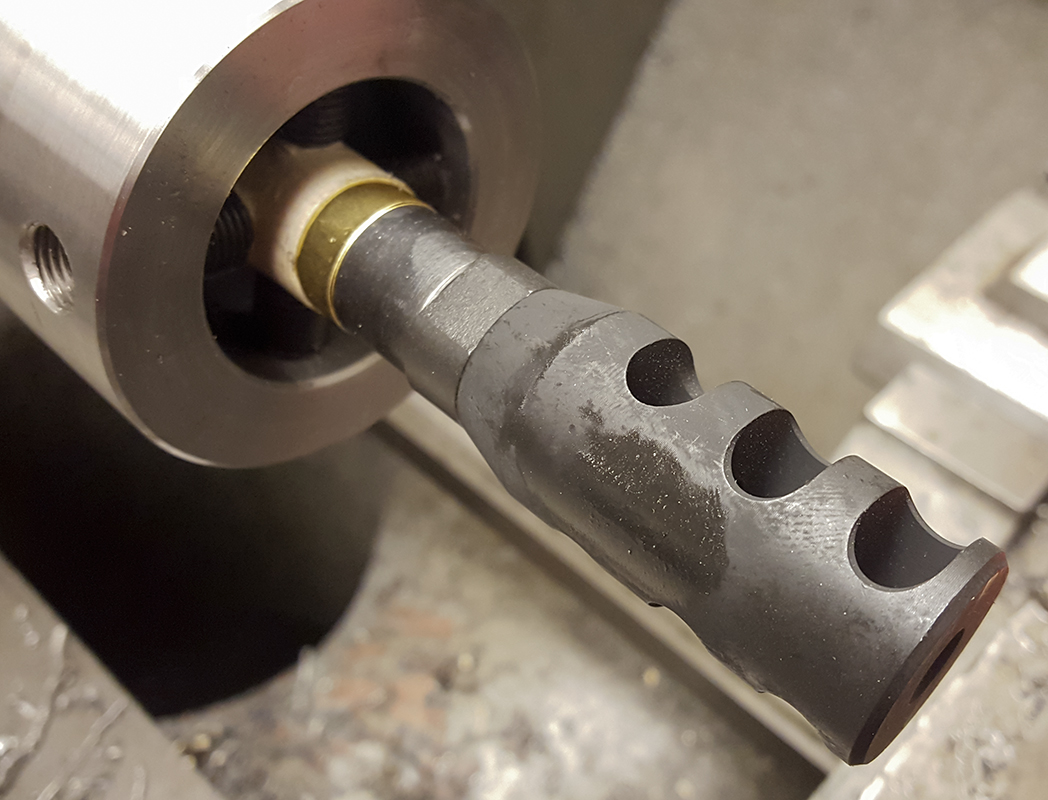
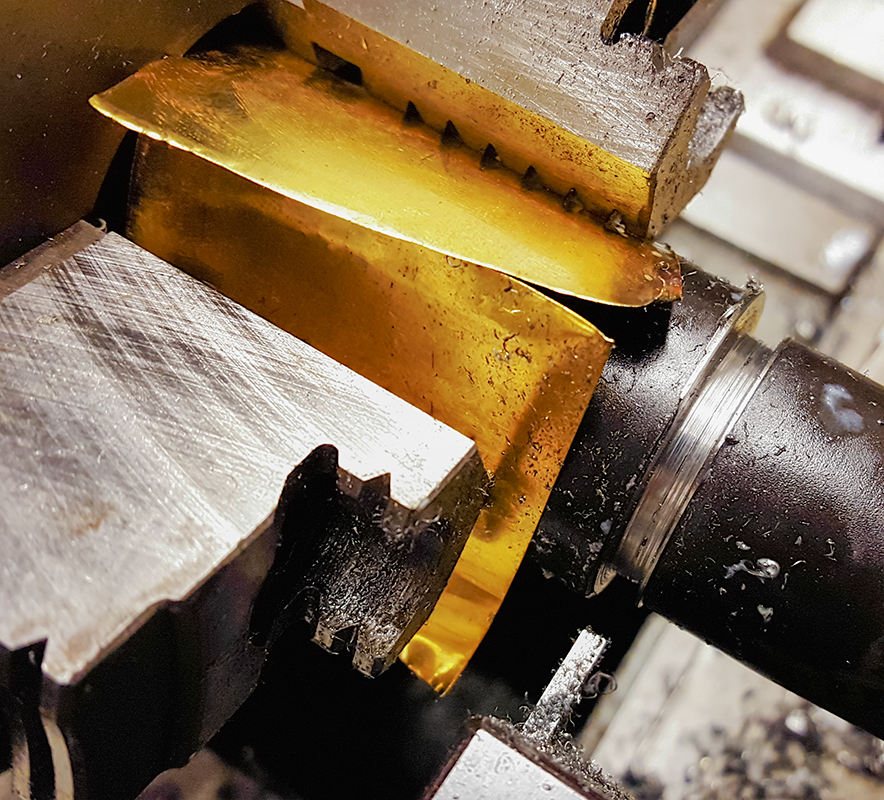
Removing the Barrel:
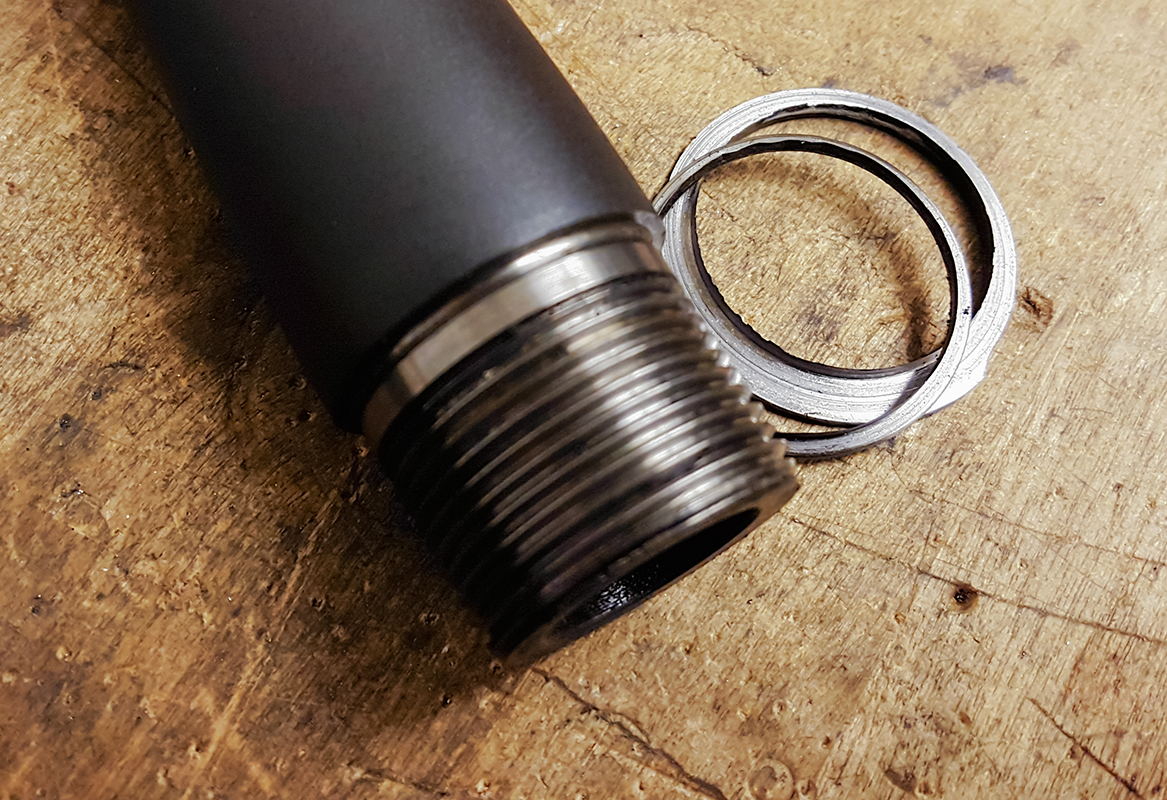
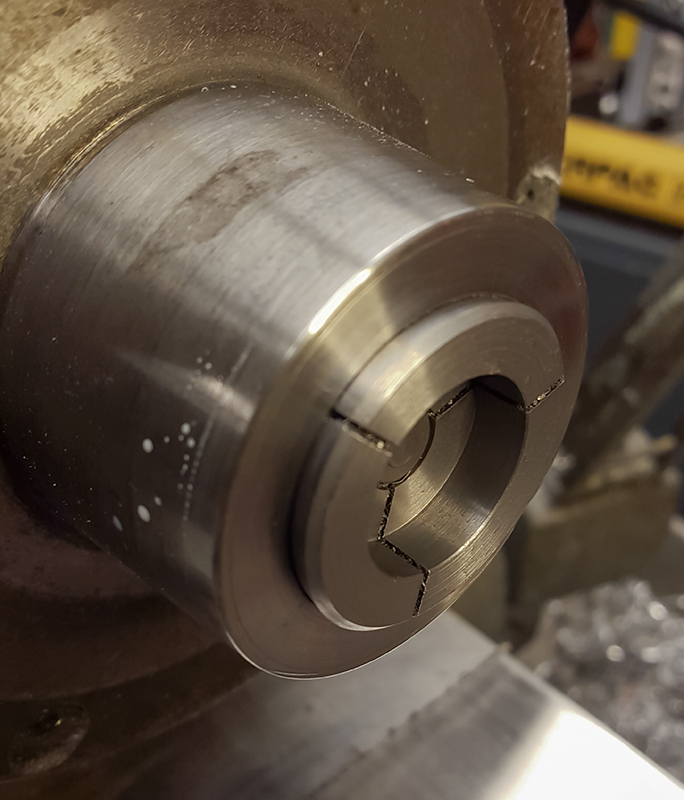
Using a standard barrel vise was an excise in futility. The barrel continued to spin in it regardless of how much I tightened. I also began to worry that I would start causing damage to the finish or function of the barrel. Finally, after giving up with that approach, I decided to cut the lug out of the barrel to free up the parts. This worked amazingly well and will be my go to technique from now on. The barrel is tightened very firmly in place with threadlocker. Very tough stuff.
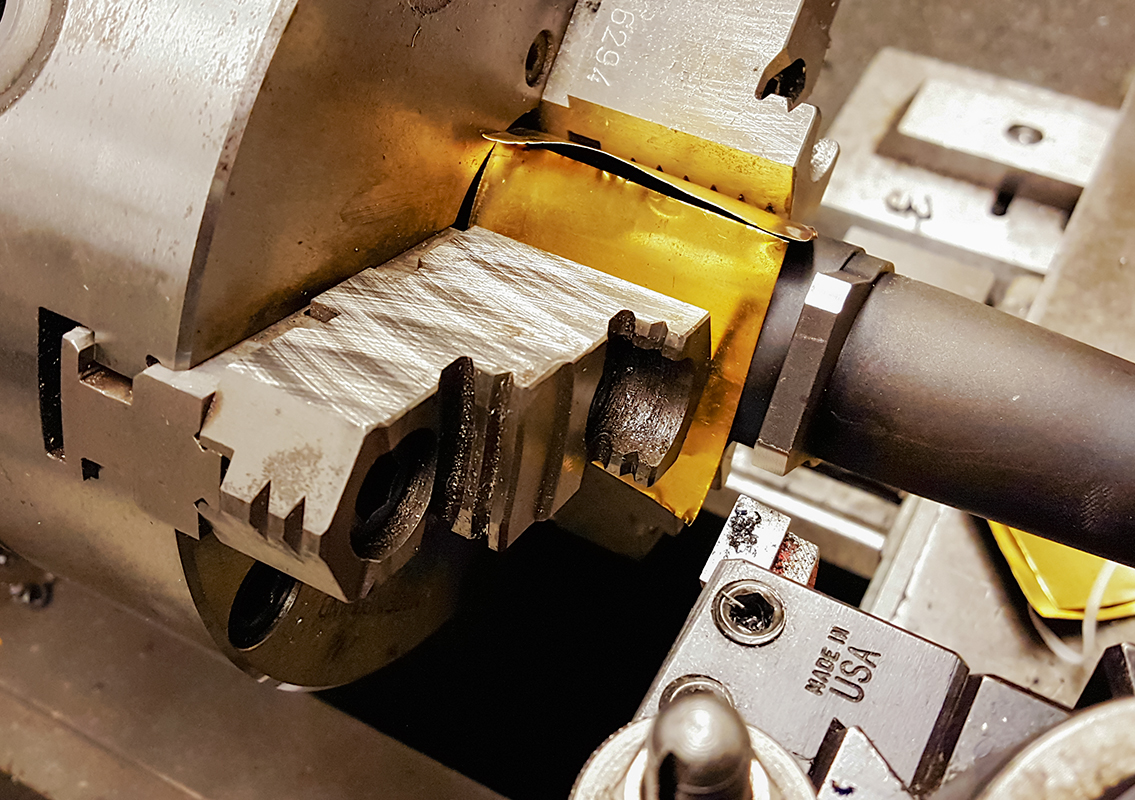
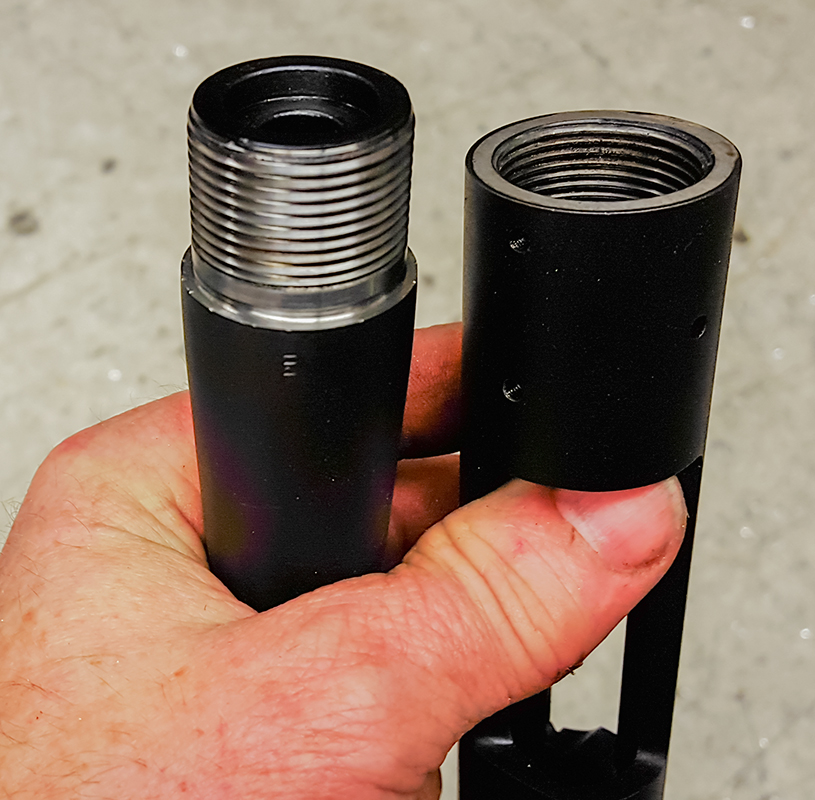
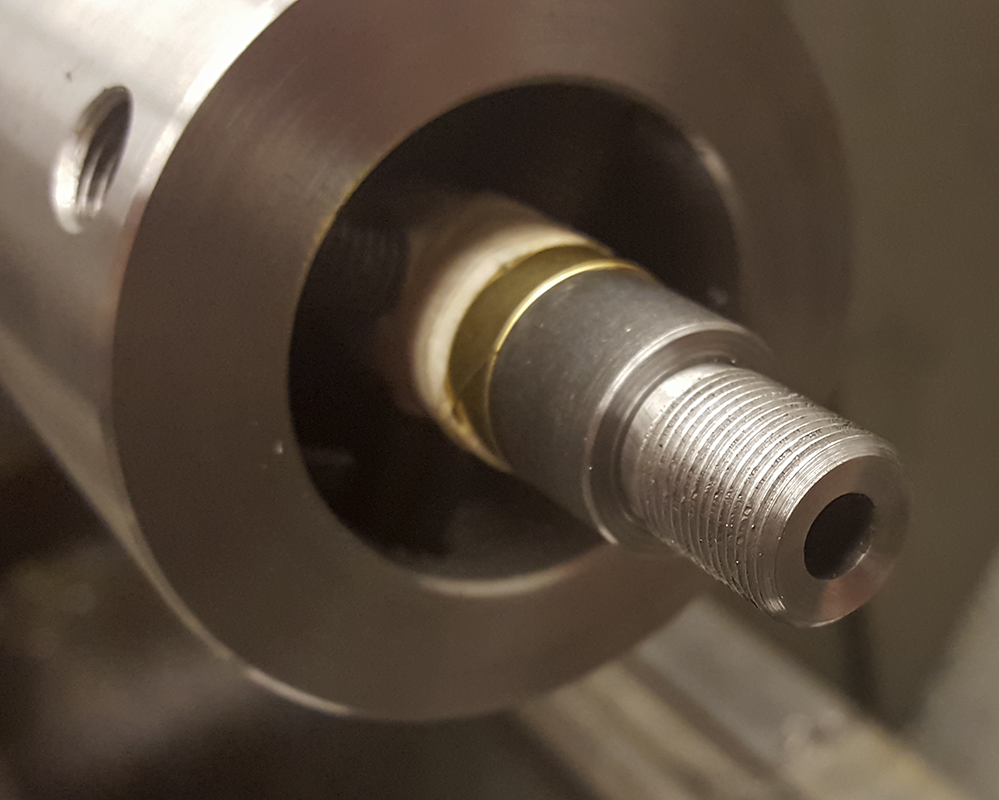
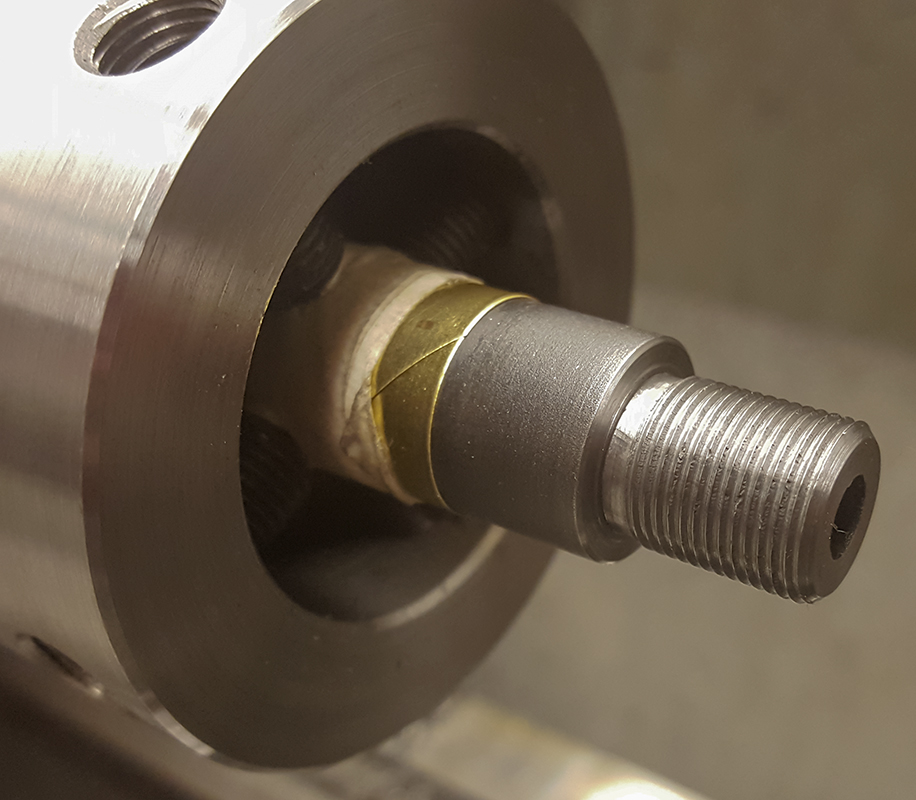
Cutting muzzle threads:
This went ok. I took a shortcut setting up my threading tool and ended up with some tearing in the surface. I basically just jumped in without prep. Lame. It’s slight but a shame. No effect on function and only seen when looking close. 0.500-28 Special x 0.550-0.600″ (MAJOR Ø 0.4970 ±0.0030 PITCH Ø 0.4758 ± 0.0010). If I pull the barrell again, I’ll shorten the barrel a little more and recut the threads.
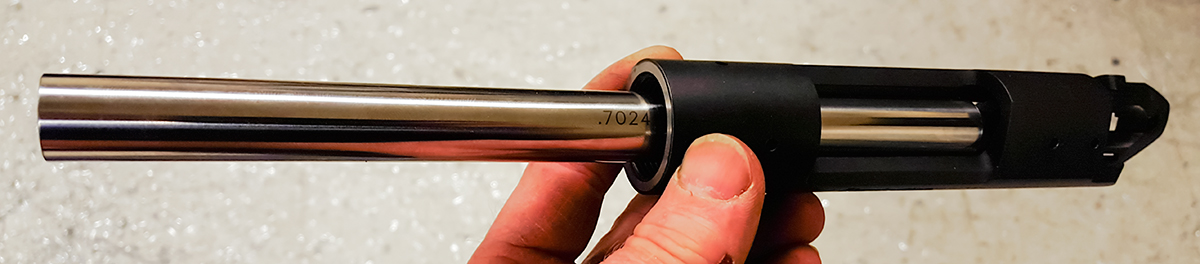
Chamber and headspace:
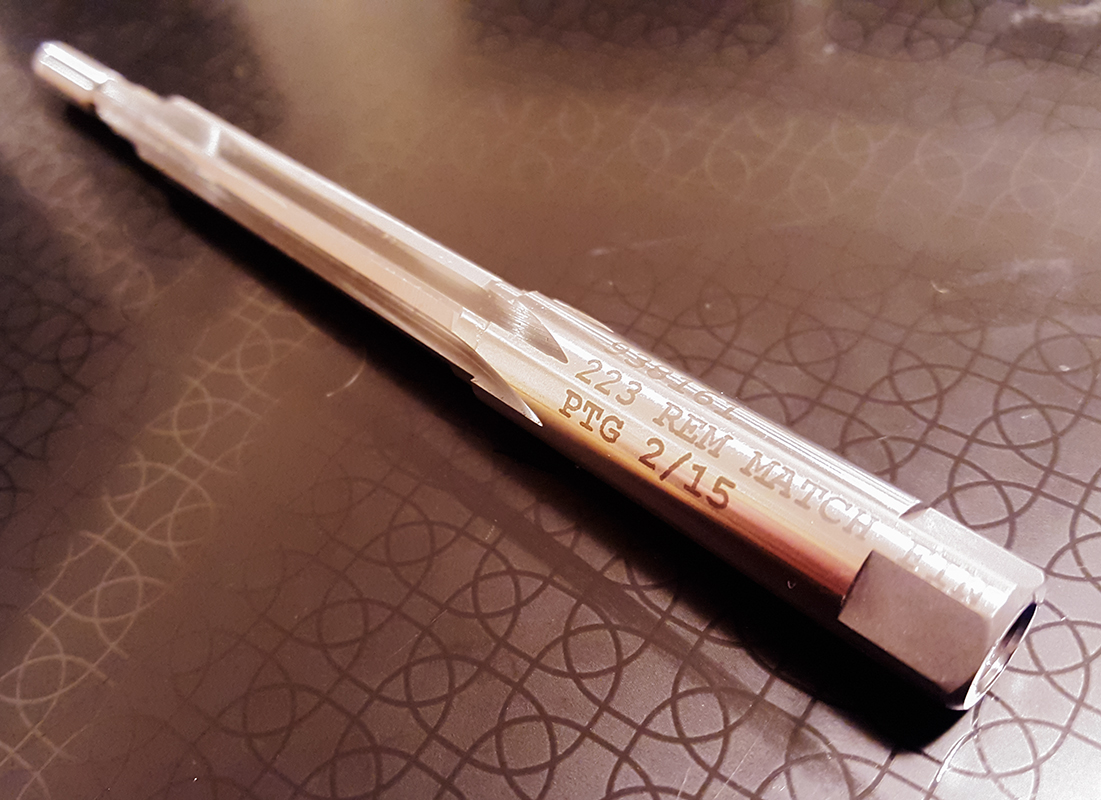
Headspace was set right at ‘GO’ (1.4636″) using a PTG .223 Remington Match Reamer (938161). I found a burr in the chamber while reaming. I got through that. I cut the land and such back to clock the barrel alignment while doing this work. Still, the chamber is loose to the reamer even after moving in about 0.065″. I may want to get more aggressive with this on another round of play.
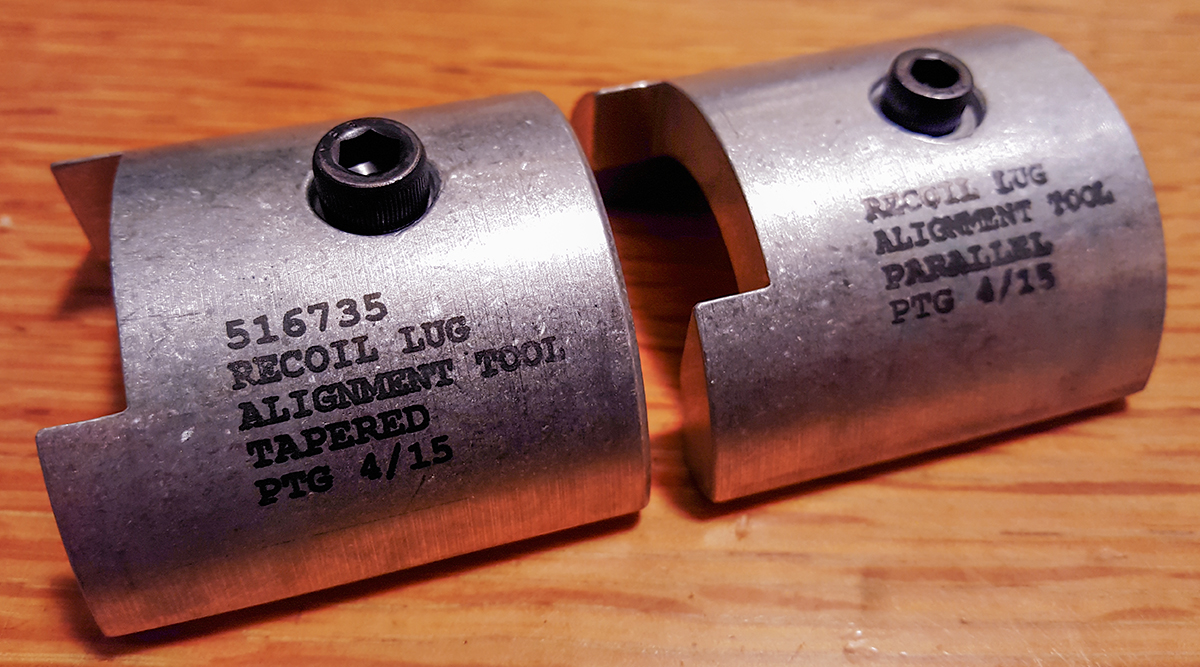
PTG Recoil Lug Remington 700 Tapered Shank .200″ Thick Stainless Steel
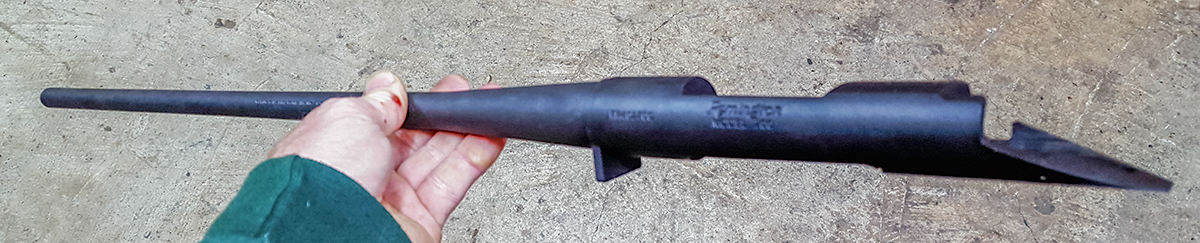
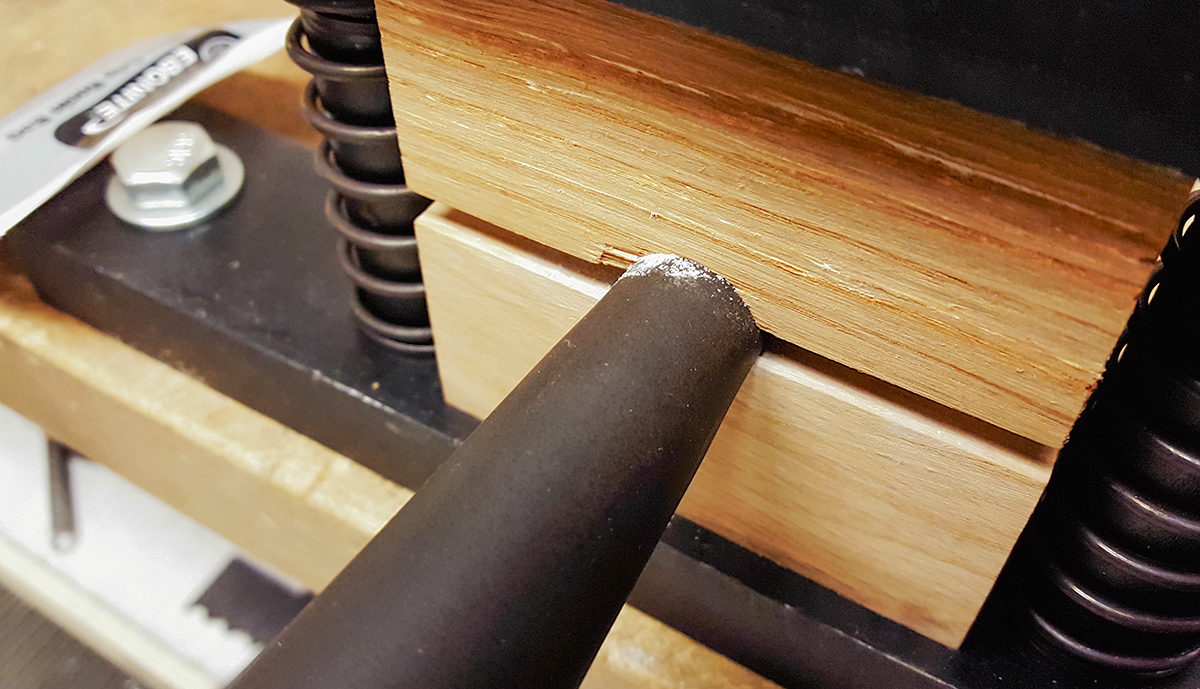
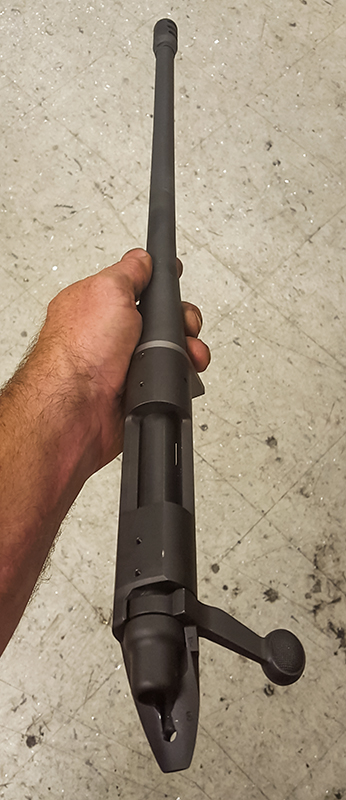
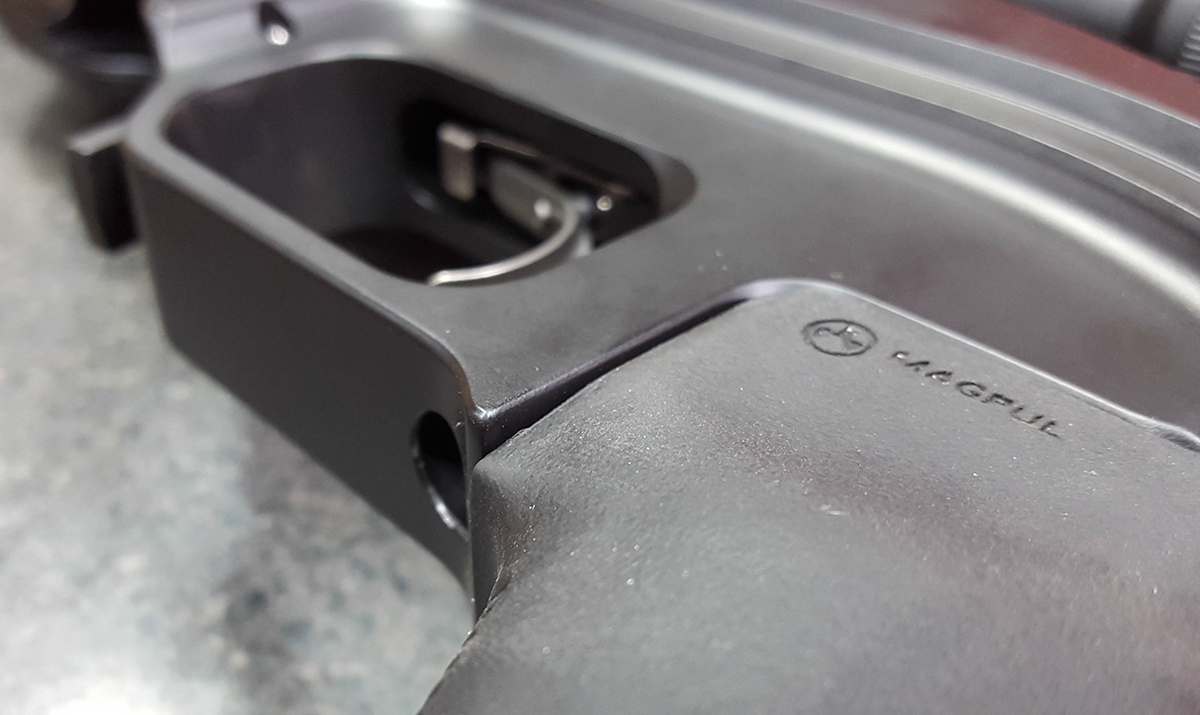
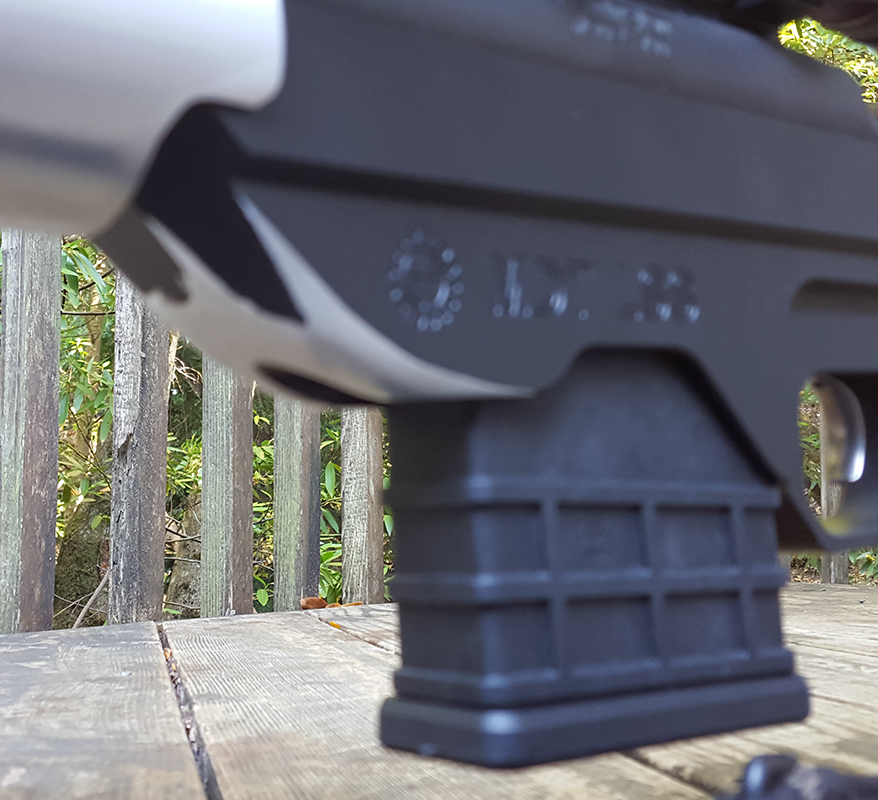
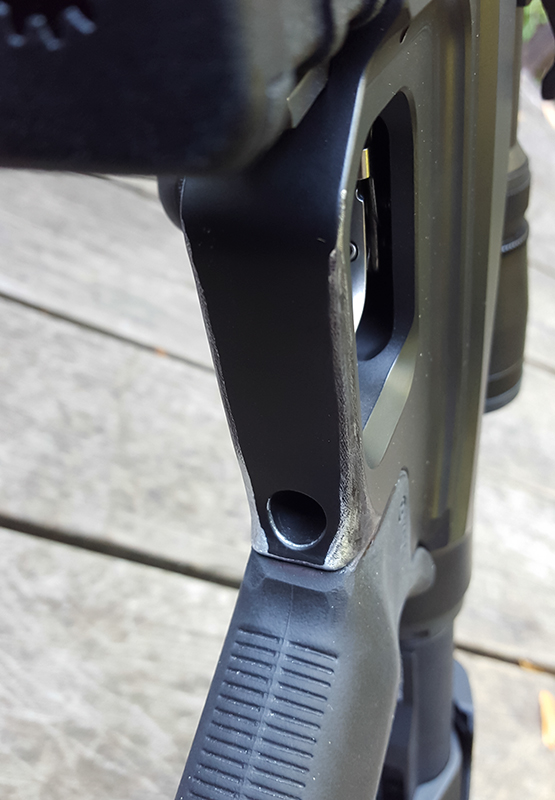
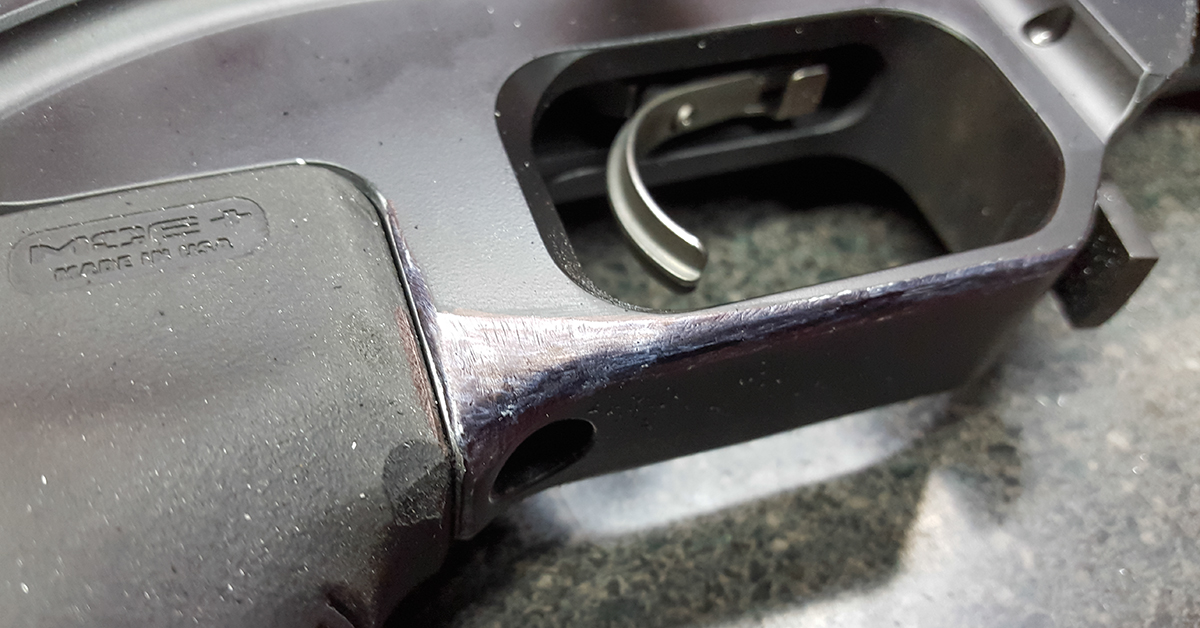
Reshaping the Chassis:
The chassis leaves something to be desired in terms of comfort. Sharp and protruding edges get in the way and cause irritation. I’m still roughing this out. I’ll later clean up on a machine to make it look nice. That, of course, when I’m done shaping. I need to get a bit more aggressive in the area ahead of the magazine well.
Still left to do:
The stock bolt knob is nice if you are hunting and taking few actual shots. It’s low profile, out of the way, and good for grip. With repeated use, like at the range, the knob is irritating. Fingers get raw on it. I’ll be threading the bolt for a smooth teardrop knob in a few weeks. EGW Tactical Oversized Bolt Knob Teardrop Aluminum Matte
I’d like to move the scope back a little, or at least have that option. I’m at the limit and it’s almost not enought but I need to try other options to know. Need to find an inexpensive way of doing that while staying out of the way of the bolt.
Now that I’ve got this process going, with just a little more investment, I can buy some takeoff barrels and bolts on ebay to try other rounds cheaply. Any short action type round can be tried. I’ll certainly be picking up a .308 set but I would like to try 6mmBR. Those rounds only add to the cost of shooting but will be nice for 300 yard shots.