I love metal. It’s solid, it can be cut precisely, it can be welded together. Different metals are good at different things. Building steel bikes is especially nice. You can take a bike right from the welding table, toss some wheels on it and go. Like they say, “Steel is real….easy”
If we are going to be honest with ourselves, with regard to bicycles, carbon fiber is really the best material you can use. It’s light, it’s strong, it can be oriented to do many jobs. It can be a spring or a strut. It’s wonderful stuff from the viewpoint of the end product. It’s even really pretty. The problem is working with the stuff. It’s time consuming fussy work. You wear gloves and respirators, you are covered in glue and dust. So much sanding and dust. So much sticky.
I’ve stayed away from carbon fiber for these reasons.
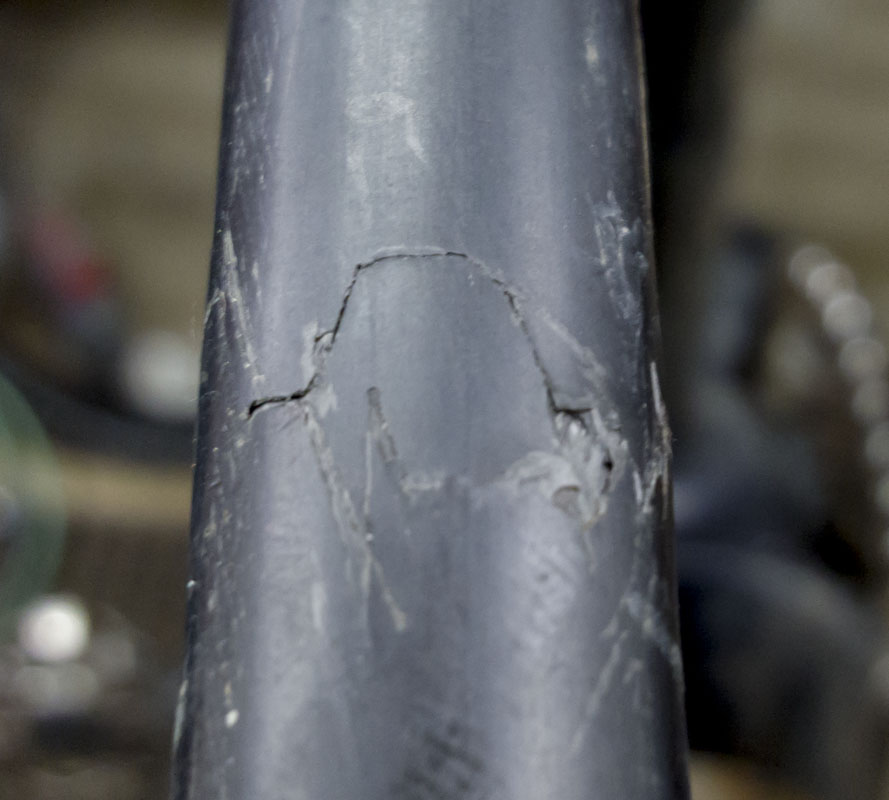
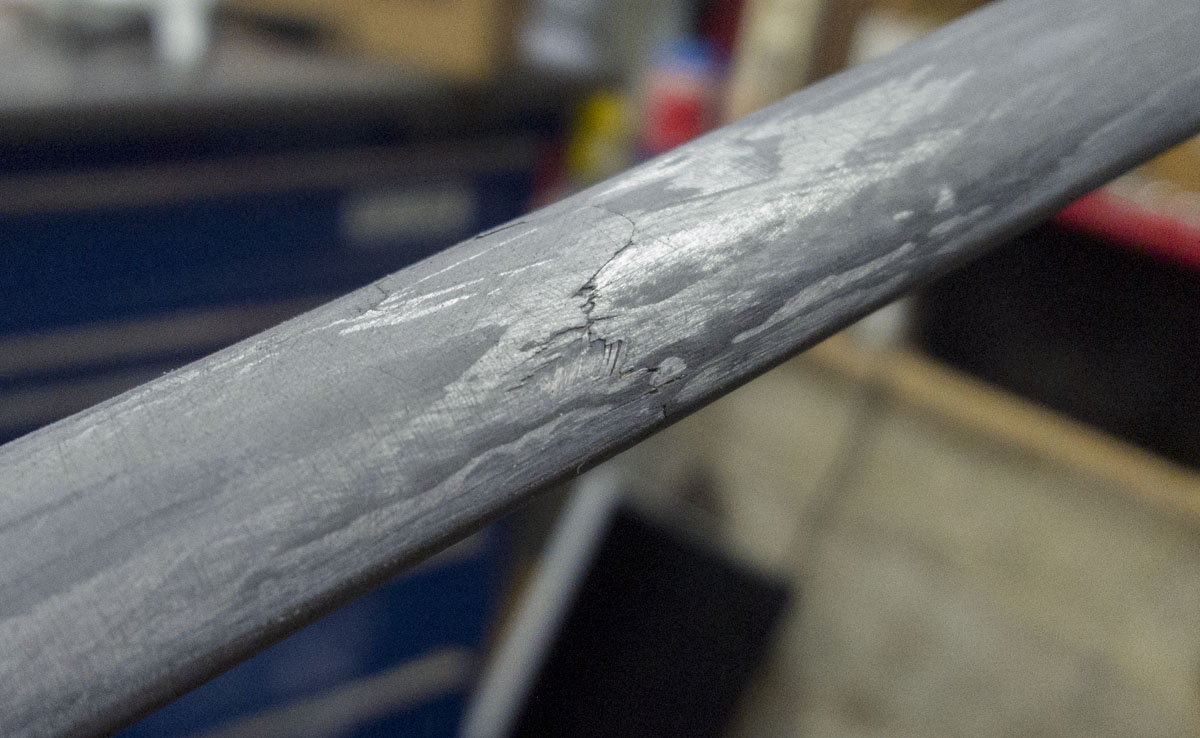
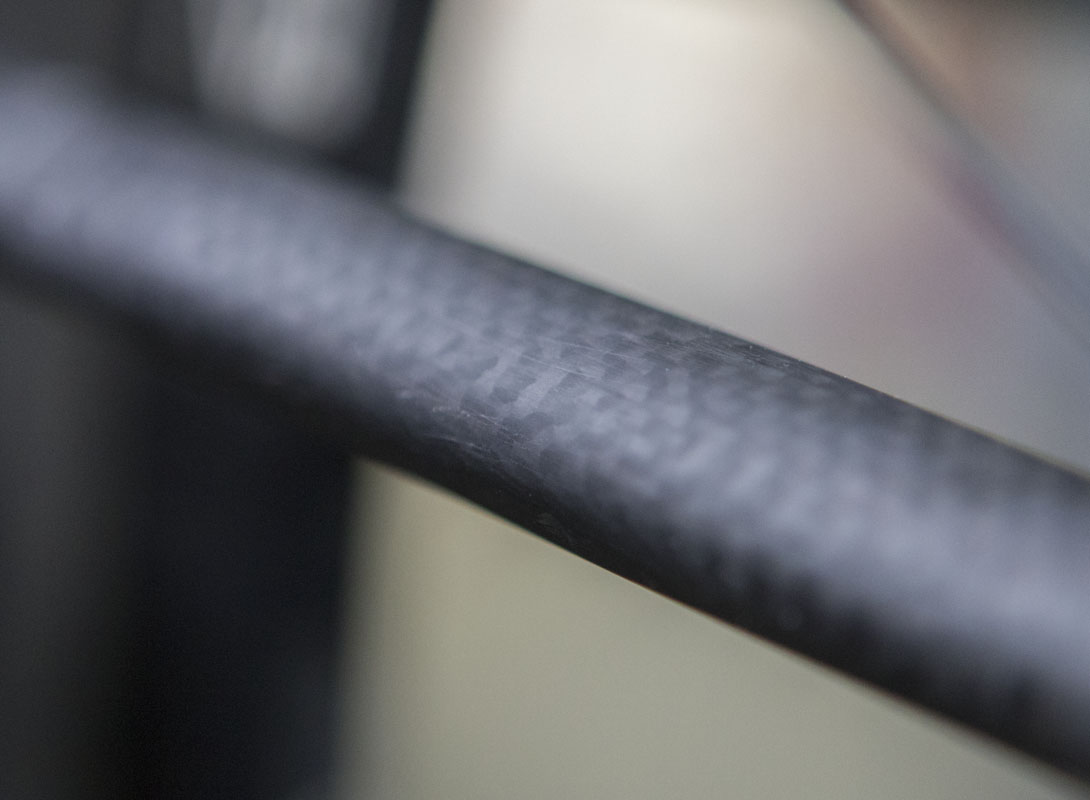
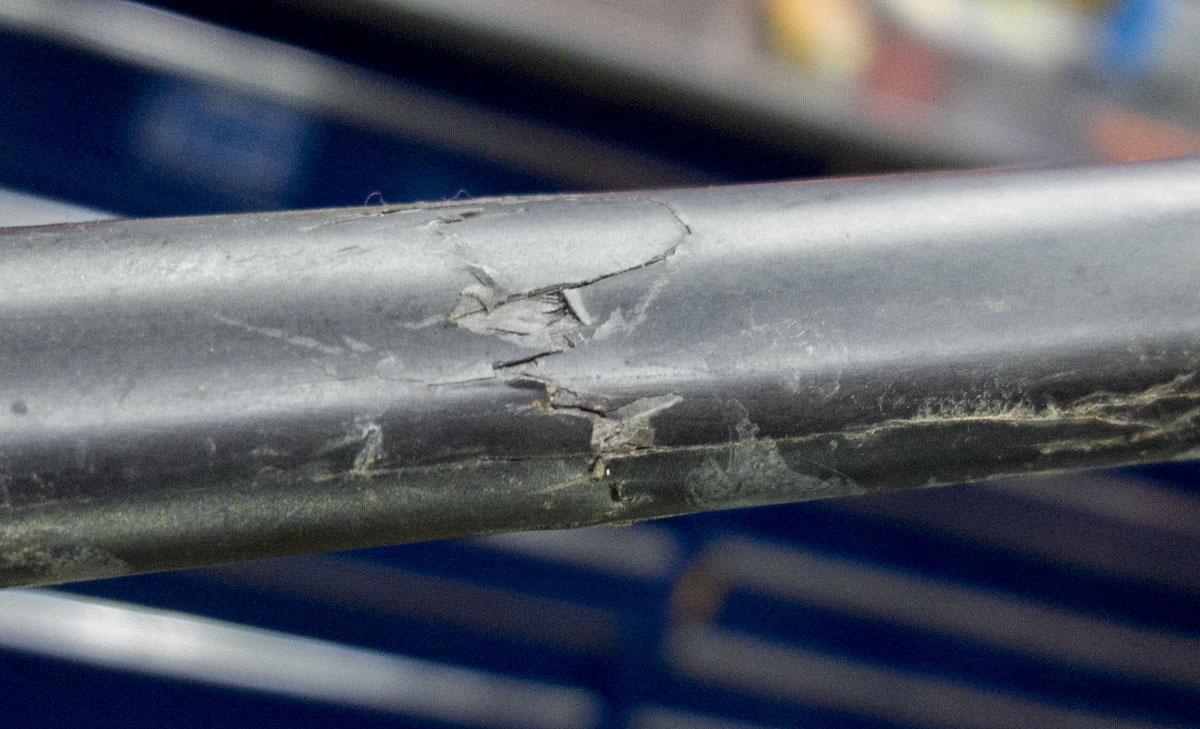
The other week, an ex-girlfriend sent me a text. Her cheap Chinese carbon frame had been crashed and the seatstay was broken. She needed a recommendation for where to get it fixed. The frame is worth about $400. A fix would cost a good percentage of that. I couldn’t recommend anyone that would do the work cheap enough to justify the job. I told her that I would fix it for her and she could cover some of the costs. This is popping my cherry.
Now, I was in a pickle. I had to learn how carbon fiber laminates really work, get the tools and supplies together to do the work, then execute the job in a usable way. Essentially, hit a home run, first time at bat.
This really isn’t rocket science. I just make a big deal of messy work. Anybody with a background in boat building and fiberglass auto body work will have no problem doing this. It’s process.
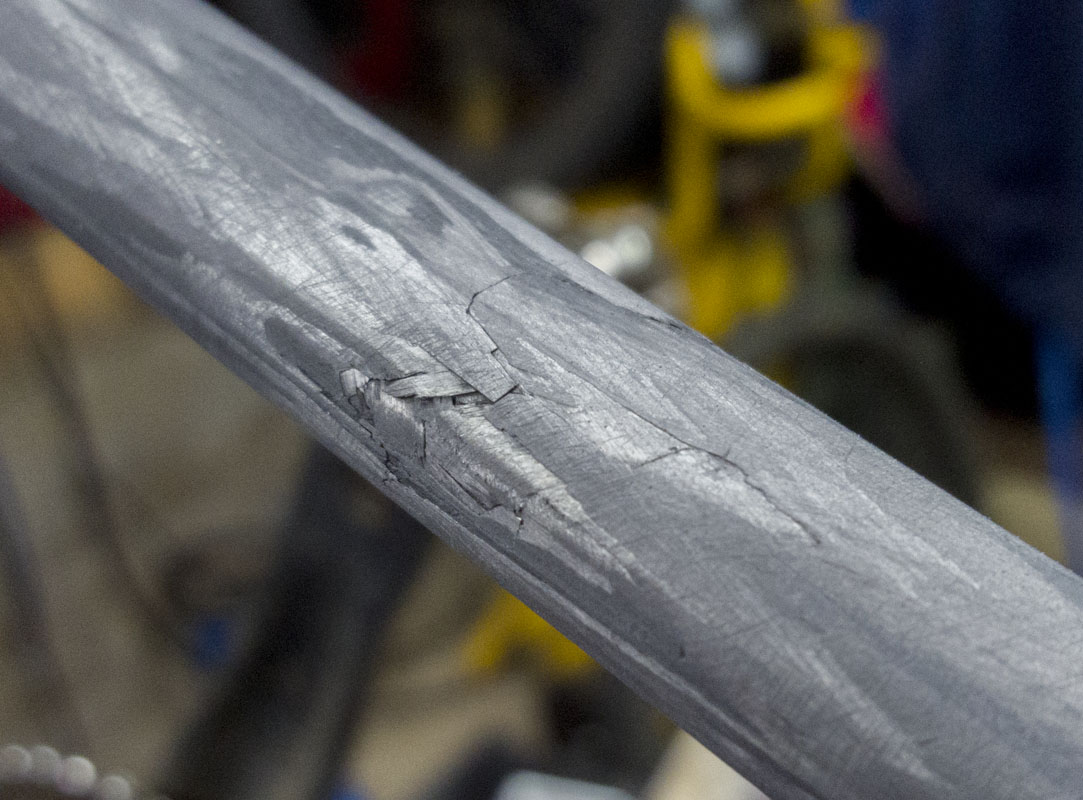
I started by cleaning up the area. You need to get down past the gel coat to the epoxy and carbon structure before building up the repair. I did started with a 80 grit 3″ sanding disc with immediately proved to be far too course for this kind of work. It was the finest I had at the time so I needed to be very careful. I’ve since ordered some 240 and 320 grit discs.
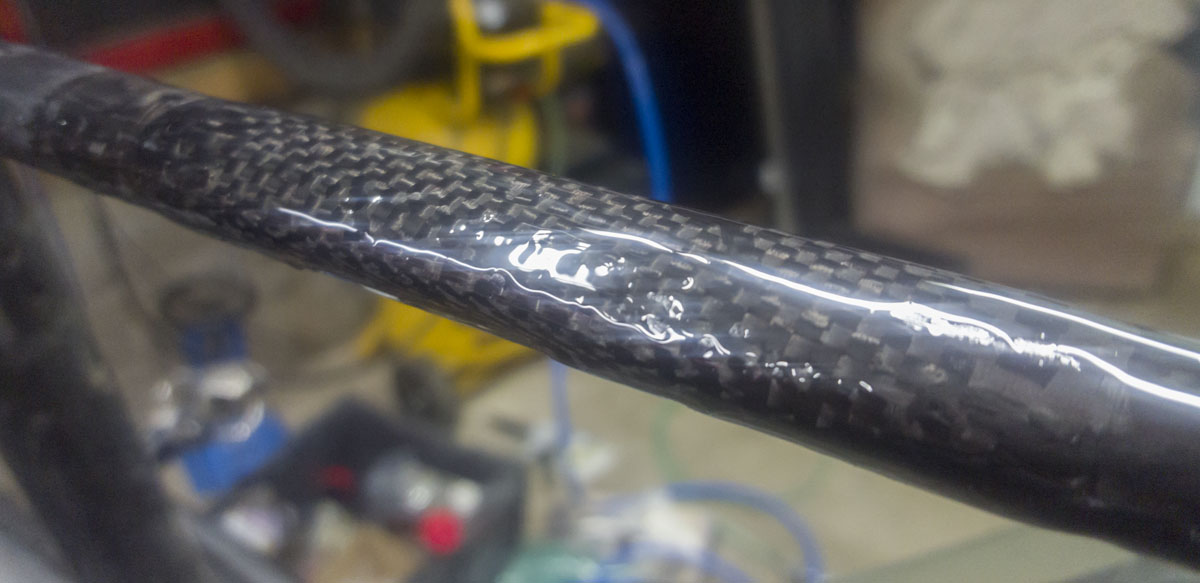
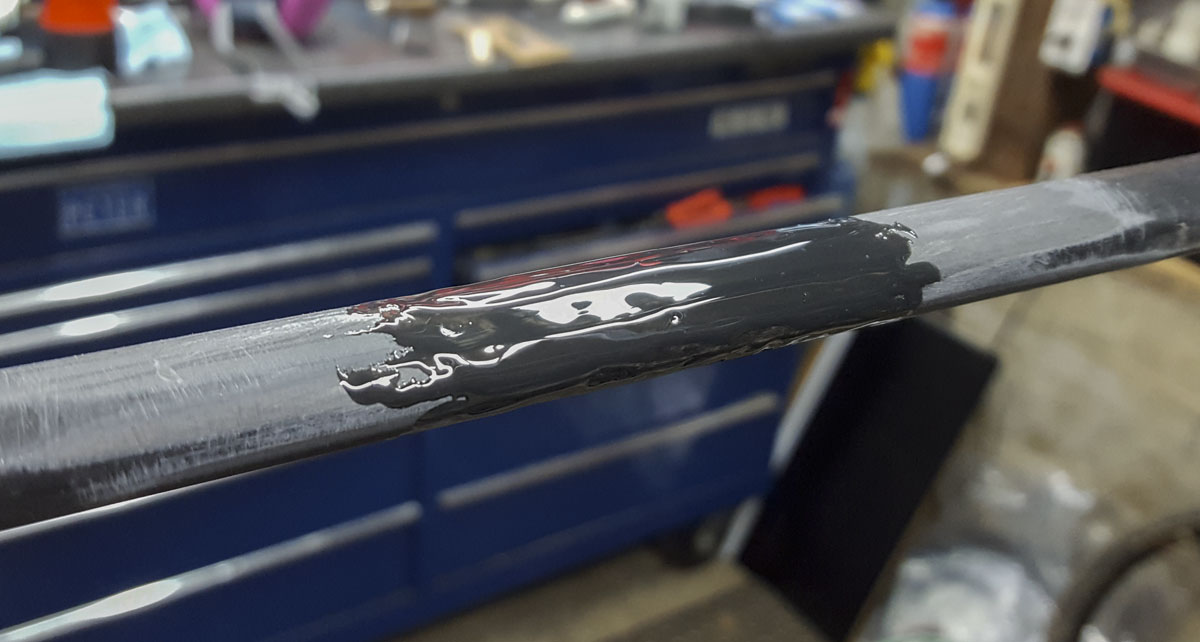
I was waiting on materials so I used some 3M DP-420 Black epoxy I had on hand to get into the broken layers and provide some kind of connection and fill in the area to wrap over. I also needed the area sealed so that the vacuum bagging would work. It was sanded down prior to layup.
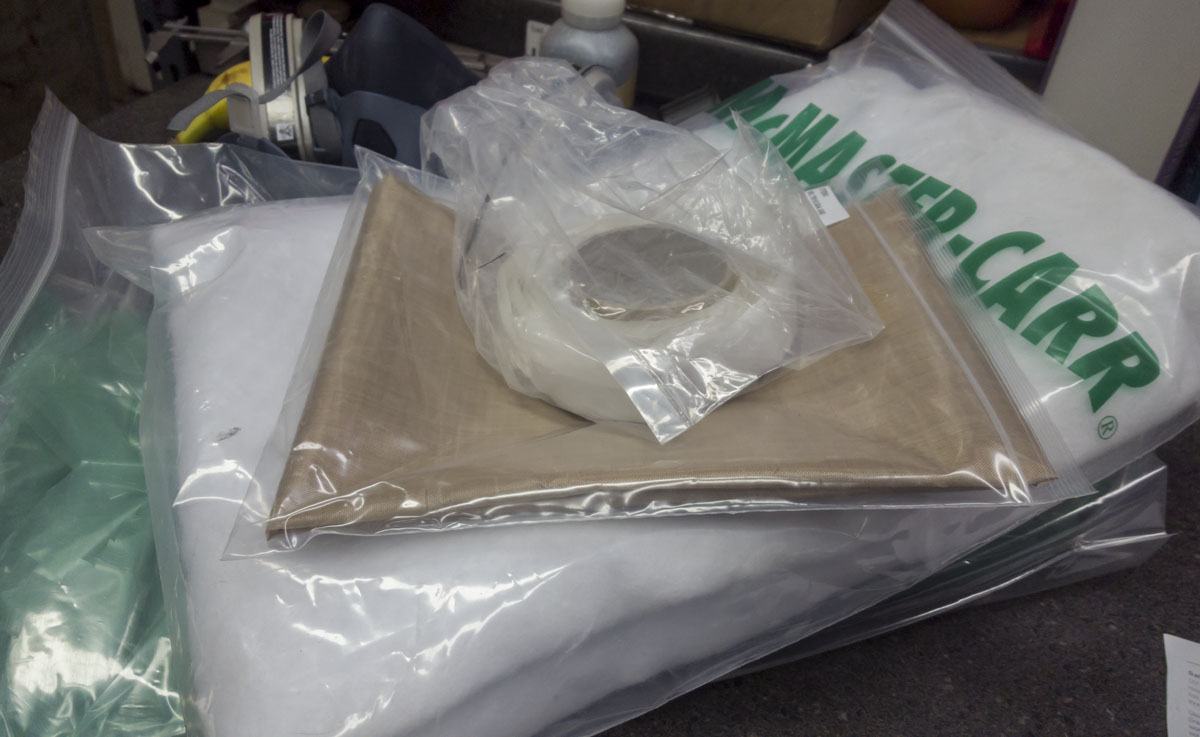
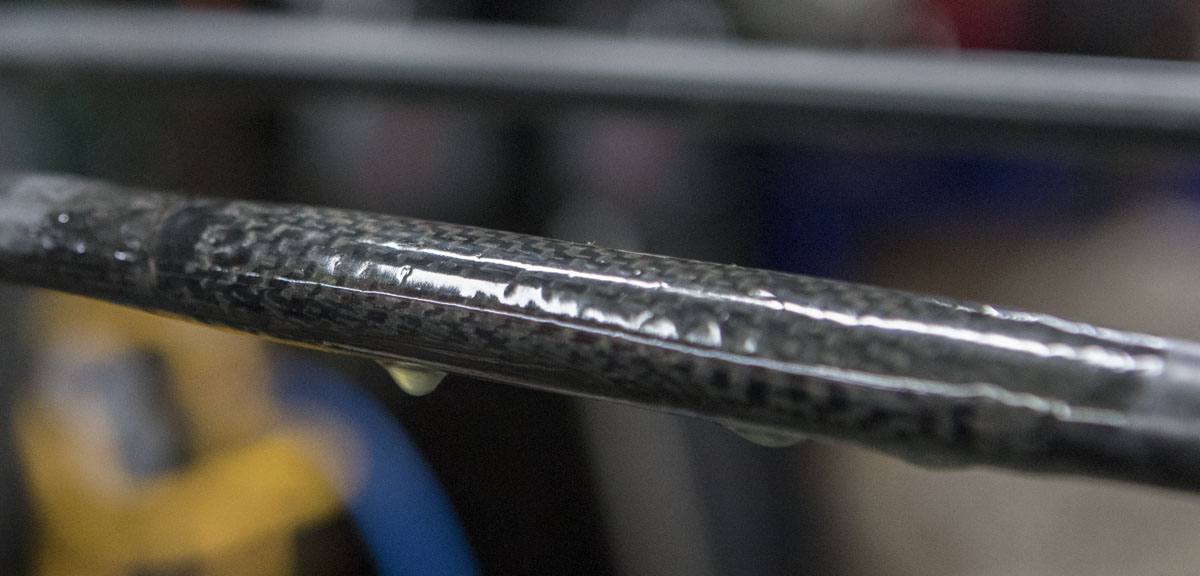
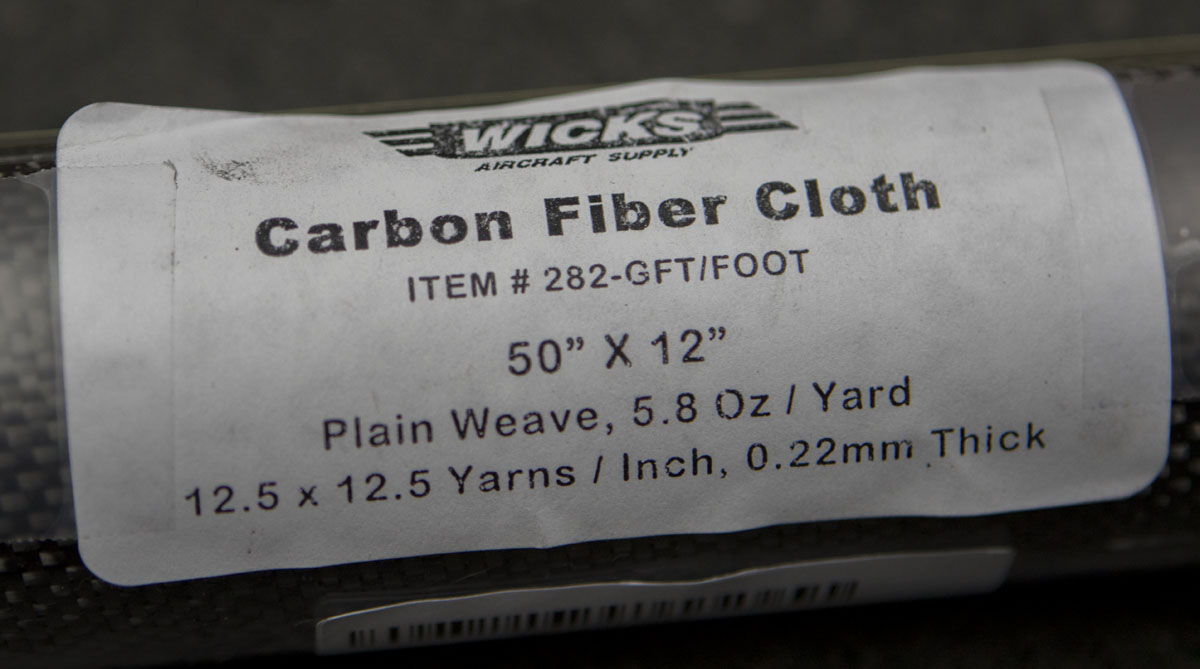
I chose a thin carbon weave to wrap. This is from Wicks but can be found from many sources. I put down three layers in the broken section.
I purchased some special Clauss 18425 Shear and Xuron 9180 Kevlar Scissor. These tools are really amazing and cut the carbon super clean. I may have to get more for general use.
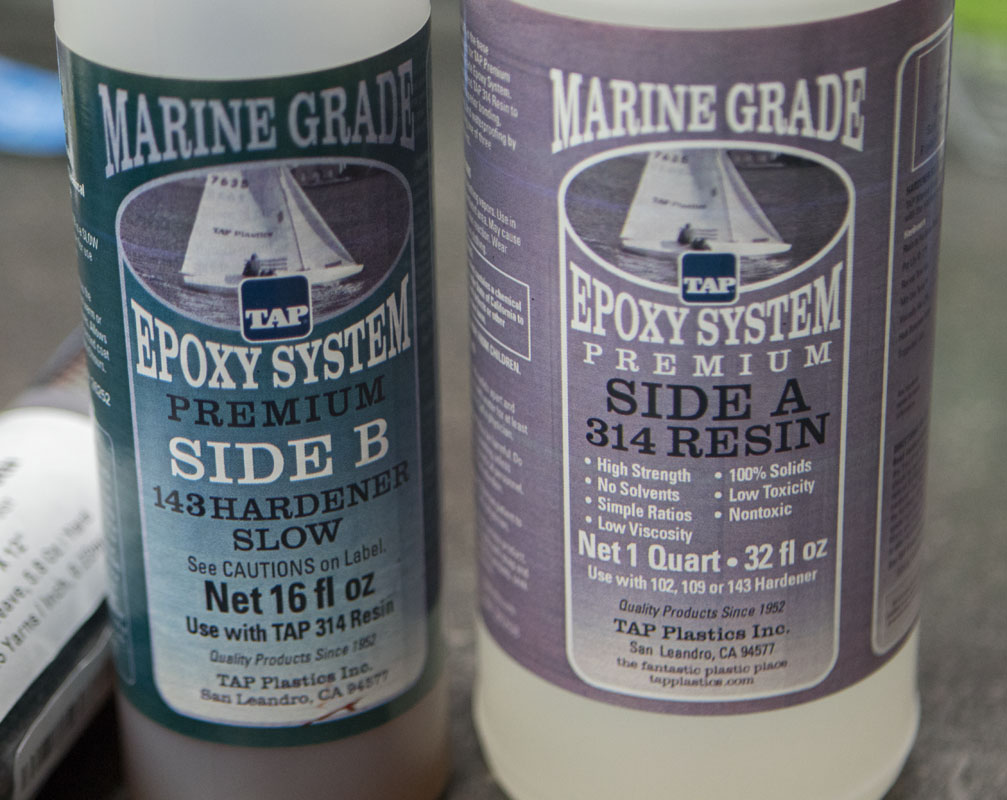
I had ordered some West Systems 105/207 Epoxy and Hardener but that wasn’t going to arrive until right before NAHBS and I wanted to get a lot of learning done before going there to ask more questions. So, I had to source some epoxy from my local TAP Plastics to keep thing moving. TAP Marine Grade 314/143. I couldn’t find any recommendations to use this as pretty much everyone recommends West Systems but this is an easy enough repair. Next job will use the West and I’ll be able to compare.
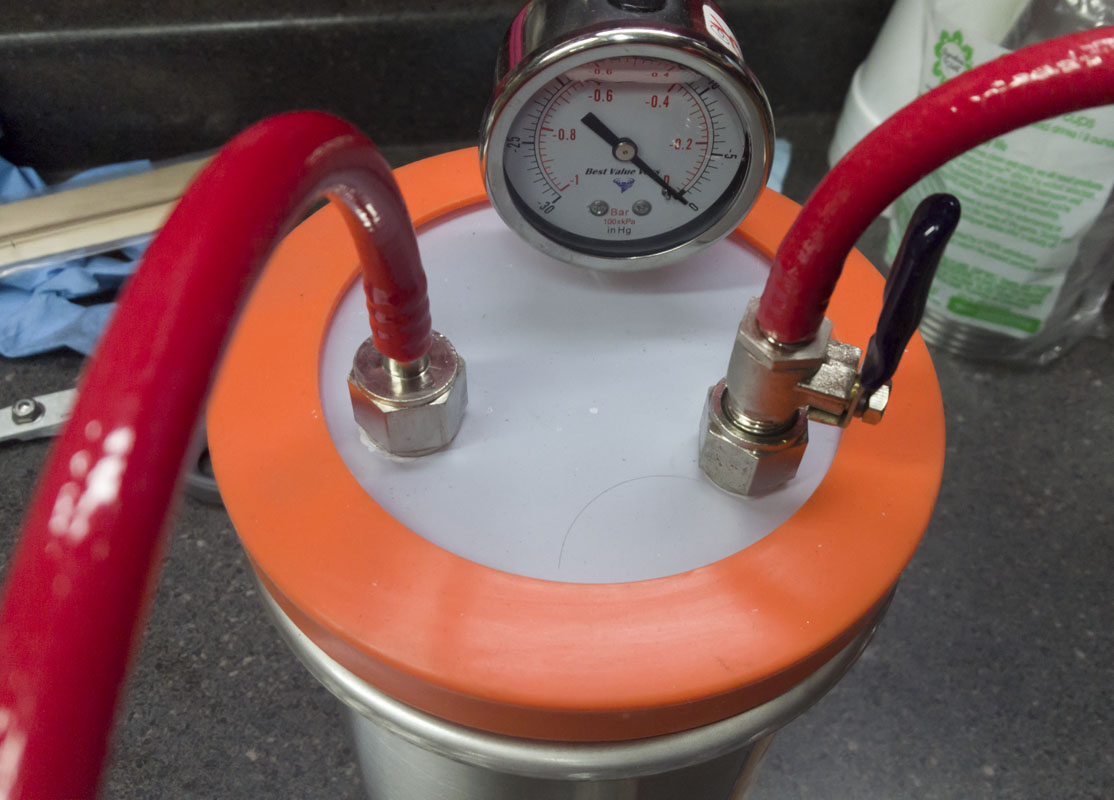
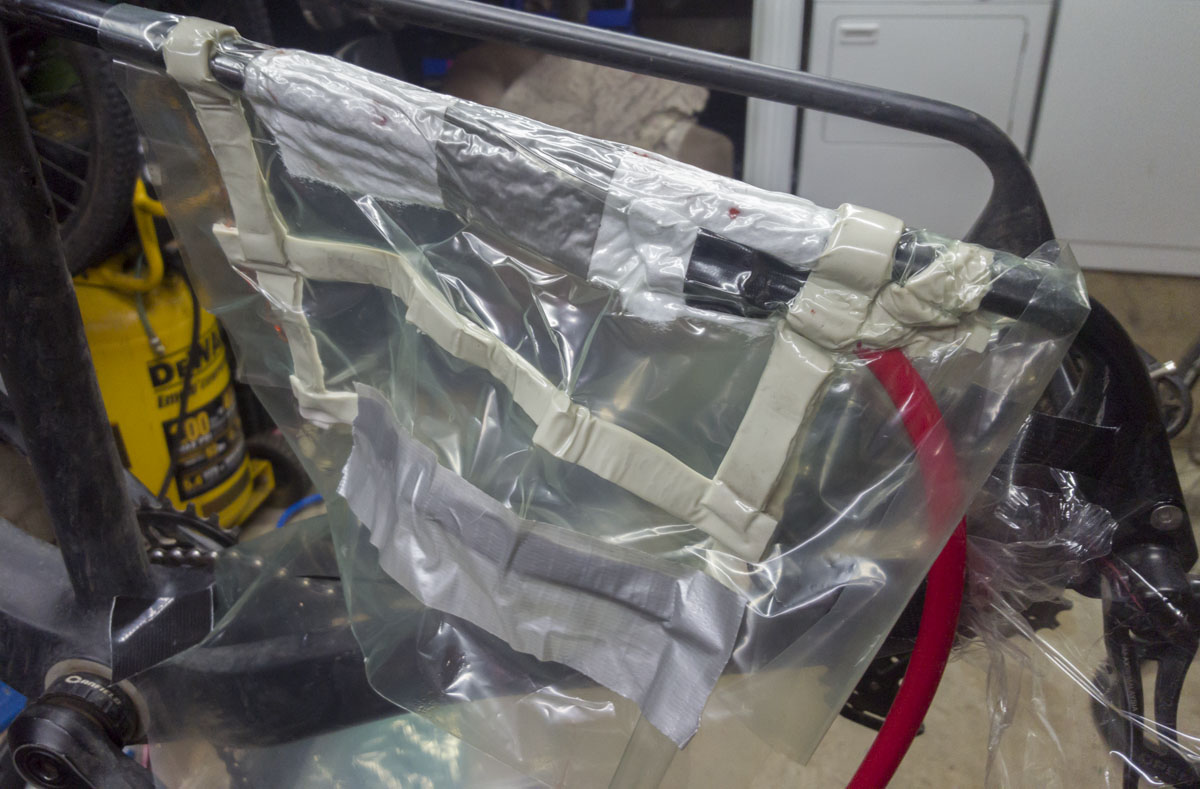
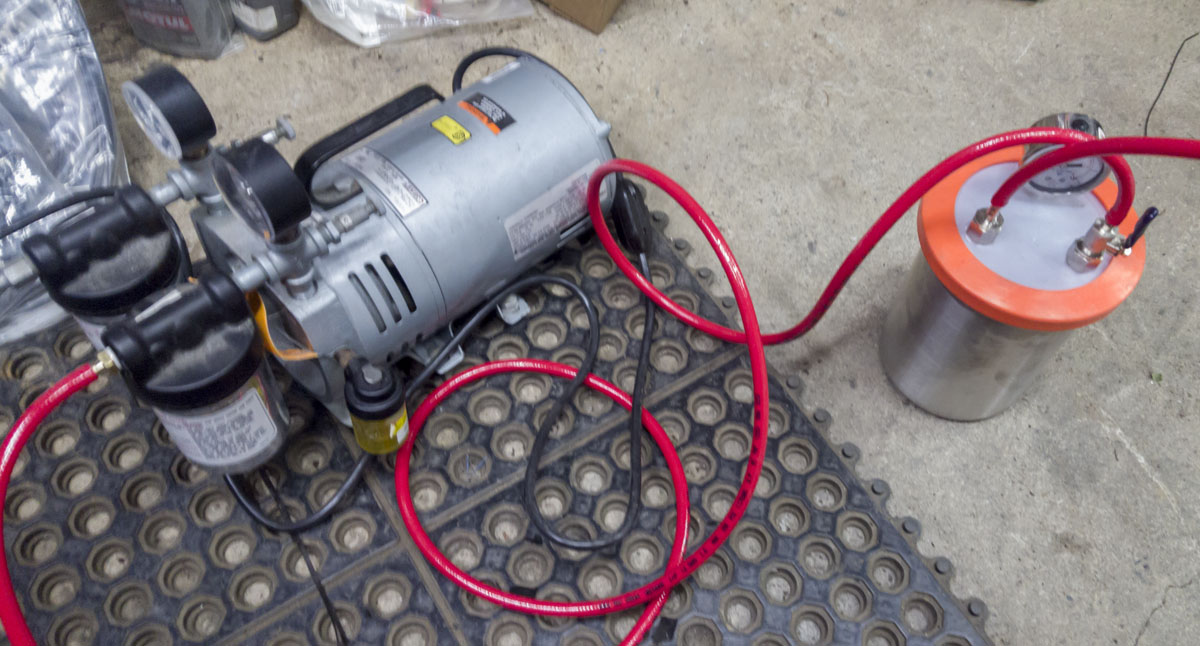
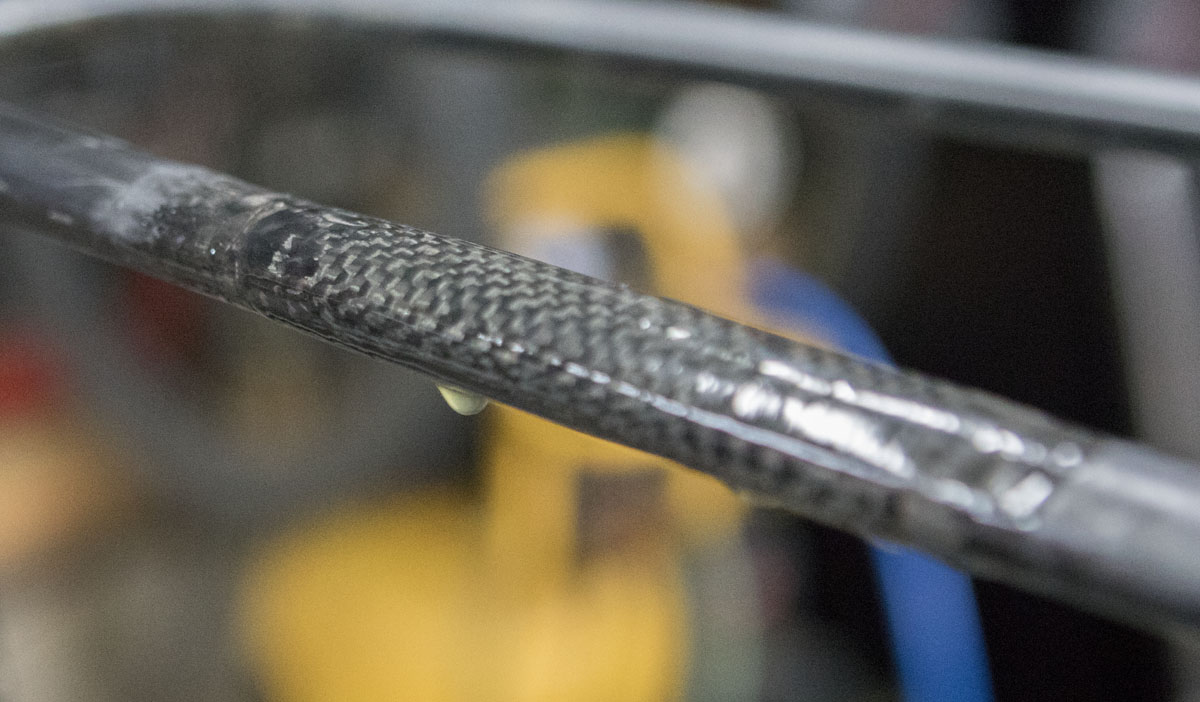
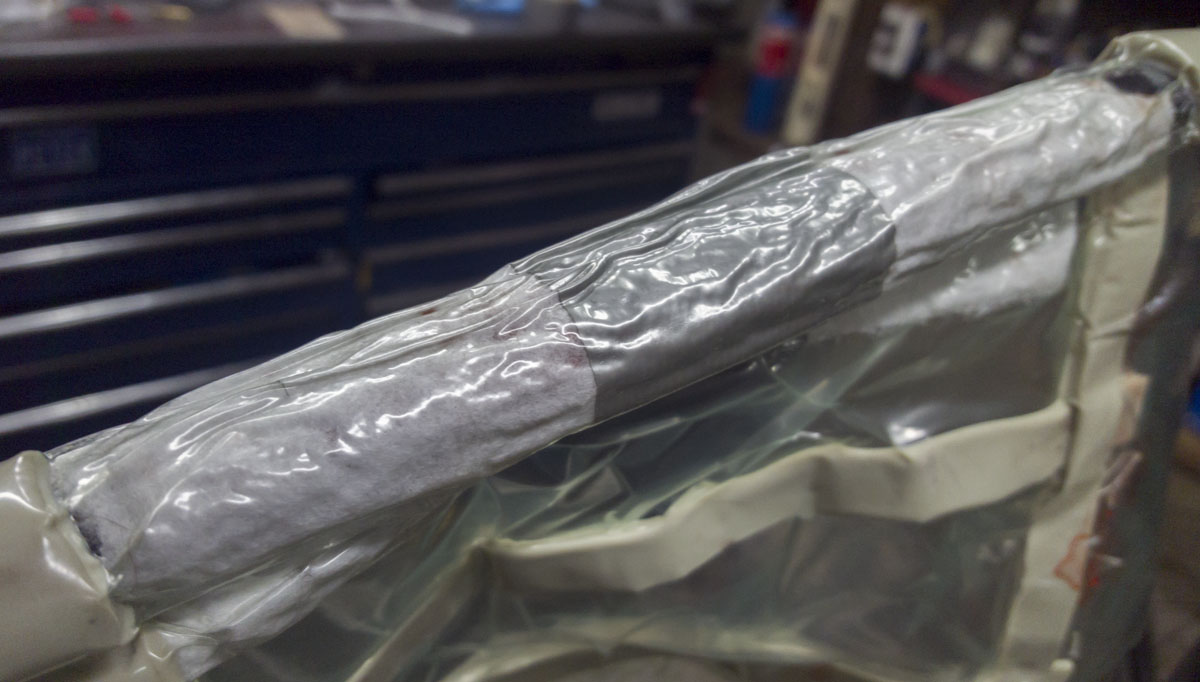
I vacuum bagged the work and let it dry. It took about 24 hours for each epoxy coat to get reasonably hard. I learned a bunch of lessons here. I need to be very careful placing my bag or it will leak and that makes life suck. Far less epoxy soaked through the absorption layer than I thought. I figure I could have gotten always without the catch pail this time. I ran about 25 inHg wich was plenty.
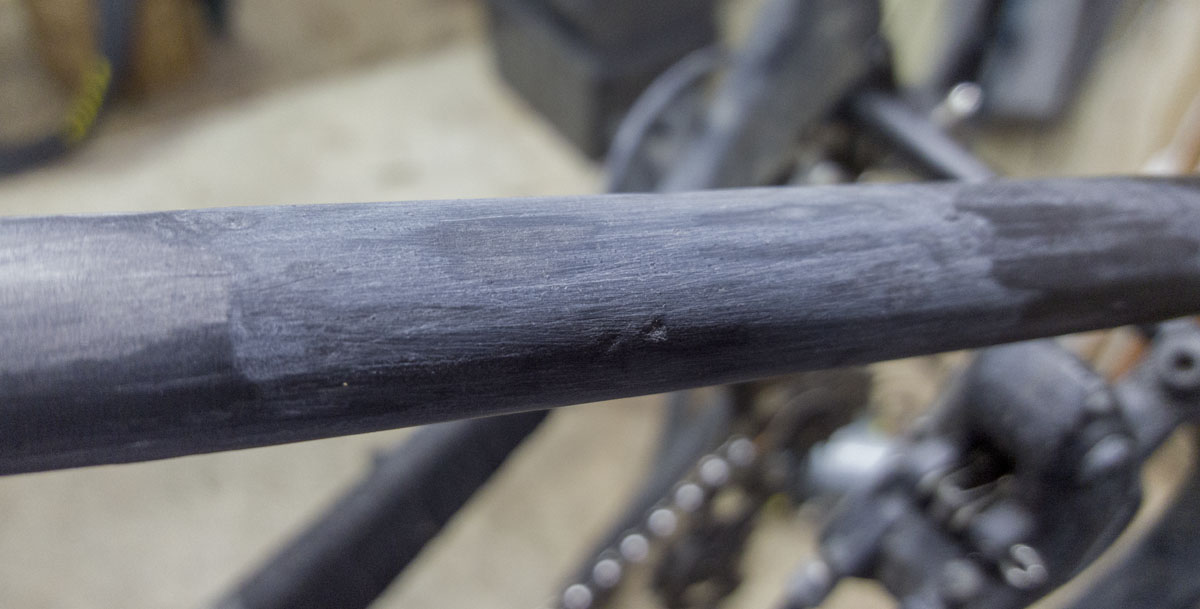
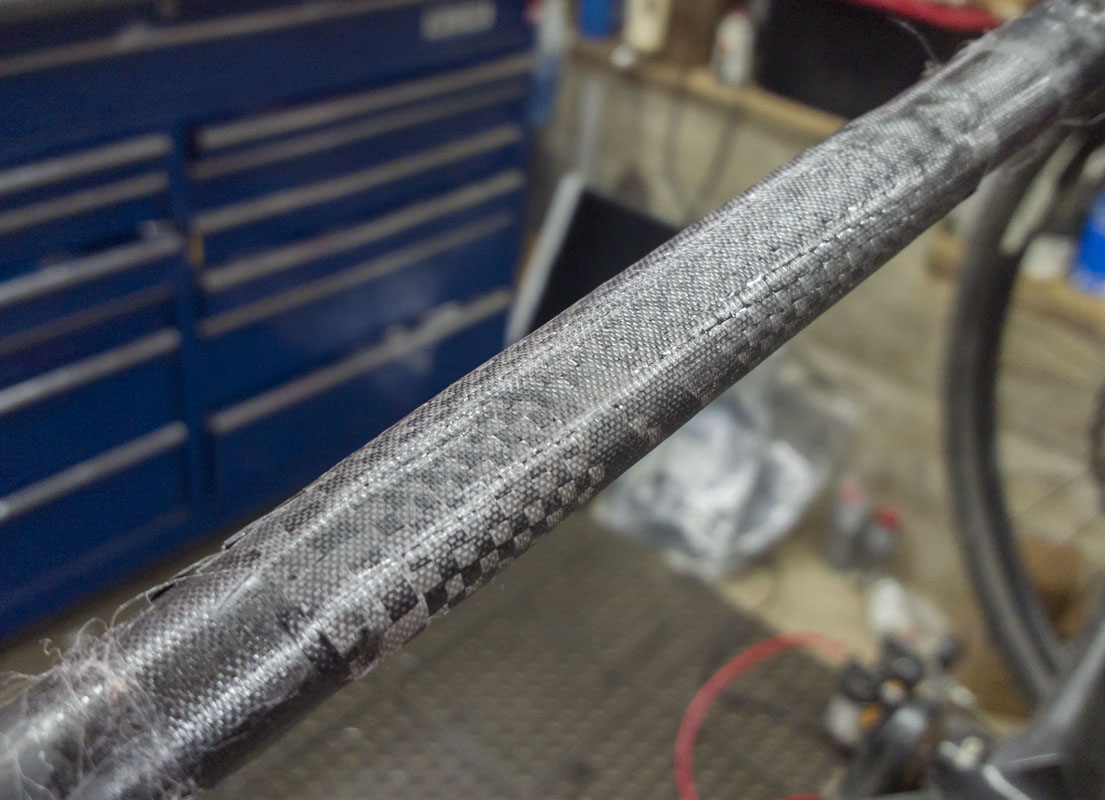
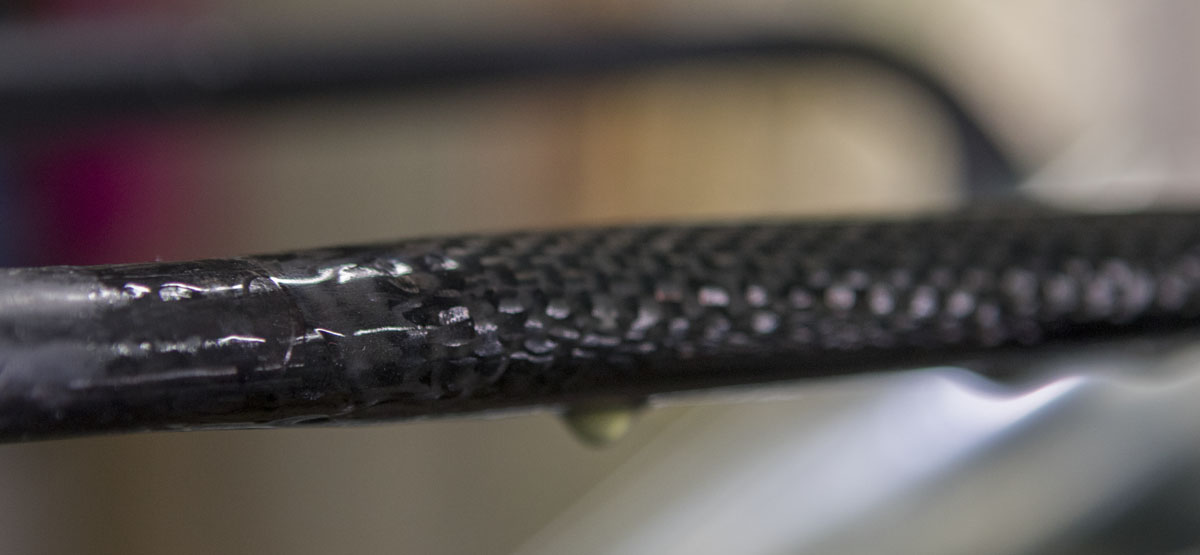
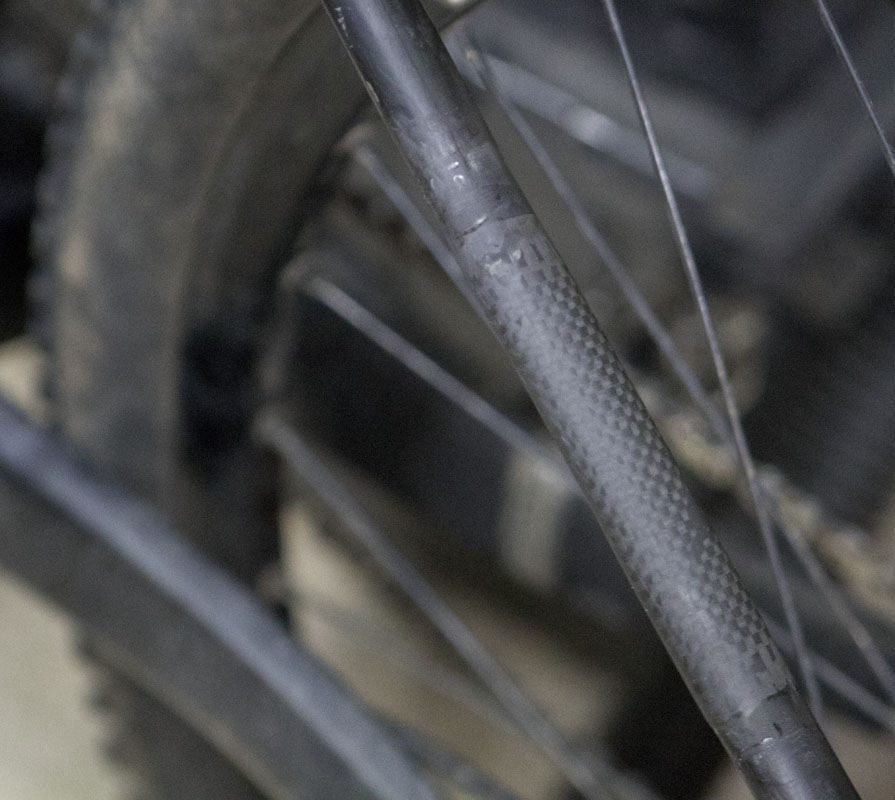
The finished product. Two coats of epoxy over the layup with sanding in between. Finishing with 800 grit paper comes close to the matte finish of the rest of the frame. It’s not a wonderful blend in but it’s going to work fine and look ok.
This was an easy project and made it nice to start. I’ll be looking deeper into making joints and other connections in the next few weeks. Hopefully, get excited enough to want to make some enduro frames.