Bent seat tubes on bicycle frames are nothing new. They have been used for years in both mountain and road bike design. The rear wheel often needs to be forward of what space would otherwise allow. The seat tube is adjusted to give tire clearance. In recent years, it’s become almost impossible to build a quality mountain bike without this detail.
It’s always been difficult trying to predict a bike’s fit when it has a bent seat tube. Too often, the frame’s tube is specified by some imaginary line from the bottom bracket to some imaginary point in space. Where the saddle will end up relative to the pedals or the handlebars is uncertain. Without parametric CAD and some reverse engineering, I wouldn’t be able to get close.
For the past few years, I’ve been riding a variety of full suspension bikes. I’ve been studying how I ride and how a bike needs to fit for different situations and modern frame configurations. I’ve spent hours measuring other people’s product. It’s good to get away from the world of custom hardtails from time to time, just to keep current. It’s made a massive difference in how I do what I do. #RedFive. Pretty much every one of these bikes has some kind of offset to the seat tube from the bottom bracket. Making a print for them had been a pain in the butt.
I’d done a few bent tubes in my bike designs. Since I was engineering the frames, I knew exactly where the saddle would land. That worked fine for just me. Still, my fixture didn’t work at all with the way a bent tube sits in the bike or needs to be placed. I needed to solve this problem for my new run of bikes.
In addition to considerations of the rear wheel, modern seat dropper post use influences the tubes shape and design. A well designed mountain bike will have the room for a 175mm stroke dropper with internal routing. Worst case, a 150mm dropper. The space these take up is immense at 480mm plus room for plumbing and connections (560mm). The straight section of seat tube as it leaves the frame has to at the very least 80mm of insertion even though I try to not go below 100mm. We also need space to lower the post if a shorter rider than the original owner needs to use the bike.

I kept looking at the problem. There had to be simple, easy to understand concepts that really do explain the frame geometry. I discovered the truth.
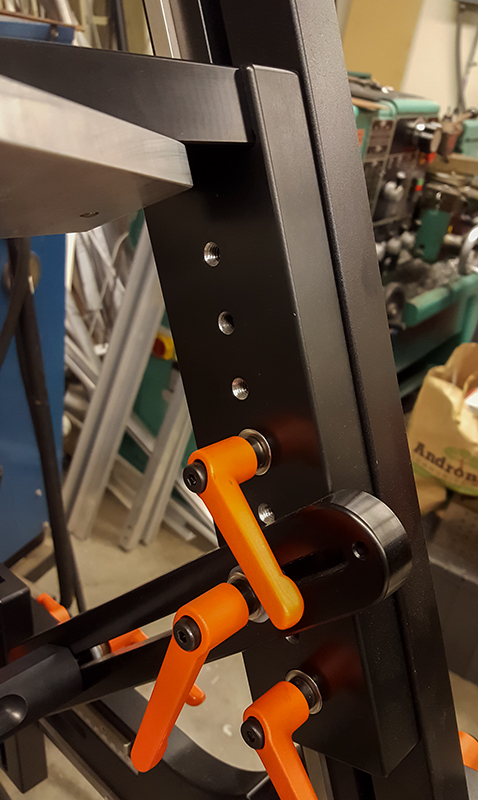
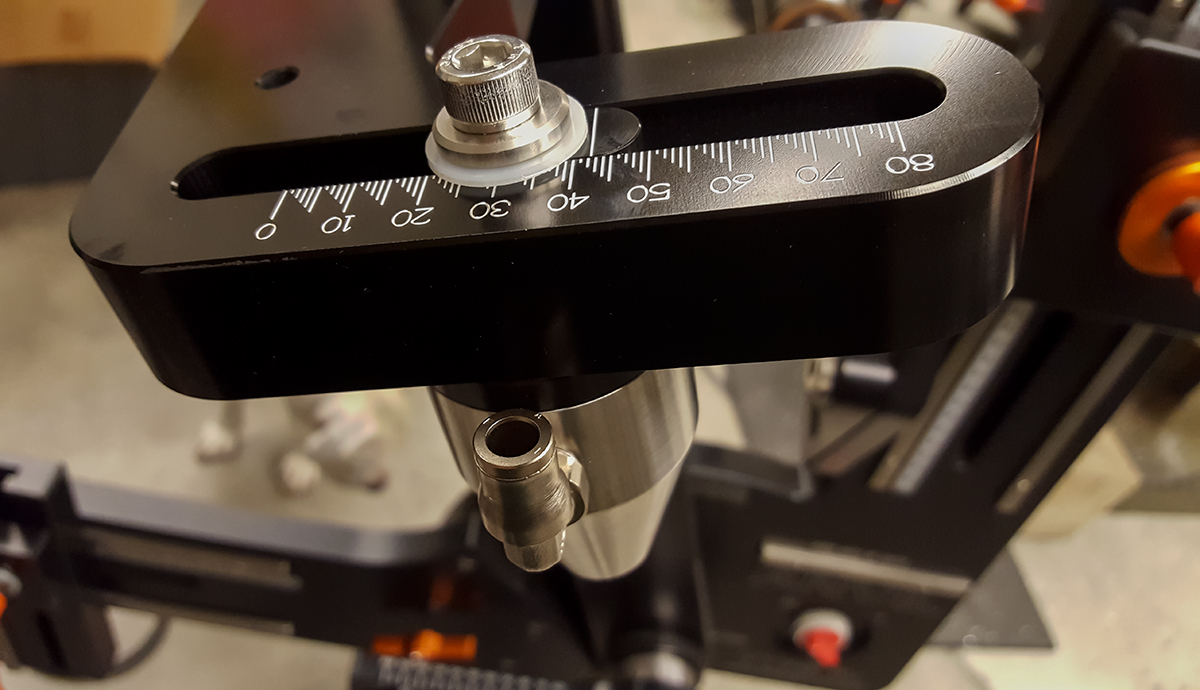
It became clear that the proper specification for a seat tube is the angle of the tube and the offset of the tube from the bottom bracket. Super simple. Those two elements tell you where the saddle will be at a specific height. No other method works. In the shop, the cut at the base of the tube is located with a simple X/Y location regardless of how many bends, what their radii are, or where the top of the tube is. There is no easier description. An example print of the seat tube specification I’m talking about.

I called Don Ferris at Anvil Bikes to push for some product. Don is the premier producer and designer of craft frame jigs in the United States and much of the world. He’s also a good and smart guy who also puts up with my horseshit.
I argued with Don for 3 hours during two calls. Me being me, I started by telling him that he was making his jig all wrong. Always a good way to start things off. Don’s a sport so we kept at it. I told him what I was talking about and he told me how everyone else was doing it. I told him that they were wrong. I get that way when I know I’m right. There is no grey. Don was patient. Over time, he saw what I was saying. He said that he could get something made for me given some time. As time went by, Don had moved to my side and agreed that I was right. I figure that if Don agrees, it must be true and not just my imagination.
With the two of us on the same page, it was easy to convince Brent Curry at BikeCAD to add this functionality to his program’s next iteration. BikeCAD is an excellent program for fitting, so this is important.
I needed a tool sooner than Don would be able to provide one. I saw a nice way to hack my current jig parts to get what I needed. A simple part got me moving forward. I sent Don prints and photos of the direction I had gone to base a production part around.
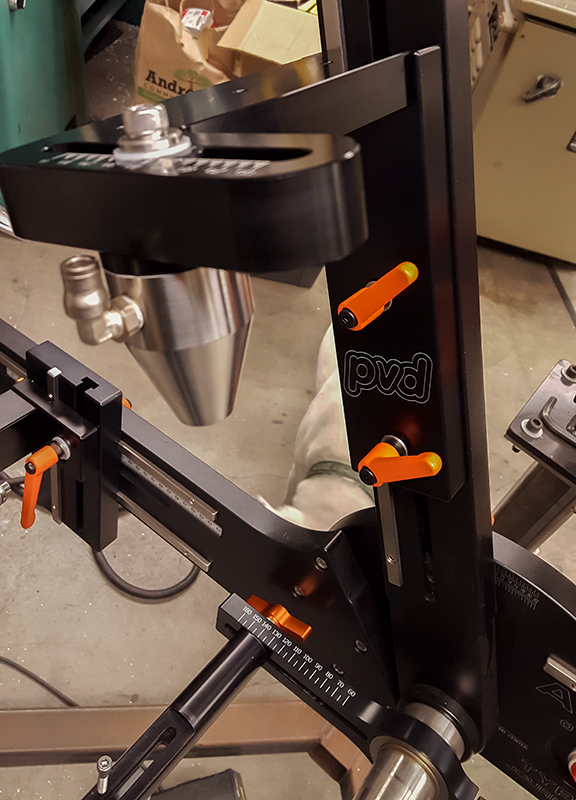
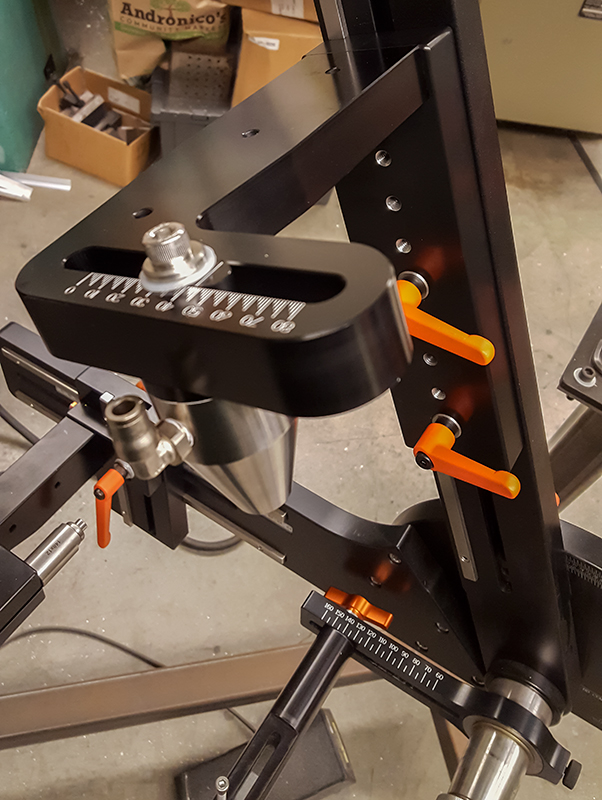
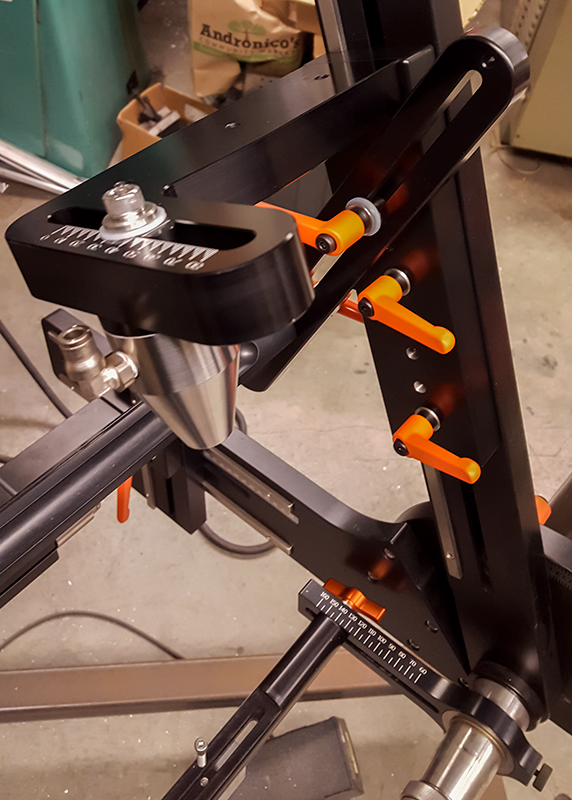
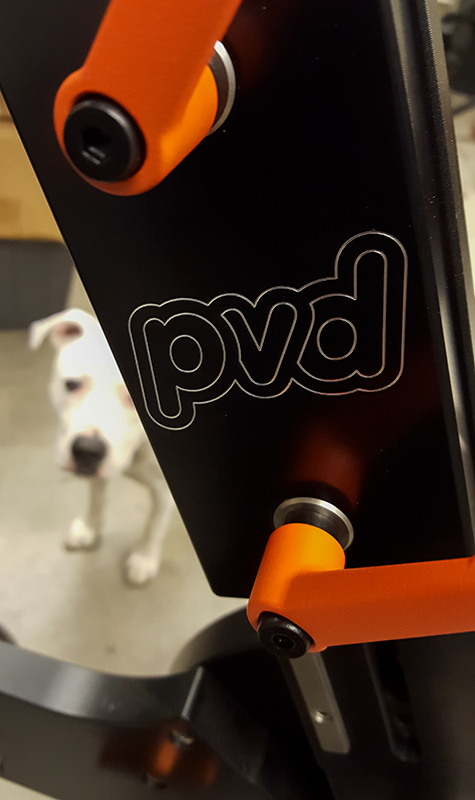
Don’s part arrived yesterday (6/22). It’s pretty awesome. Simple, solid, and clean. He also took the time to etch my logo into it. So nice.
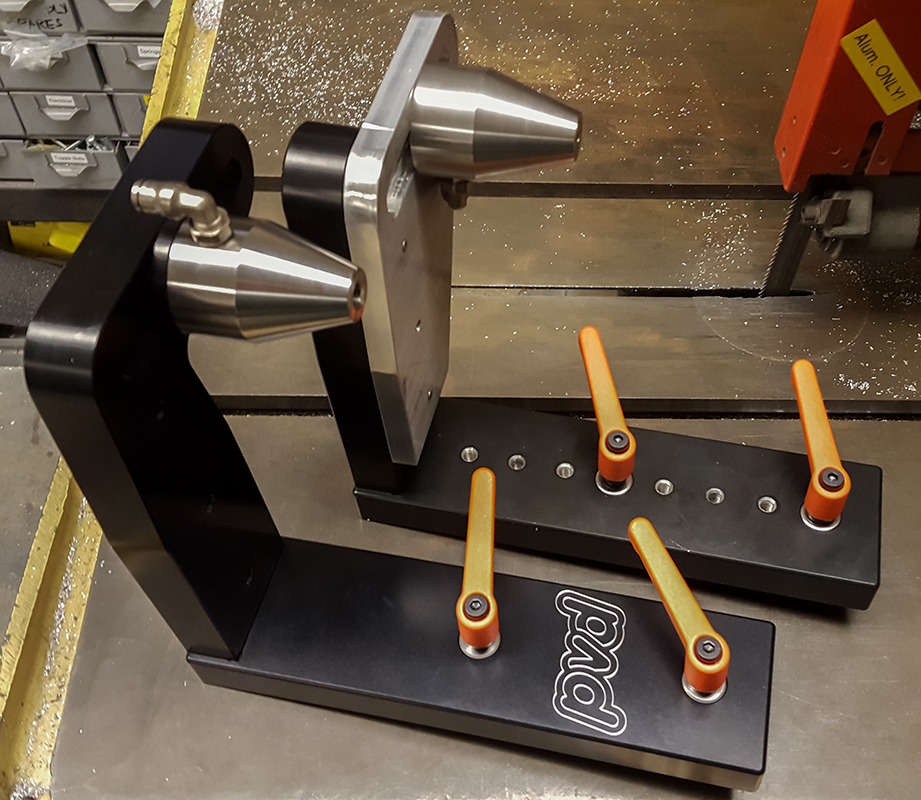
PVD Offset Seat Tube Tower:
T-1500-64 PVD Offset Seat Tube Tower
T-1500-65 Cone Carrier
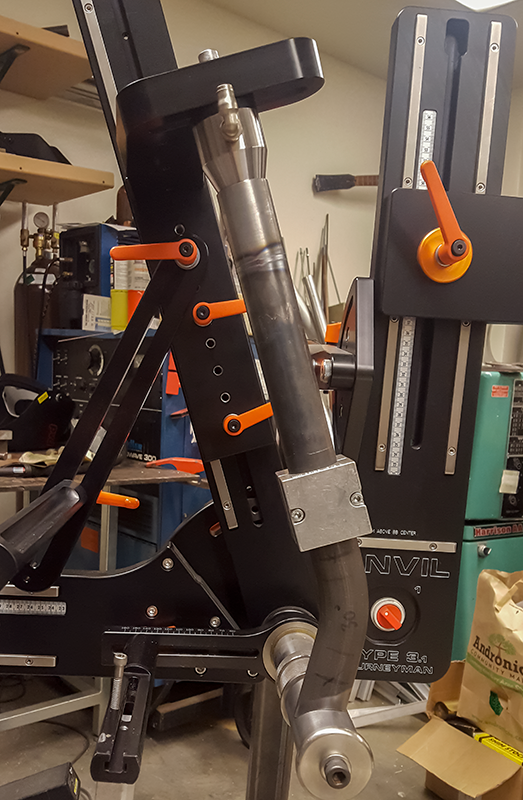
I had to mix and match the new parts with the old, initially, as I use additional mount holes on the slider when locating and holding seatstays. Very short seat tubes don’t give room for other options. I’ll drill and tap the new slider when I have time.
For current large manufacturers of bike frames, communicating the geometry of a bike has become a big issue. As things stand, it’s impossible for a consumer to know much about a frame without being an experienced designer and often not even then. The manufacturers need to change how they do things to ensure they are selling their customers the size bike that best meets their needs. The seat and handlebars need to be placed well over the pedals. A frame needs to have dropper clearance at a specific saddle height. Stems that put the handlebars where they need to be need to exist. Worse, we are looking at geometry charts with imaginary seat locations and little idea about much else.
Easy apps can be constructed for a geometry page where consumers can see how a bike measures with some standard seatposts, stems, and handlebars. So much is possible that could really help ensure the customer ends up on the right frame. Right now, most people are riding bikes that are too small for them and fit poorly. That needs to change.