
Shock Tuning:
The stock rear shocks on Honda's latest high end sport bikes are superb. They are so nice that I will be tuning mine rather than buy an aftermarket unit at this point. The spring and parts to do this cost less than $150. compared to over $1000 for an Öhlins or Penske. All I loose is ride height adjustability. We will see how important this turns out to be once the bike has been set up.
If I do choose to go with an Öhlins shock, the part number for the 2005 model 600RR is HO 502 (46PRXLS). It has a specified setup length of 313.5 +0/-6 mm and a 59.5mm stroke. The stock Showa shock measures at 310mm and by using customary sag numbers the ride height feels quite good with respect to squat. I am not convinced that an aftermarket shock needs to be purchased for the length adjustment feature at all. More data from other riders will show if this is true (let me know!!)


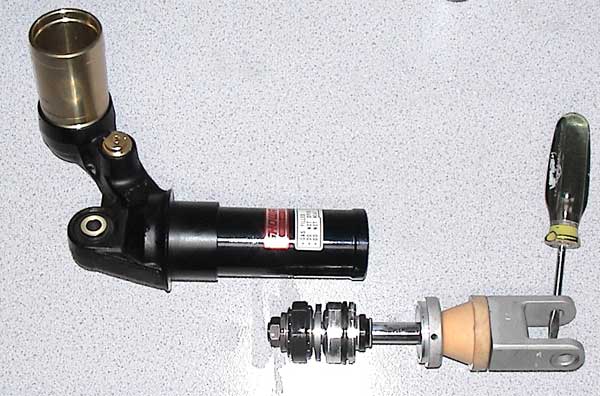
The shock should come apart similar to my 2003 CBR600RR Rear Shock Project.
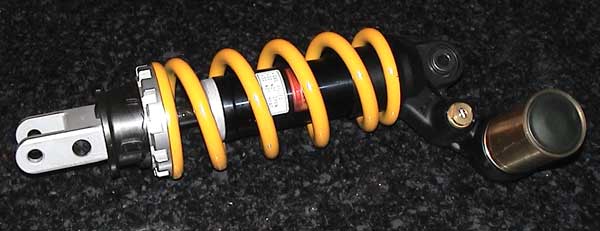
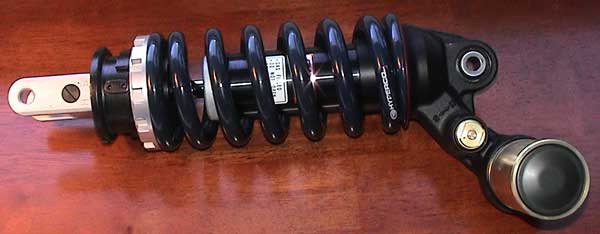
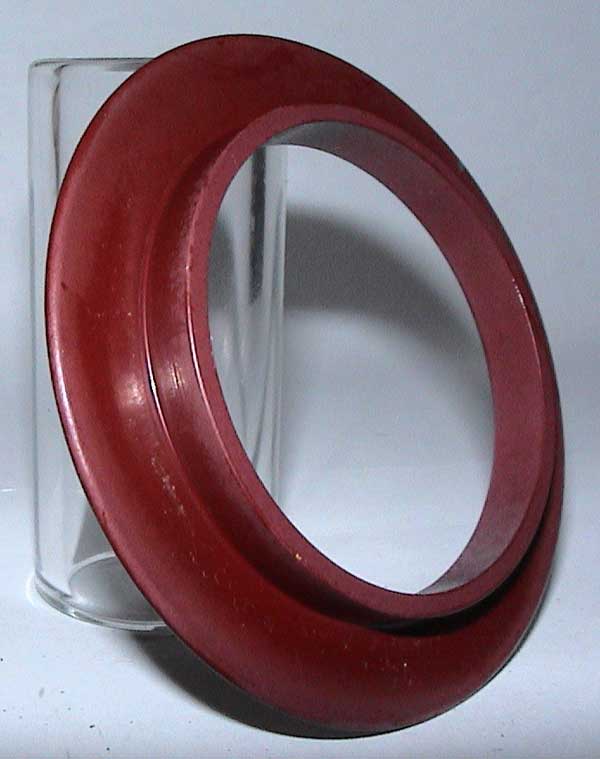
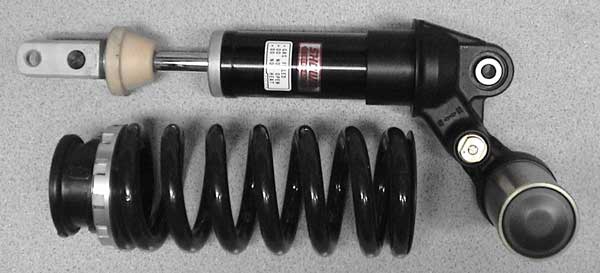
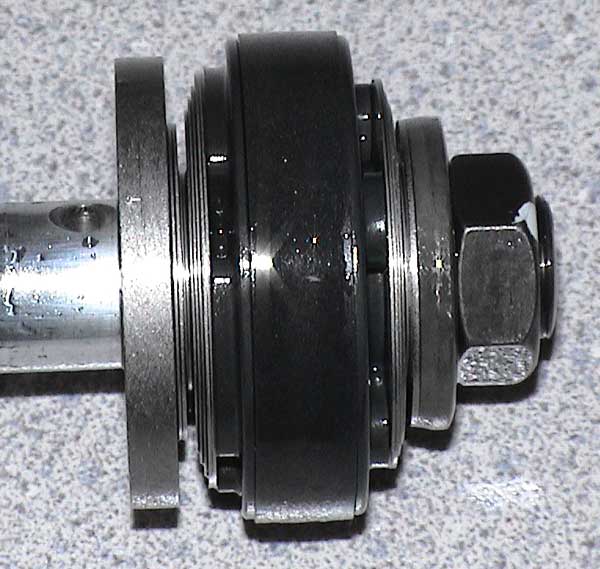
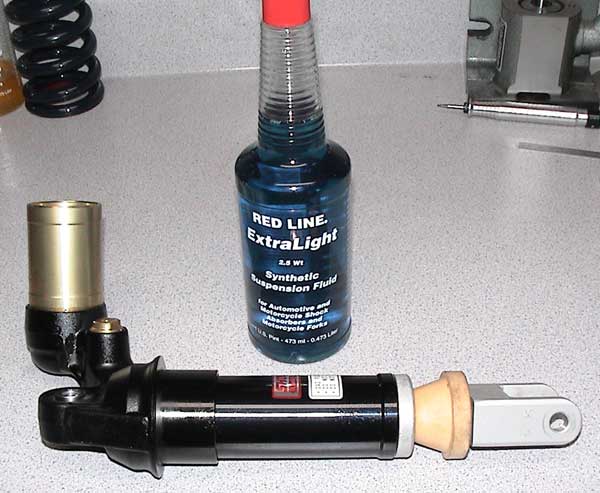
I had an adapter ring made so that I could mount a Hypercoil spring to the stock rear shock. It is well worth it as now the stock shock is up to snuff. The aluminum adjustment ring seat on the shock also needed to be reduced from 2.380" to 2.250" to fit within the spring properly. The stock spring is 185mm long, has a rate of approximately 550 lb/in, and is preloaded 15mm in position #1. The stock shock is MEE-A01 and measures 310mm eye to eye. The preload mechanism moves 10mm in 10 steps.
At first I ran a 7" 630 lb/in (Labled 650, 3% off) 2.25" Hypercoil spring with 10mm of preload in position #8. I was able to get sag numbers of 5/free and 33/rider. The 686 lb/in (labeled 700) spring that I first put in the rear is perfect for 2 people, but too harsh for a single rider. Recently, I changed to a 600 lb/in spring preloaded to position #10 to give a little more comfort on the street. The wheel feels far more planted now as well.
Now that I got the spring worked out, I can start working on getting the damping right. I needed to baseline the oil so I changed out the stock oil with 100% Red Line Extra Light (Blue) (cSt 9.8).
Spring and damper, know the difference. Preload is for changes geometry, Spring is for changes in load, and the damper is for changes in velocity. It really is that simple.
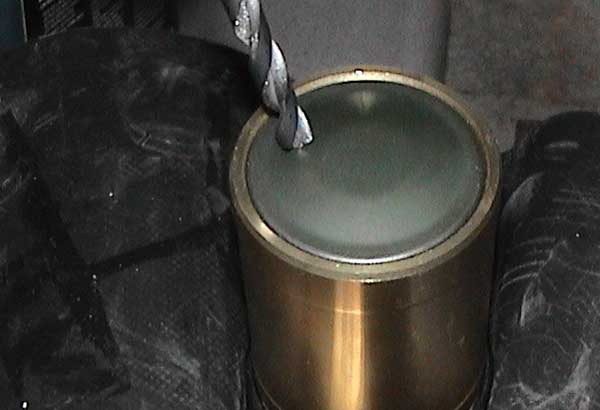
The air valve is under the tamper cap. Drill a 1/4" hole about 1/2" off center.

Pry the cap off.
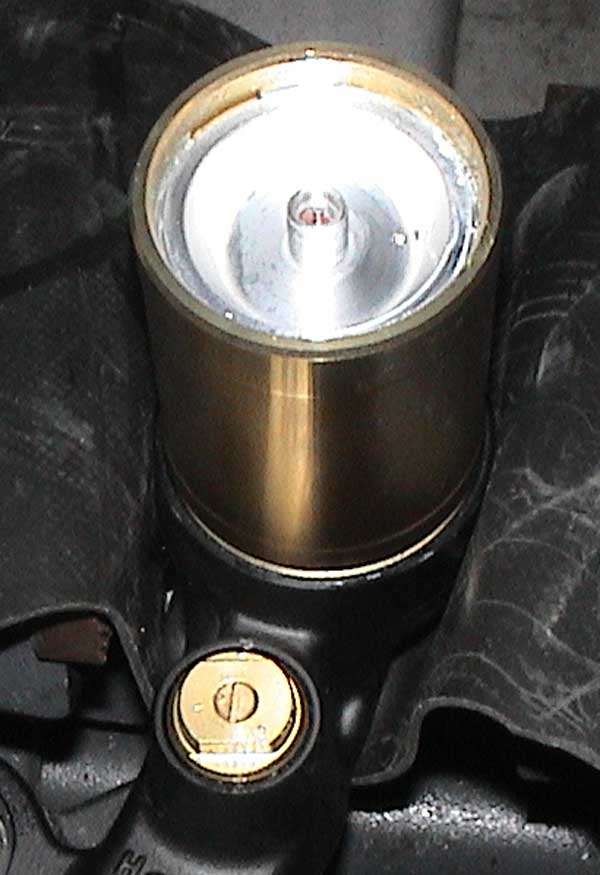
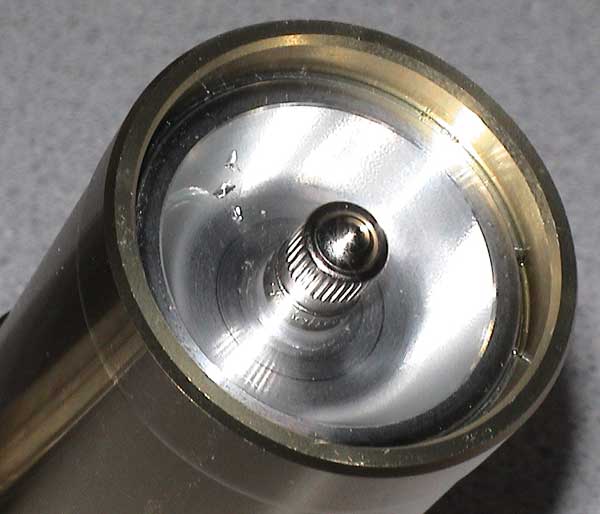
The Shrader valve.
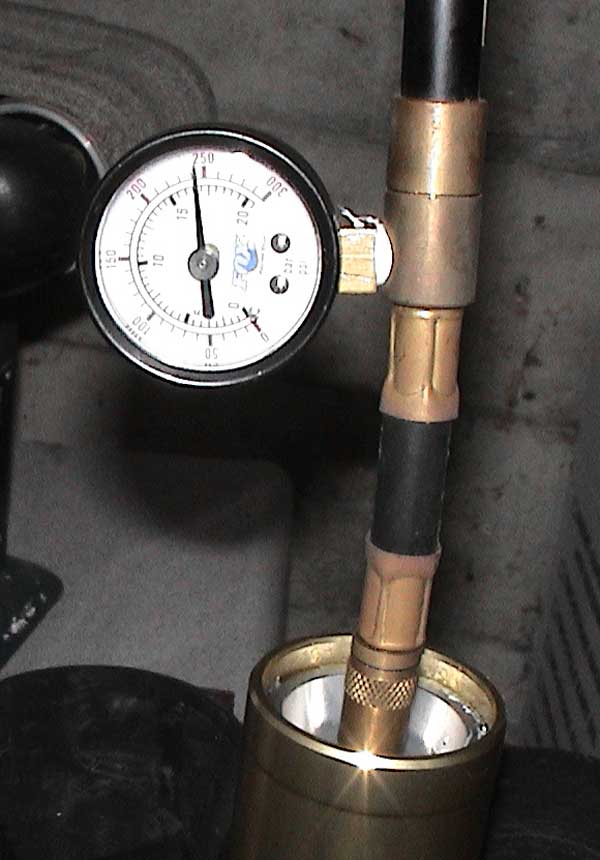
Stock nitrogen pressure is 250 lbs. This is a bit high. Explanation in a few steps.
Push the cap in a little and pop the snap ring off.

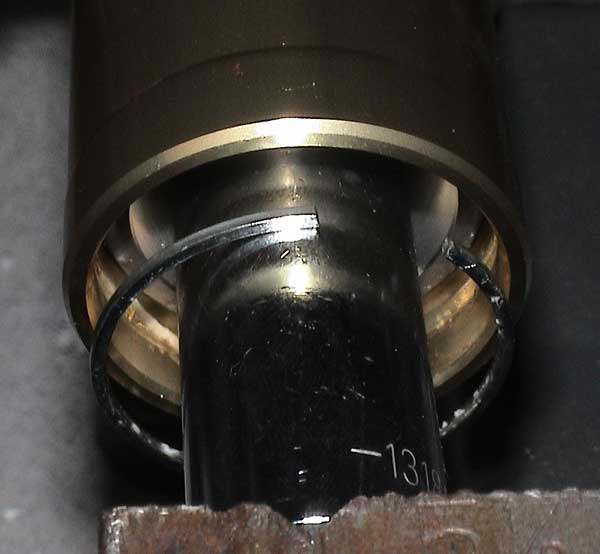
Pull the bladder out of the canister.
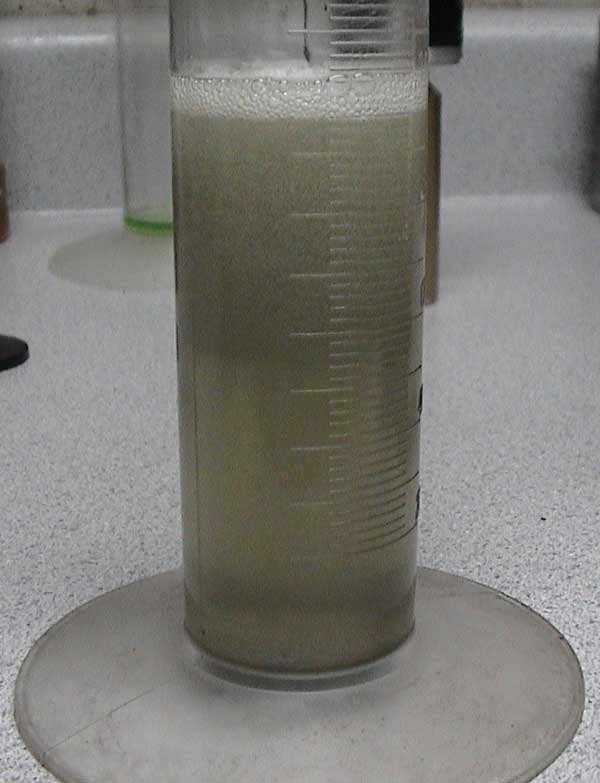
This is the stock oil. I ended up collecting about 170 ml of this crap. Take a look at the massive amounts of foaming in this oil. This leads to cavitation. Air pressure is used to counter cavitation. That is why the pressure was so high. I will end up putting about 100-150 psi in the shock.
The two halves.
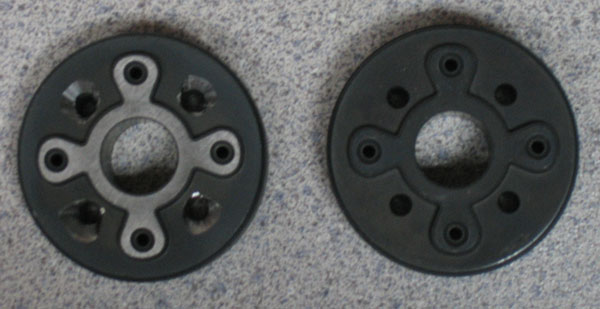
High speed valving.
The valve should be polished and ported. Original condition is on the right.

Compression face side.
Rebound face side.
I also changed the compression stack to match the heavier spring. It needs to be lightened up.
Stock shim stacks.
| Compression | Rebound |
| 34mm x 12mm x 0.32mm | 32mm x 12mm x 0.32mm |
| 34mm x 12mm x 0.32mm | 32mm x 12mm x 0.32mm |
| 32mm x 12mm x 0.32mm | 30mm x 12mm x 0.32mm |
| 30mm x 12mm x 0.32mm | 28mm x 12mm x 0.32mm |
| 28mm x 12mm x 0.32mm | 15mm x 12mm x 0.22mm |
| 15mm x 12mm x 0.22mm | 18mm x 12mm x 0.22mm |
| 18mm x 12mm x 0.32mm | 18mm x 12mm x 0.32mm |
| 18mm x 12mm x 0.32mm | 25mm x 12mm x 0.64mm |
| 26mm x 12mm x 0.42mm | |
| 26mm x 12mm x 0.42mm |
The new compression stack. A little better. Still needs some work.
| 'New' Compression |
| 34mm x 12mm x 0.32mm |
| 32mm x 12mm x 0.32mm |
| 30mm x 12mm x 0.32mm |
| 28mm x 12mm x 0.32mm |
| 15mm x 12mm x 0.22mm |
| 18mm x 12mm x 0.22mm |
| 18mm x 12mm x 0.32mm |
| 18mm x 12mm x 0.32mm |
| 26mm x 12mm x 0.42mm |
| 26mm x 12mm x 0.42mm |
Good oil. Happy shock.
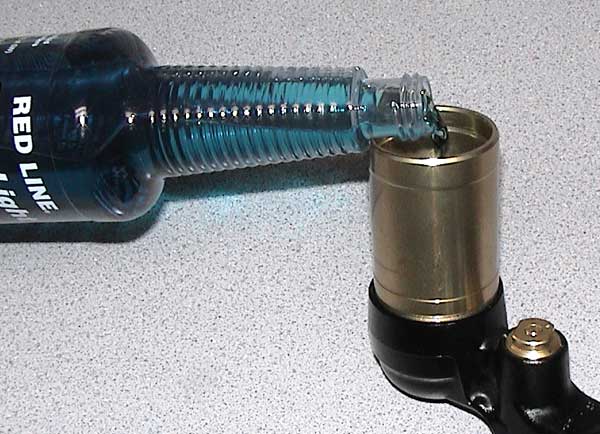
Fill it up and bleed the shock fully. Getting the bladder back in the canister requires removing the valve core until the bladder is mostly inside, then putting the core back in and giving it 1-2 psi to maintain shape.
This site has not been
updated since Fall 2006.
Since then, all new projects
have been place on my wiki
site.
If you like what you see on
this site, Make sure to go
to the wiki for even better
projects.