
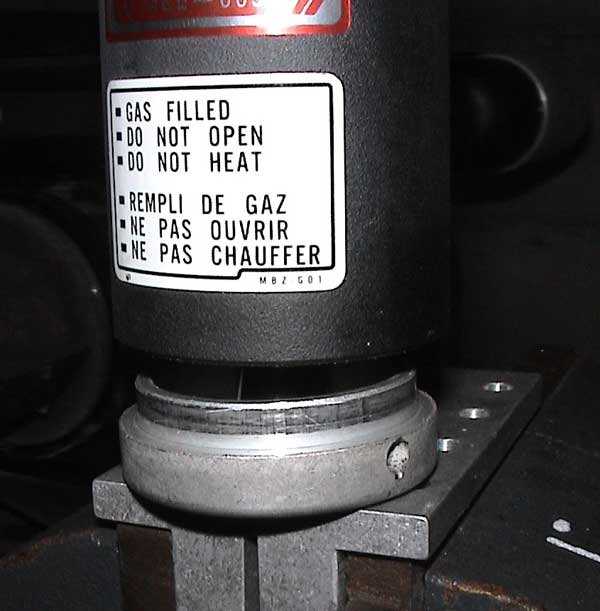
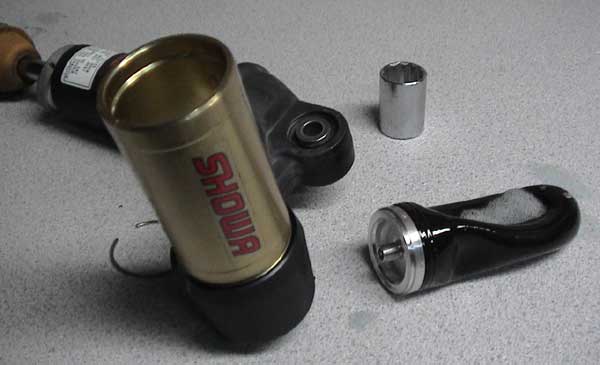
This is the process for disassembling a 2003 Honda CBR600RR rear shock. The part number labeled on this shock is Showa MEE-003. Aside from the exterior, most modern Honda shocks use the the same type of internals. This one has two stage valve stacks on the piston, which is very nice, but you can do that to any shock if you want. The quality of construction in this shock is very, very good. The F4i shock that i had worked on in the past was not quite as nice, but this one is top notch and is actually worth working on.
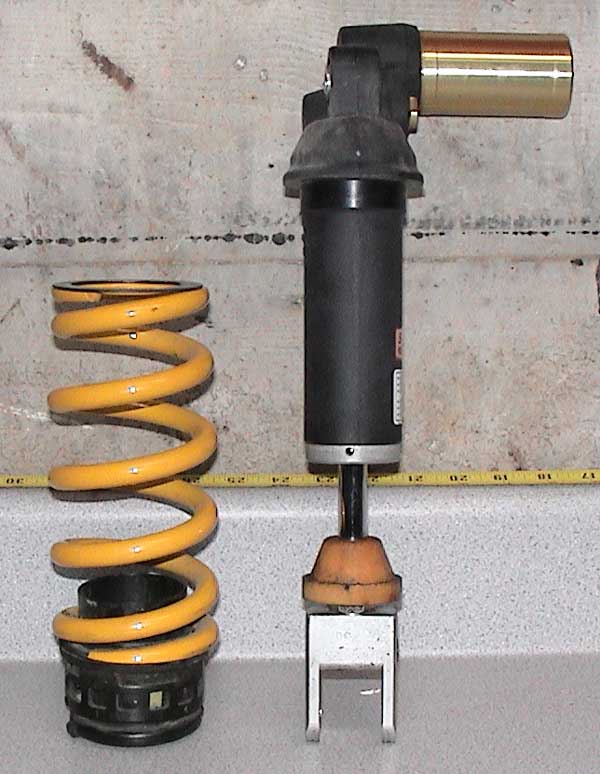
Spring and damper. Know the difference.
Figured I'd rate the stock yellow shock spring first. The spring is not very linear, but could loosely be called a 600 lb/in spring.
Stock Spring Rate:
0.0"-1.0" - 563 lbs.
0.5"-1.5" - 591 lbs.
1.0"-2.0" - 617 lbs.
0.0"-0.5" - 274 lbs.
1.0"-1.5" - 296 lbs.
Free length 6.91" (175mm). OD on side 1 - 3.25", OD on side 2 - 3". This tapered spring in biggest hate on Hondas. If the spring was straight, we could swaps springs very cheaply and make stock shocks work perfect. damn. Machining is in order to make an adapter. Below is what I had made for about $60. It is a pretty simple part, anyone with a lathe could make one. I had this one done in steel since I wanted to keep the stack size to a minimum. If you have the room, aluminum would be much better. This will allow me to use a quality hypercoil spring that cost me about $75 each.
I just checked with Racetech, they carry springs made by Eibach that will work for these bikes. Supposed to be a drop in replacement (tapered spring). One of the part numbers for this springs is #SESPS700225. I believe that this is for a 700 lb/in (12.5 kg/mm) spring. The cost is a bit, $120 per spring. They should have springs from 250-800 lb/in. I think that it is better to pay a machinist so that you can use the quality Hyperco spring that costs much less and has universal use, than to pay twice as much for a goofy spring that is probably not even rated properly.
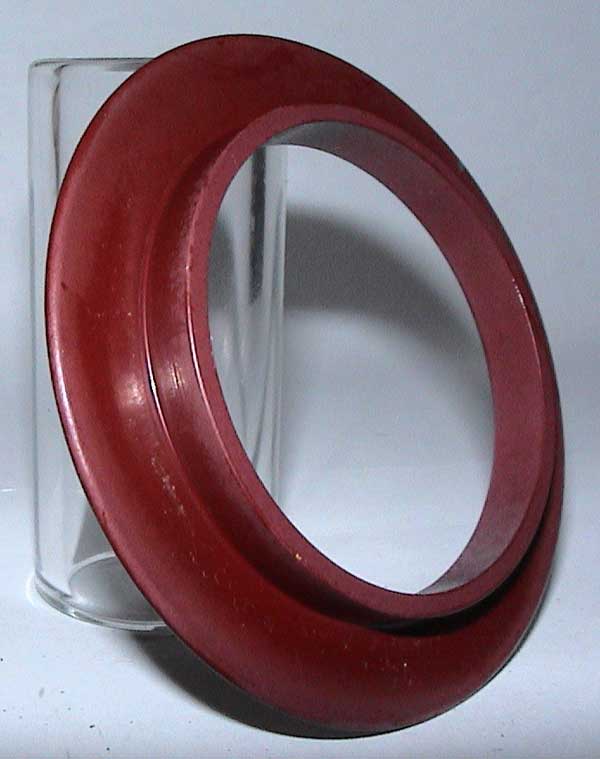
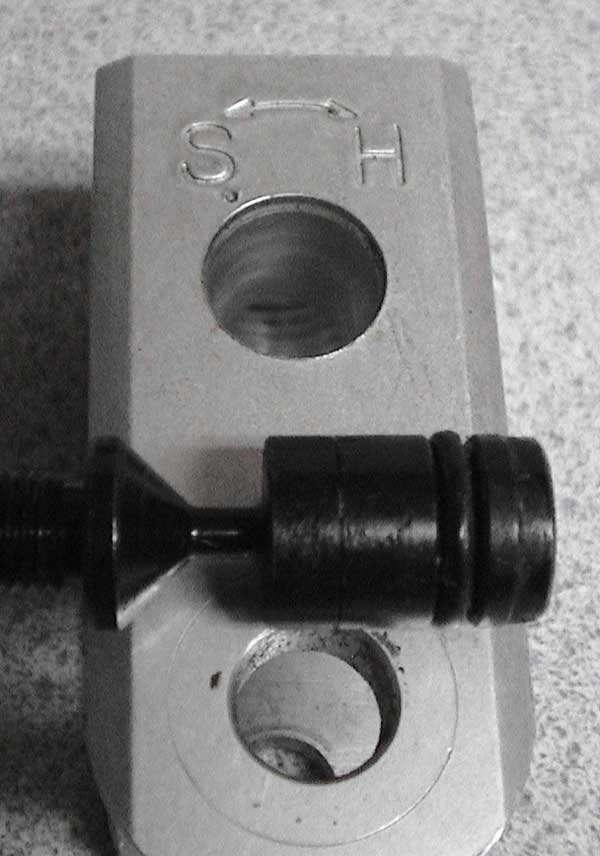
The preload adjuster moves 10mm in 7 steps. So that is actually pretty good. 1.43 mm each step. I take back what I had said before about the adjuster being too crude. It is actually quite handy provided you are within range. In position number 1, the spring measures 162mm. This means that preload goes from 13mm to 23mm. A pretty acceptable range. By swapping this spring with a 7" (178mm) spring, this range will go to 16mm to 26mm. That is a lot of preload to start, but I will see if it works. Otherwise, I'll make another adapter for a properly loaded 6" spring. Hyperco, of course!
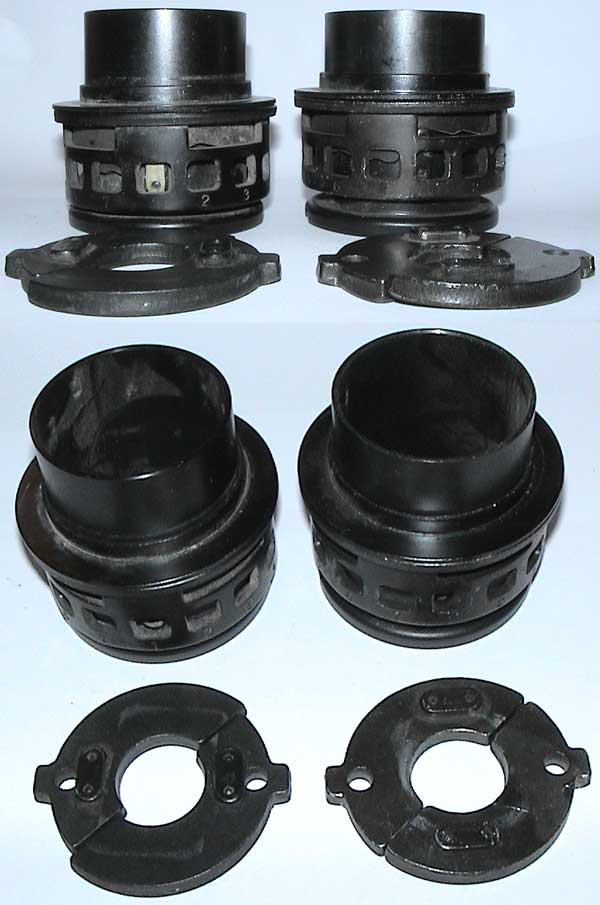
An interesting note: The Honda preload system appeared to me to be the same for the two shock that I had recently taken apart, 2001 CBR600F4i and 2003 CBR600RR. Upon closer examination, they were different in only two ways. The split ring locators were 90 degrees rotated and more importantly the effective height of the mechanism was different. The 600RR mechanism measures 42.75mm and the 600F4i measures 46.50mm over the shaft base. This may help the budget tuner get internal preload sorted just by scavenging other OEM parts.
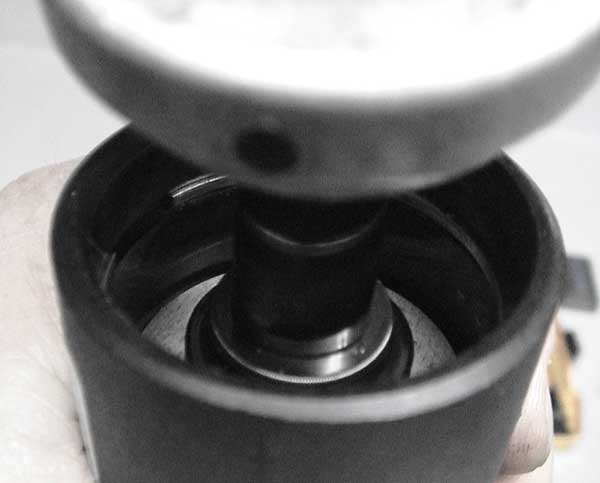
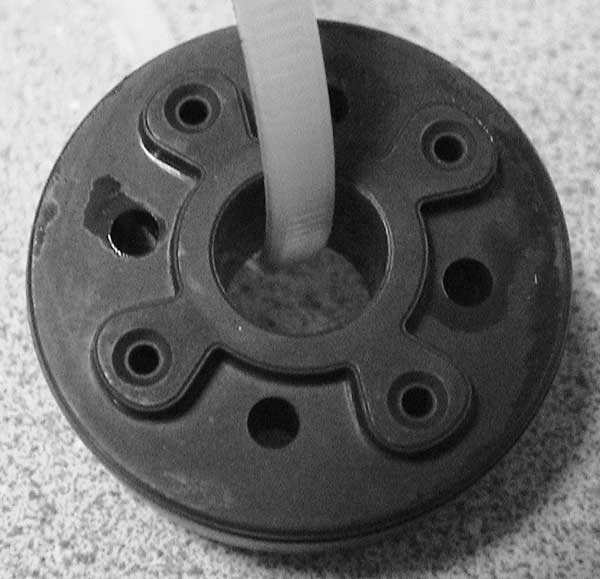
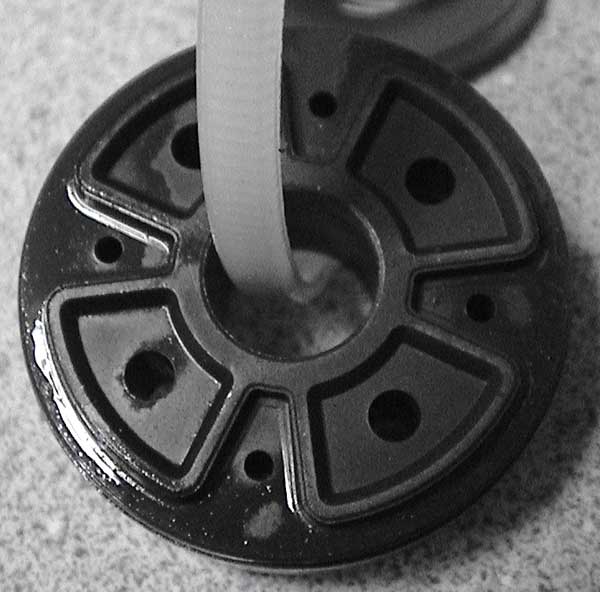
Use the holes to drive the end shield off. Aiming the punch at a downward angle works better than the approch as shown.
The shield will drop away. Actual cap and seal are underneath.

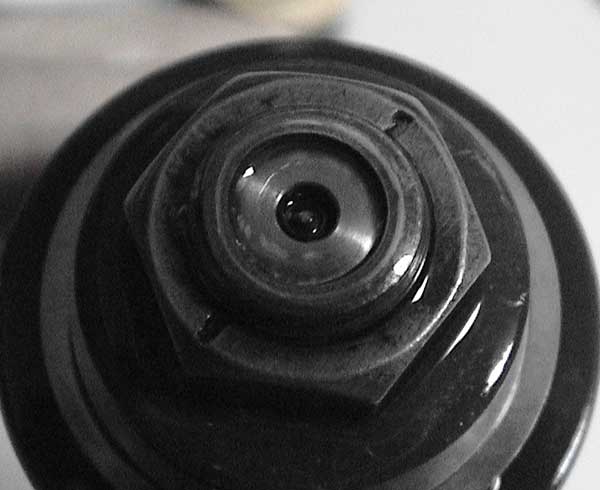
Gotta get the shield cap off the canister. use a small drill to pop a tiny hole in the cap. You will throw this cap away, so don't worry about it. Make sure to drill about 0.625" off center unlike I am about to do. The nitrogen valve is under the center. My drill went in and tapped the valve. The sudden release of 150 psi sent this cap off like a bullet.
*** Warning*** Do not point the cap at anything of value when you do this. It could pop off like a gun if the pressure releases.
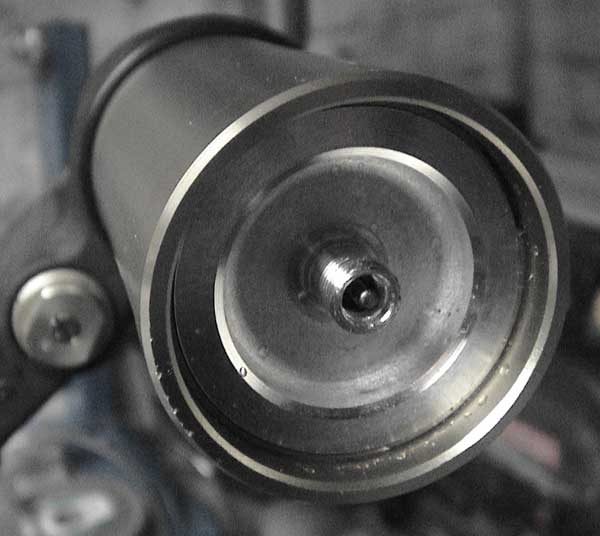
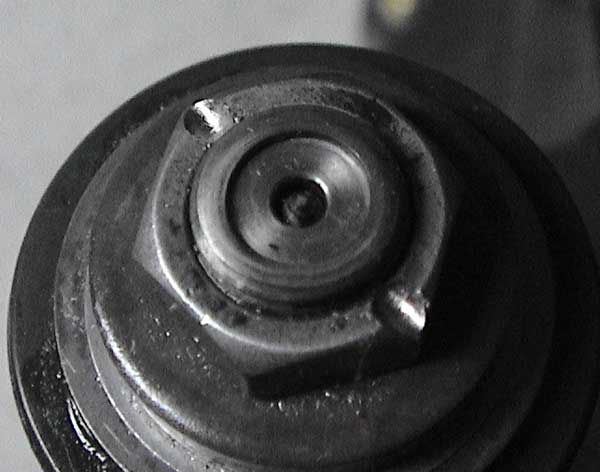
Aha! We have a schrader valve available under the seal cap. In the past (even F4i) you had to make one of these.
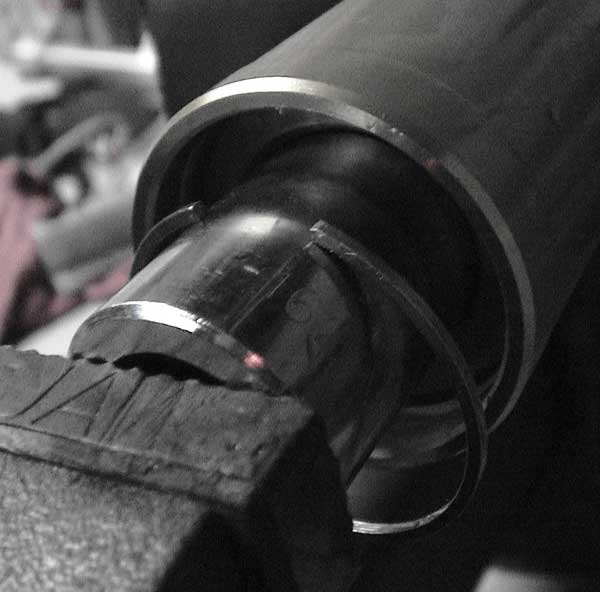
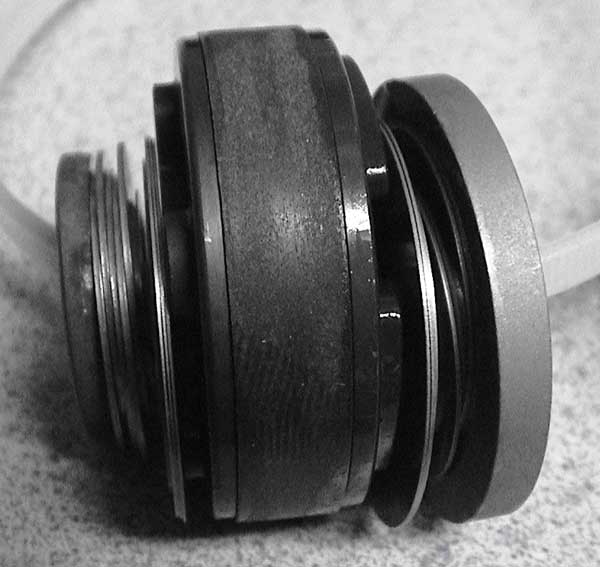
Push the true end cap in a little to get the snap ring out. Use a socket of special tool in a large vise. Be sure not to gouge up the shock. You want it to look pretty when you are done.
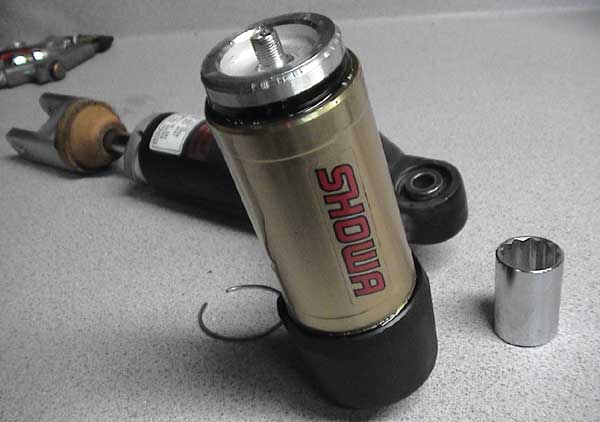
Free.
The bladder and cap. Decarbon shock at its best. Expanding bladder or floating piston, arguments can be made for either. I like the bladder better. It does not have the friction of the floading piston. Bladders can leak if not cared for. Be carefull.
Push the shaft seal cap in a bit to get the snap ring out.
You have go give the shaft side a solid yank to get it past the snap ring groove. Quick and solid is the way to do it. Do not pry it free. You may damage a seal.
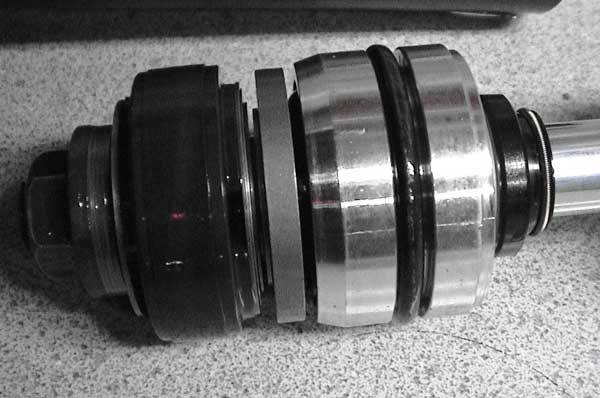
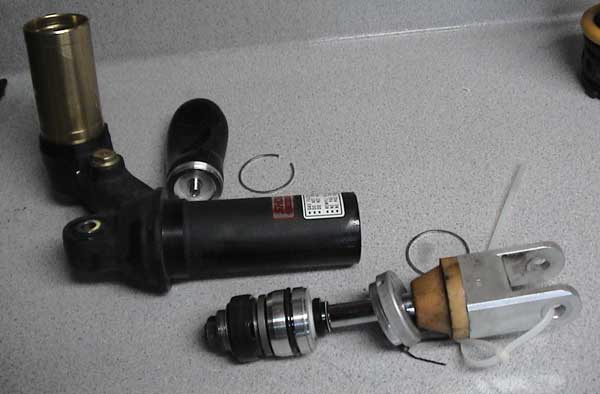
The guts. Shims, piston, seal, bearing. The rebound bleed is not visable in this shot.
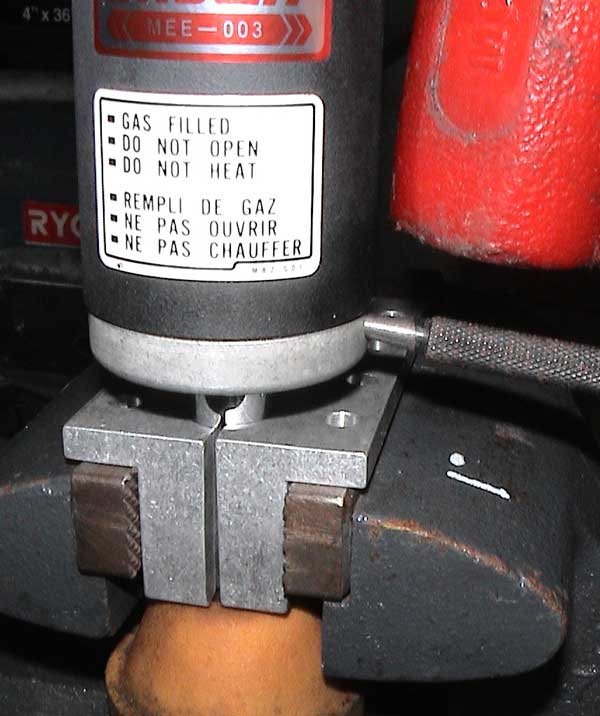
The nut on the end of the shaft is peaned at two places. You have to do something about this to get the nut off. Do not attempt to force it yet.
Use a die grinder or dremell to grind down the peen area. try not to grind the shaft threads. Use a little heat on the nut and a pin through the clevis (to keep the shaft from spinning). Now it is time to force it. Racetech has a special set of soft jaws for vises that will help you hold the shaft while you work on this. Make sure not to mare the shaft. It must remain polished and free of burrs or dings.

Parts.
Valve and shims.
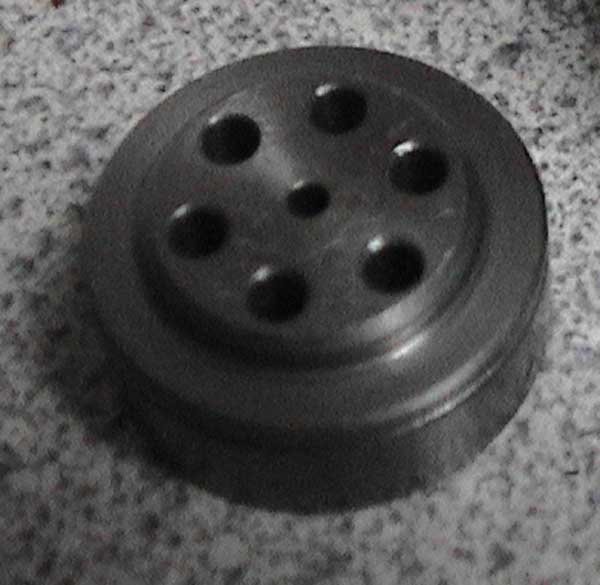
Rebound side. Lots of room to play with this valve. Let the dremells begin. You want to reshape the fluid entry to the port similar to a velocity stack on a intake system. These stock pistons offer lots of room to reshape or report as you like. very nice.
The compression side. Again lots of room to make this valve do what you want.
The shims. Note the two stage stacking on both sides.
| Rebound Shims | 4 x 2mm ports | |
32 |
12 |
0.26 |
32 |
12 |
0.26 |
32 |
12 |
0.32 |
28 |
12 |
0.32 |
15 |
12 |
0.21 |
18 |
12 |
0.21 |
18 |
12 |
0.32 |
25 |
12 |
0.61 |
25 |
12 |
0.61 |
25 |
12 |
0.61 |
25 |
12 |
0.61 |
25 |
12 |
0.61 |
| Compression Shims |
4 x 3.5mm ports | |
| 34 | 12 | 0.32 |
| 34 | 12 | 0.32 |
| 32 | 12 | 0.32 |
| 28 | 12 | 0.32 |
| 28 | 12 | 0.21 |
| 15 | 12 | 0.21 |
| 18 | 12 | 0.21 |
| 18 | 12 | 0.32 |
| 26 | 12 | 0.41 |
| 26 | 12 | 0.41 |

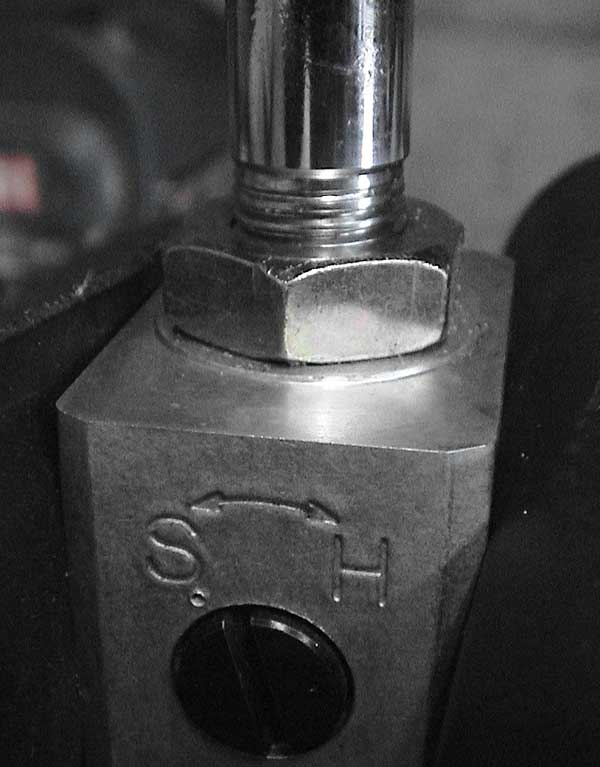
The slow speed compression adjuster unscrews. Do not worry about the peaning.
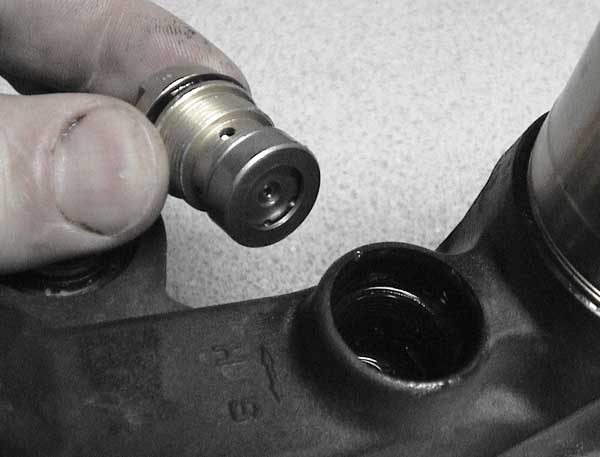
It comes out in this nifty cartridge. I was so impressed by this piece. It is probably the single coolest thing about this shock.
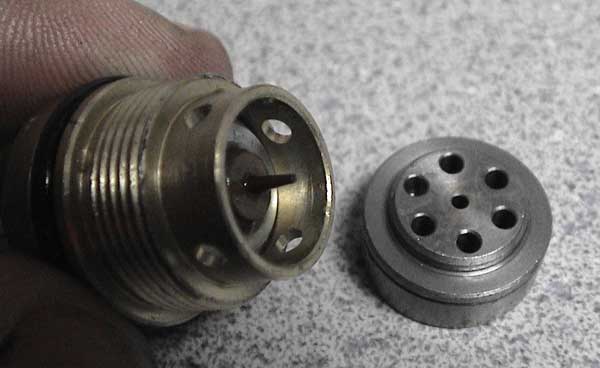
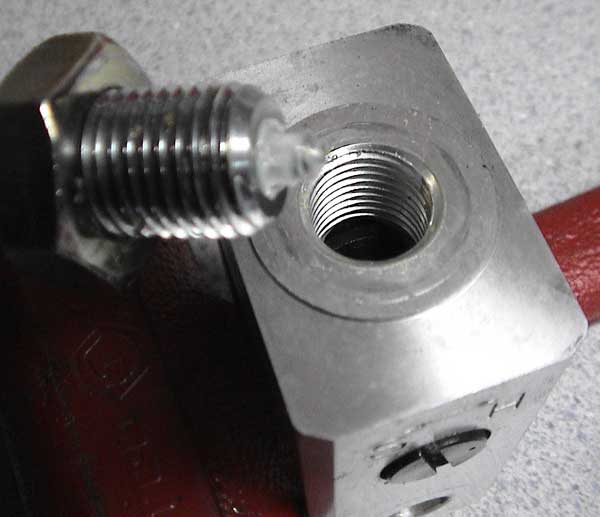
The needle and the orifice. That is a nice needle. I wish that they used a parabolic shape, but it is still very good.
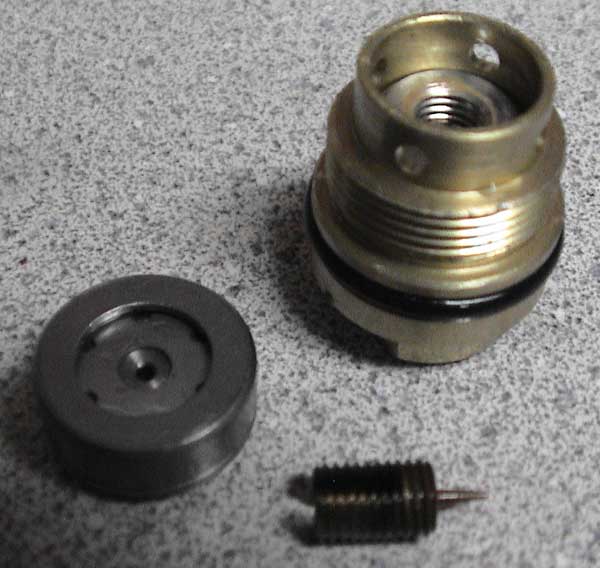
Note the front side of the unit. Very interesting.
Orifice. Humm...
To get the slow speed rebound parts out, you have to remove the shaft from the clevis. It is a double lock nut configuration.
They were nice enough to grease the works for us. Fluid does not get in here.
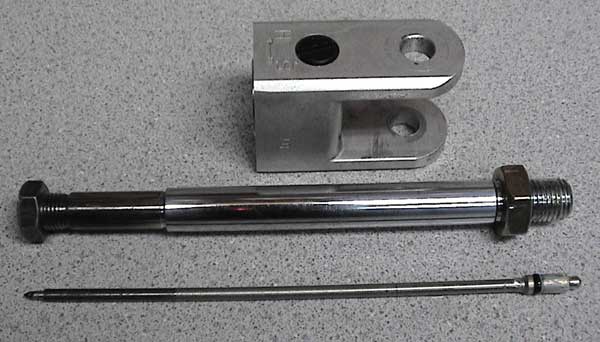
The needle is the taper at the very left end. Replacing the clevis here will change ride height / shock lenth.
The rod rides up the ramp to make the adjustment.
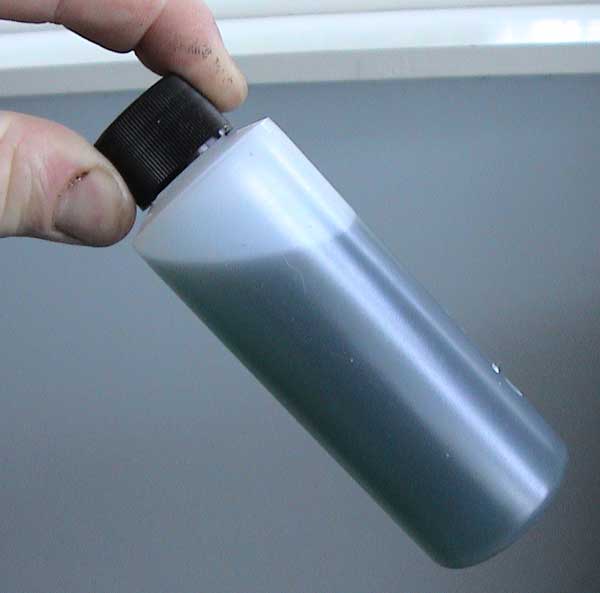
I took a sample of the OE shock fluid. It was very clean and looked to be in good shape. Very light blue in color. I'm not sure what oil it is, but it might be Showa SS-25, 12.50 cSt@40, 239 VI. Not positive.
This web page will probably stop here. I will start a new page with complete dissassembly, reassembly, and tuning on my new 2005 CBR600RR suspension. Front and Rear. I should have a lot of that up by the end of Febuary.
This site has not been
updated since Fall 2006.
Since then, all new projects
have been place on my wiki
site.
If you like what you see on
this site, Make sure to go
to the wiki for even better
projects.