Last winter, I bought some modern snowboard gear. New board, bindings, and boots. My old stuff was bordering on antique, 1997 era stuff. Ronen (my friend) wanted to help me enter the modern era and I took him up on that. We got some nice prices on some stuff that was good enough and I was off….
…or so I thought…
I found that my foot placement on the new board was impossible to replicate. I like to be bais to the rear of the board. Most of the modern stuff seems to be totally centered. I did what I could figuring that I just needed to “get with the program”. Sometimes it’s tough being old enough to remember when snowboards didn’t have bindings but a hold rope.
…anyway…
We hit the slopes and I couldn’t even move. It had been a long time since I rode but I used to ride very well. My performance was horrible. Mostly just struggling and crashing. We went again and I rode almost as poorly. I was starting to question my sanity. I decided to swap the bindings to my old board and use my old stance. I went up and rode with my girlfriend and, like magic, I could ride again. Not ripping. A bit rusty. But I could see that my issue was the lousy position I was forced to run on the new board more than anything else.
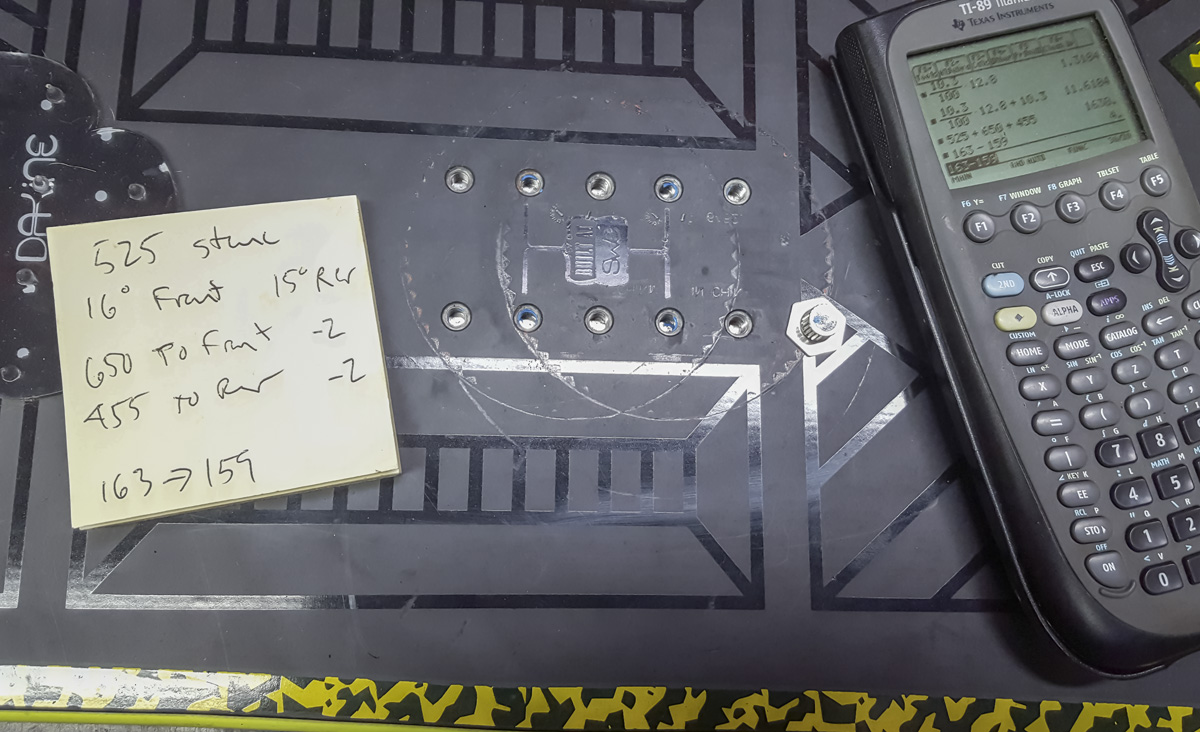
I tend to have a narrow stance with forward angled plates. Feet angled at 33f/30r. A 525mm CtC stance. A 56%f/44%r bias toward the rear from the middle of the stance. That’s pretty strange, I know. Regardless, it works and feels great. I used to be very fast in the trees and able to get into places others couldn’t. I value that.
Action Sports Technology inc. and McMaster save the day.
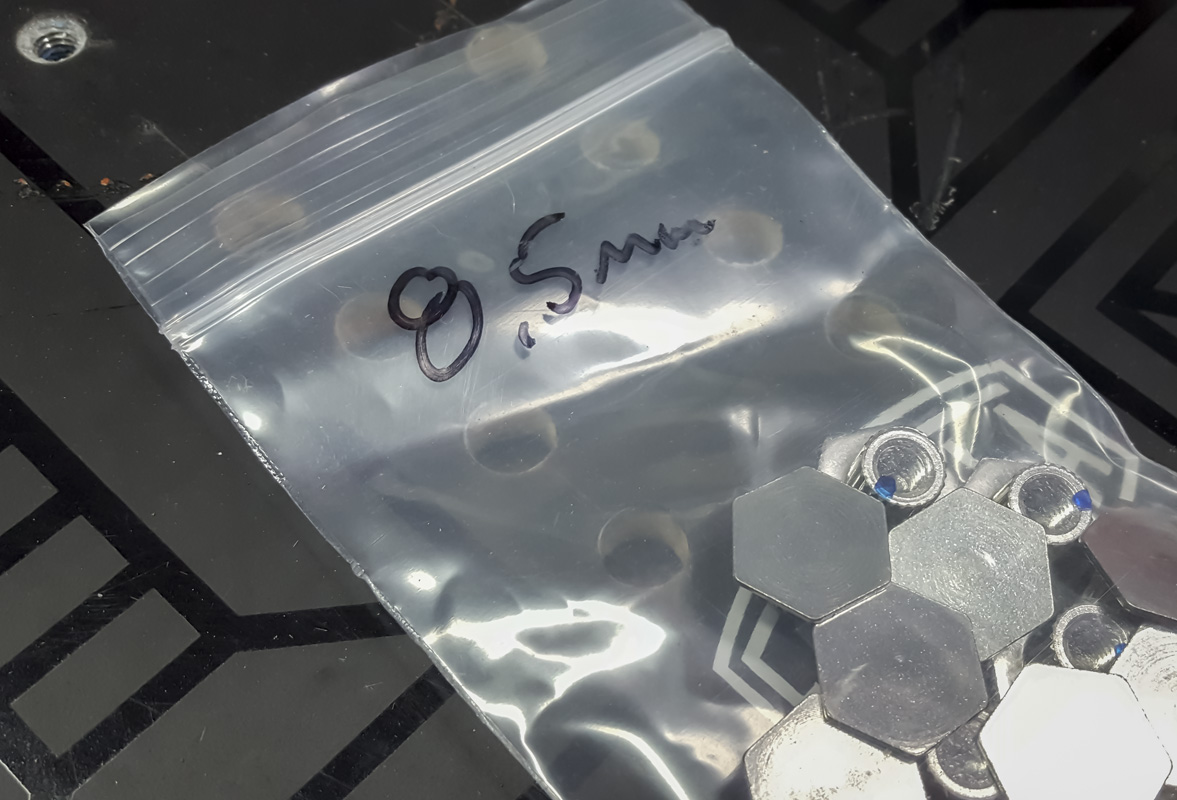
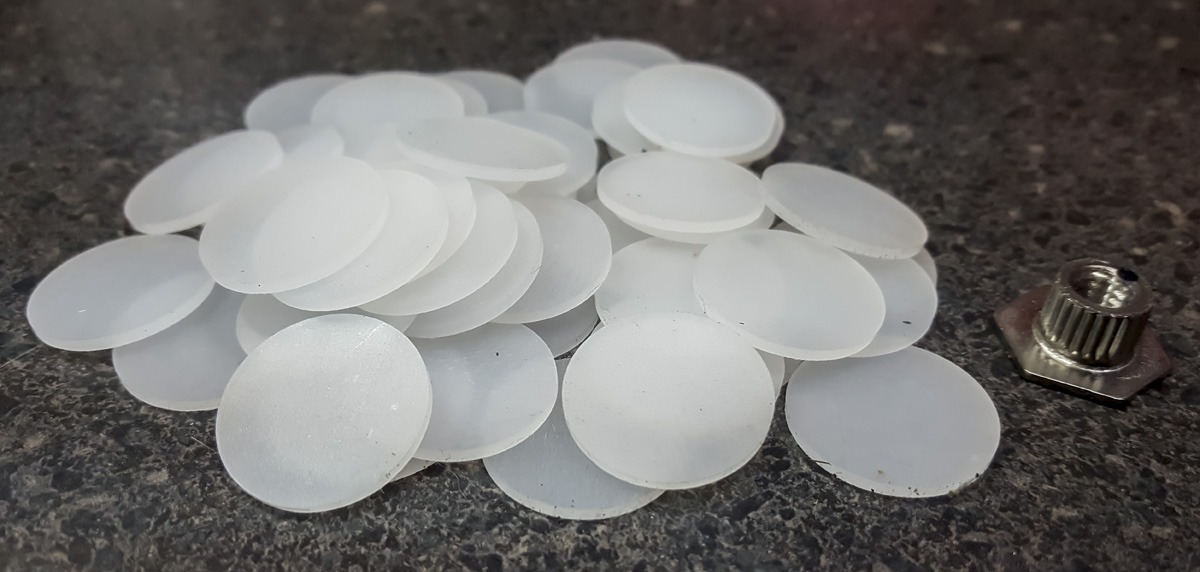
8.5mm hex binding insert
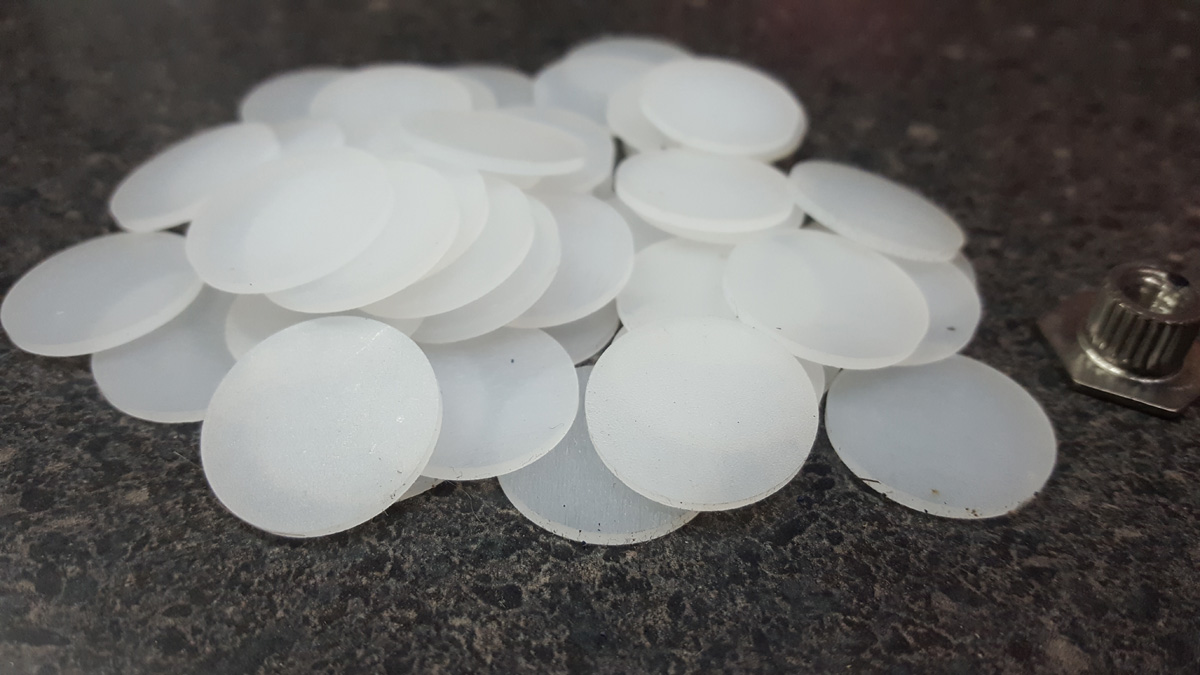
Clear Sintered High Performance Base, 4.7 million Molecular Weight, 1.3mm thick.
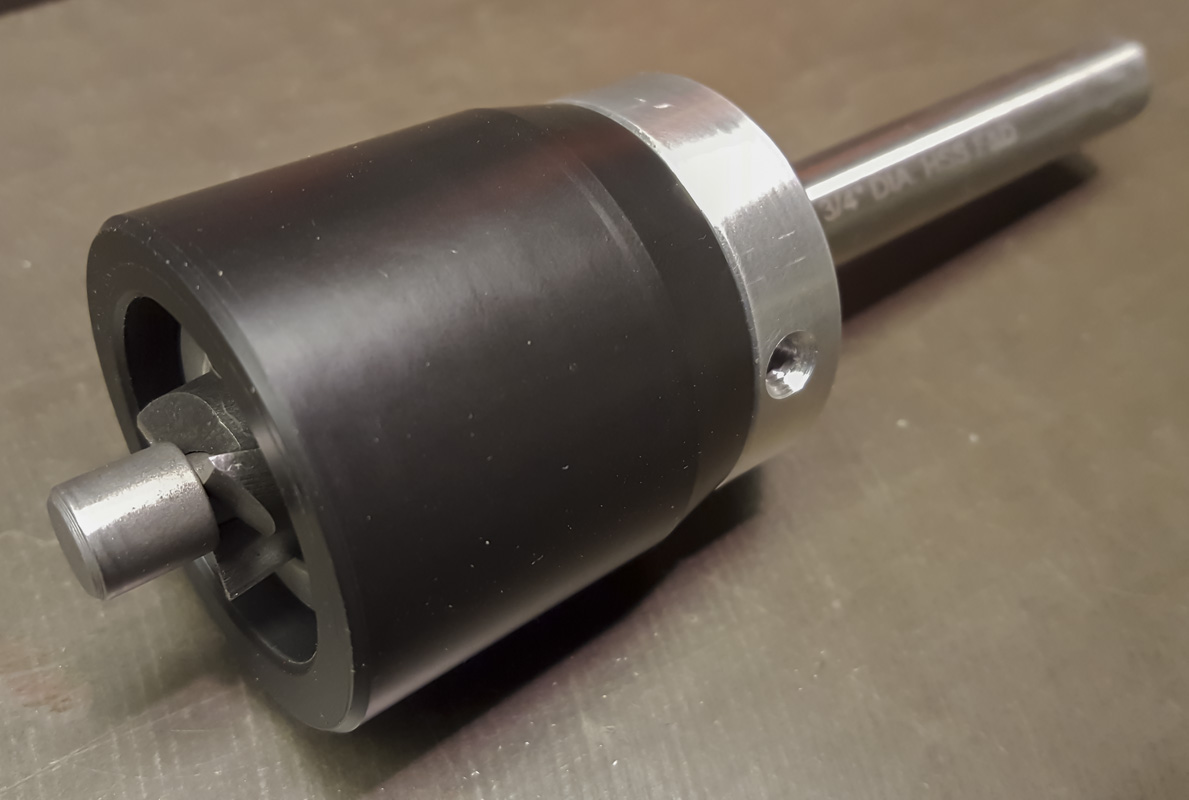
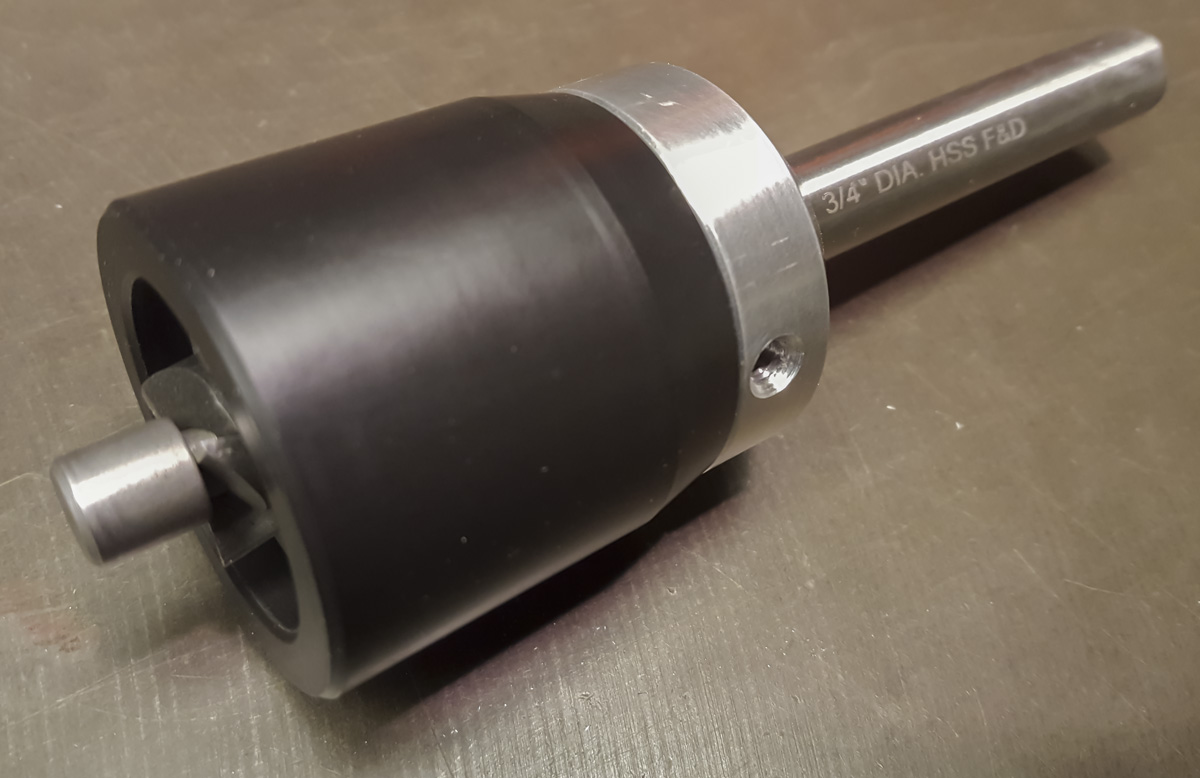
Changeable Pilot Counter bore, High-Speed Steel, 3/4″ Body Diameter, 1/2″ Shank Diameter (3015A31)
Changeable Counter bore Pilot, 1/4″ Shank Diameter, 3/8″ Pilot Diameter (3103A36)
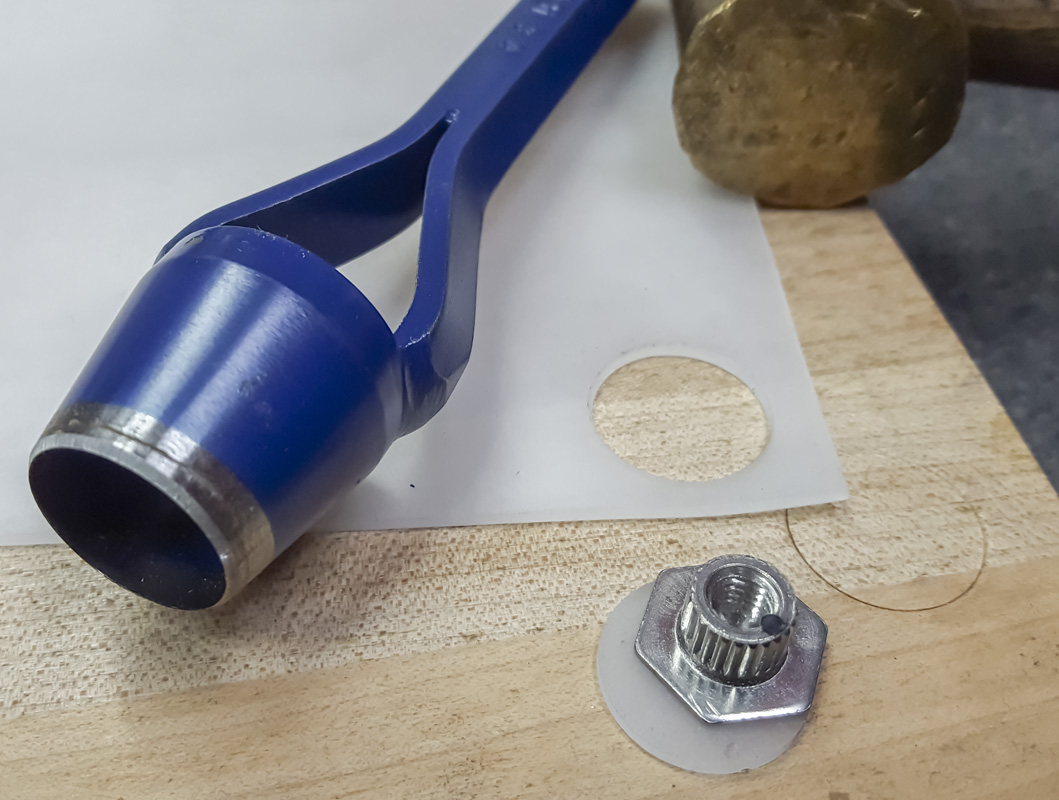
Hammer-Driven Hole Punch, 3/4″ Hole Diameter (3427A19)
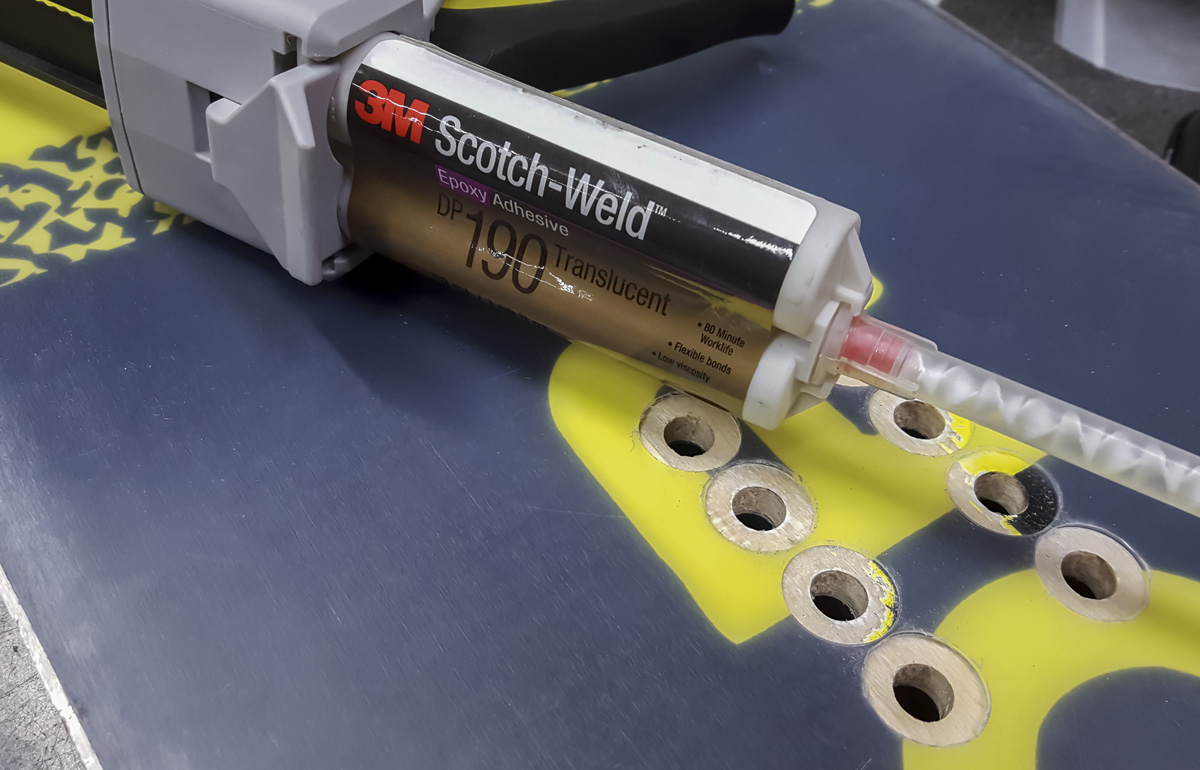
3M Adhesive Cartridge, DP190 Impact Resistant Epoxy, 1.69 oz., Semi-Clear (7467A72)
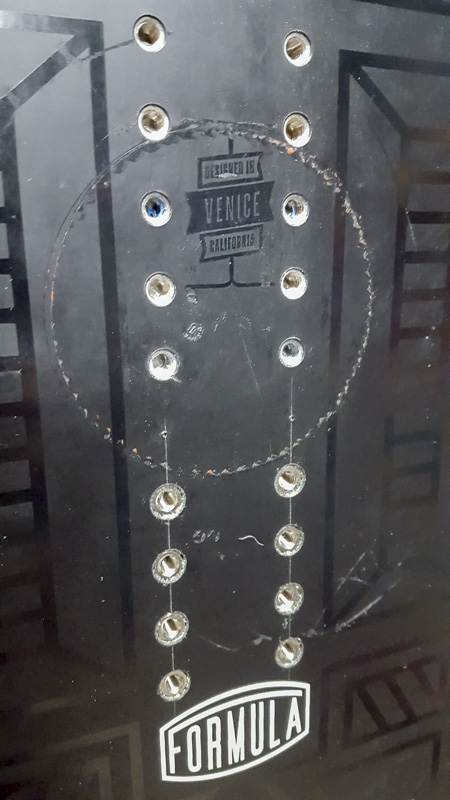
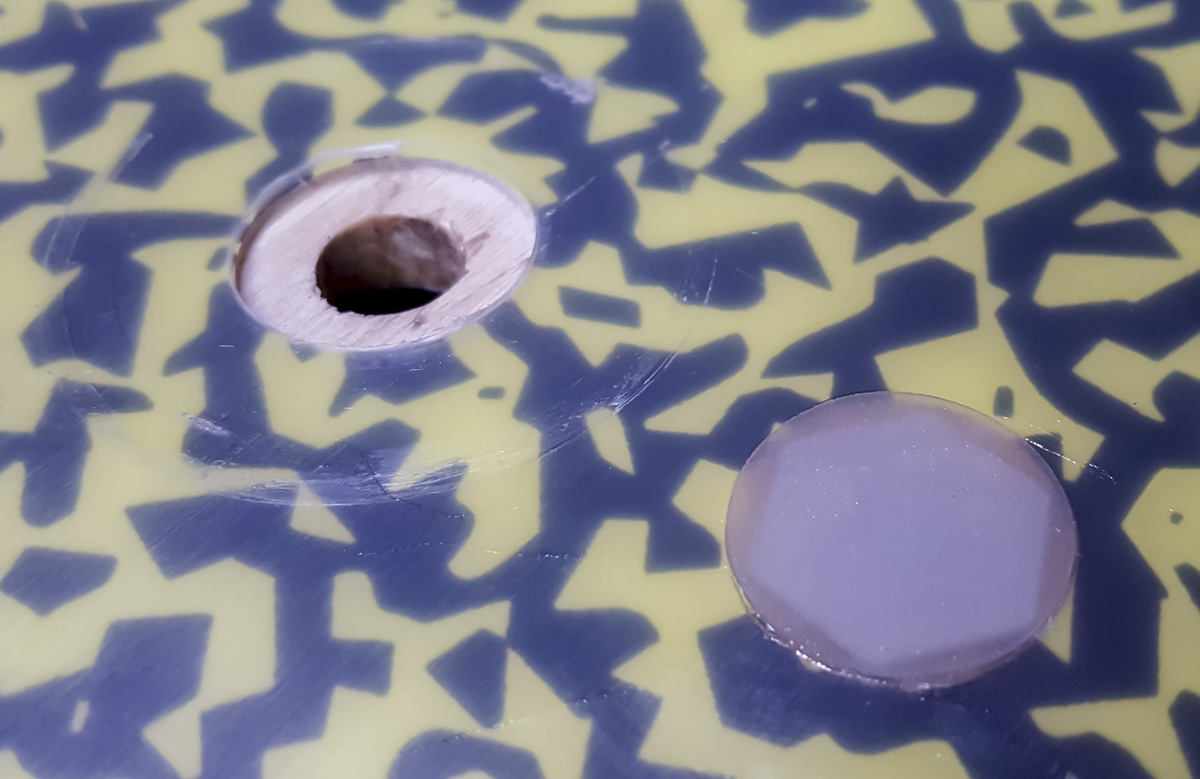
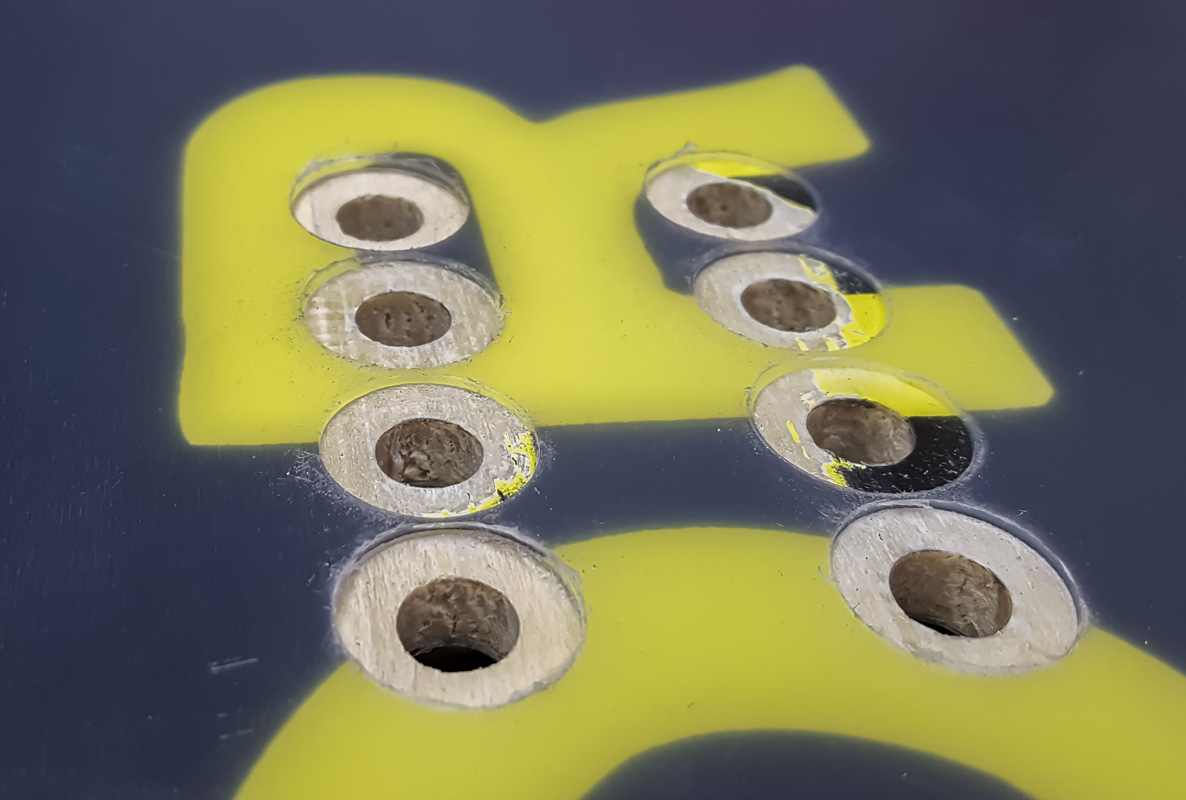
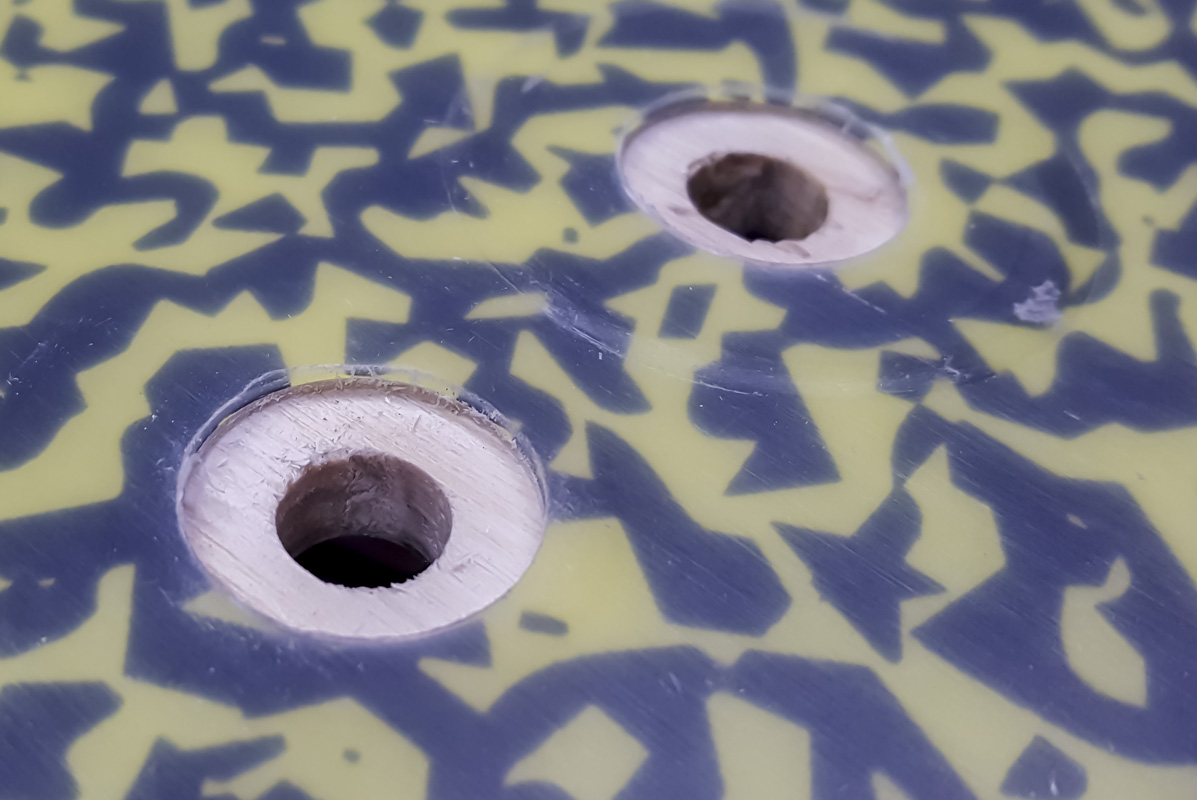
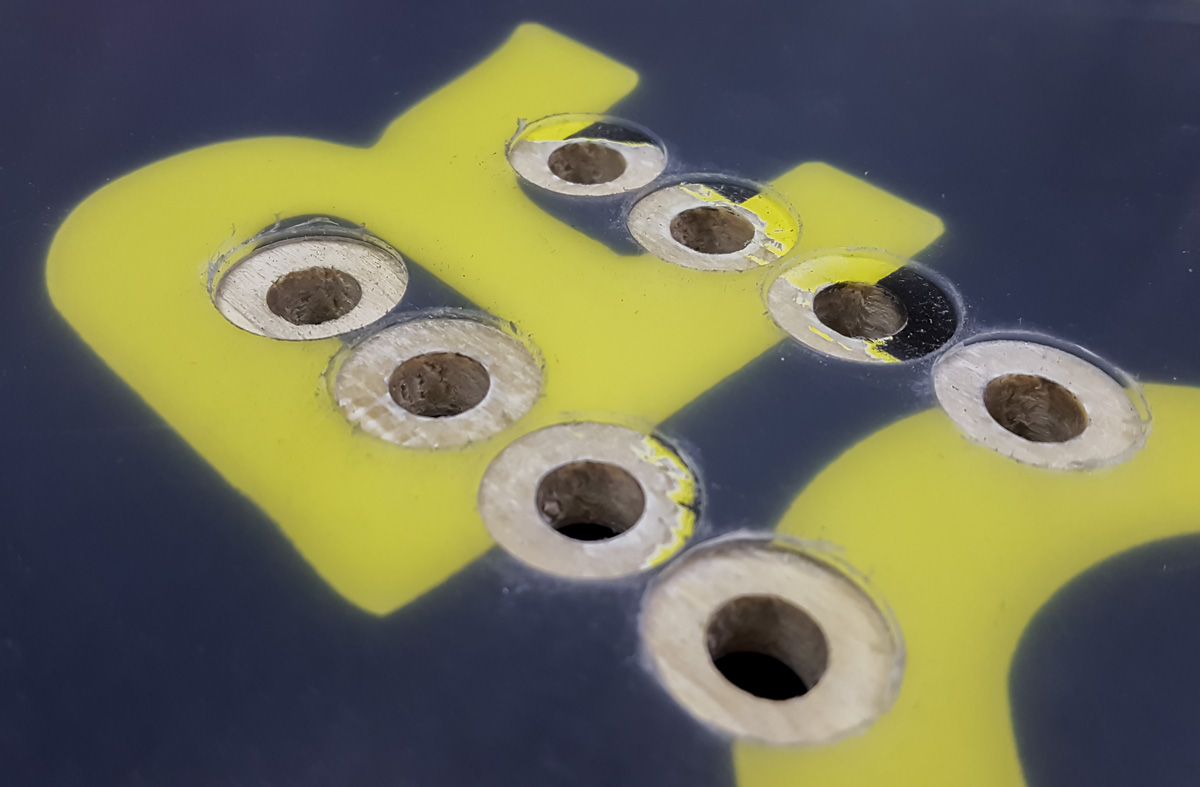
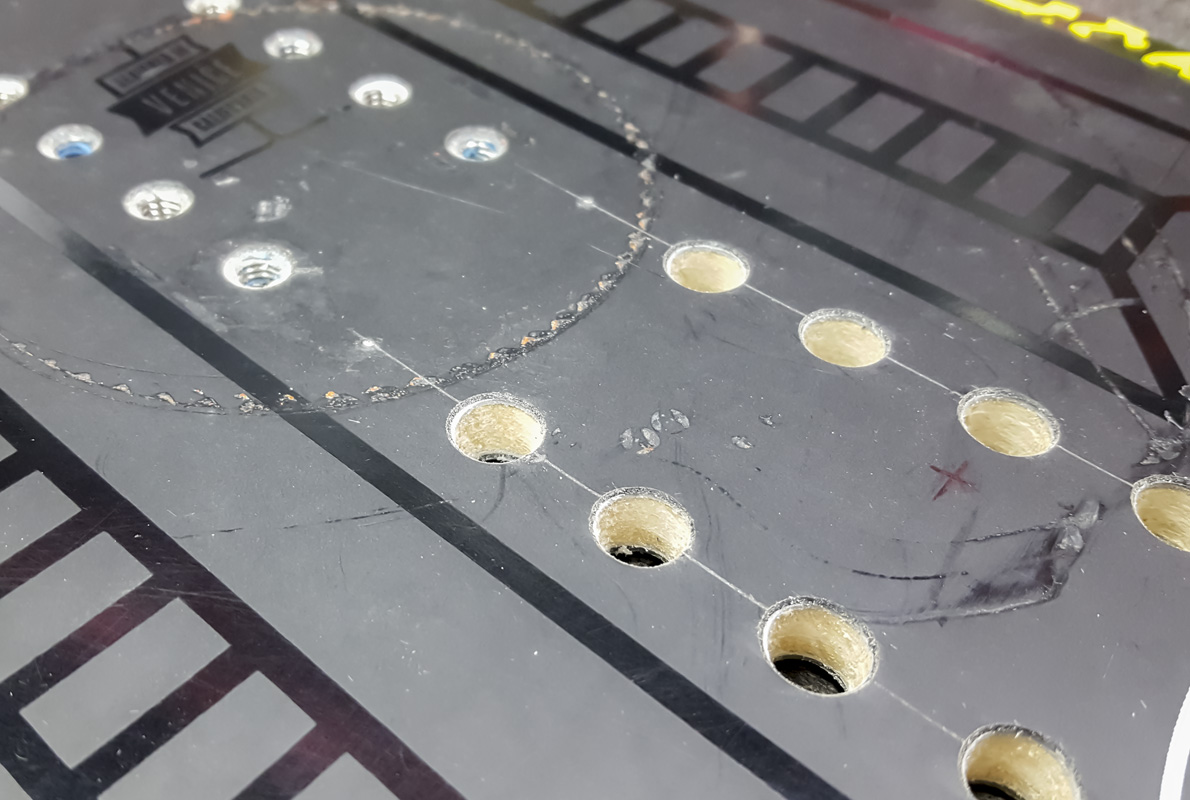
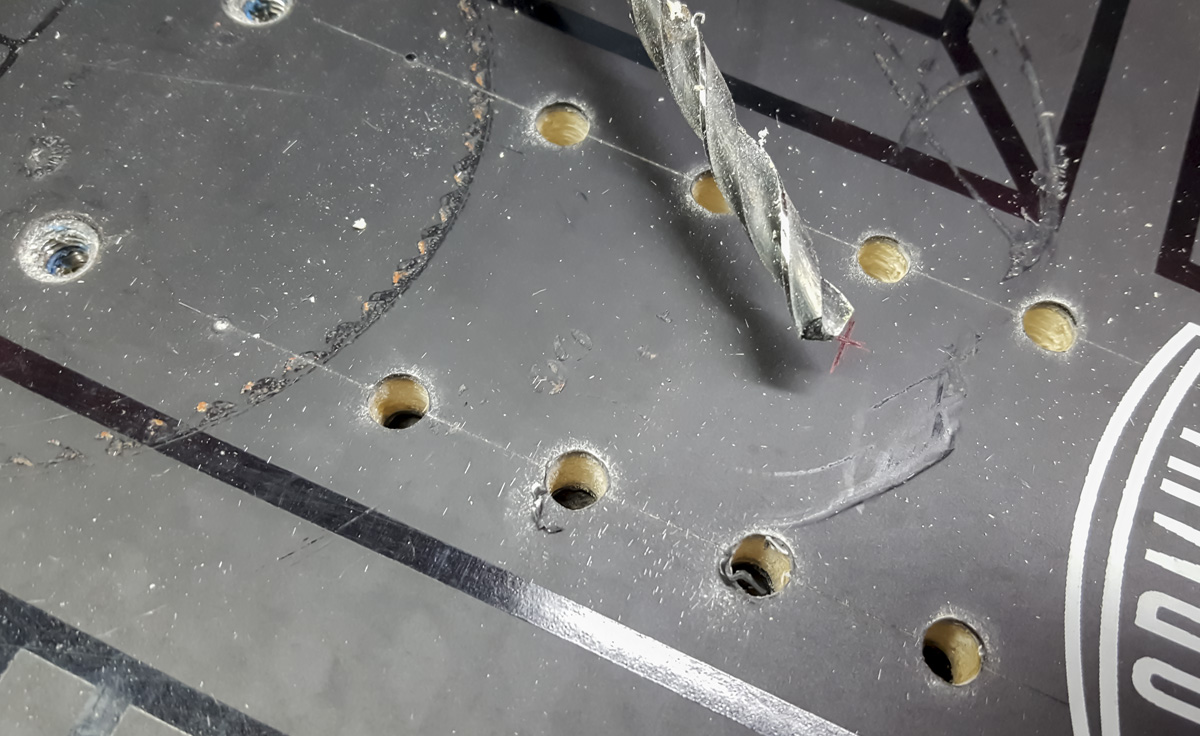
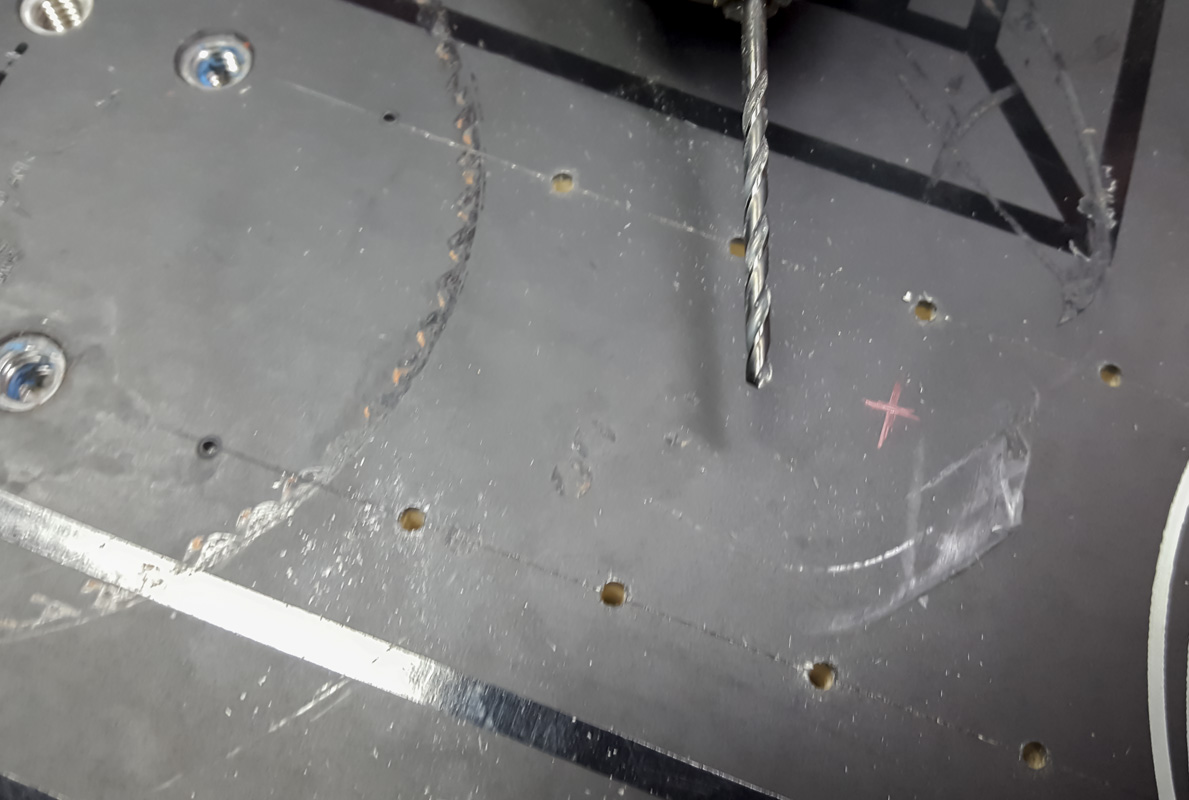
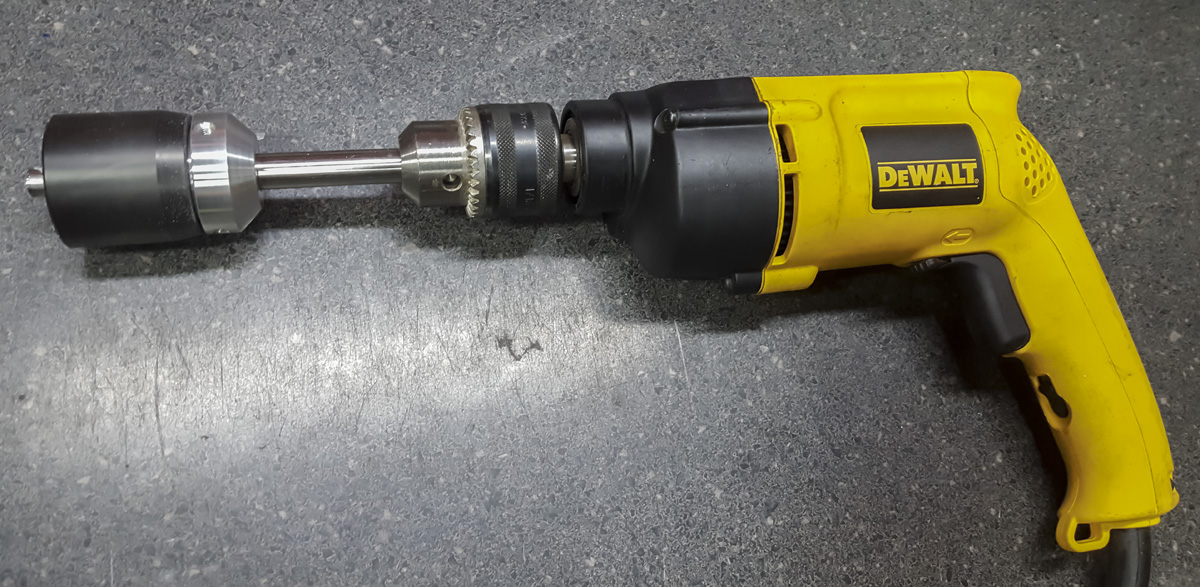
The inserts require a 3/8″ hole and a 3/4″ counter bore. After laying the hole pattern out based on my needs, I started drilling. I quickly found out that the through hole should be drilled in a minimum of 5 steps. Maybe more. Too quick of a step tears at the cap material. Be very careful during this part of the process. It’s easy, just requires care.
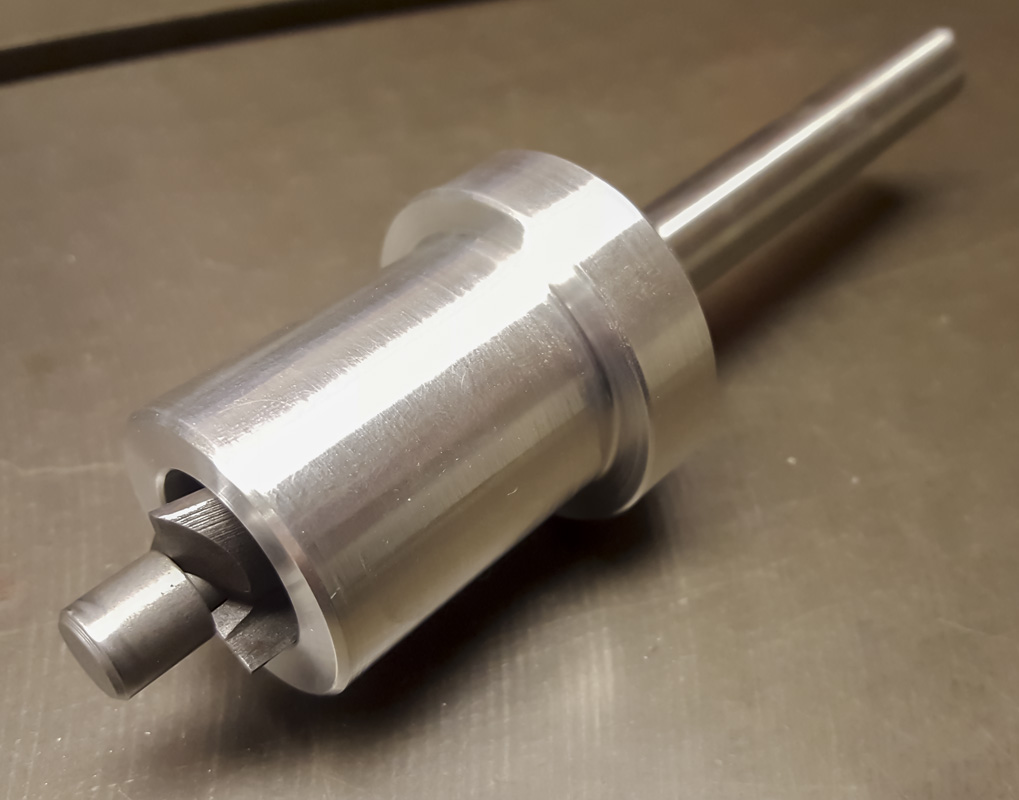
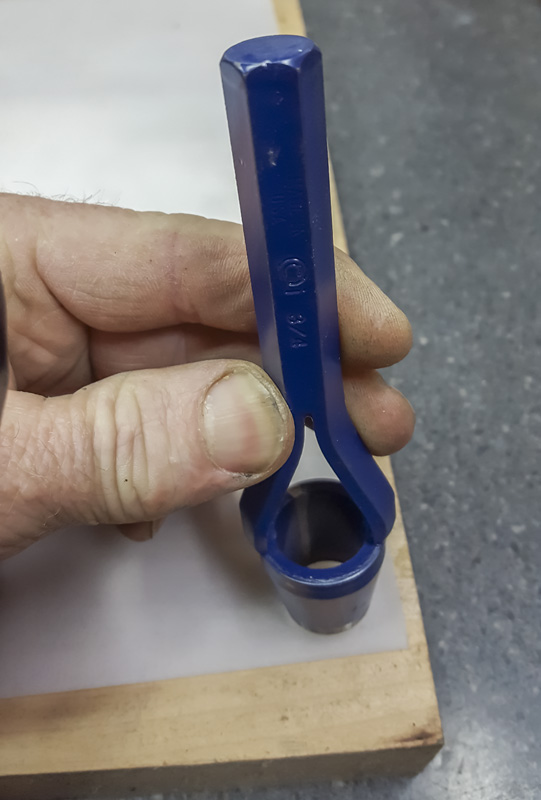
I needed to make a special tool to allow me to easily do the counter bore in a hand tool situation. It worked well but could be improved.
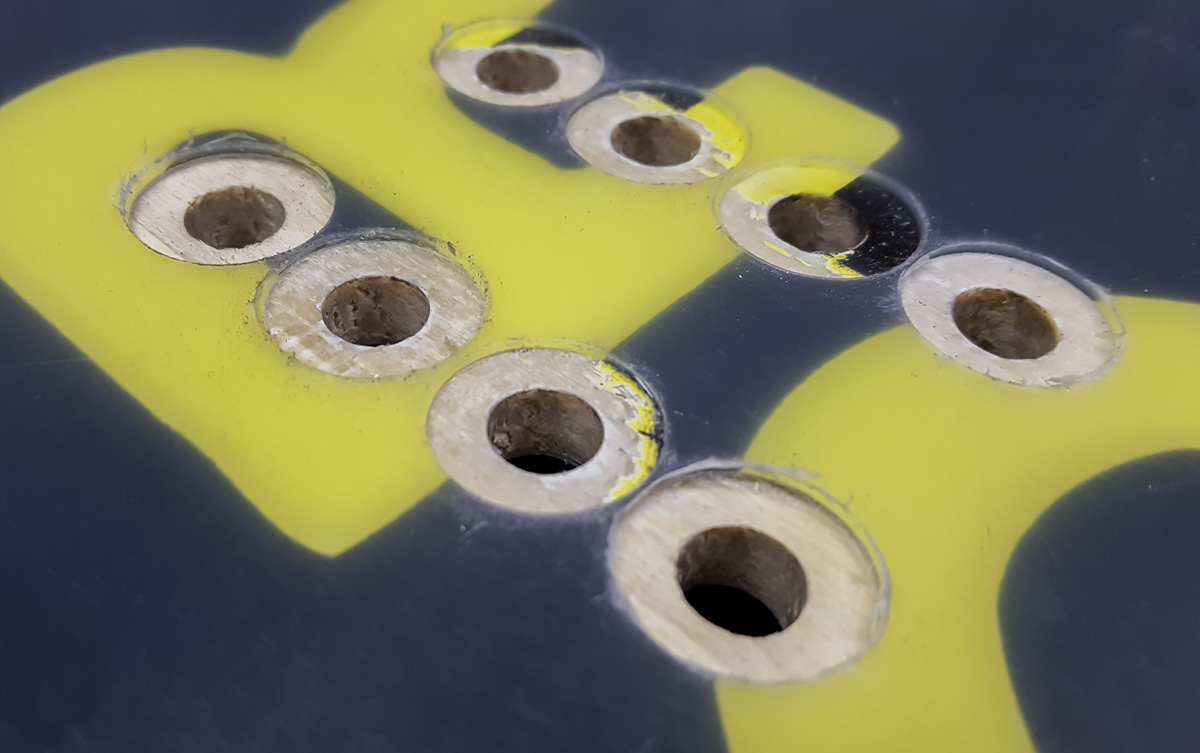
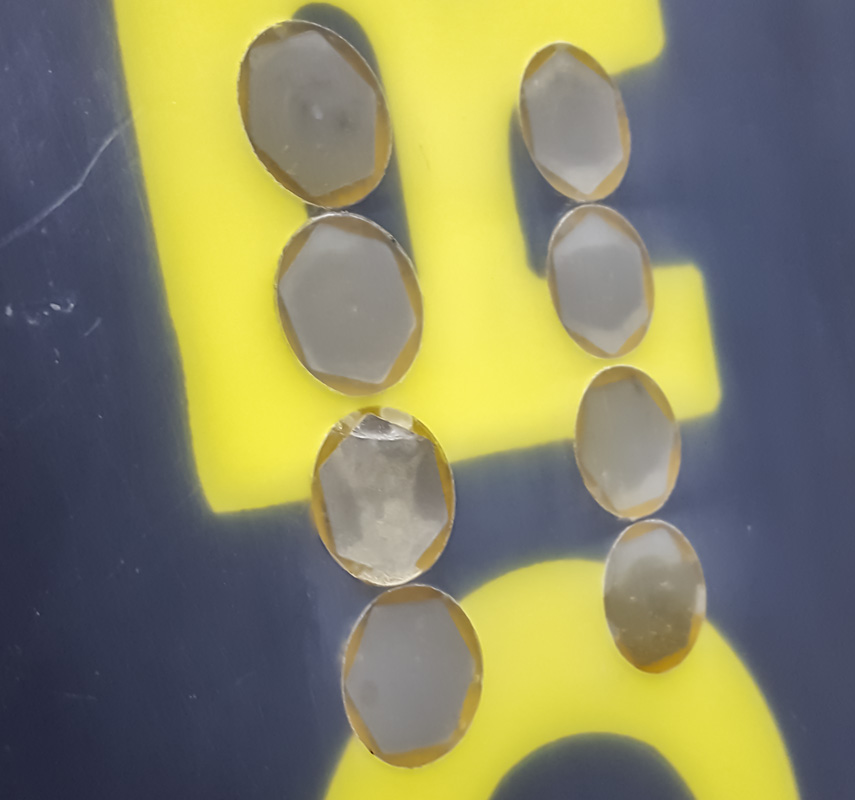
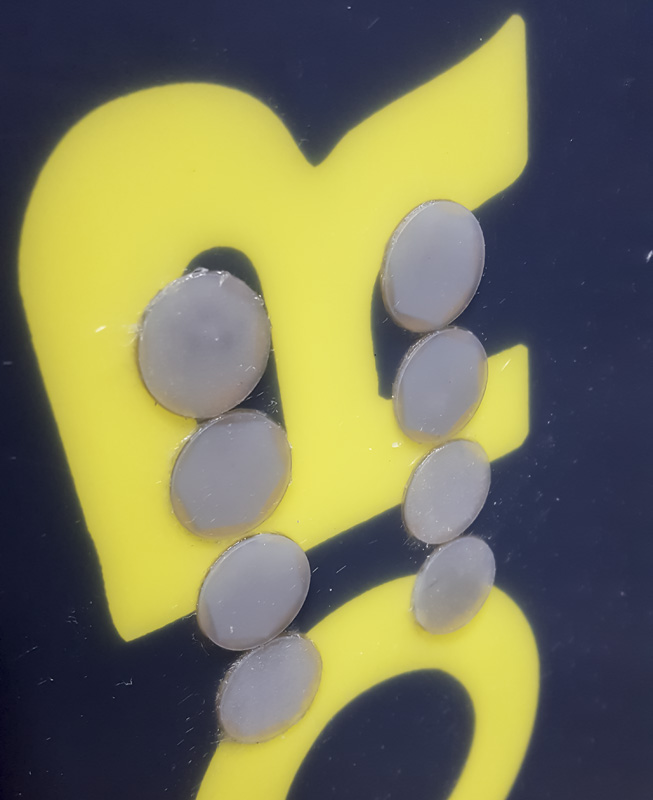
Base material filler discs are the nice way to finish the work. These get epoxied in after the nut to mend the base. I should have cut my counter bores deeper during this fix. Next time I will go further. The discs are 1.3mm thick so about 1mm of counter bore depth is good.
Working with the epoxy is messy and you want to be liberal with it. Have a rag soaked in alcohol on hand to clean up drips and whatnot. Wipe everything down after you are done to keep the board looking nice.
The 3M DP190 epoxy sets up in about a week. This is because it is pretty flexible and strong stuff. The cold environment and flexing board will shatter a normal epoxy.
Once set, you can file or grind the base smooth. Apply wax and mount your bindings and go!
The work came out nice. I can now do all sorts of modifications for alpine and split board setups.