I know folks all over and going way back. Social media lets me see some of the cool stuff they do. Every now and then I see something they think up and I’m force to face palm myself. Obvious simple solutions that nobody sees until someone does. A month or so ago, Scott Parsley from ACME Bikes in Marin posted just such a solution on Instagram.
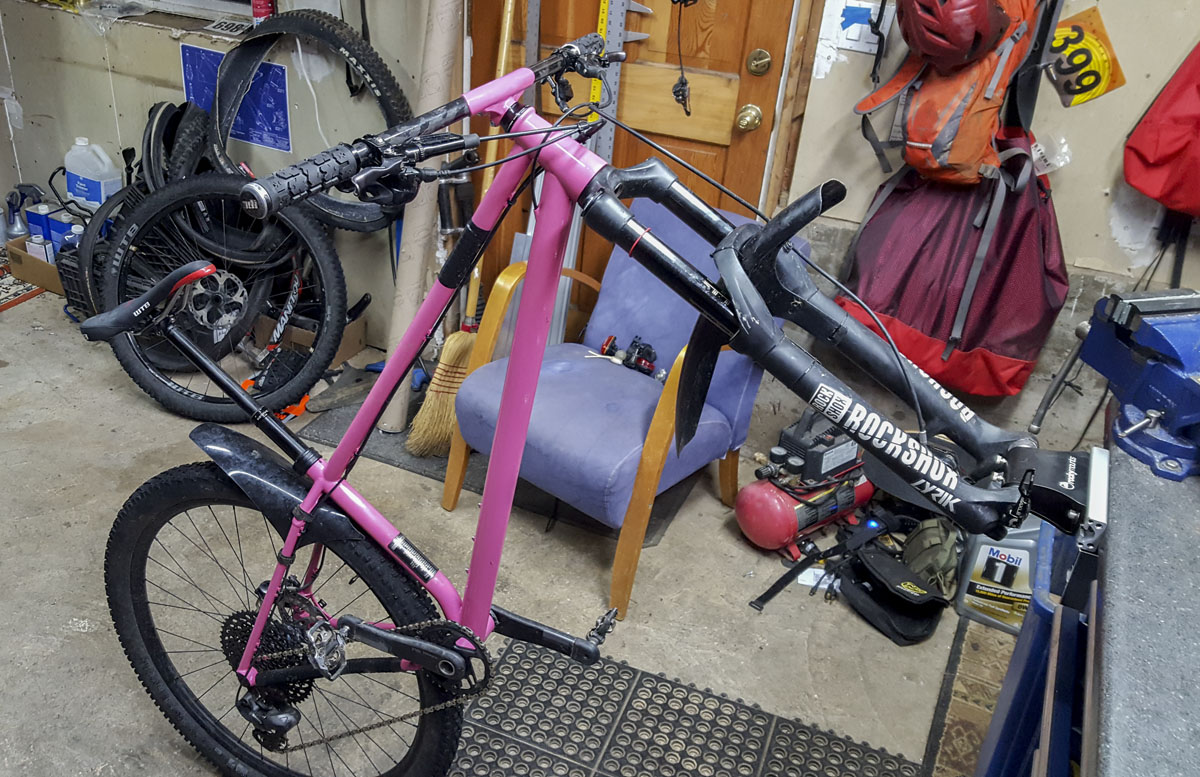
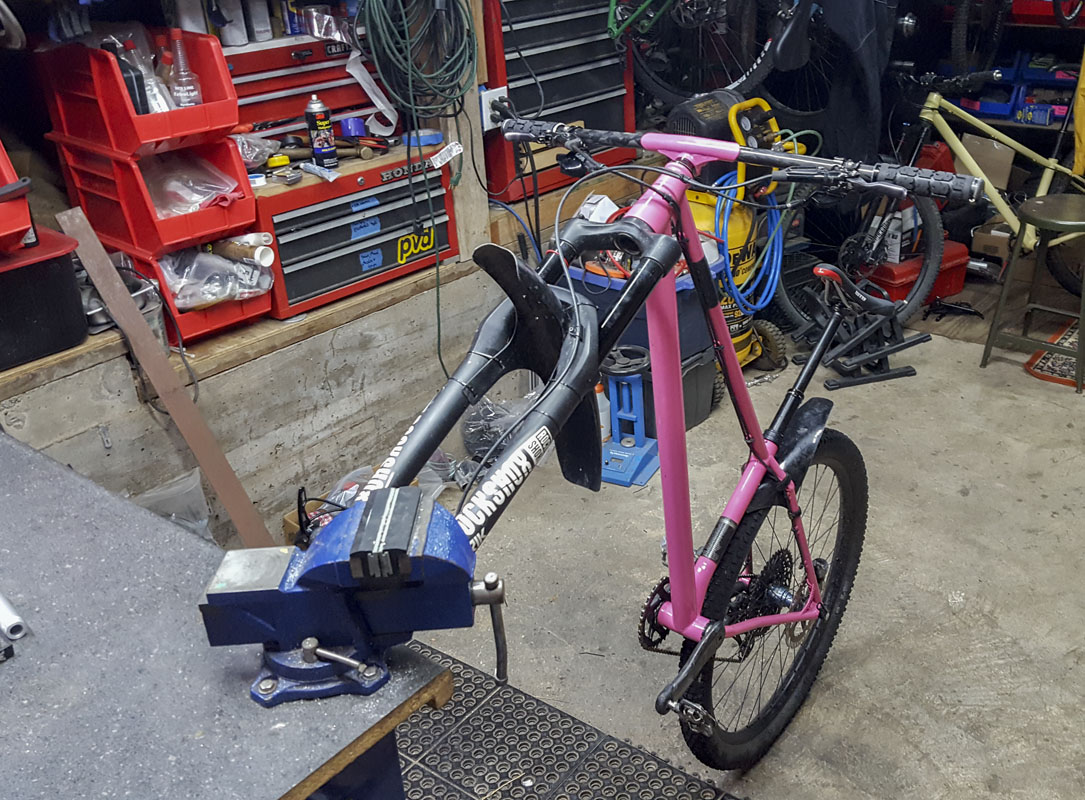
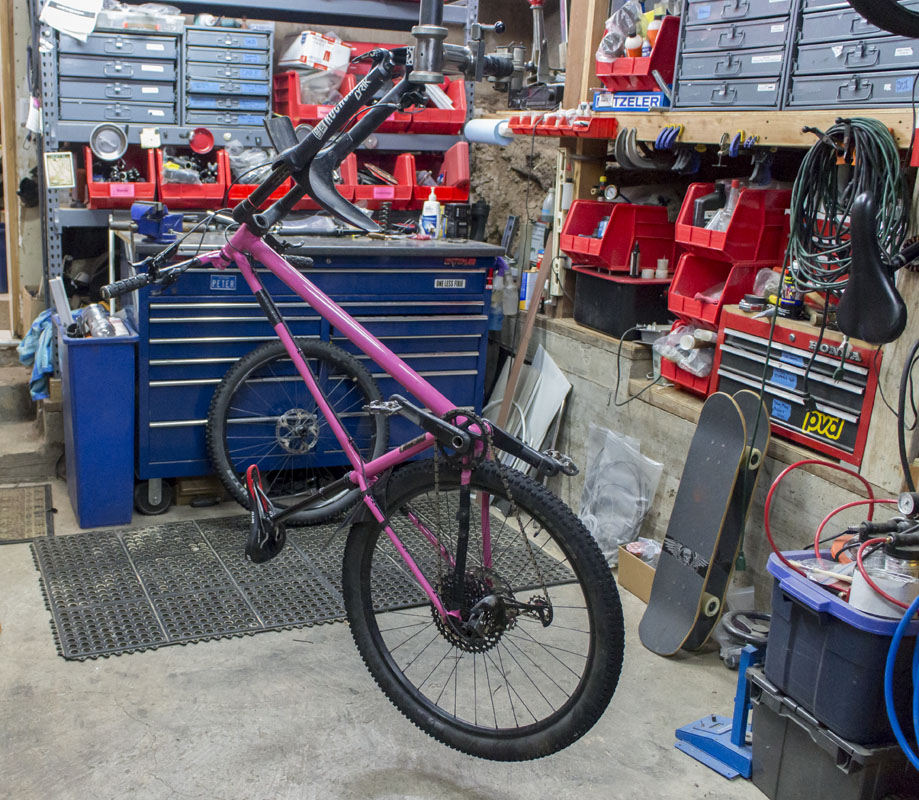
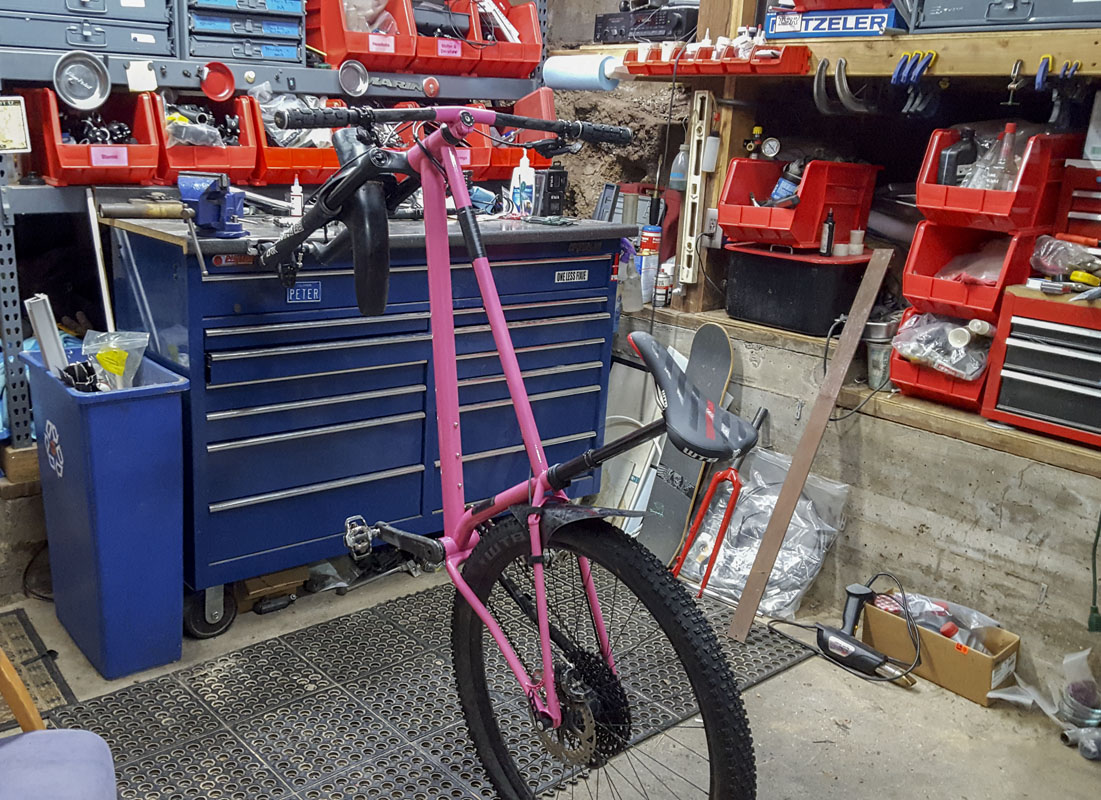
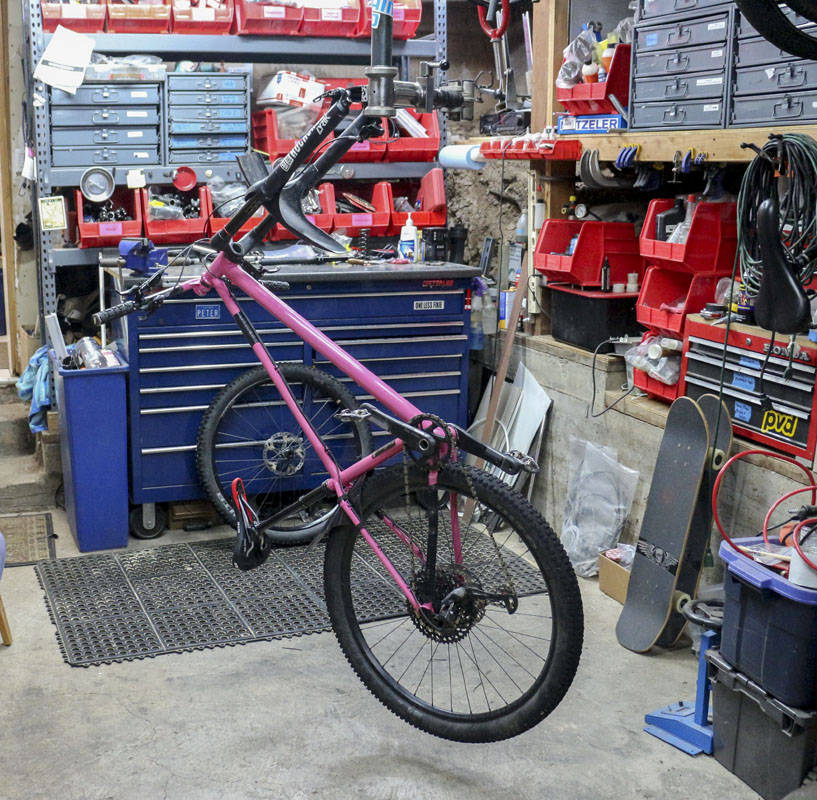
For folks not used to doing professional quality work on bikes, this way of holding a bike in the shop is very useful for two types of jobs: Bleeding rear brake calipers and fitting dropper posts. While we don’t do this type of work all the time, we do it enough for it to be a real bother, propping a bike upright in a trash can or leaning it against a wall. It’s a PITA. This is the solution.
I told Scott that I was going to copy his idea and (hopefully) improve on it significantly. He liked that. I think I got it right.
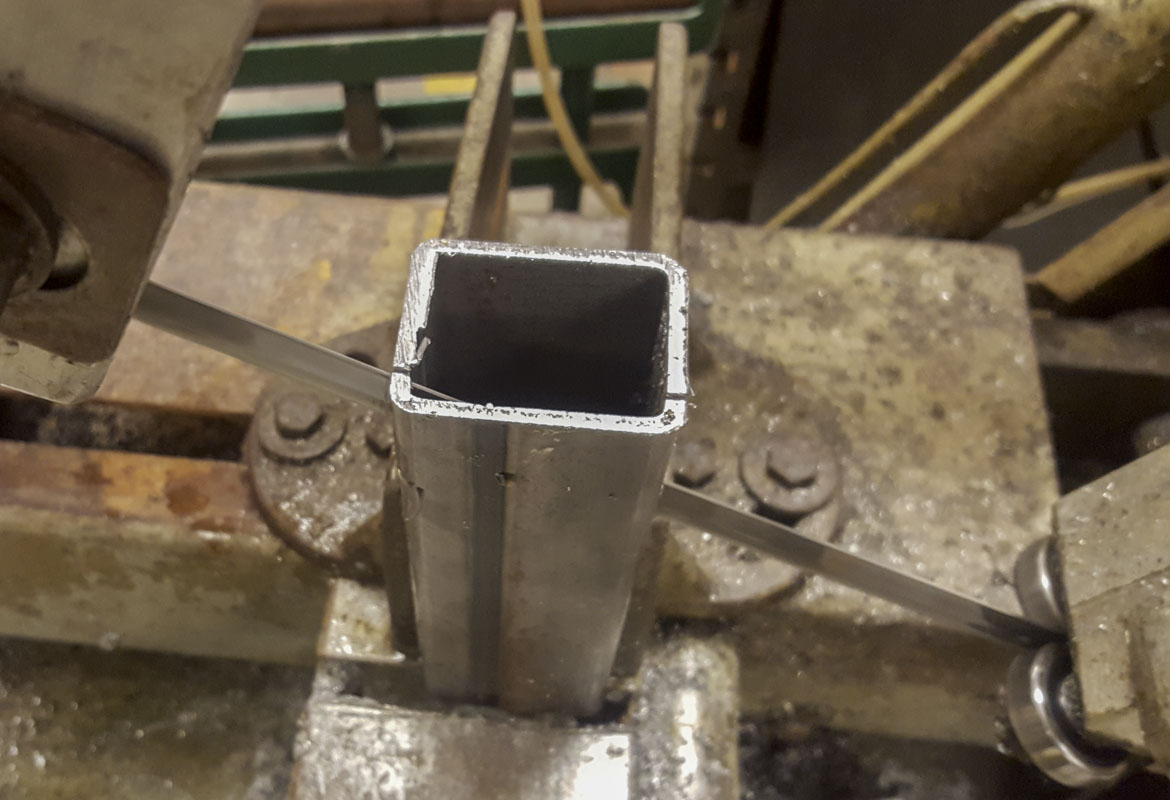
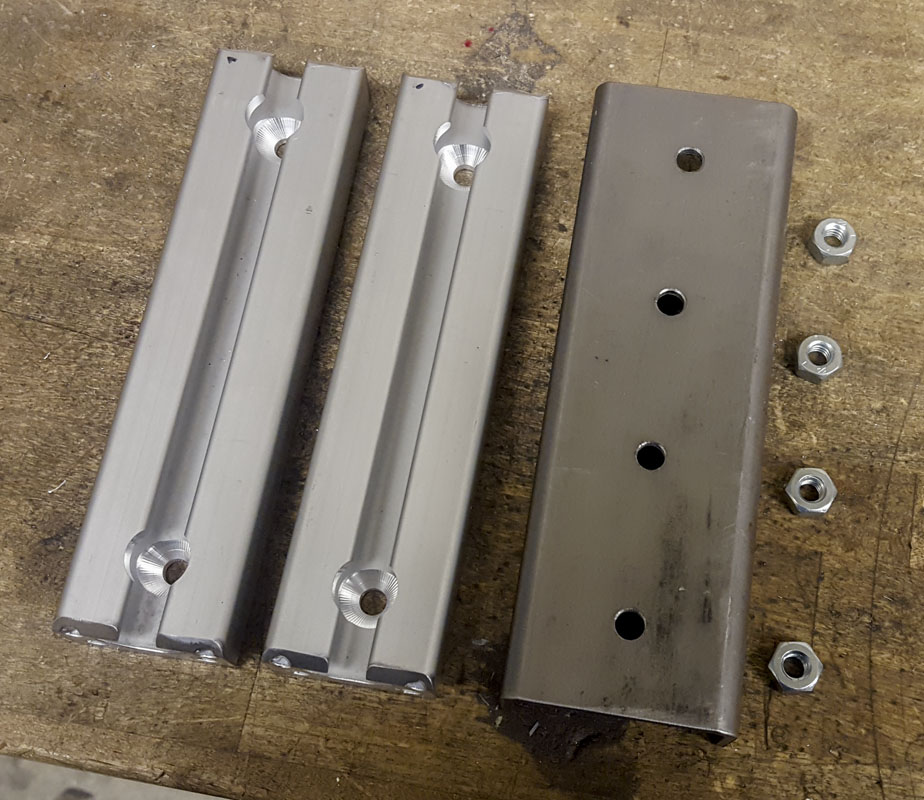
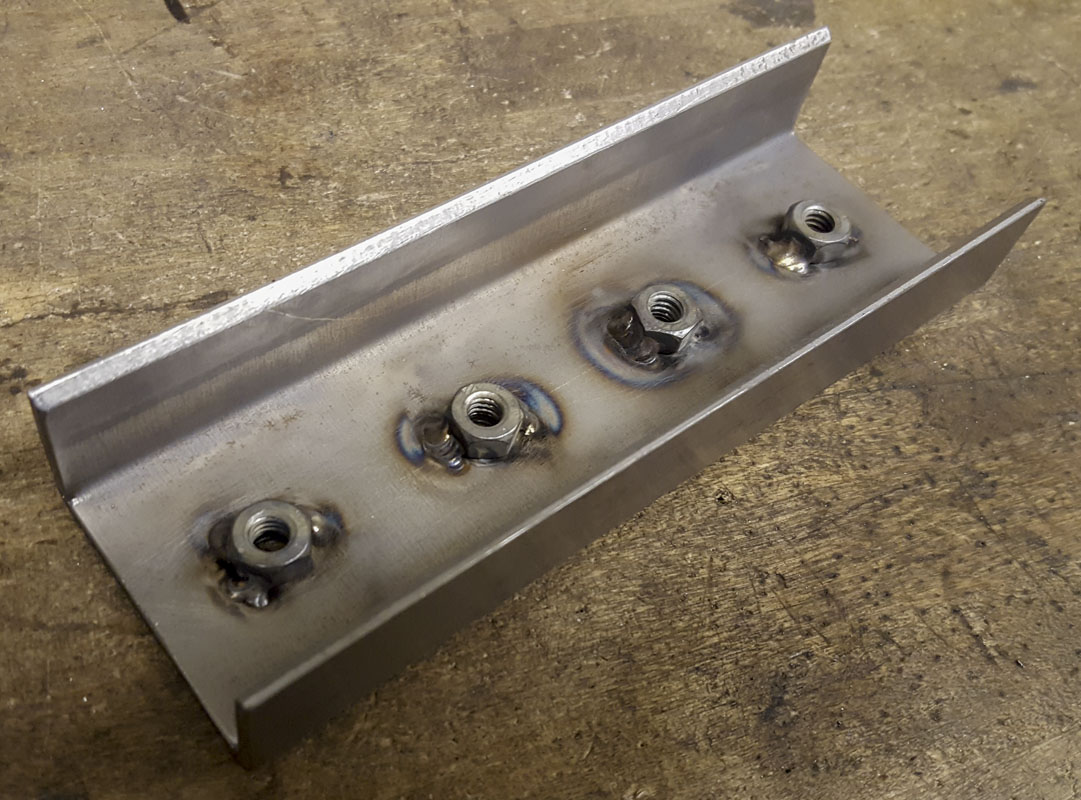
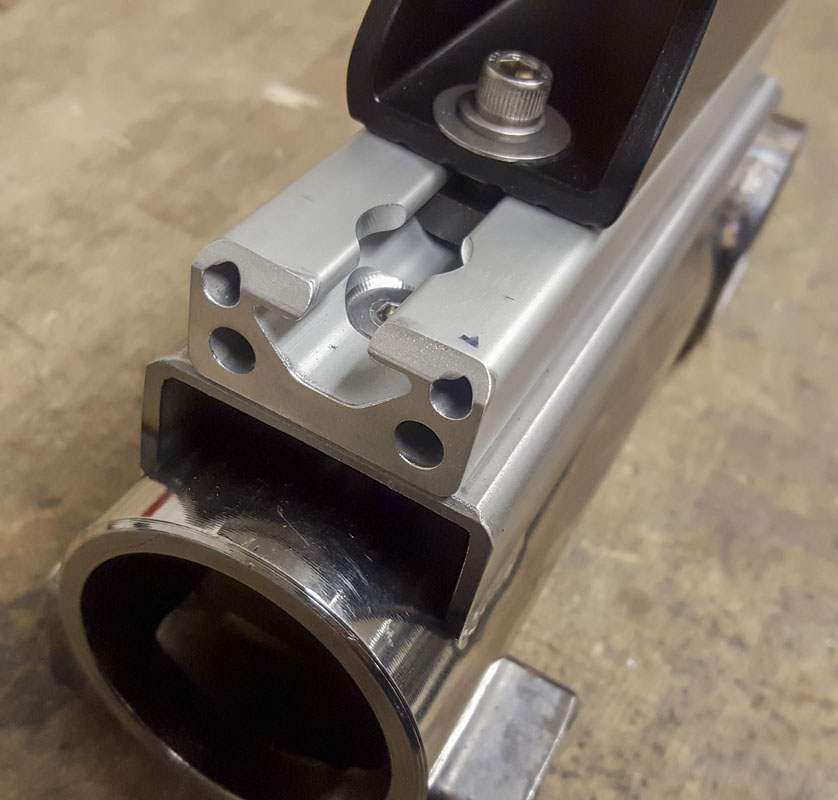
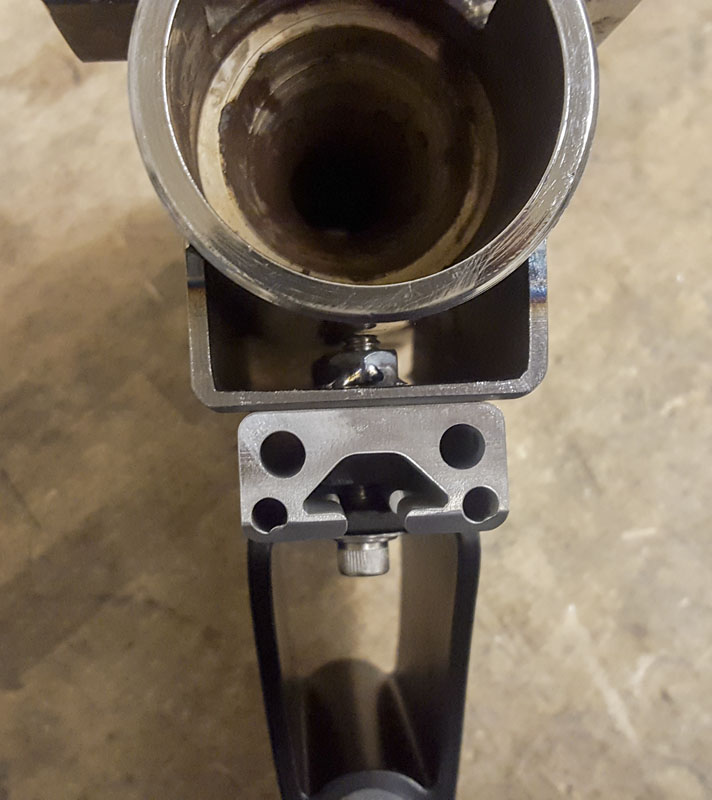
In the course of thinking about this project, I realized that what’s also missing in my shop is a rail mounting system for accessory tooling and such. So, it would make the most sense to integrate that into the solution. That meant adding my current fave 8020 rail, the low profile #1575 to the BOM. This profile is really nice for this. I also have on hand plenty of 8020 nuts for 10-32, 1/4-20, and 5/16-18 so I am pretty flexible with designs.
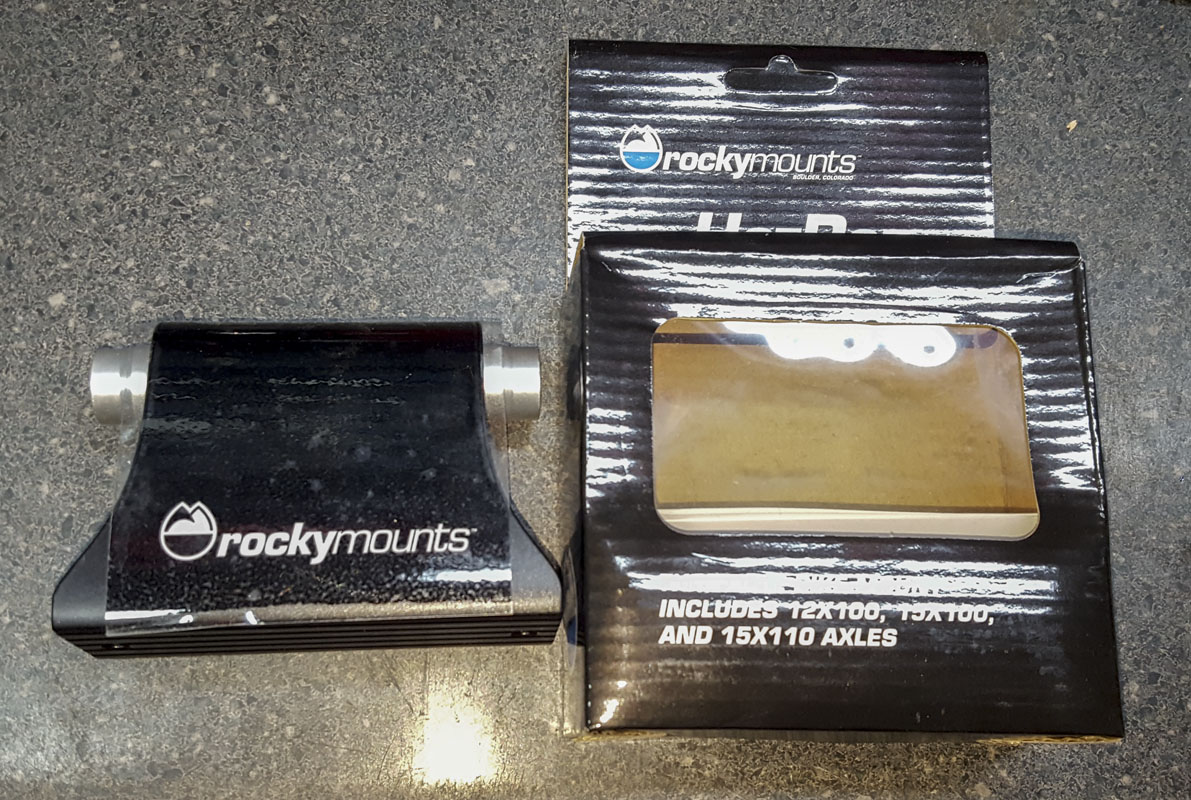
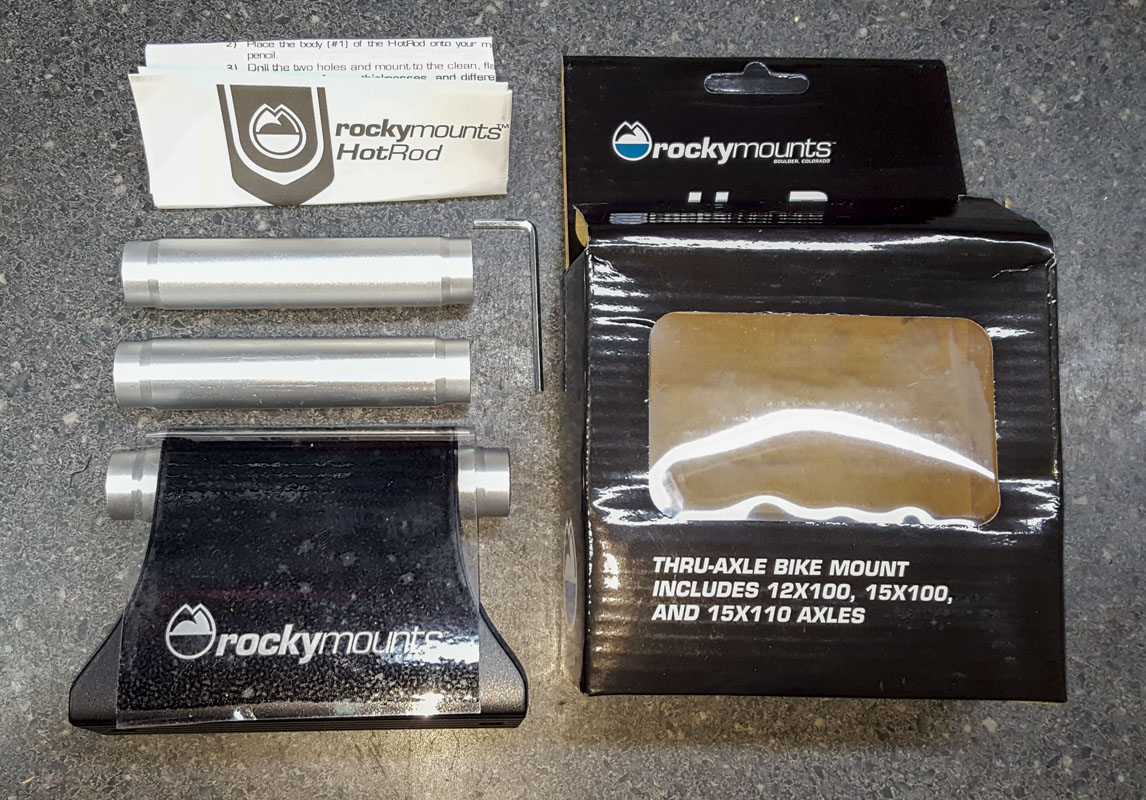
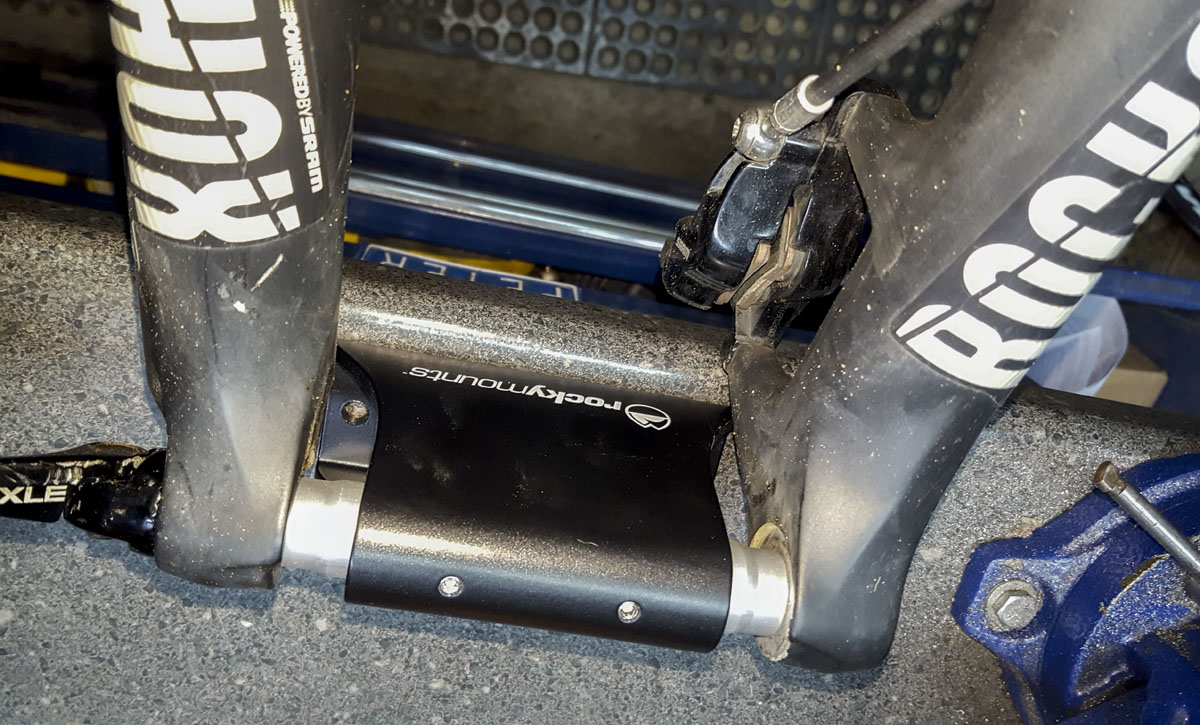
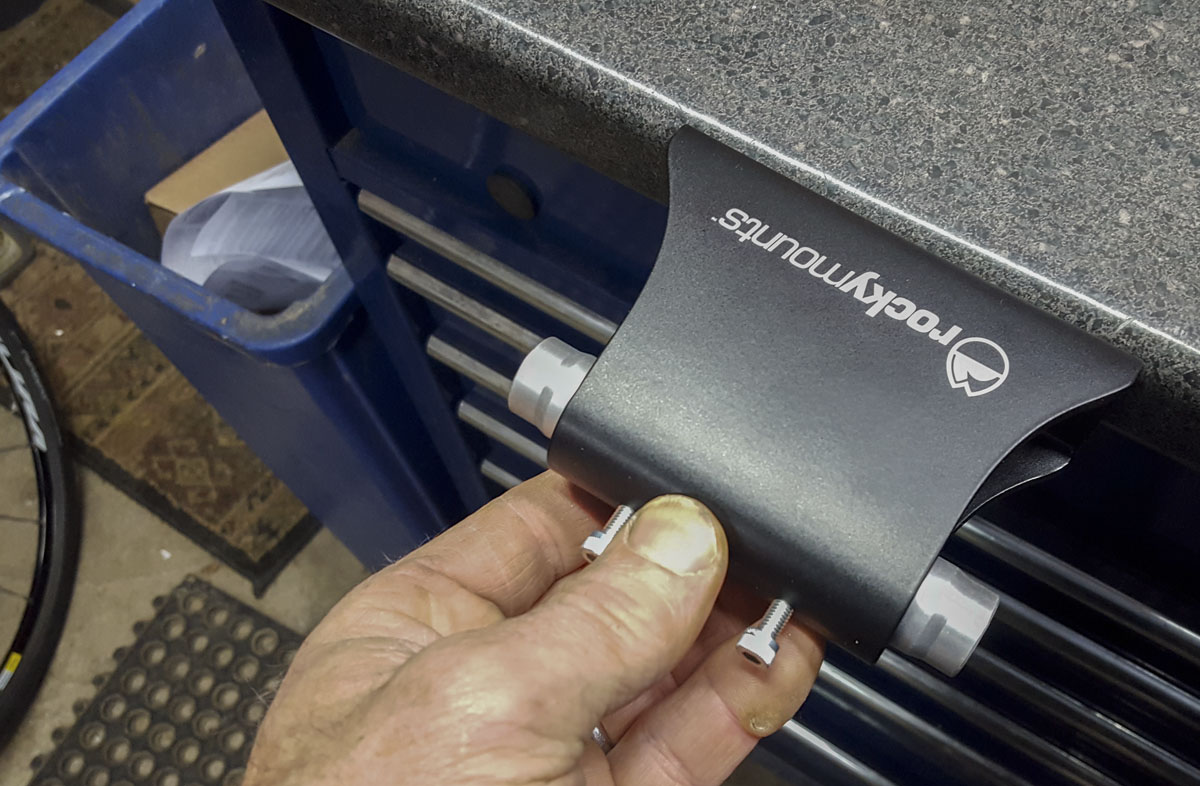
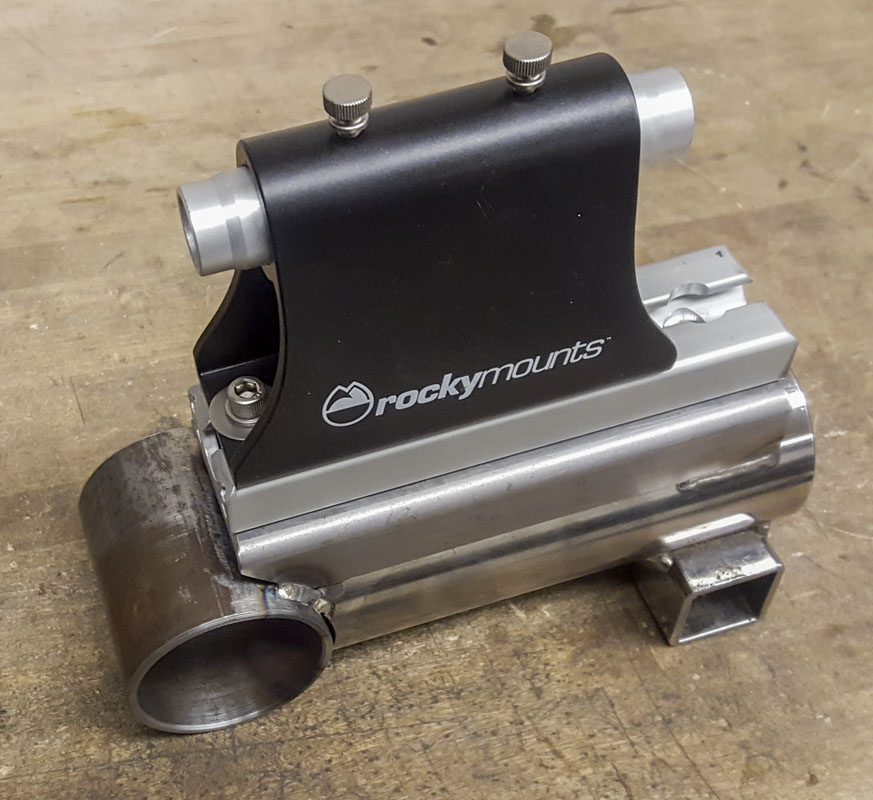
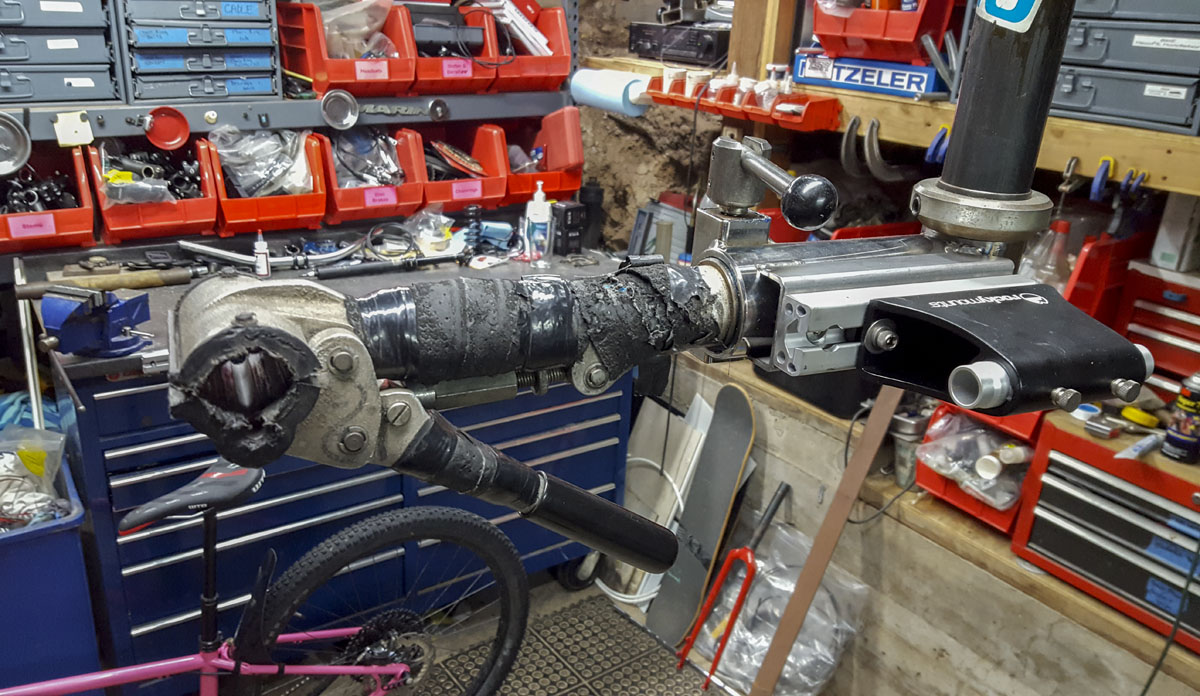
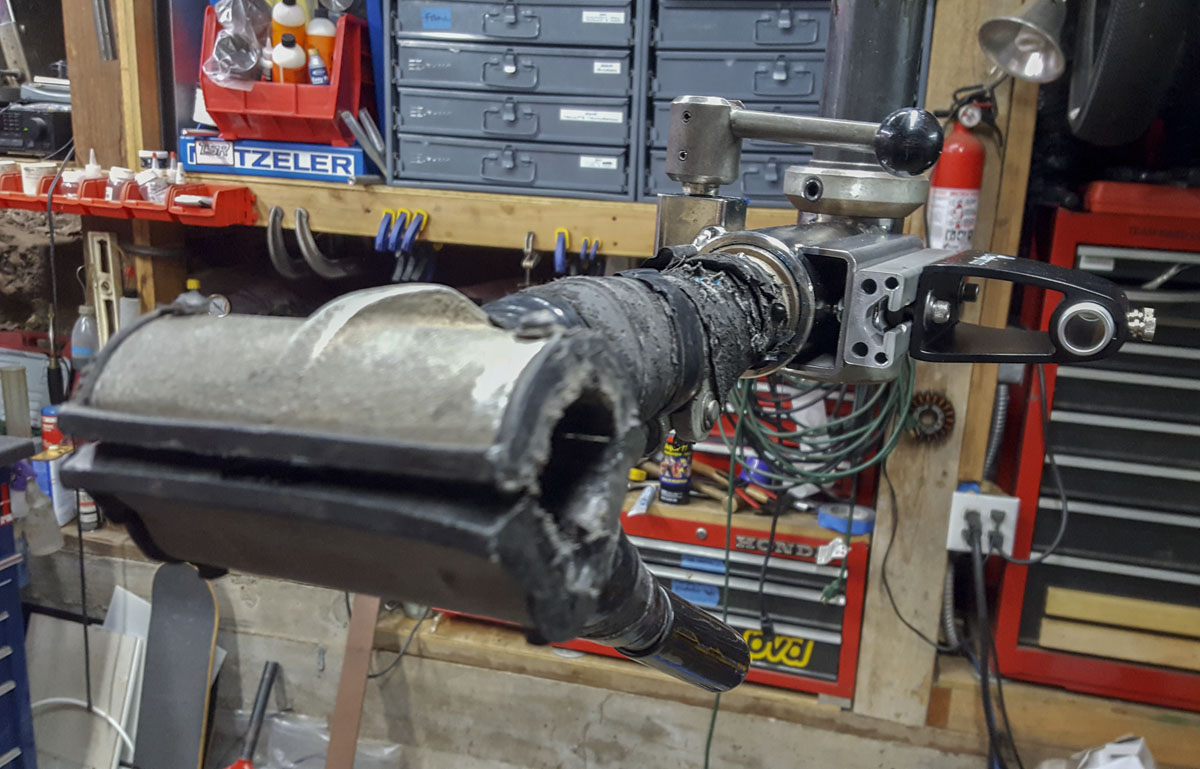
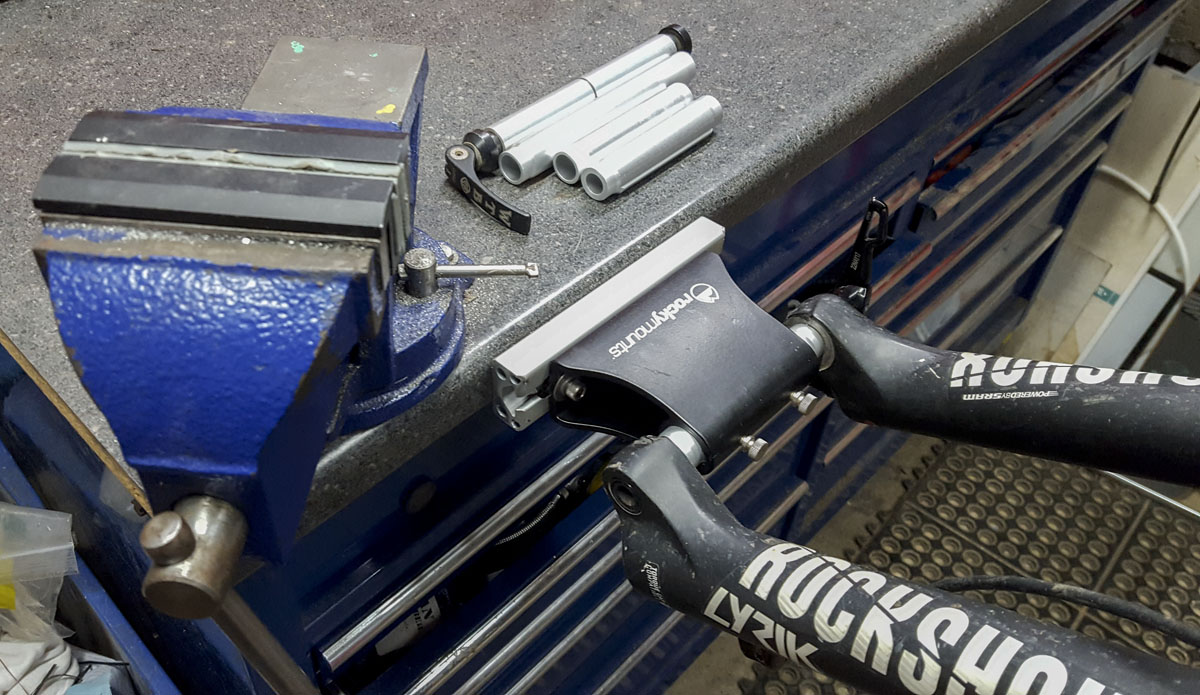
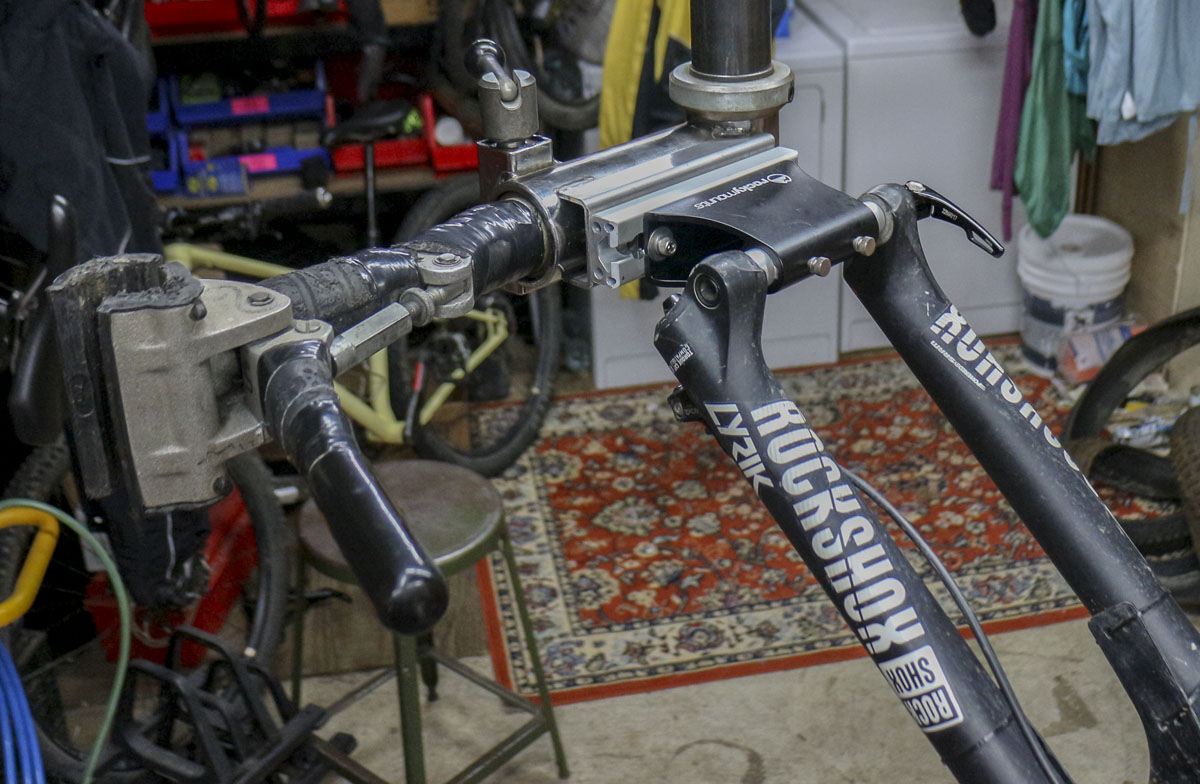
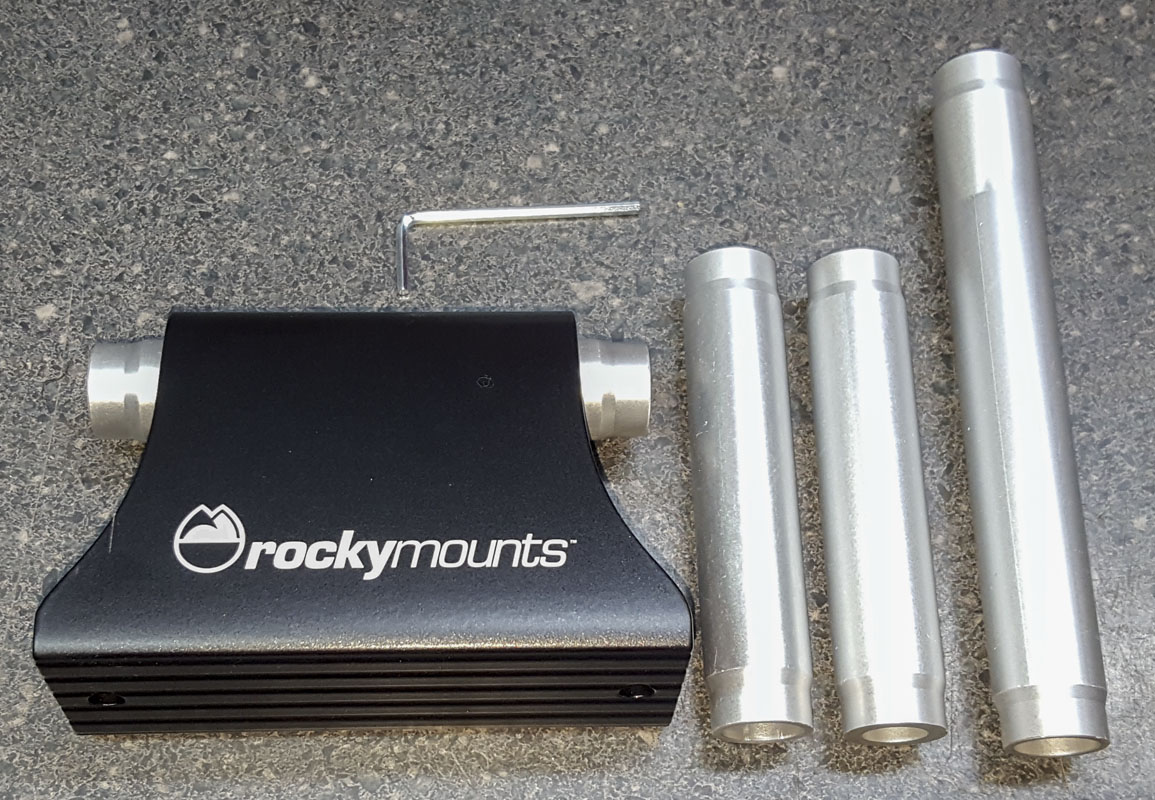
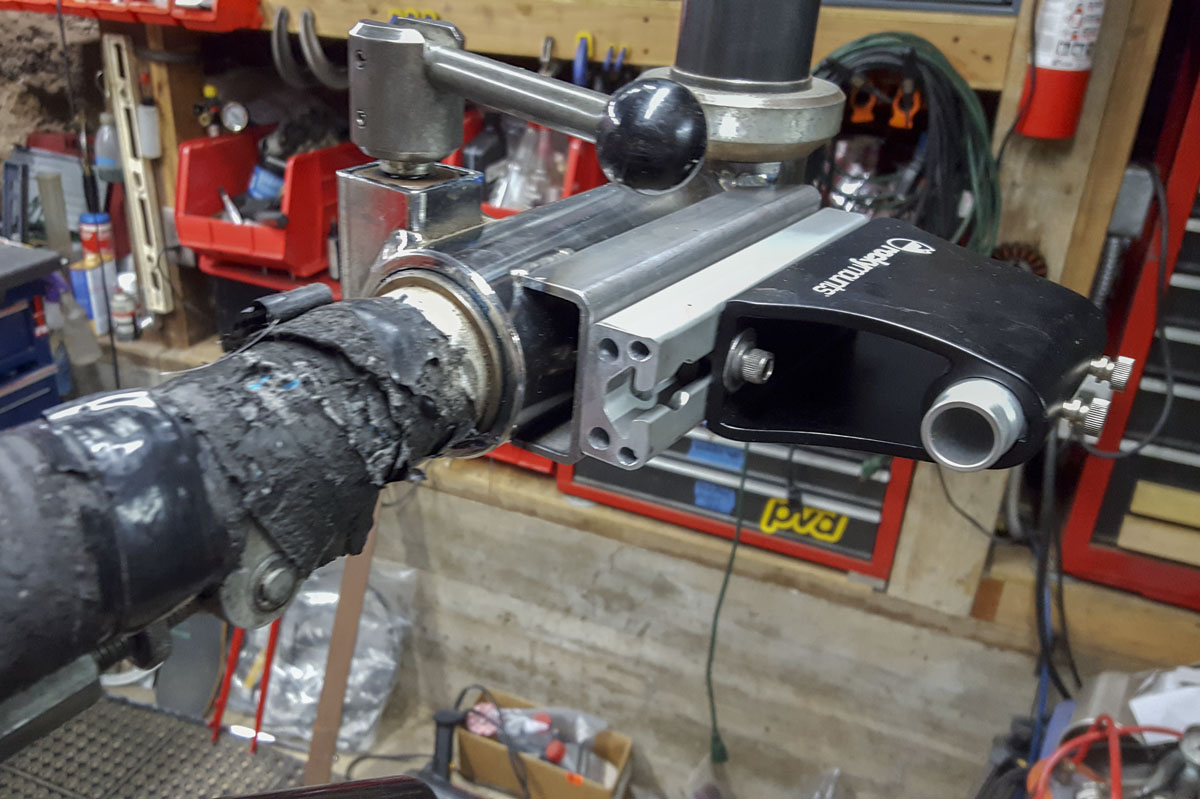
To grab the fork, a RockyMounts HotRod truck mount would be a good choice in this application. The primary reason for this is that it comes with three dummy axles, 110×15, 100×15, and 100×12. A 150×15 dummy is available separately. Hopefully, a 110×12 is released soon but they are easy enough to make in a jam. Really, there are lots of options for this but I felt this would be the most sano.
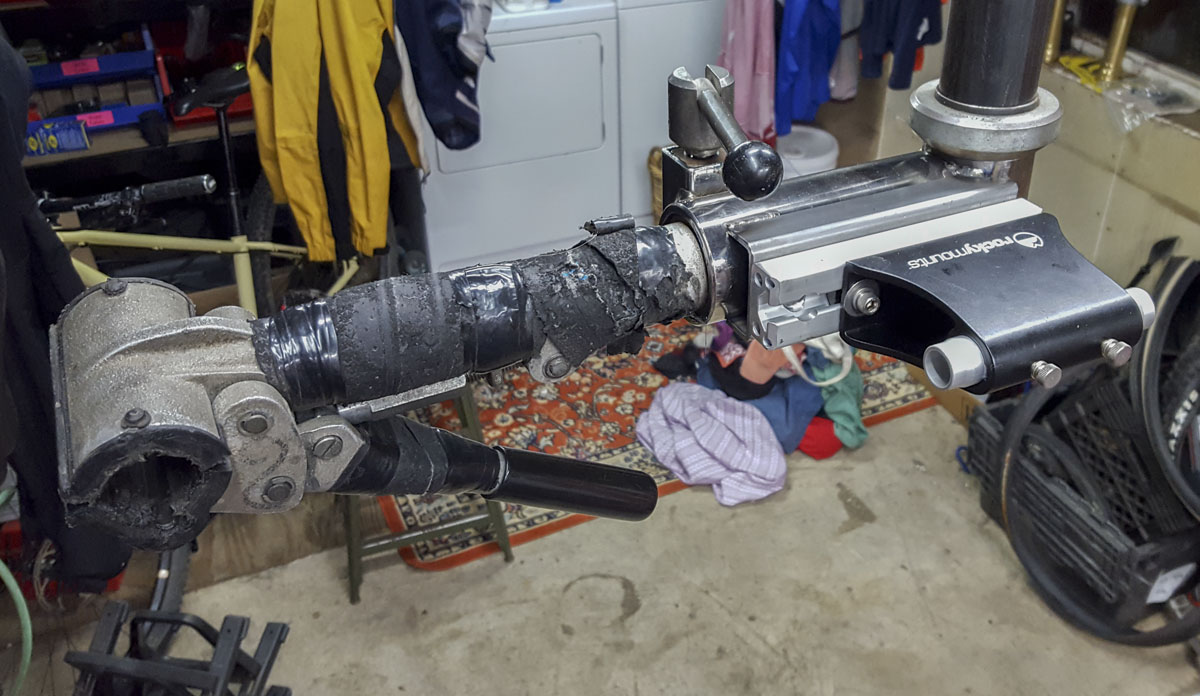
Then, I needed to place the truck mount somewhere….but where? … Simple, at the work bench.
But, as they say, there is another….
A bit of real estate that would be even more obvious if it weren’t in plain sight. A place that’s almost made for holding a bike to work on….almost.

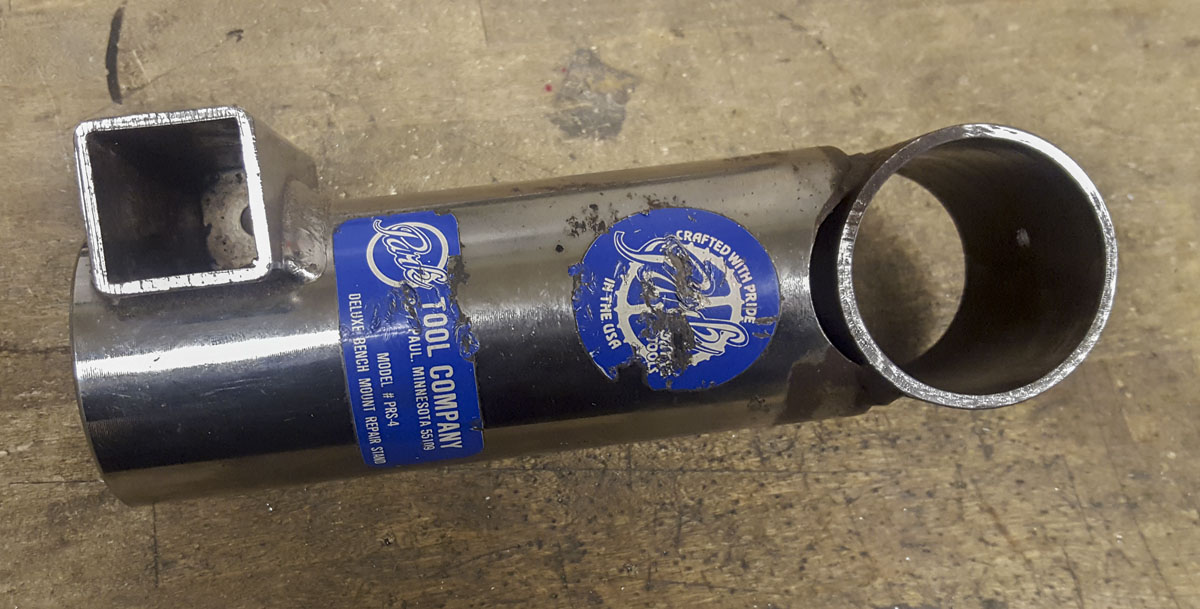
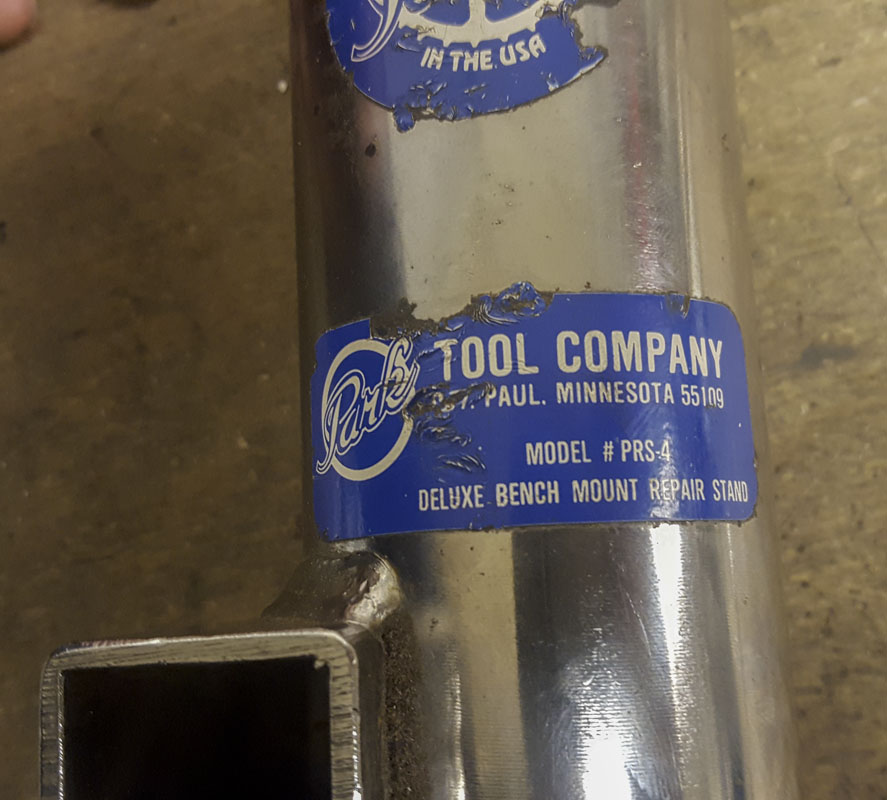
A long long long time ago…1992? I was working at Fat City Cycles in Somerville, MA. Things were not good. The factory had been sold off to Serotta and all of the good tools were being packed up and shipped to New York. Most of the small tools were being sold off to anyone that wanted them or tossed in the trash. I ended up buying the Park wheel stand and Park PRS-4 bike clamp that had been used to build pretty much all of the show and local team bikes. Those tools have followed me since.
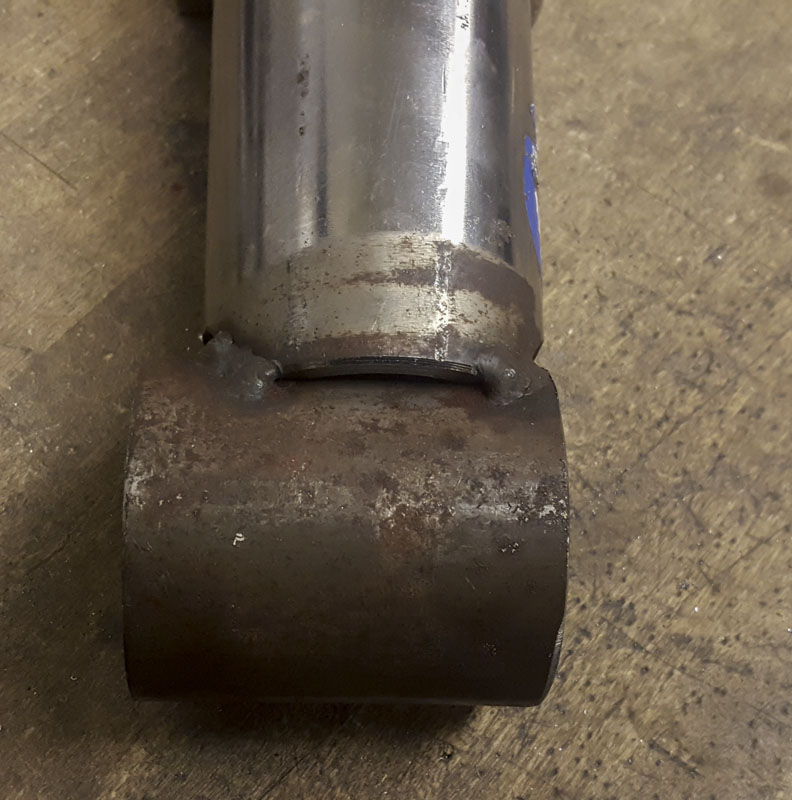
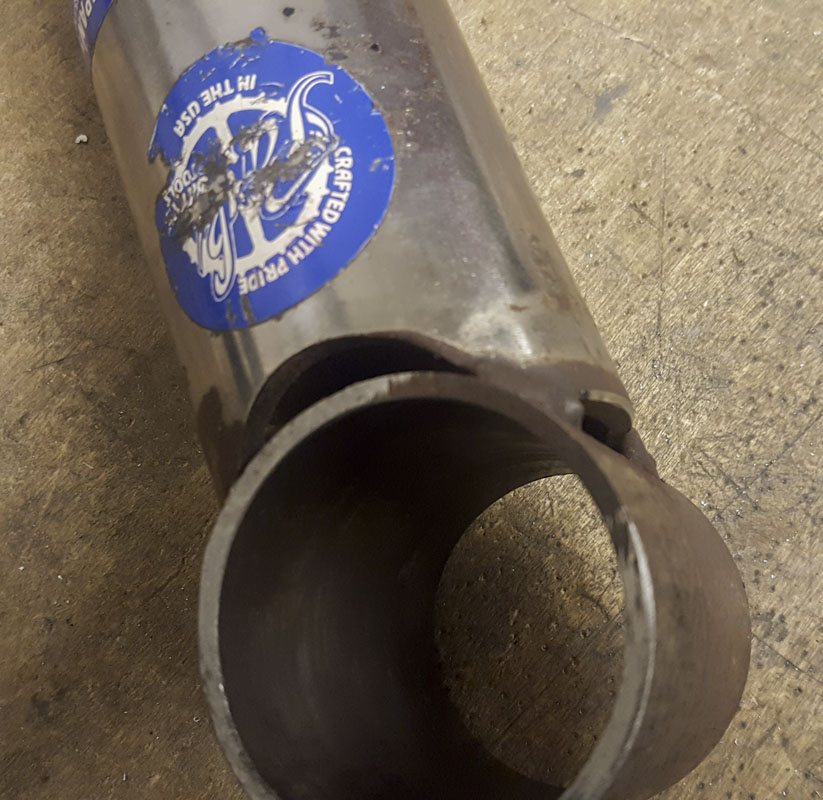
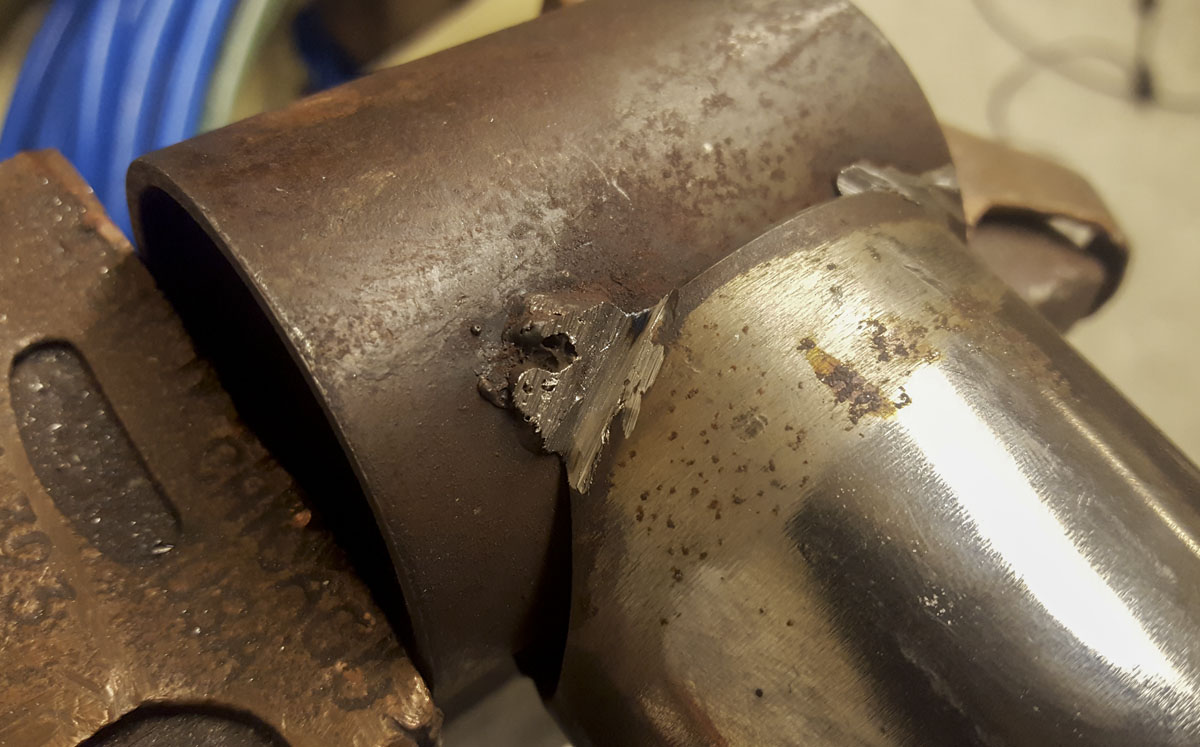
One thing about that Park clamp, it had been modified. Somewhere, at some time, someone welded a ring to the end to allow it to swivel mount to a stand. Handy. The thing is that it had been done so disgustingly crudely that it was embarrassing for me to have around…for 30 years. Lumpy MIG weld looking splatter, saw cut ends, distorted bore, welded off center. It’s so gross.
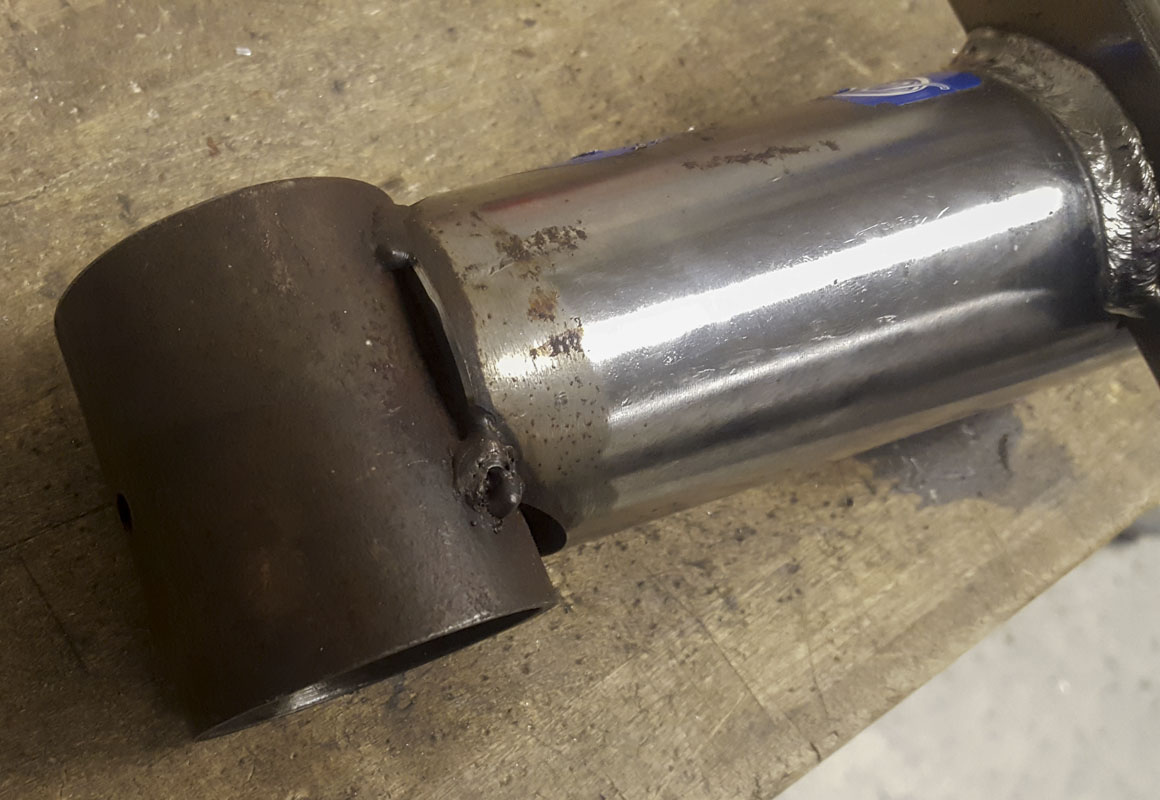
About 10 years ago, I put some work into it. Making a nice quick removable ceiling mount for it. I reamed the bore round and filed it “square”. I even bought new rubbers for the clamp. This was a really nice improvement but it still looked like hell.
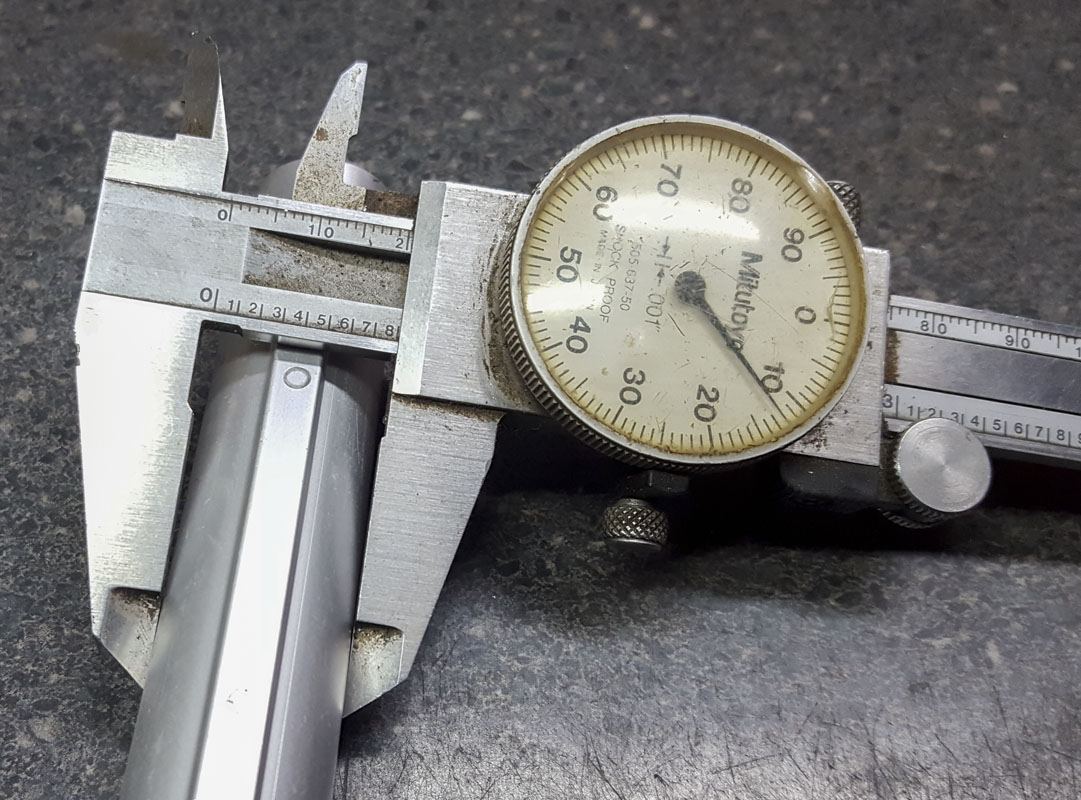
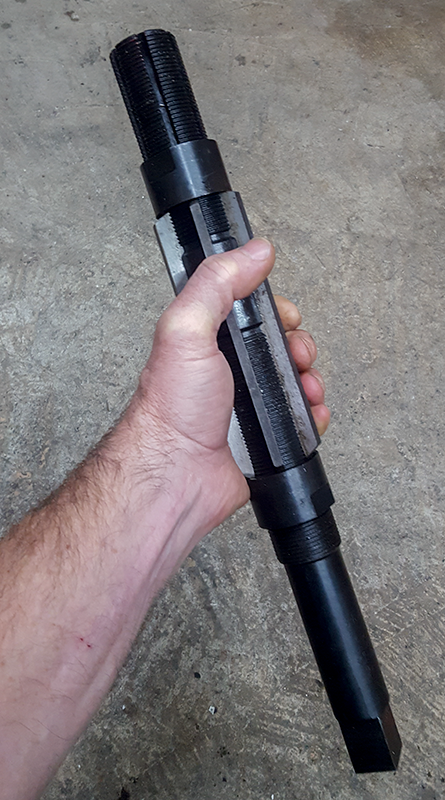
Reaming the bore was nice. I used the adjustable reamer, Size M, 1-13/16″ to 2-7/32″ for the 2″ bore for the ring to mate to the ceiling mount. In the past this had been used for reaming single speed shells for improved performance but that’s ancient history.
That brings us to today.
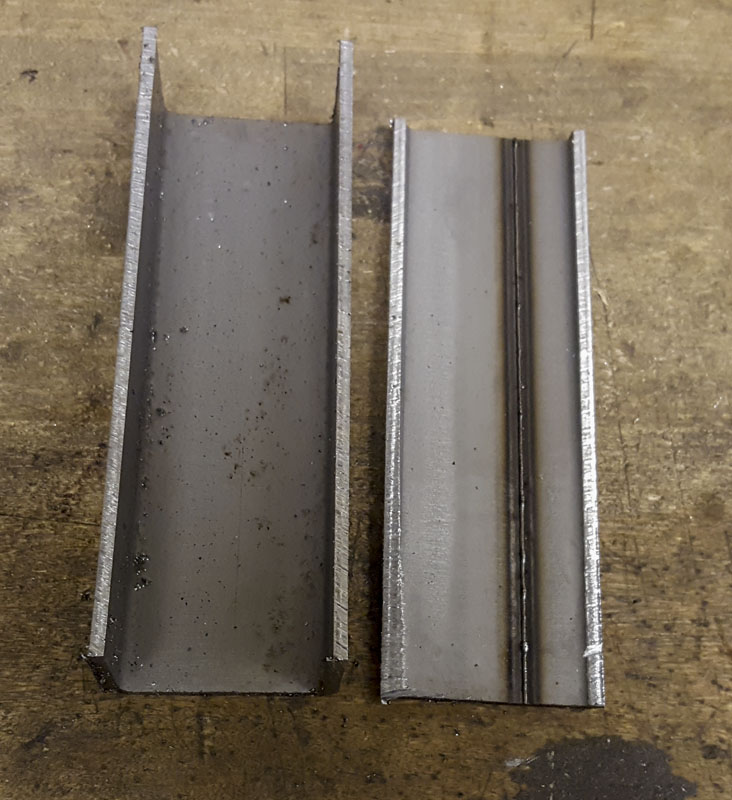
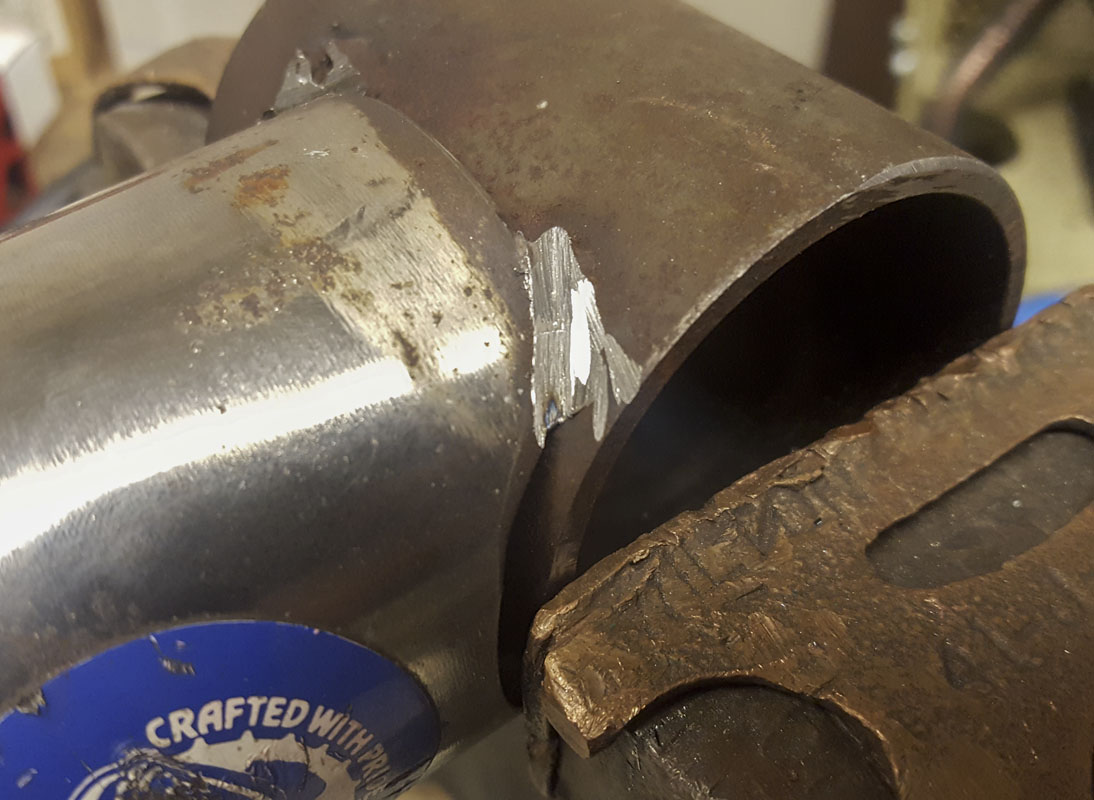
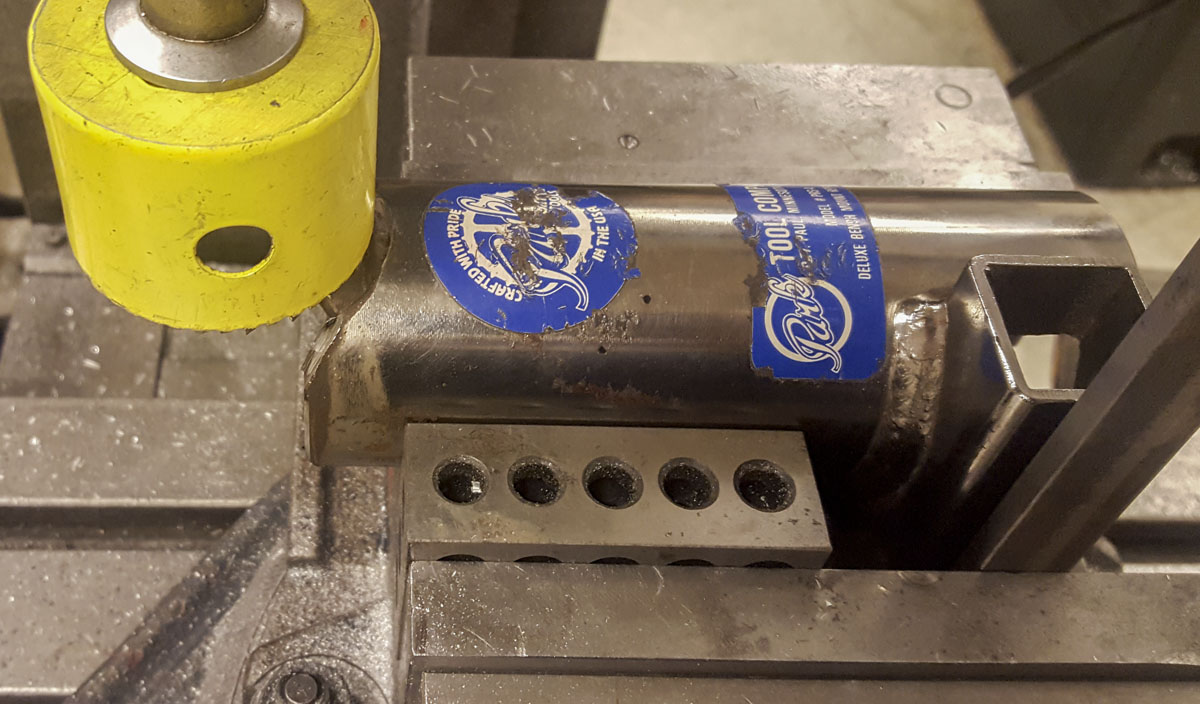
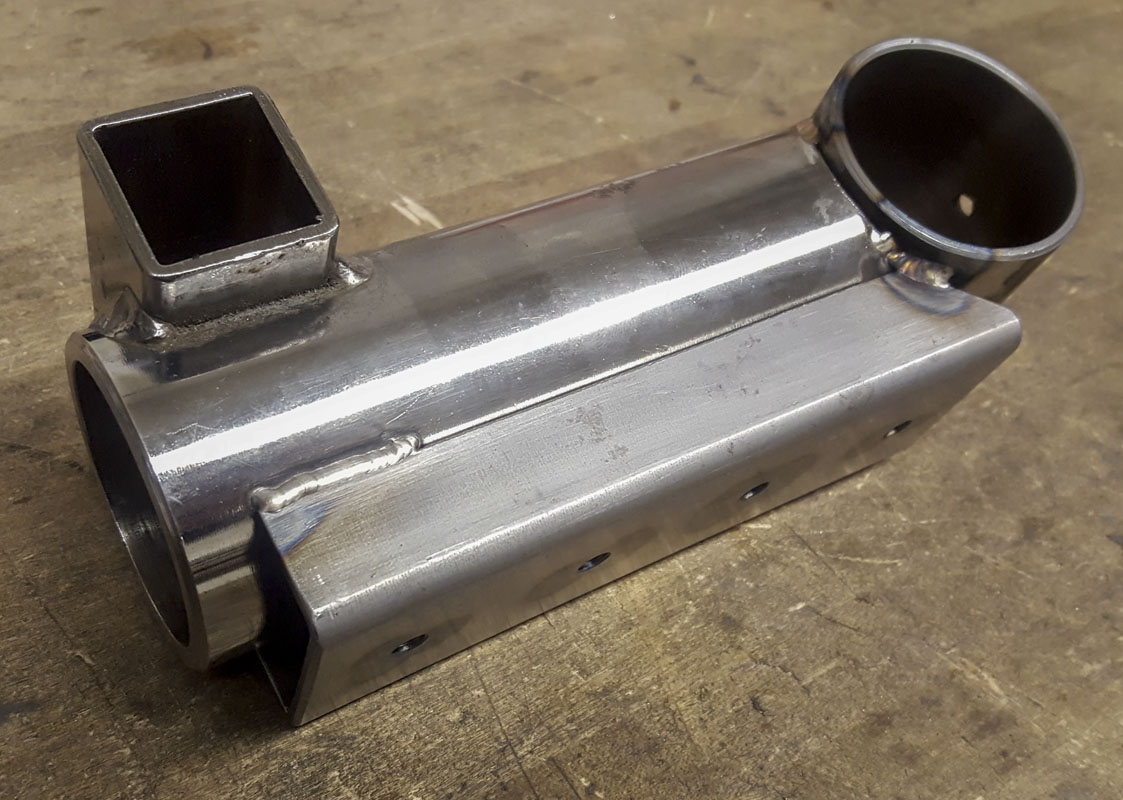
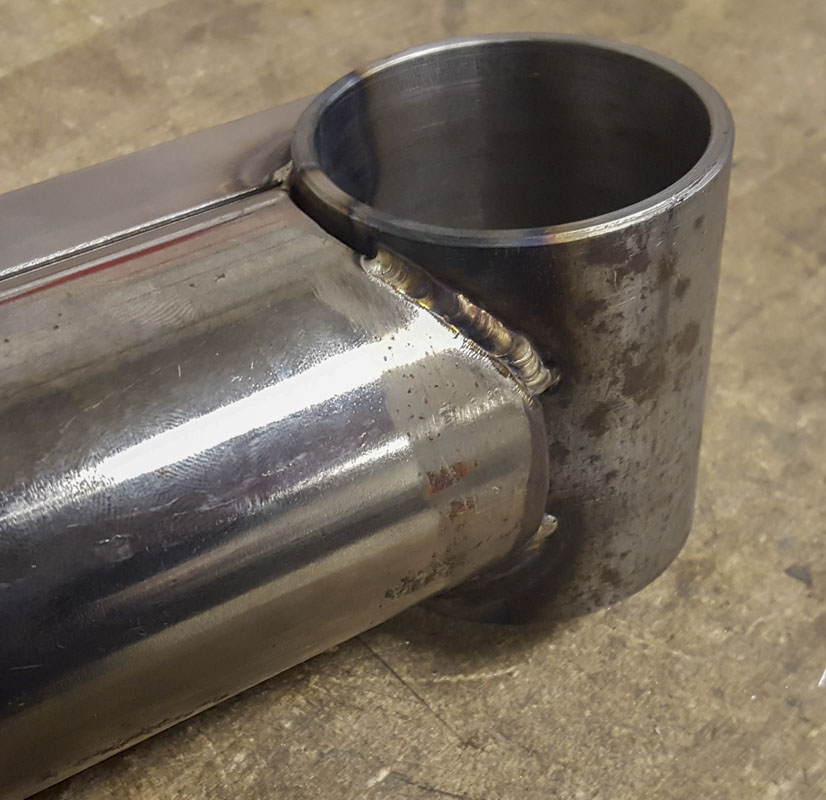
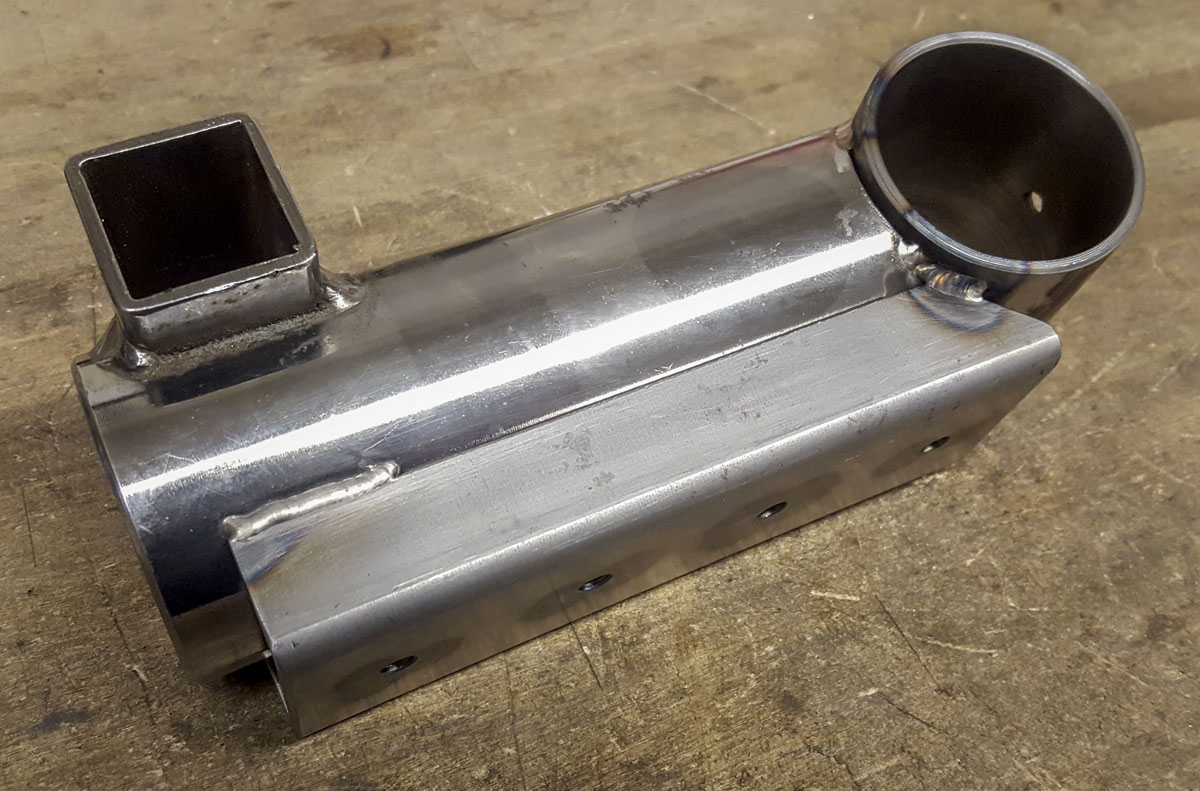
If I was going to mount a fork holder to this clamp, I was going to go all in and make it as nice as I could. I cut the ring off and cleaned it up on the lathe. I mitered the end of the clamp to fit the ring a little nicer before welding. I made a flat side mount for some 8020 rail to have a universal rail mounting option for anything I think up in the shop. It came out pretty clean. It almost seems like it should come from Park this way.
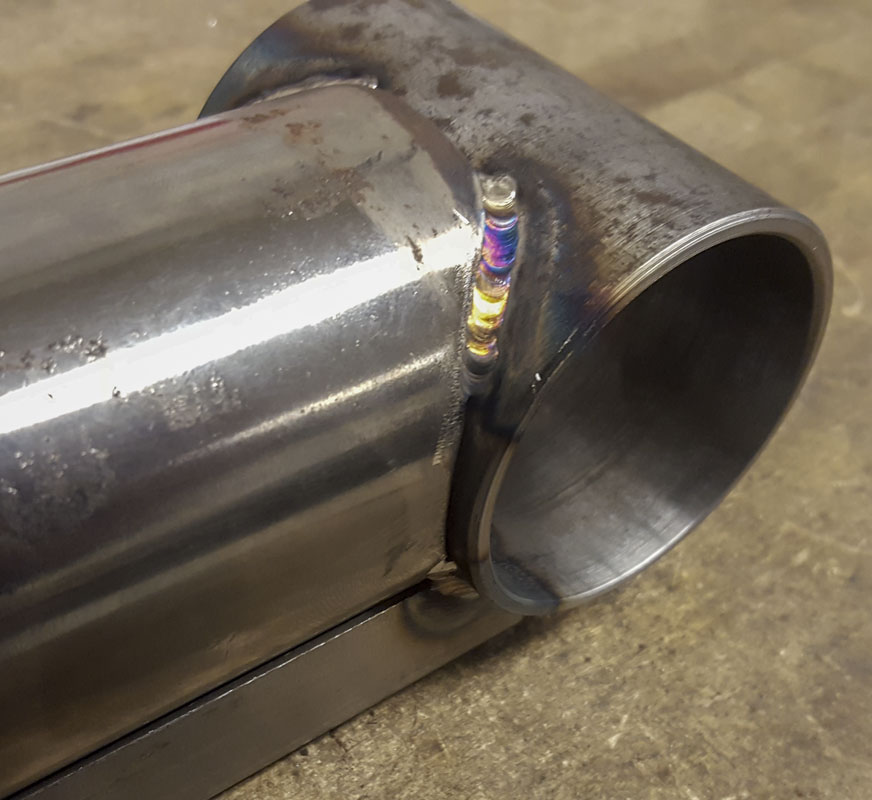
I did do something nasty. I welded through the chrome plating on the clamp. This isn’t good for me or my lungs. I just did it quick with the doors open and stepped out of the room after each pass. I don’t recommend doing this but I did it to get decent looking results. I could have ground the area but it would have looked all scarred up.
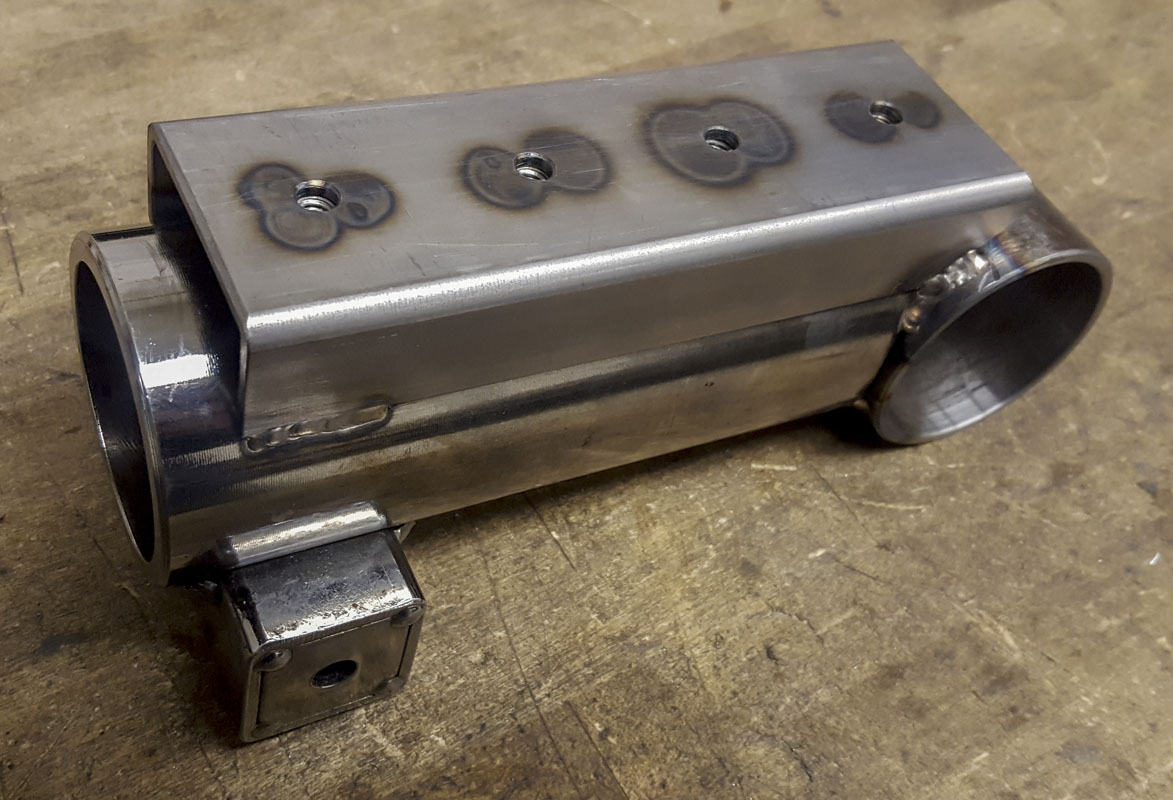
I used a 1.5″ x4 pattern here even though I planned on using just two here. I just wanted to make sure they may come in handy at some point. Keep options open if you can.

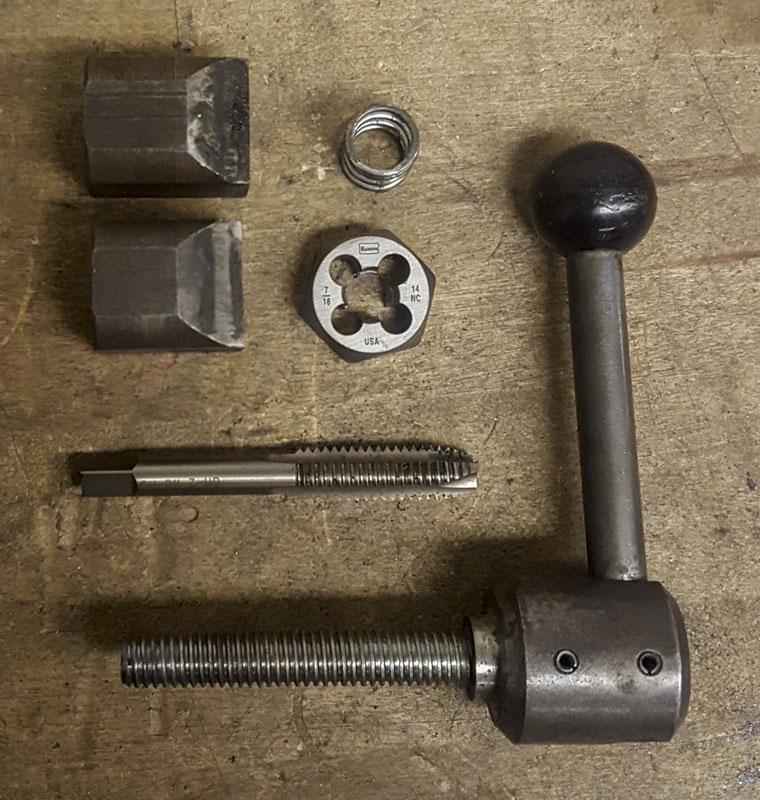
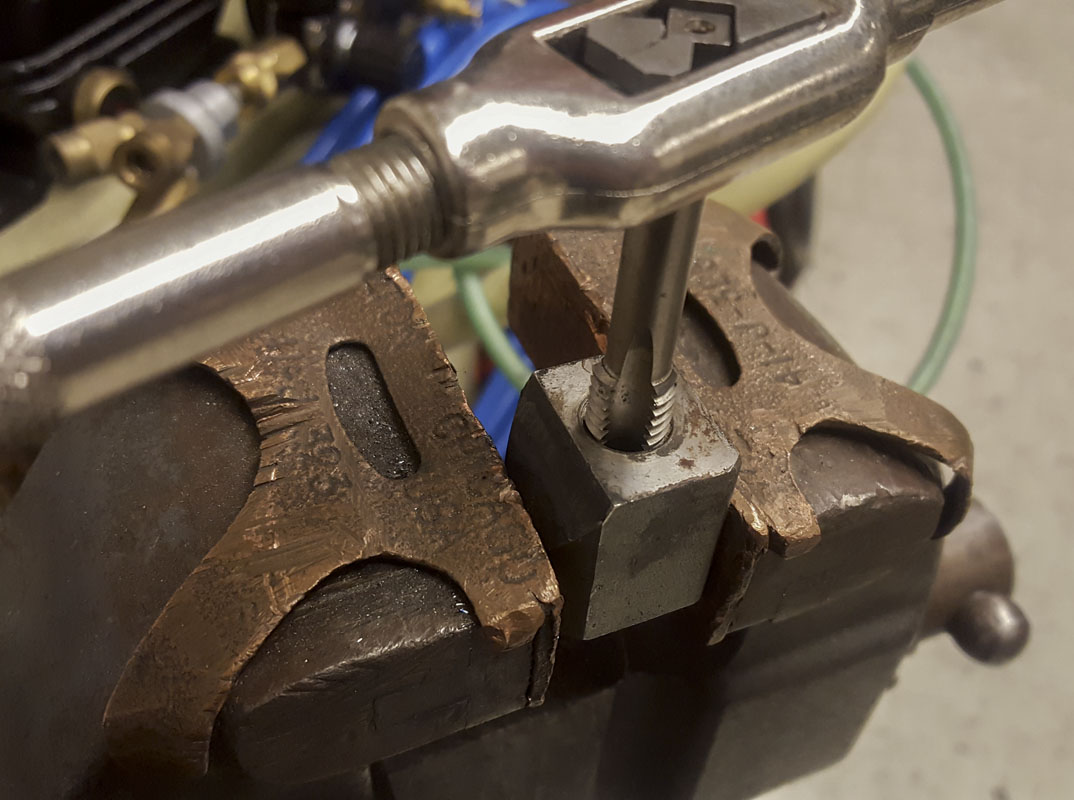
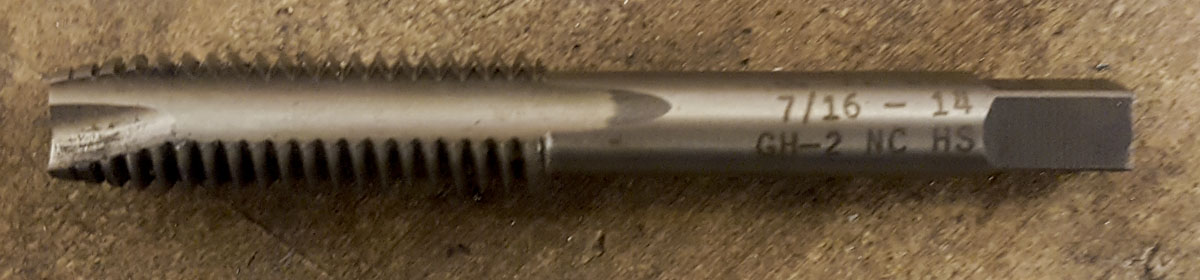
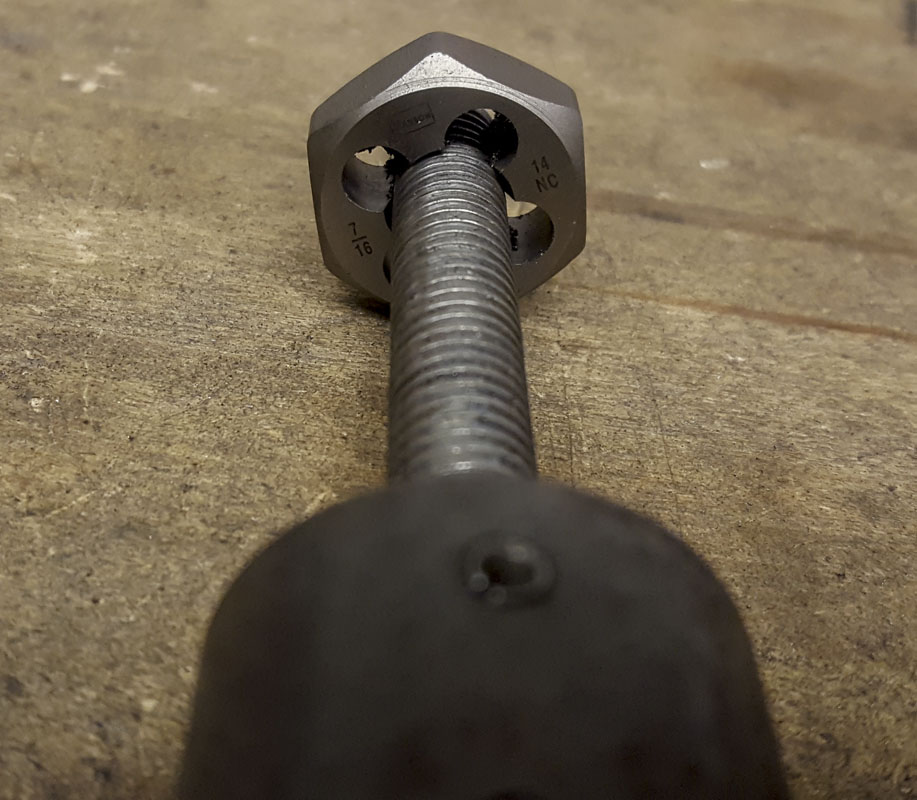
This is an old tool and parts are wearing out. The Park lock block (#180) from the clamp has a bit of an issue with the thread. I cleaned it up with a tap and die (7/16×14) but it needs to be replaced and it’s on order.