A stuck seat post used to be a very common problem in the world bicycles. There were many steel road bikes and aluminum posts in that era that would never move and galvanic corrosion welded the two parts together. Over time, road bikes became primarily made of aluminum or carbon fiber and assembly life became a only few years rather than decades. Mountain bikes had a similar change in frame material but steel remained a common option as custom bikes often worked better for specific types of riding. Still, seat posts would move often as a ride would have a climb in high mode and descent in low mode. Posts tended not get frozen over time.
Dropper posts have changed that in the mountain bike world and now, many performance mountain bikes will be experiencing frozen seat posts. There is no longer a need to move the post during a ride, suffering a similar fate to that of the road bikes.
I’ve seen attempts to remove stuck seat posts for the past 35 years. In that time, I’ve seen some horrible ways to do it, some slightly better ways to do it, and very very rarely, the right way to do it. It is amazing that some basic shop service can be clouded in such delusion and hope rather than systematic technique.
It is very easy to remove most stuck seat posts from a frame. It’s just important to immediately start with the right plan, not figure out well past the critical moment.
The video below shows exactly how not to do this work. This guy was lucky this time, it could have ended much worse:
Why don’t we do that? Because the tube is compromised by the wrench and will immediately start failing. Once weakened, the end result will almost surely be a shallow stub hanging from the frame. When removing a stuck seat post, the integrity of the post is your greatest asset and needs to be preserved at almost any cost.
♫ Fools rush in where angels fear to tread ♫
I see countless cases of bicycle technicians working very hard to remove the remains of what could have been a very easy post extraction. They didn’t stop to think. They thought they were doing good but they weren’t. They dug a hole and they kept digging. By the time I get called in, there’s very little I can do but advise them that they have another few hours of work to do. Shitty work. Work that didn’t need to be done.
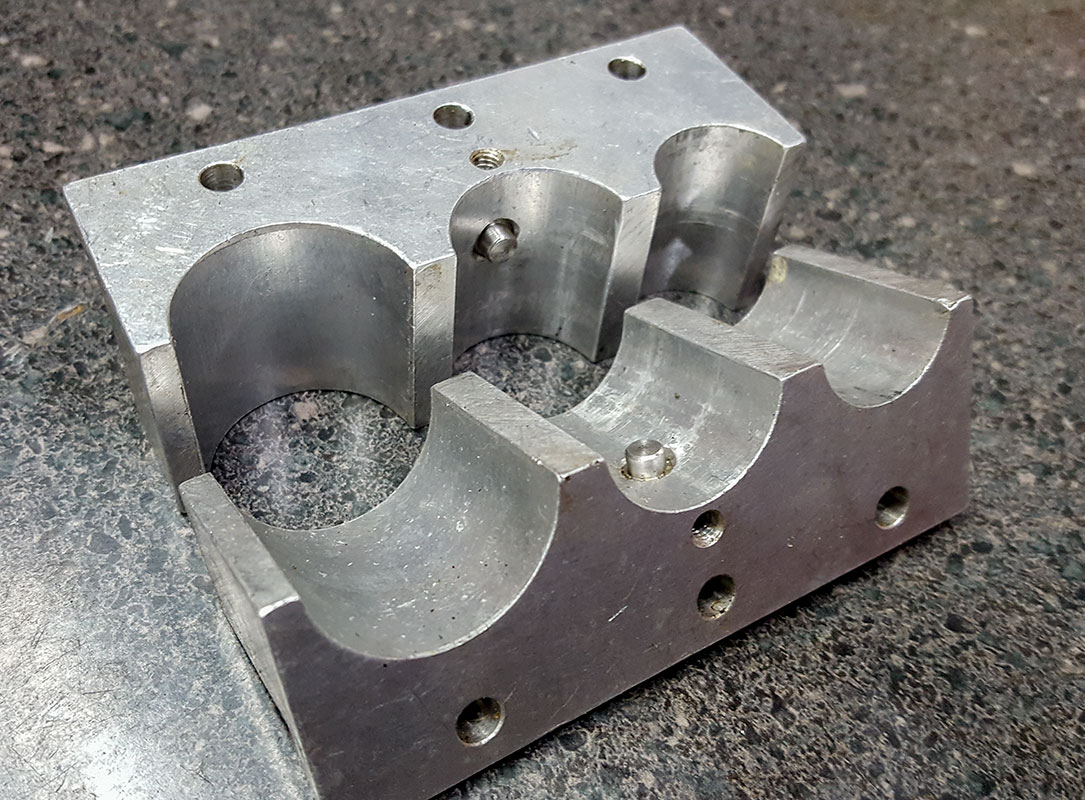
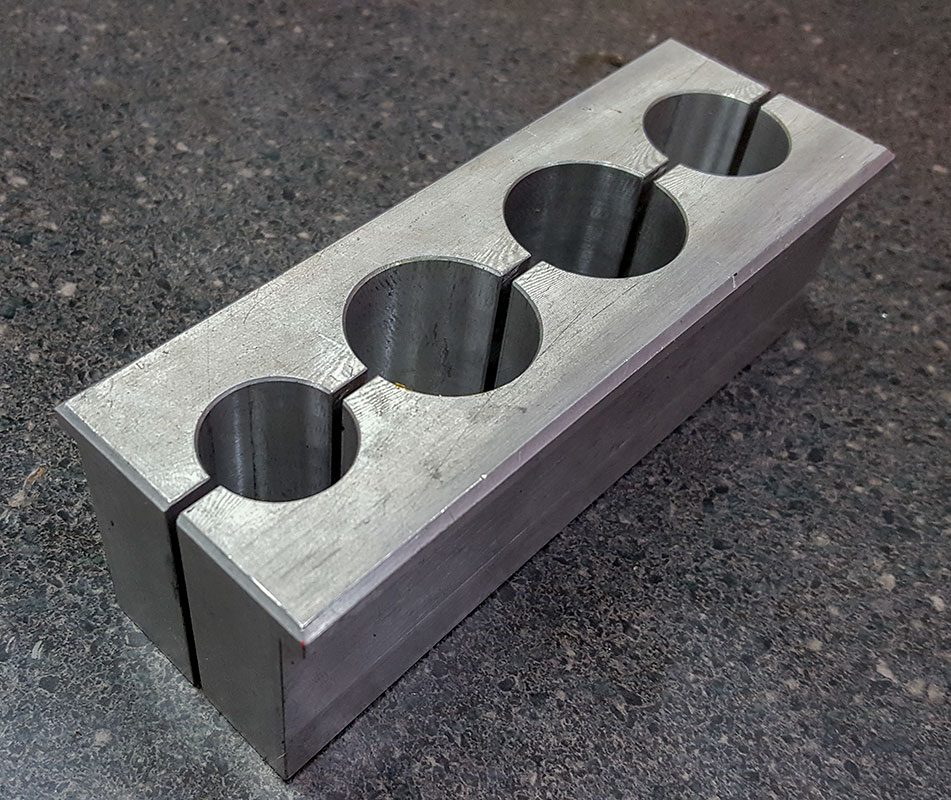
This is a tube vise with 31.6mm, 30.9mm, and 27.2mm, and a 22.6mm (Fox Grip pressure tube) bores available. In the shop, it is primarily used when rebuilding dropper posts and working on fork dampers, so it’s a common tool to have. It’s the first tool to use when we look to removing stuck posts, not the last.
Here is a special tube vise for holding Yamaha R1 KYB fork pressure tubes when removing the compression valve assemblies. The locking solution and assembly torque are so strong, a key was added to eliminate deforming damage to the tube and crushing it’s contents while applying the huge breaking torque. This is the length we go to when doing important work. Take your time. Modify tools. Better to do the job well tomorrow than like a jackass today.

One important reason for using the method I discuss is that (1) it’s most often successful and (2) you can save the seat post most times. No torque is applied to the head of the post which can cause permanent damage to the post itself. I saved two 170mm Reverb posts without damage last season. That’s $800 saved. Huge.
Before you really plan on starting work on the job, remove the seat collar and get some penetrating oil into the interface of the post and the tube and let it sit for a few hours or overnight. This can make a small bit of difference, but every little bit of help can be the difference. For the truly geeky types among us, Arduino vs Evil (AvE) has done a couple of great reviews of penetrating oils recently that are worth looking at.
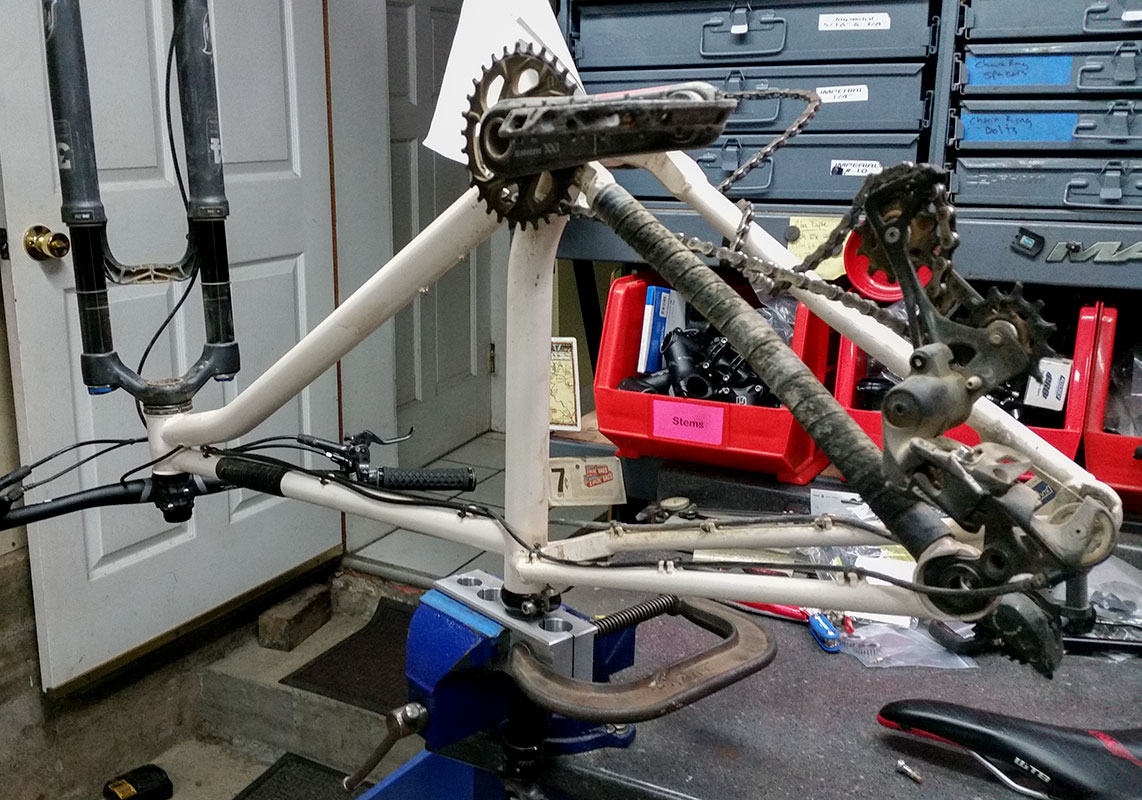
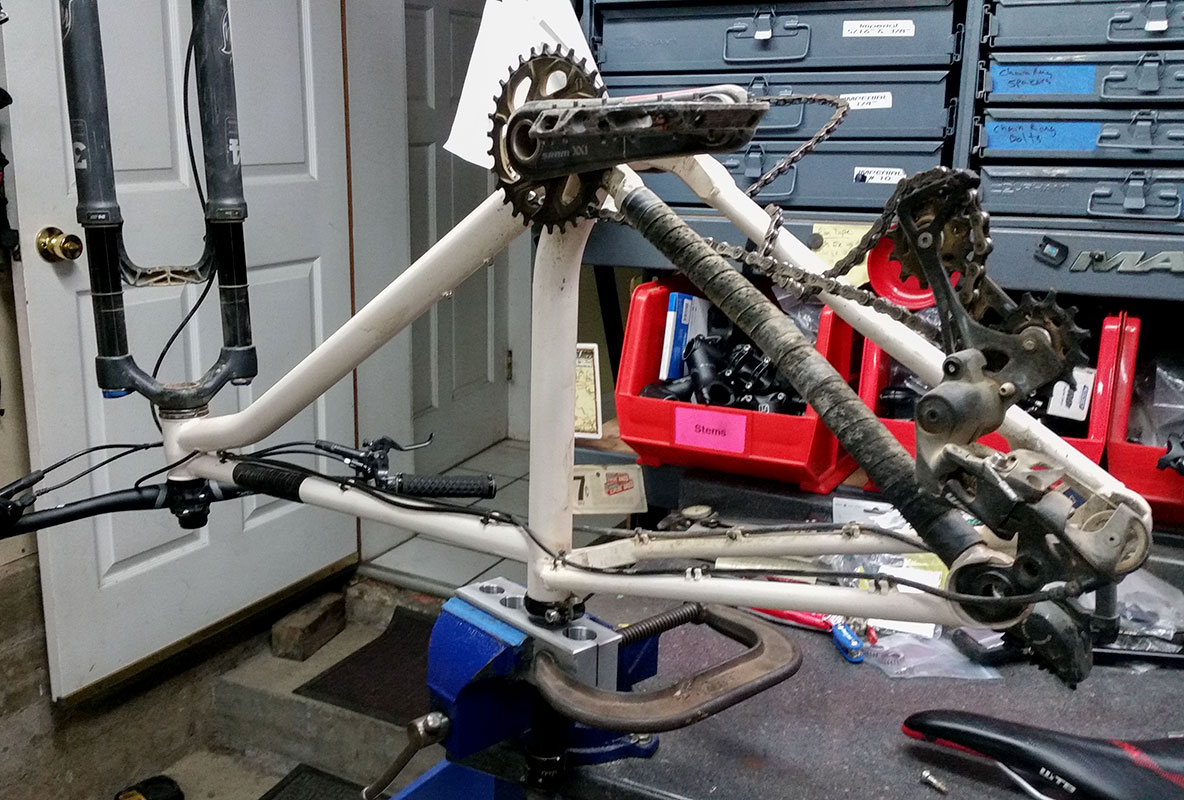
The saddle and wheels are removed from the bike and it is inverted. The seat post is clamped extremely tight in the tube vise while letting the head of the post extend past the bench vise. Shown here, because of the small shop vise I have on my home work bench, I added a large c-clamp to keep the pressure on. For dropper posts, it would be best to avoid clamping where the guide pins might be. Otherwise, the pin tracks could be ruined.

The outside of the seat tube can be warmed up with a heat gun but very carefully. We don’t want to overheat the paint and cause damage to that, also. Carefully, rotate the frame over the vise with gradually increasing force. Do not lever a delicate frame at the very ends. Look for solid central areas to do the bulk of the twisting. Don’t be jerky. Keep your eye on the post to ensure that it does not rotate in the tube vise. This will get scary but it will work.
Even with well stuck posts, this should break the part free and it can be worked out with upward twisting and lifting.
There are some other good strategies that I will apply in emergencies, but I’m not going to mention them here as I would prefer people focus on the best and most successful strategy instead of the more hopeful choices.
Now, make sure that that doesn’t happen again!
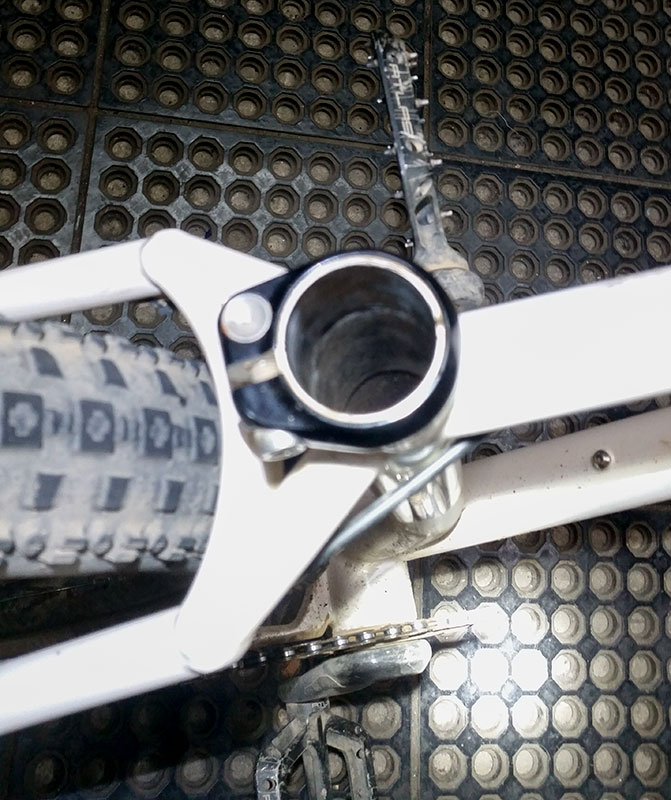
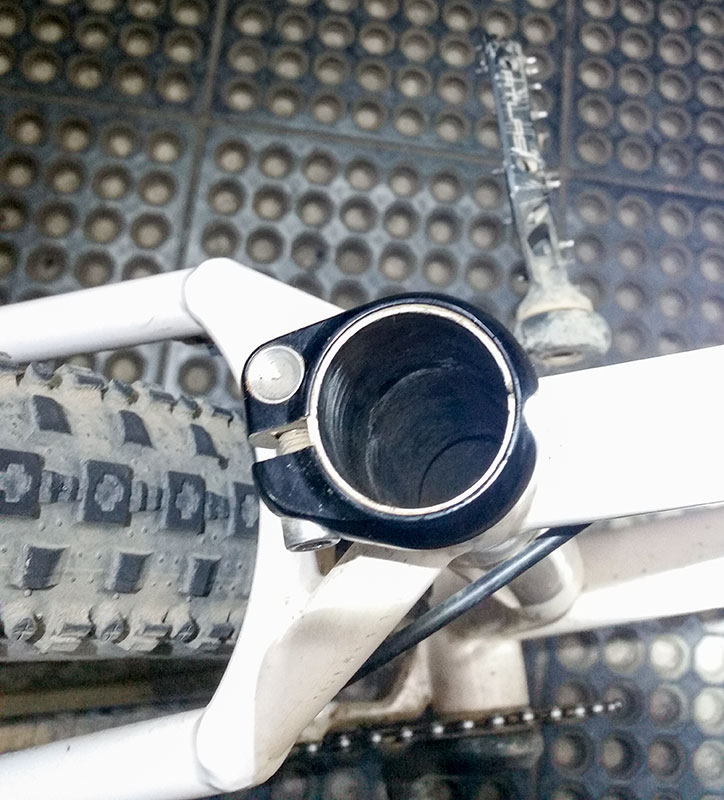
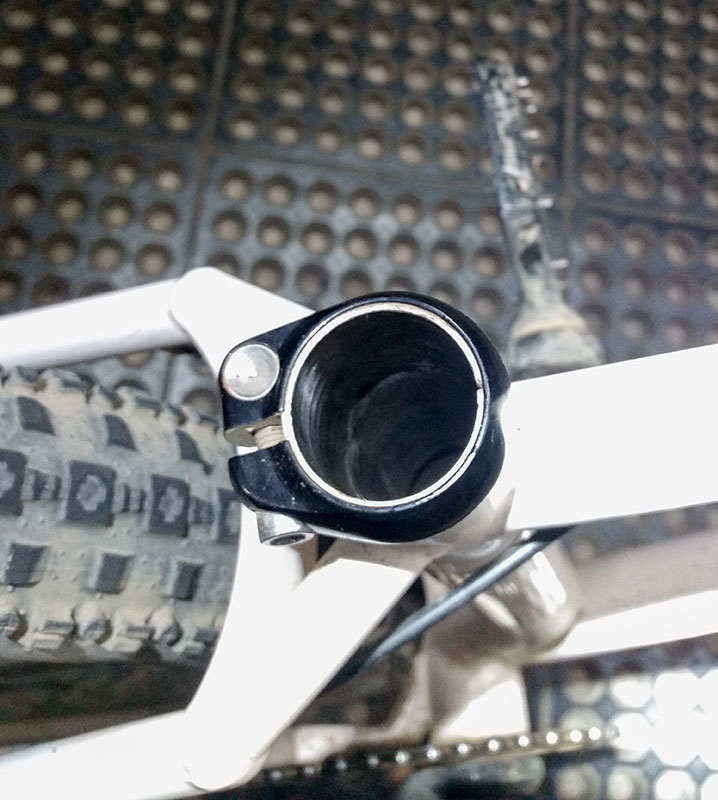
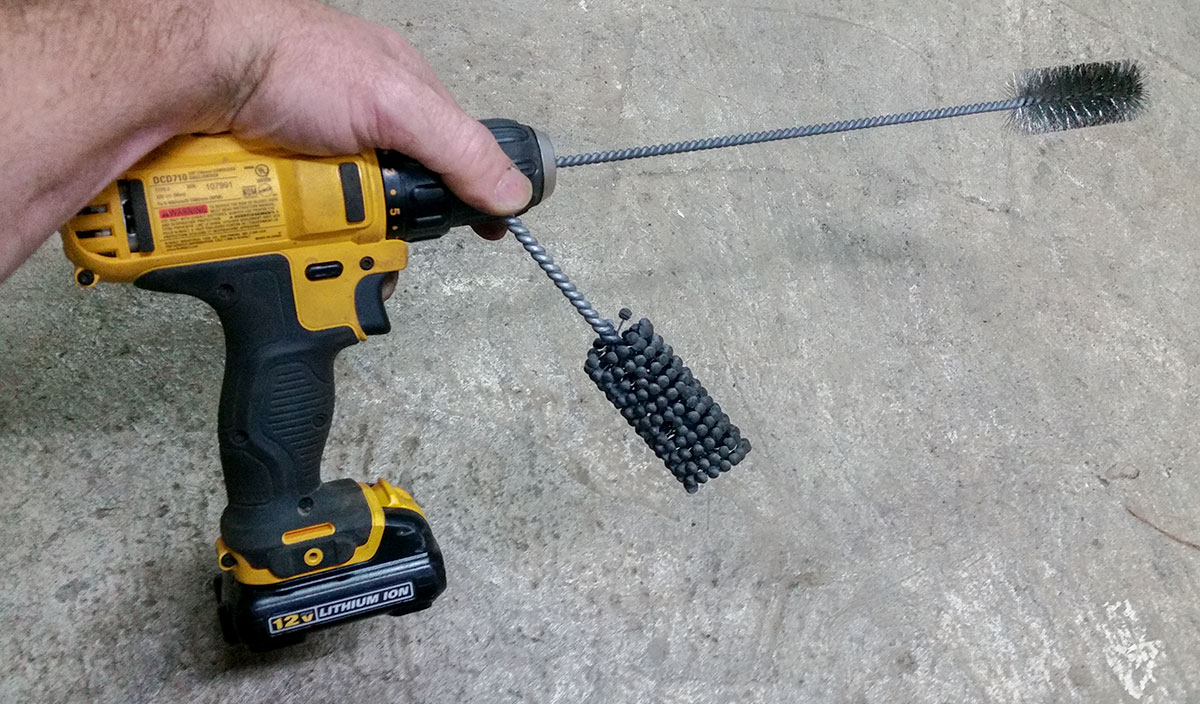
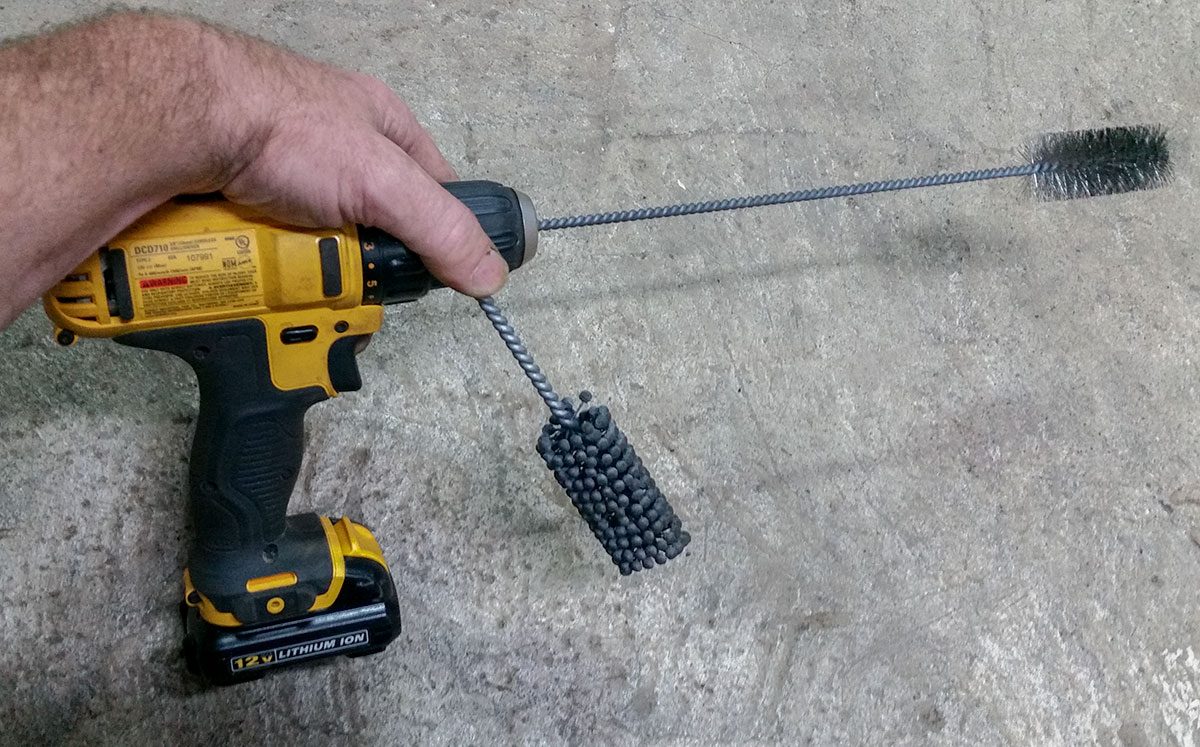
Following a quick re-reaming of the tube, we need to scrub the tube clean. A flex hone and wire brush will make quick work of that. Even a long 90 degree pic to work on persistent areas. We want to remove any corrosion or build up from the inside of the tube or outside of the freed post. Some plastic scrapers, delicately with the edge of a razor, and the right grade of scotchbrite.

If the frame is steel, this is a good opportunity to protect the inside of the tube by the bottom bracket from general rust using J.P. Weigle’s Frame Saver Rust Inhibitor. This is some pretty cool stuff and it’s a mess on purpose. Clean it up and allow to cure. It would be nice if all steel frames could have ED (electrophoretic deposition) coating inside the bike. I would do it but it’s not something that is easy to do outside of mass production.
Given that most frames will have posts installed that move very rarely, we now look at the issue of lubrication differently. In the past, mountain bike seatposts would move up and down several times in a ride and waterproof grease would be used in the interface. Now, they are dropper posts and are almost never moved inside the tube. Because of this, I’ve been using an anti-seize paste. Shown below is the preferred formulation for aluminum shaft in steel bore as far as I can tell.
LOCTITE LB 8044 Zinc Anti-Seize (pdf)
LOCTITE® LB 8044 Zinc Anti-Seize (formerly C-638) is a smooth, homogenous mixture of zinc dust and petrolatum. It prevents seizing during assembly or disassembly of threaded or unthreaded metal joints–particuarly if these metal joints involve aluminum or aluminum alloys. Zinc Anti-Seize also provides corrosion protection for both aluminum and ferrous metal (iron Base) components. Within a metal threaded connection, it acts like an internal galvanize using the electrochemical properties of the zinc dust to protect iron surfaces.

Another option to use somewhere in all this is Loctite Moly Dry Film Lubricant. I’ve never used it but it but it sounds interesting.
Now, build yourself a backdoor!
This topic of this post can inform us when designing, shopping, or assembling a frame. Let’s say we know that the nice new dropper seat post we are installing today will one day be stuck solid in the frame. Would it help you to have the post buried to the collar in the frame or to have at least 2 1/2″ of tube extending with which to hold? Right, you would like something to hold. So, design that into the build. Plan for the inevitable disaster and build yourself a way out….now.
Age old wisdom!
Periodically remove your seat post . Clean and lube the interface. Think about this most at the beginning and end of the wet season.