In the last few years I’ve been needing real microscopy in my home shop. Fiber laser engraving, electronics projects, and analyzing 3D printing failures prompts this. There’s seeing and then there is really seeing.
I feel foolish that it took this long. Had I known how much of a difference 90x magnification would make in adjusting the settings of my fiber laser, I would have done this when I first got the engraving machine. Seriously, you NEED a real microscope for doing laser engraving! I was finally able to see exactly what was going on when I made changes to the power, frequency and travel speed of the laser, as well as the start/stop timing. The quality of what I’m producing is much much better now.
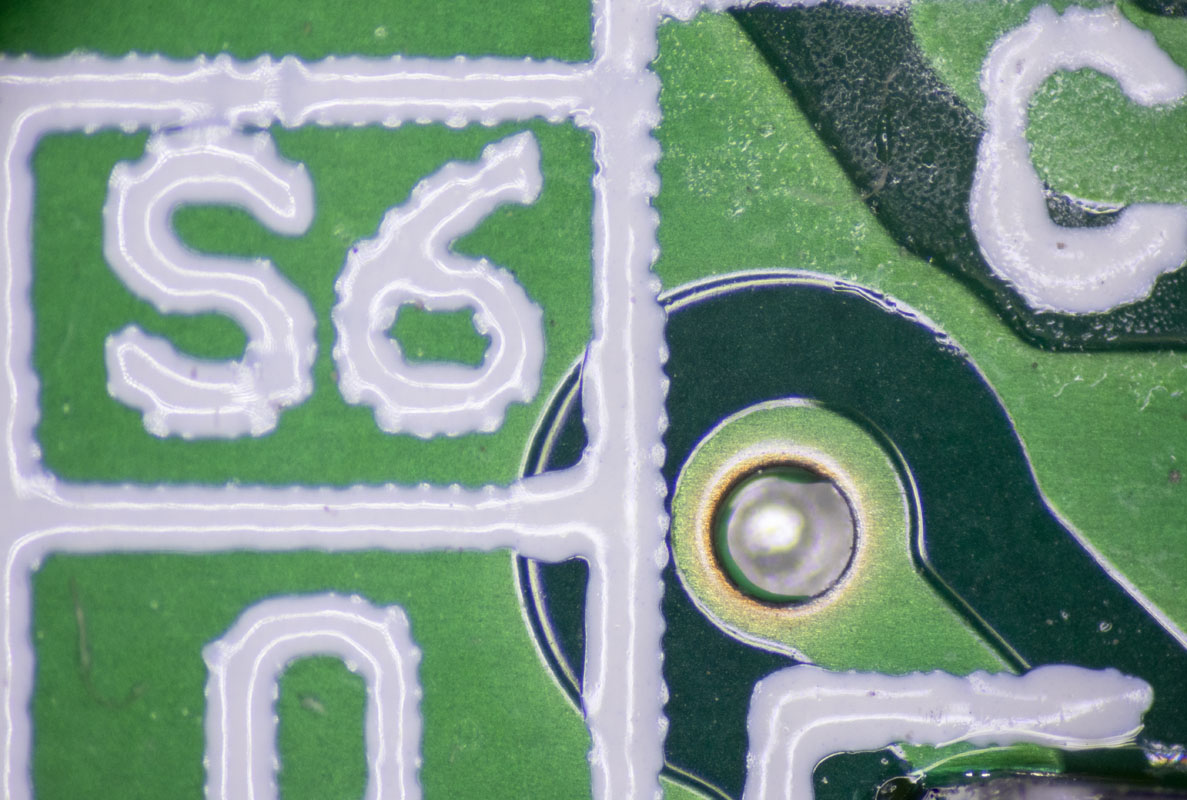
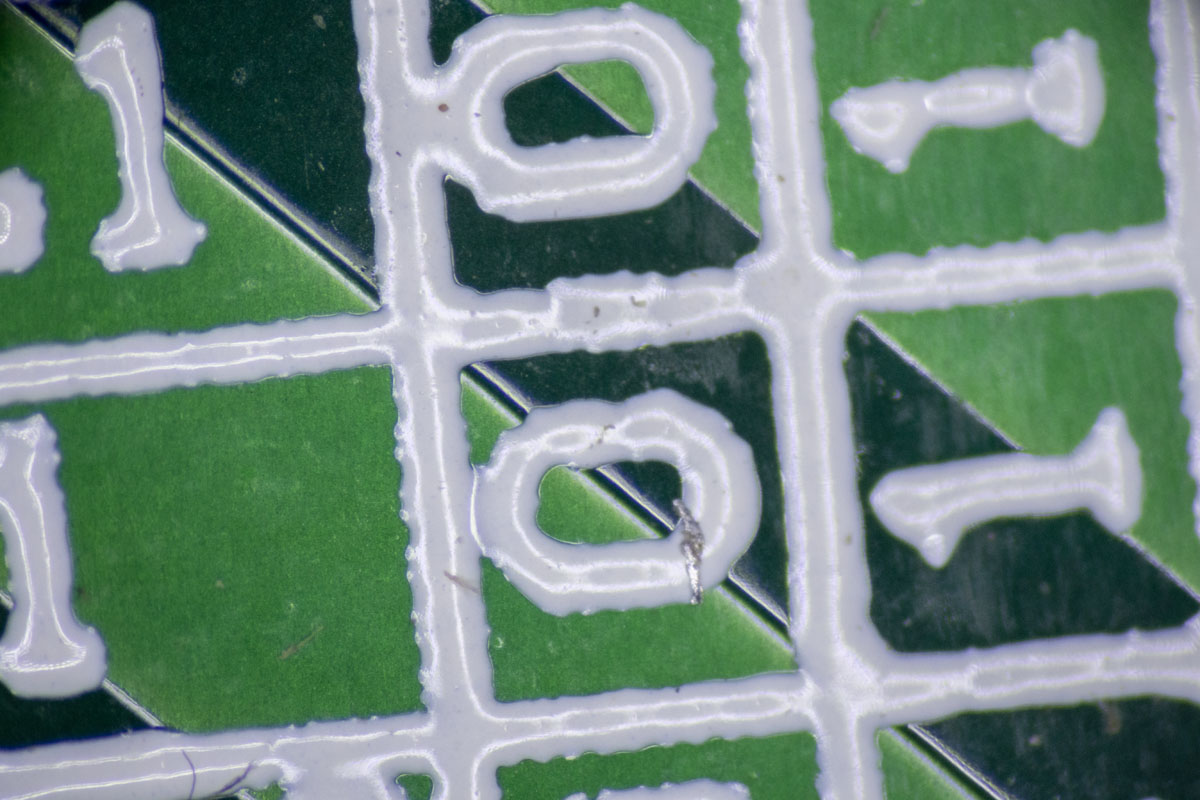
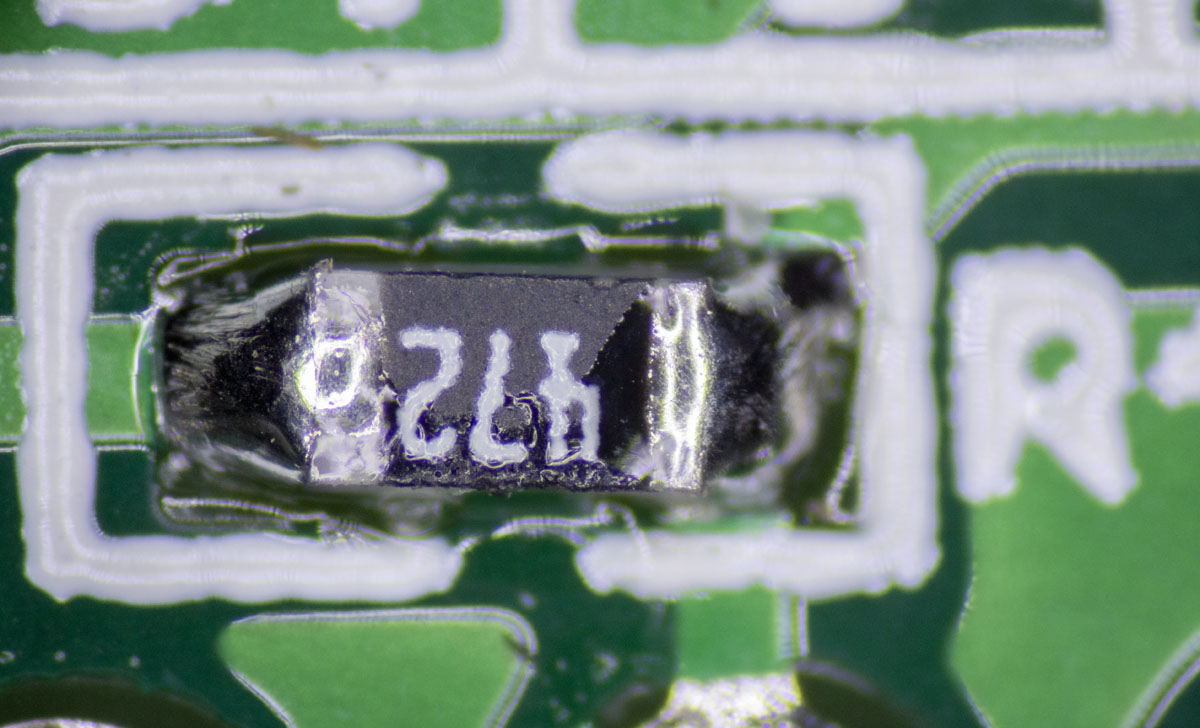
These are 2mm high characters engraved in anodized aluminum. The settings are perfectly adjusted. Because of the very shallow depth of field and the imaging, it is difficult to see the very crisp edge of each pulse made by the laser. In the eyepiece, and while playing with the focus, it’s very clean.

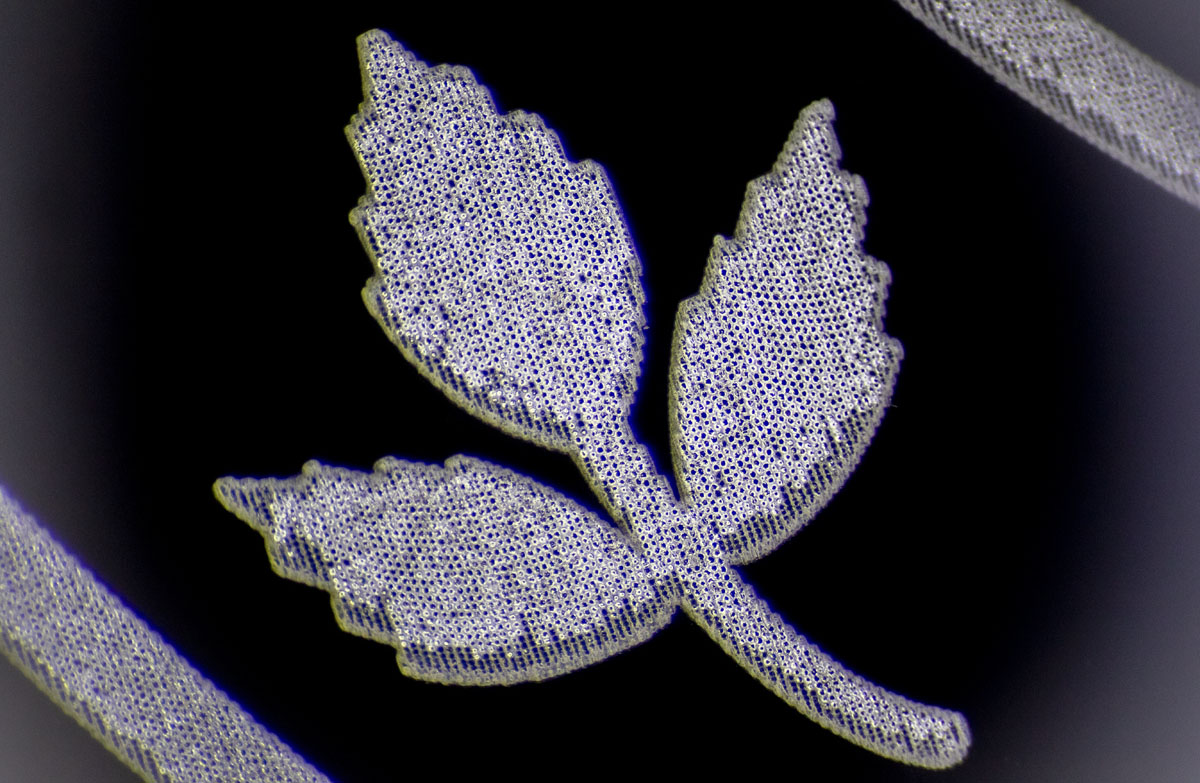
This poison oak leaf (about 4mm) shows up with some odd reflections under the scope lamp even though it’s set perfectly. This appearance is completely invisible to the naked eye or even commonly 10x magnification loupes.
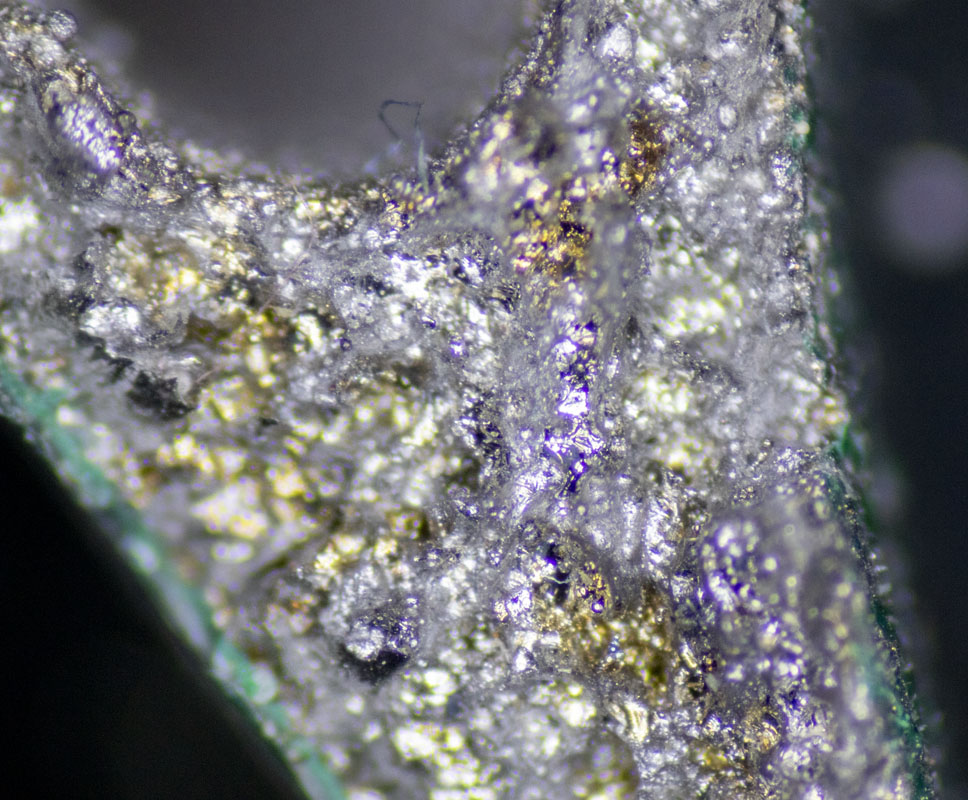
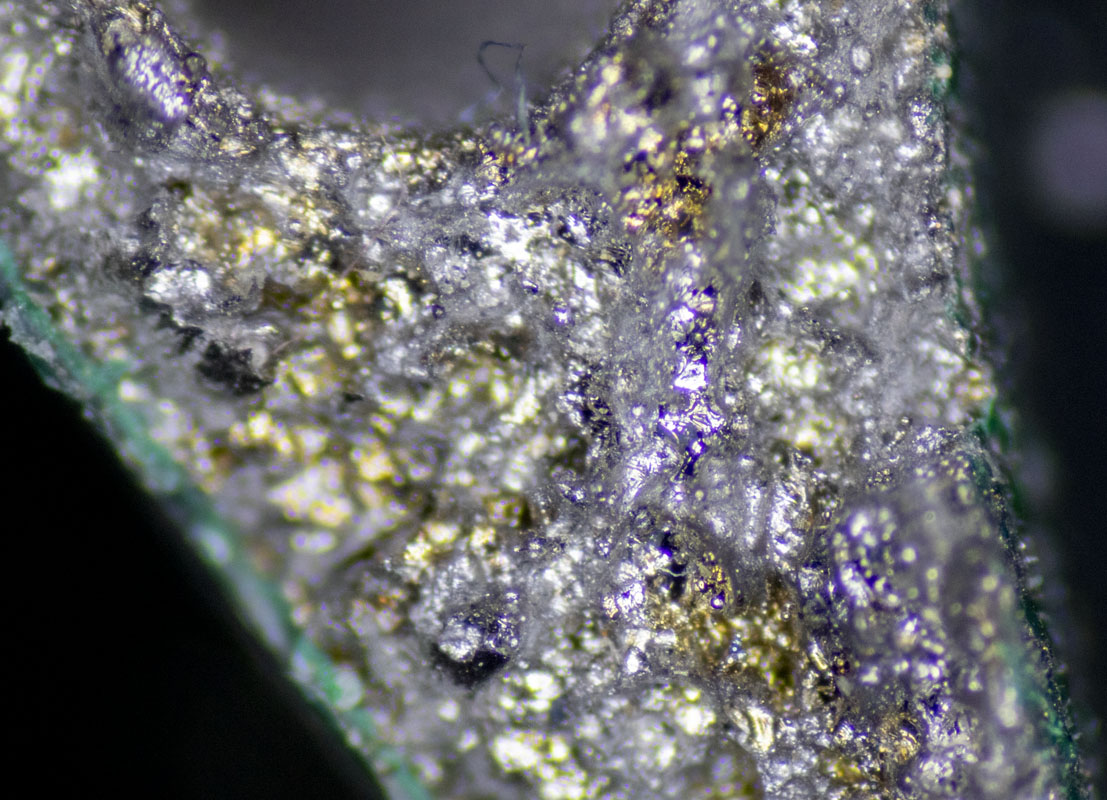
A view of a broken 316L stainless steel 3D printing. Again, the shallow depth of field cant show what can be seen while using the focus.
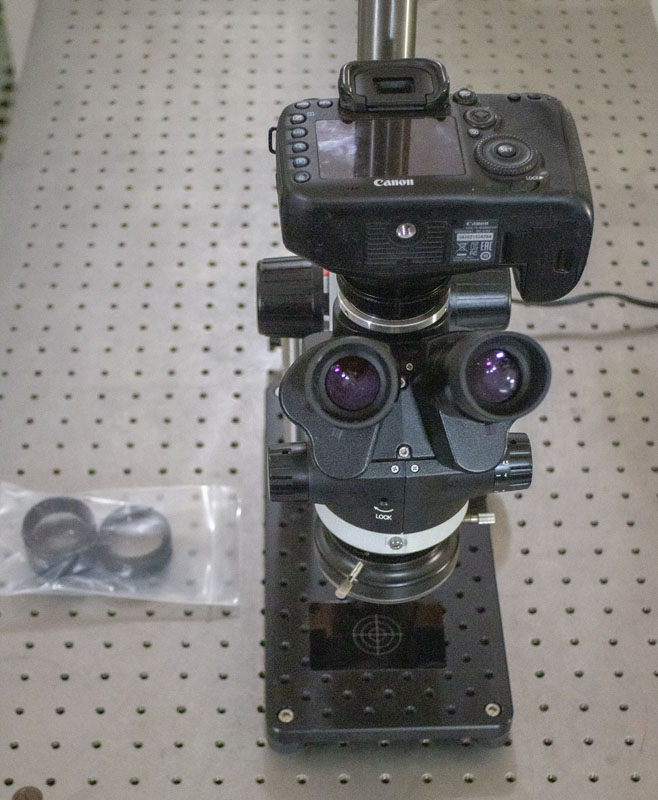
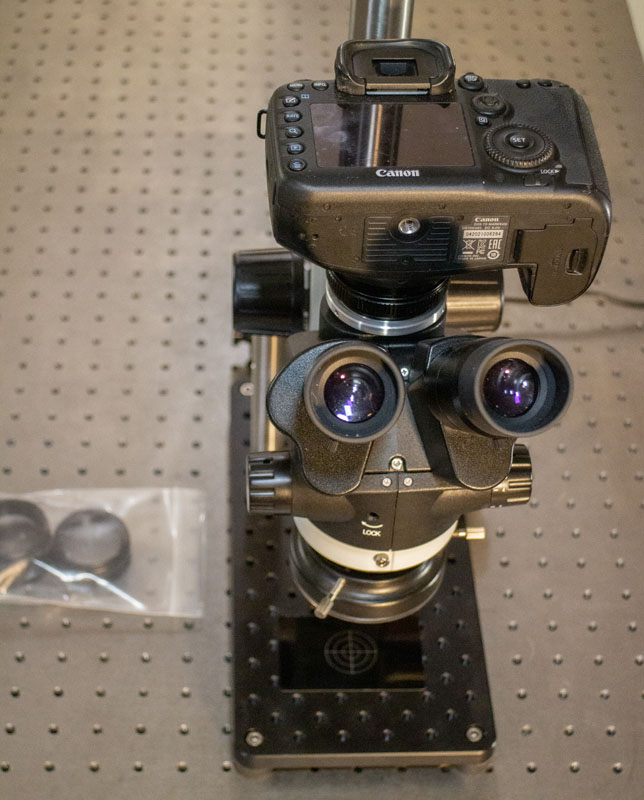
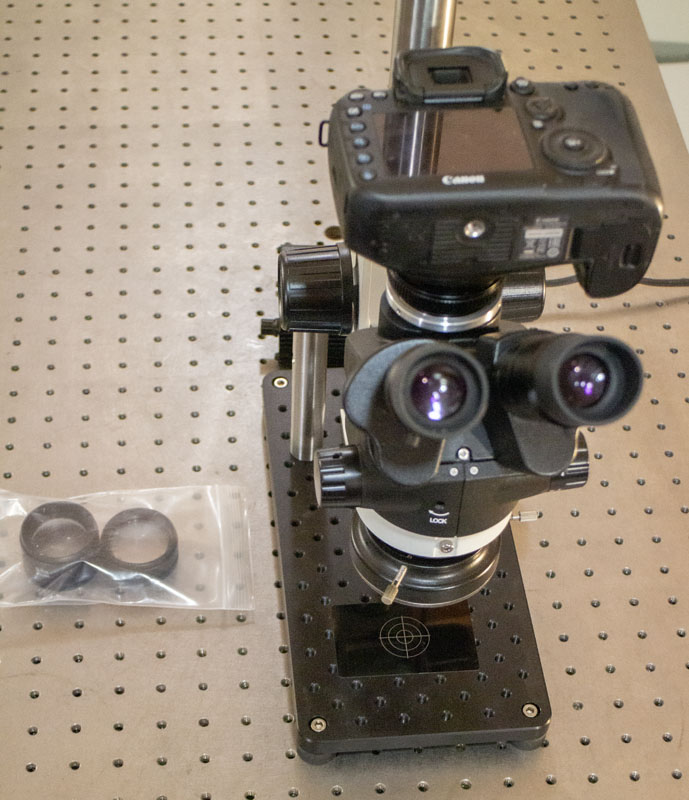
I didn’t get anything too fancy or expensive but I did need it to be competent and capable of capturing photo and video well. It’s an AmScope SM745NTP-B, 7X-45X simul-Focal trinocular zoom stereomicroscope head. The scope comes with the WF10X/20 super widefield 10X eyepieces with reticle (30mm) (EP10X30R)
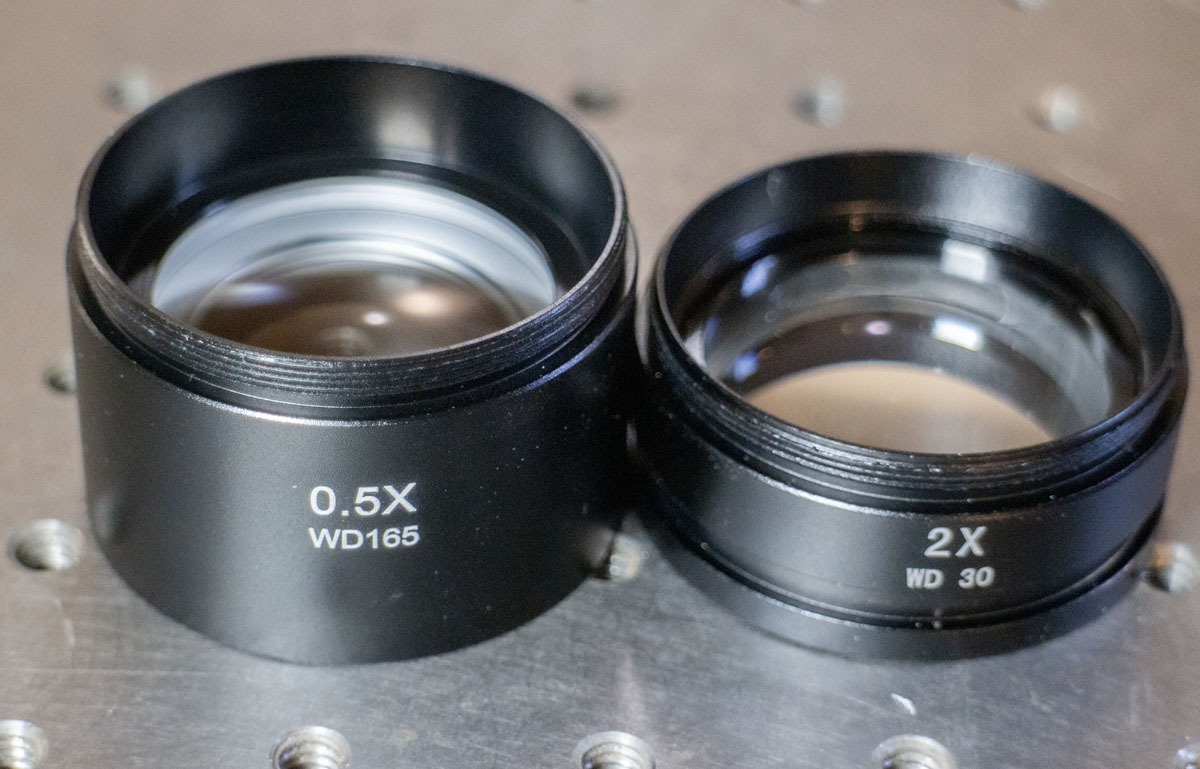
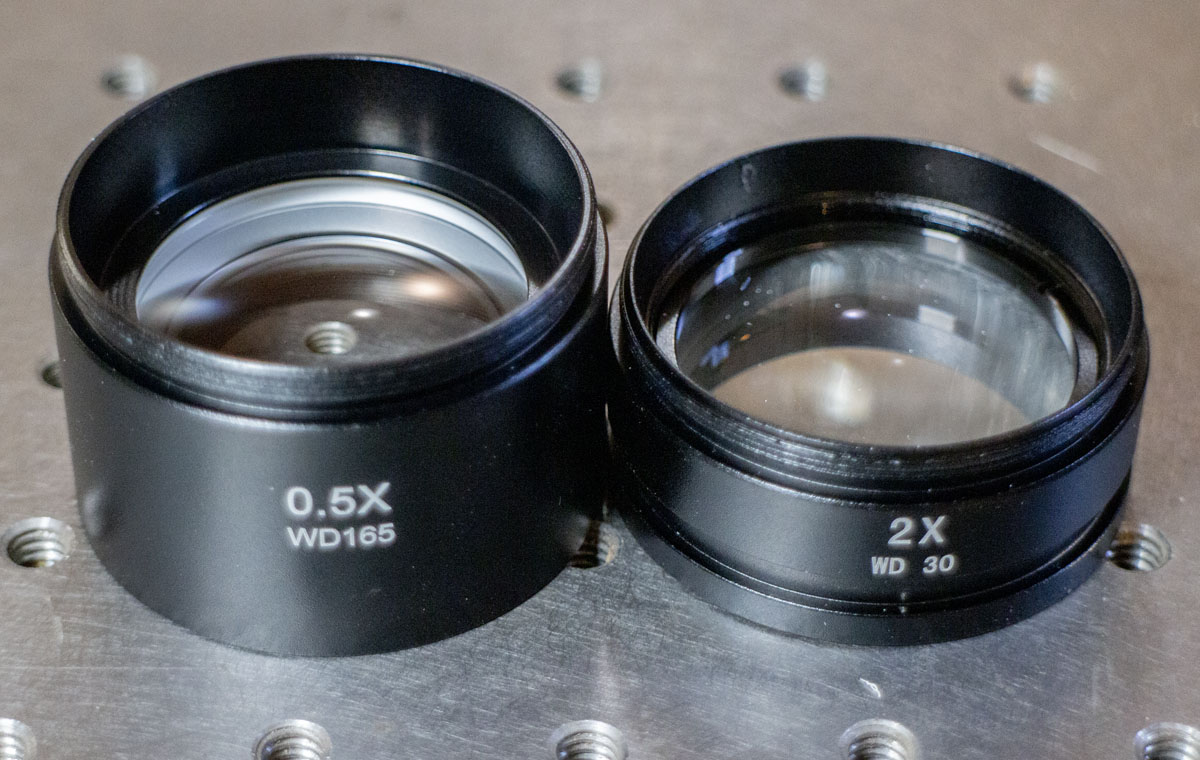
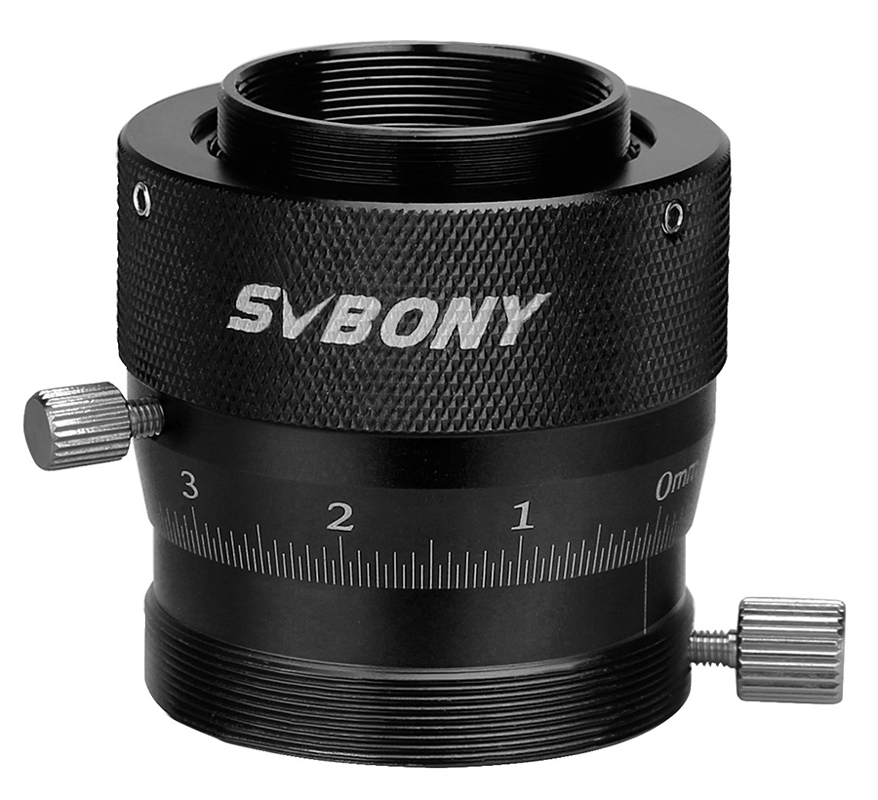
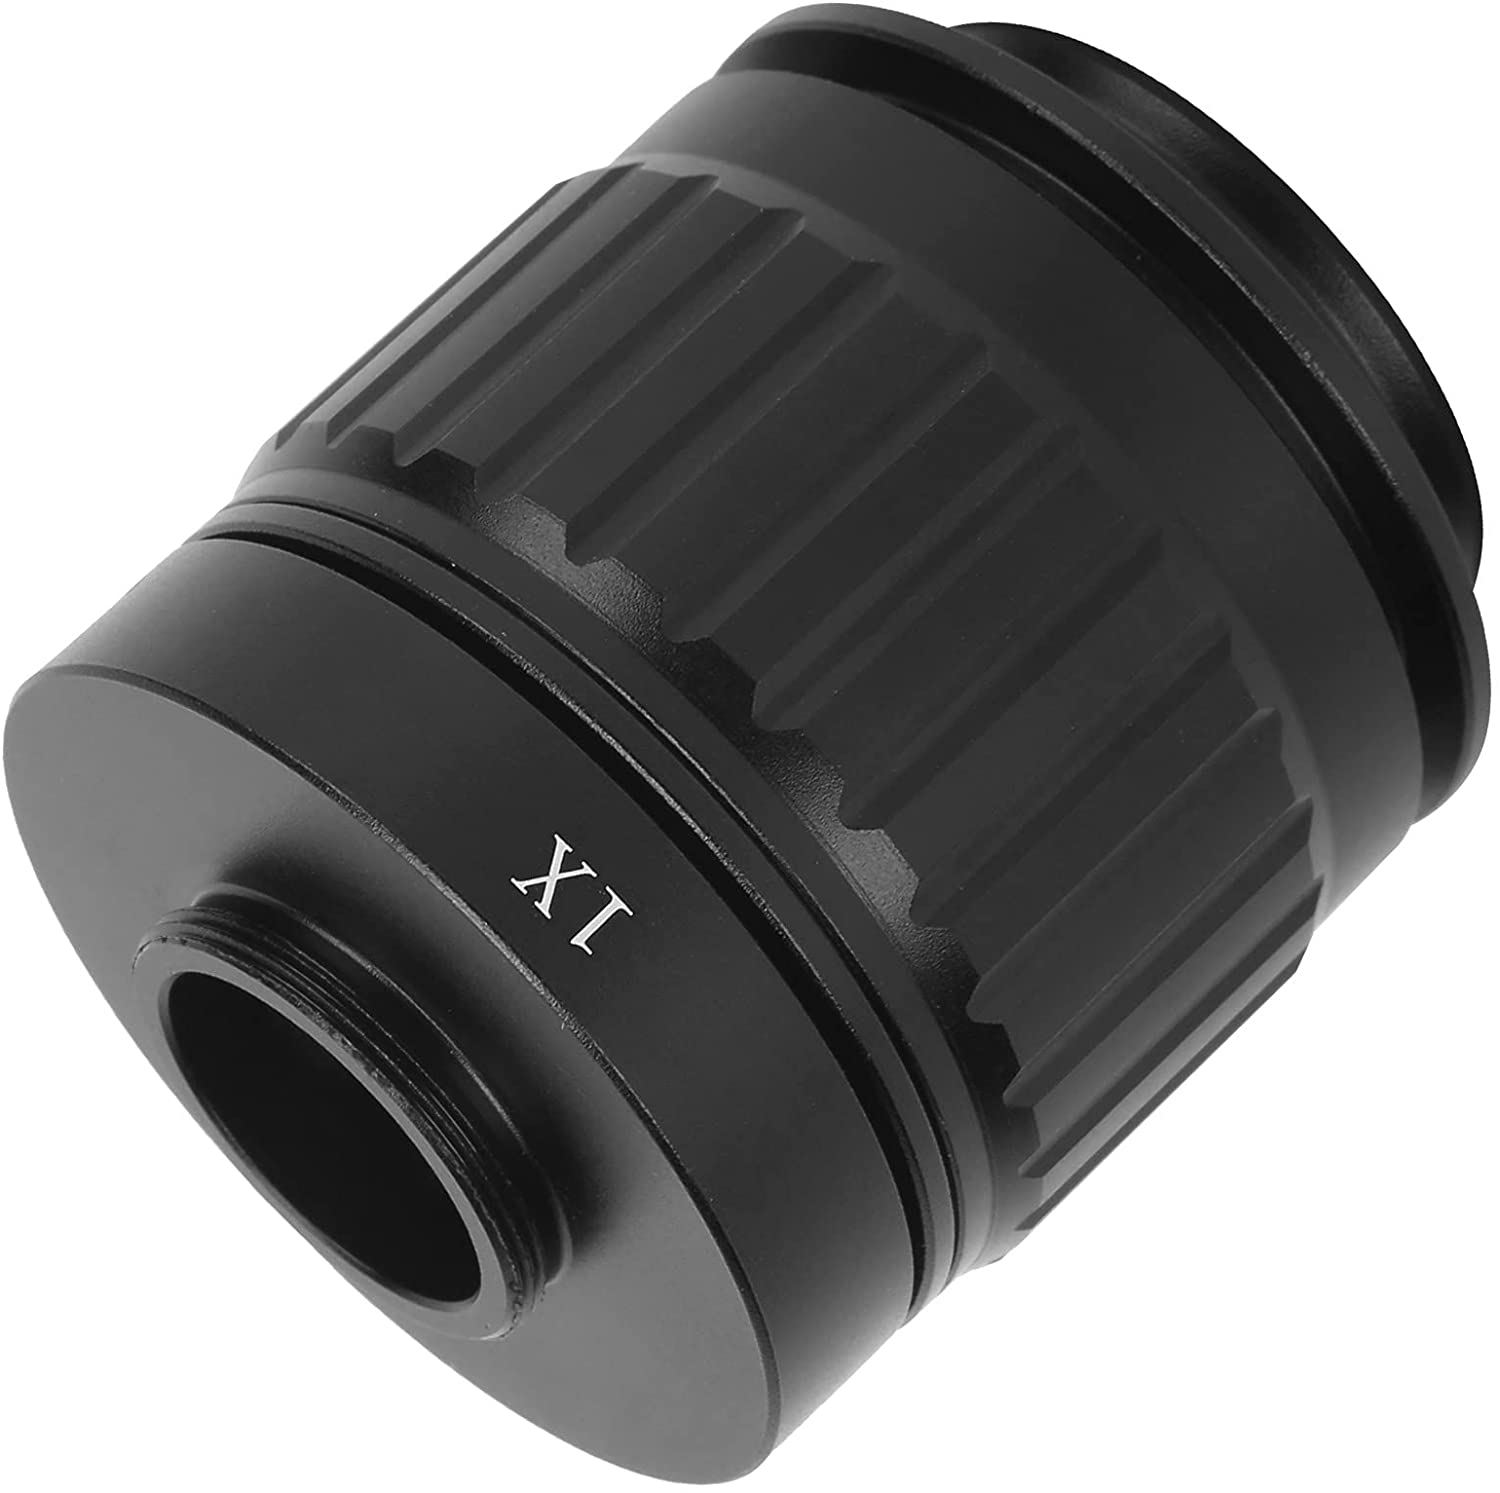
I also got the two bellows lens that are common for this head, the 0.5x (SM05) and the 2x (SM20). These allow the magnification range of the scope to grow from 7-45x to 3.5-90x. I would like to get a 1.0x (SM10) lens. Although this doesn’t do anything optically, it would work to keep vapor and dust out of the scope. Maybe later.
The foldable eyepiece eye guards (EG-SM) make life more pleasant when using the scope.
To give the head some focus, I ordered the AmScope FR-A1 Stereo Microscope Focusing Rack. I wish that this rack had a finer focus rate. At the higher magnifications, it’s a bit touchy.
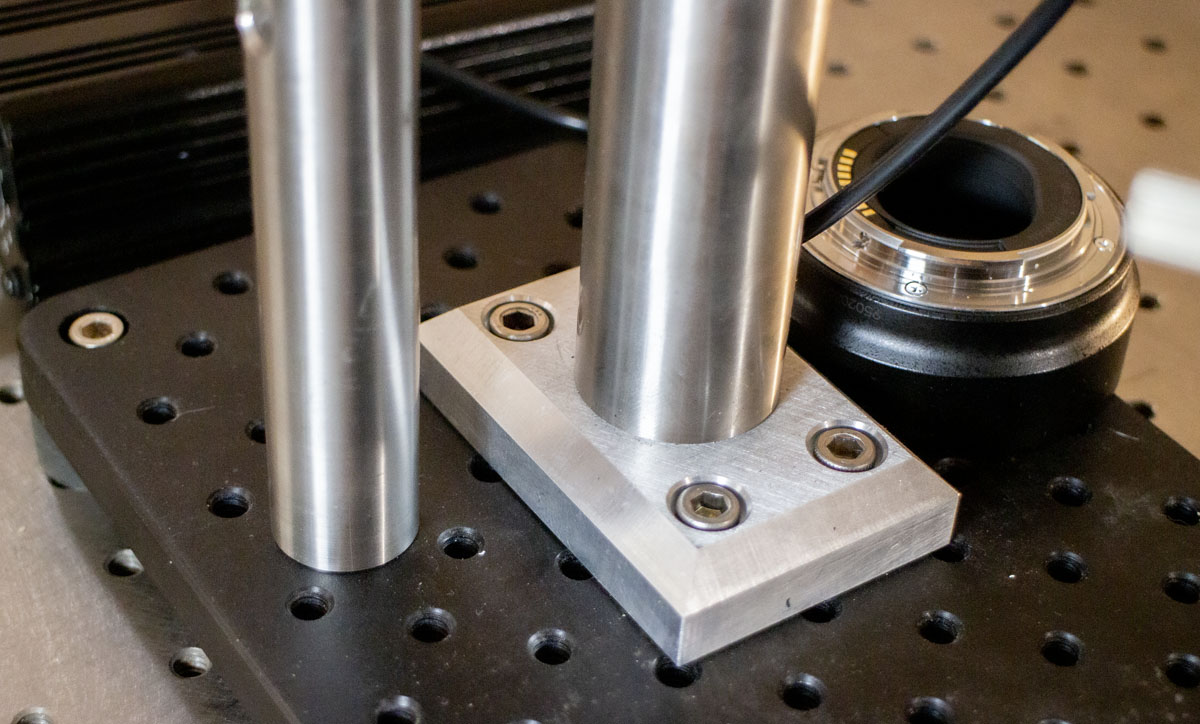
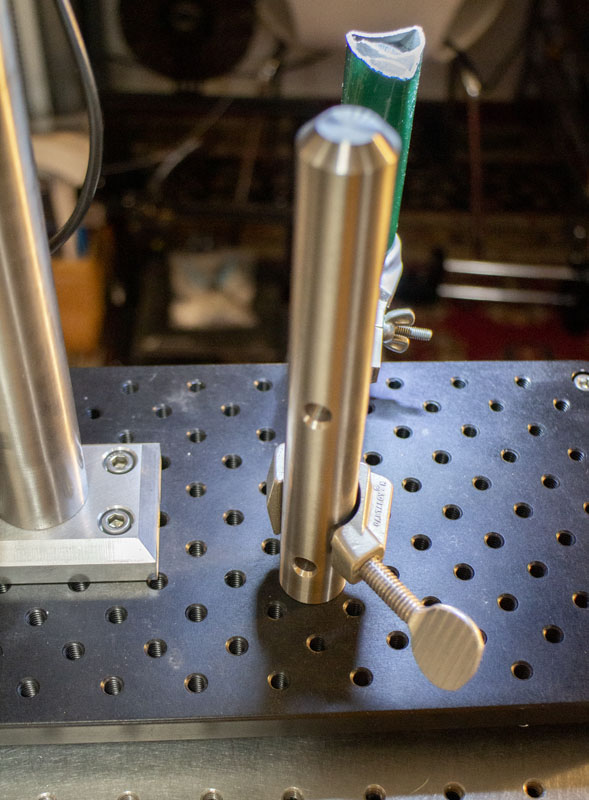
This will mount to any 1.25″ or 32mm post. So I bought a few feet of Easy-to-Machine 303 Stainless Steel Rod, 1-1/4″ Diameter (8984K33) from McMaster. A dressed up washer and M6 screw make for a slick end piece to keep the focuser retained on hanging arms.
Why didn’t I order an entire microscope with a base? One of the nice things about working at a university science department is being able to rescue cool items from the dumpster. I came across a few scope bases that were either broken, parted out, missing focusers, heads, or such. A little planning, work, and some of the stainless rod means I have a few excellent mounting options. This saved me a bit of money as the base is expensive due to it’s size and weight for shipping. More on this below.
I then needed a way of mounting a real camera to the scope. Most cameras that you see mounted to scopes are complete overpriced garbage. This, seemingly, just so they can be mounted to 23mm eyepiece receivers. We see many CCTV/C-Mount systems in use for this. We don’t need to care about that if we plan to use real cameras, like my Canon 7D mkii (20.2MP).
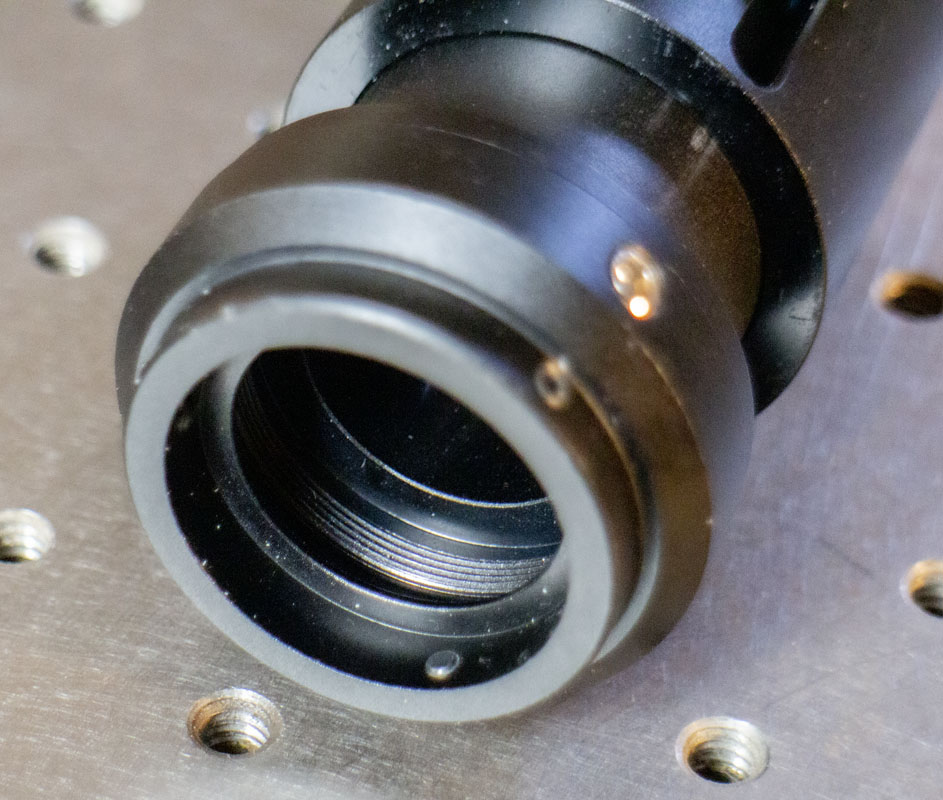
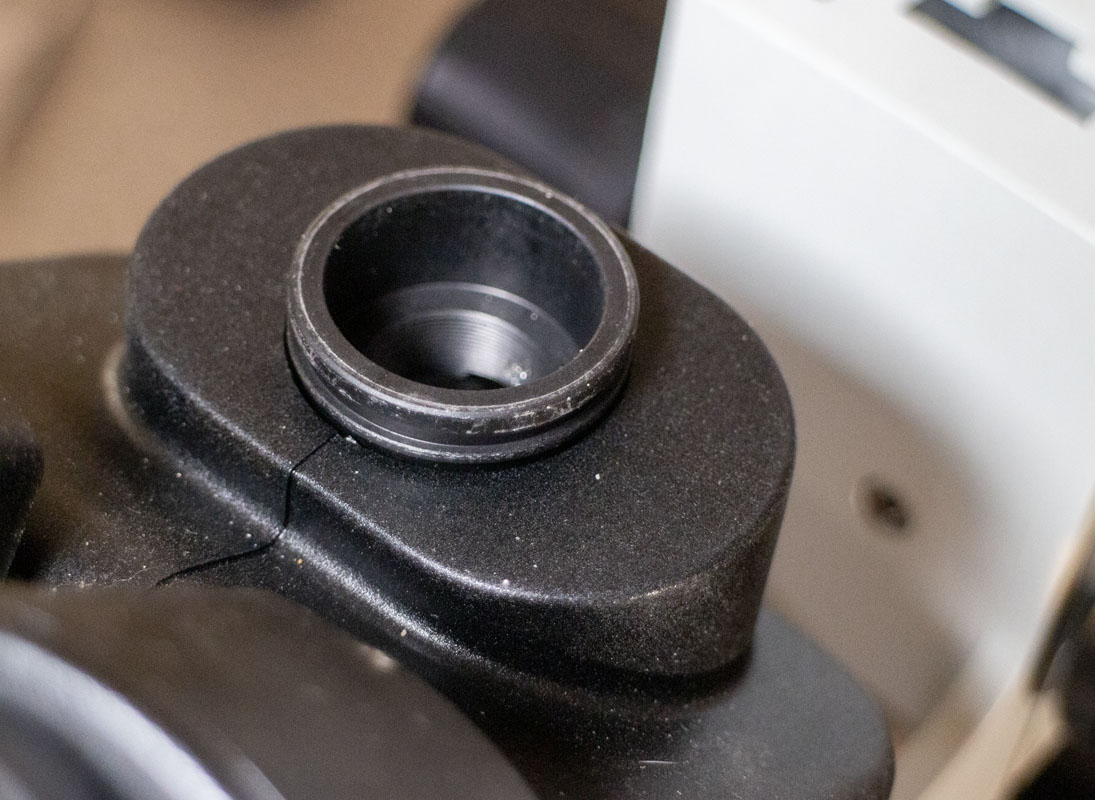
The scope comes with a DT29 (29mm male dovetail ring) to mount cameras. This is then provided with the stock “CX-type slide-adjustable 23mm photo-tube 50:50 simul-focal”. Besides being too long to use with DSLRs and mirrorless cameras, it’s necked down to 23mm which is just useless and seemingly for no good reason other than convention. I prefer better. This is especially nuts as the eyepieces for the scope are the 30mm type.
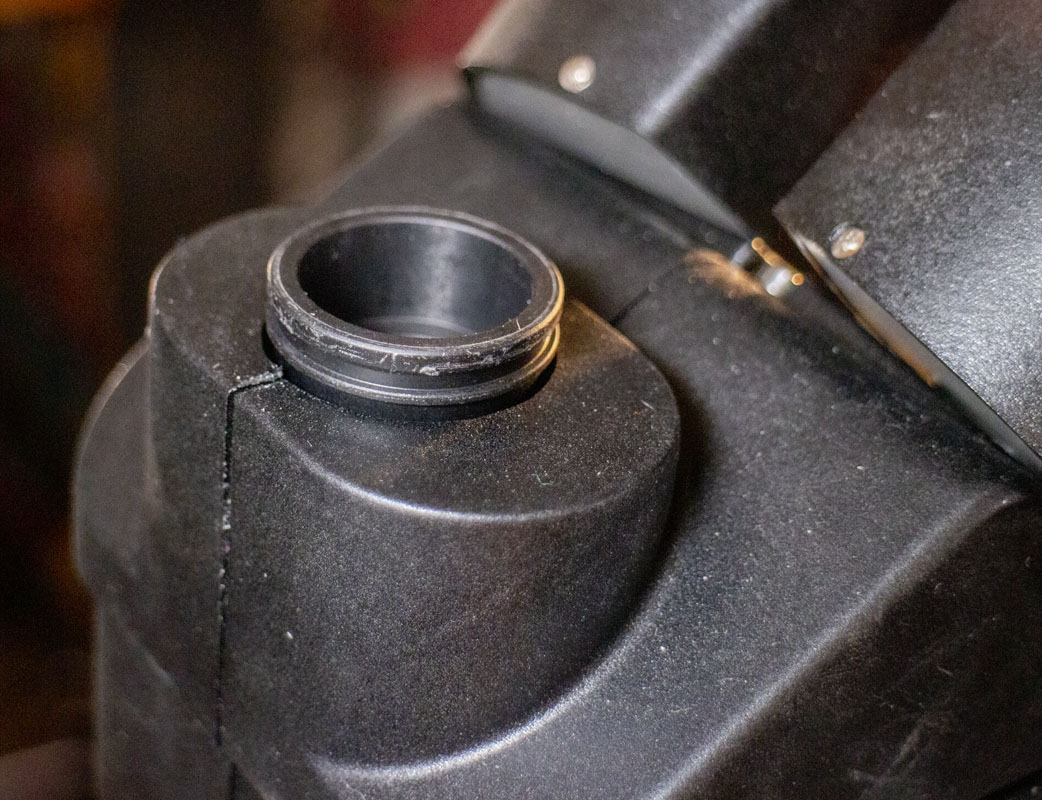
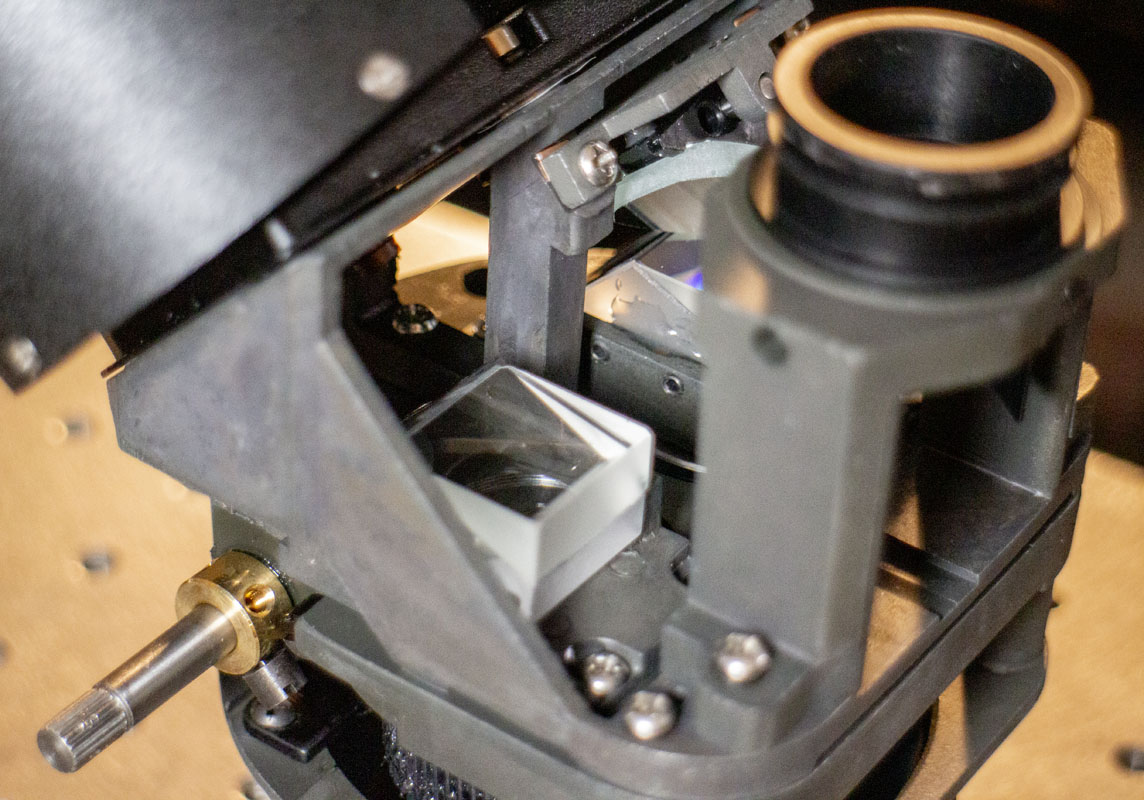
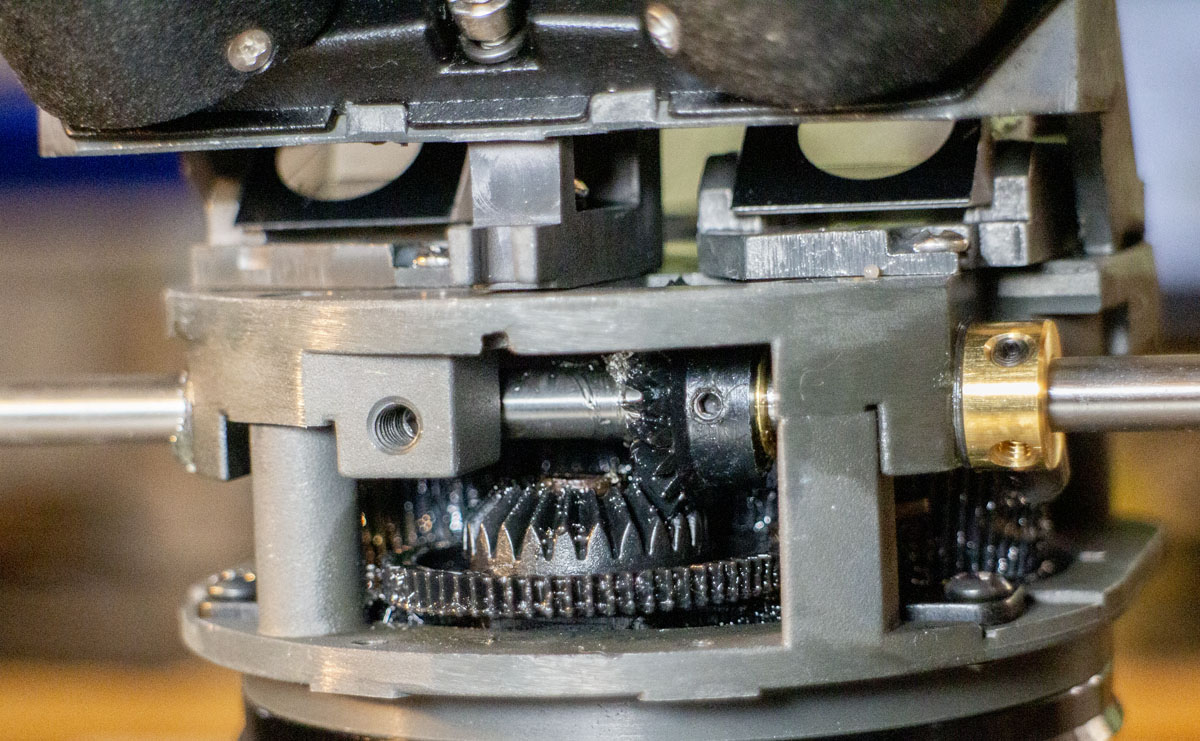
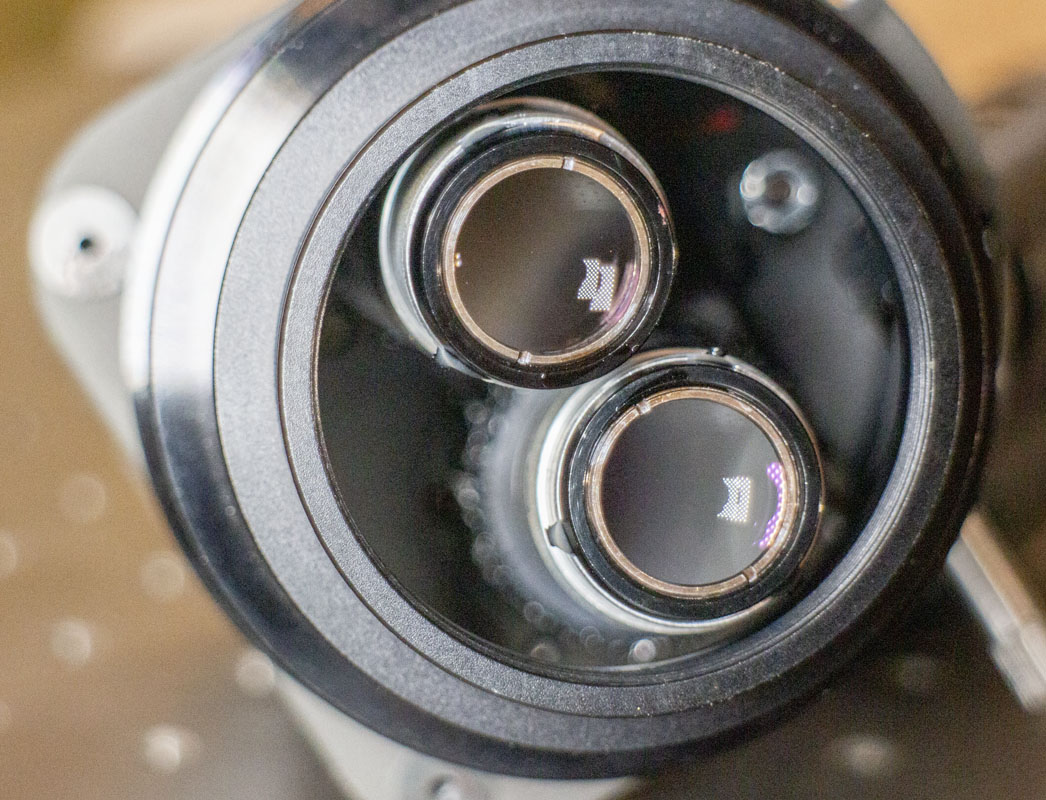
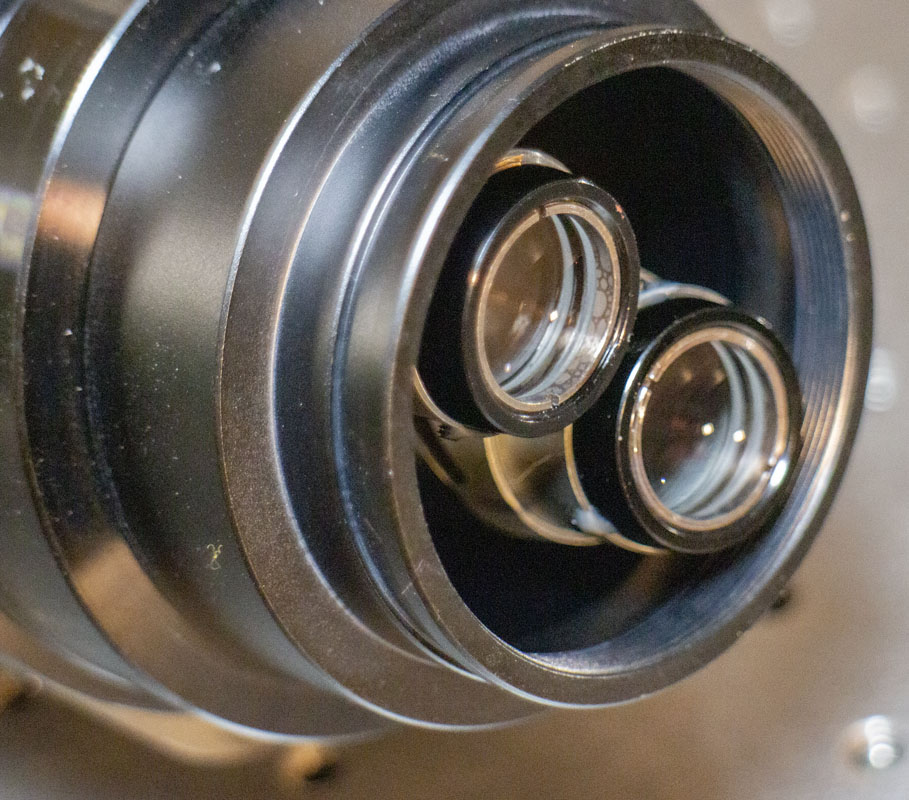
I looked inside the scope for a way to improve that interface. Sadly, some optical parts are glued in place that prevent removal of the lug without having to go through an alignment process. I’m not prepared to take that on right now so I’m going to work with what I have.
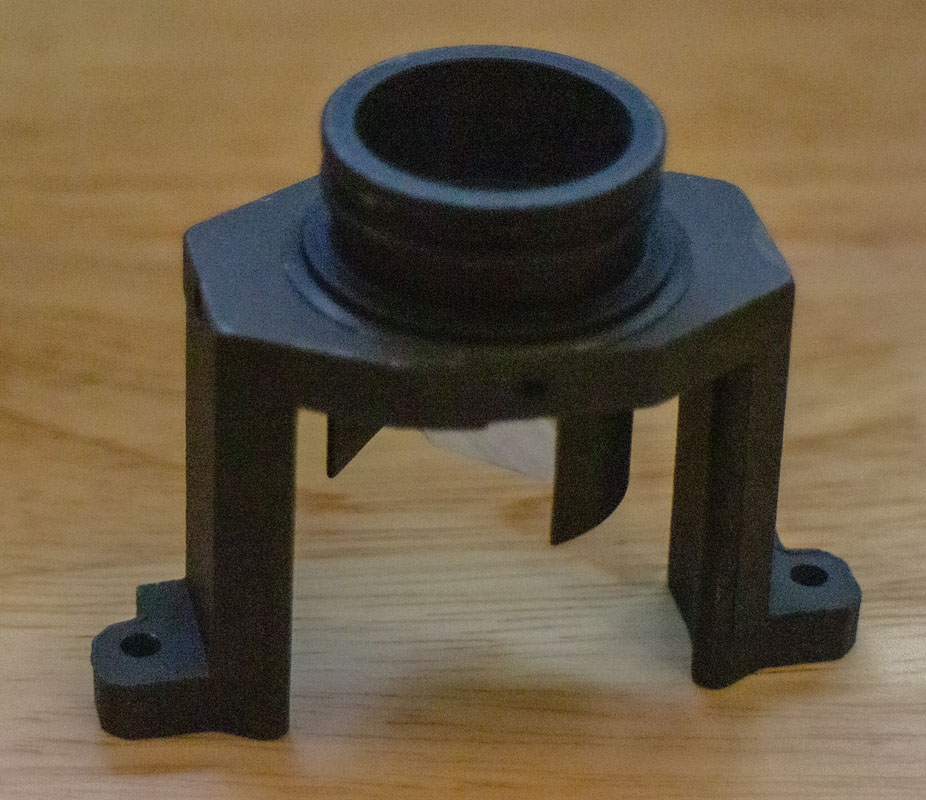
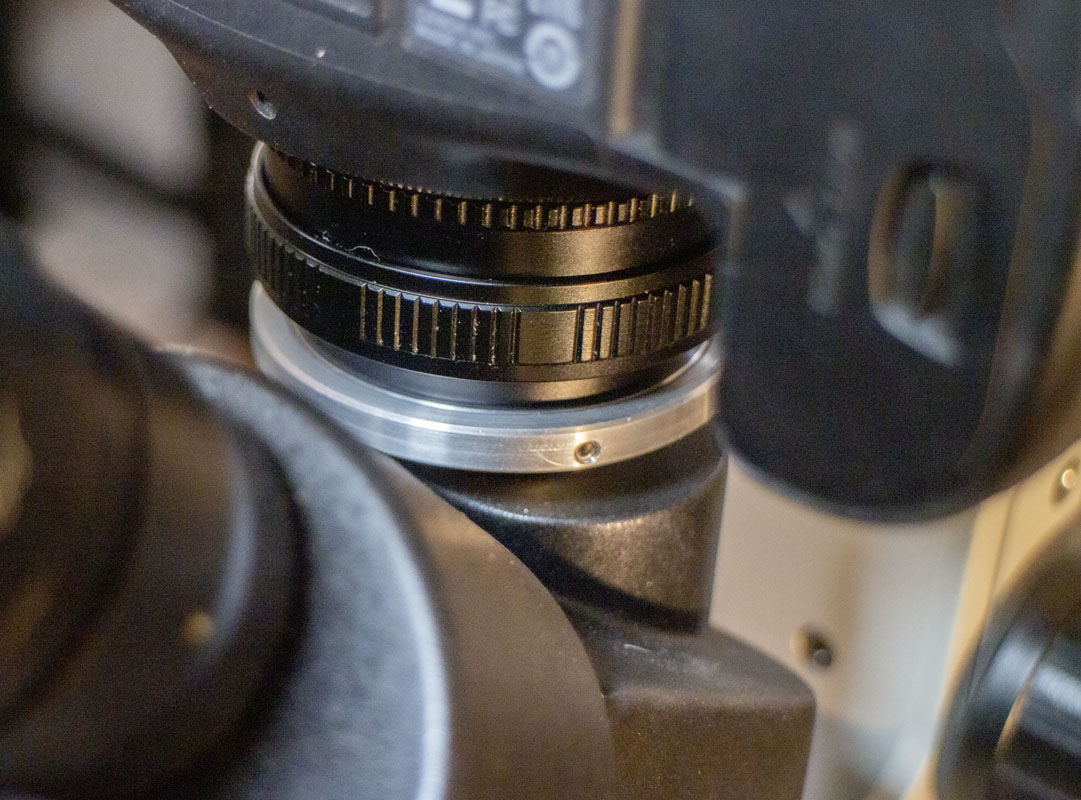
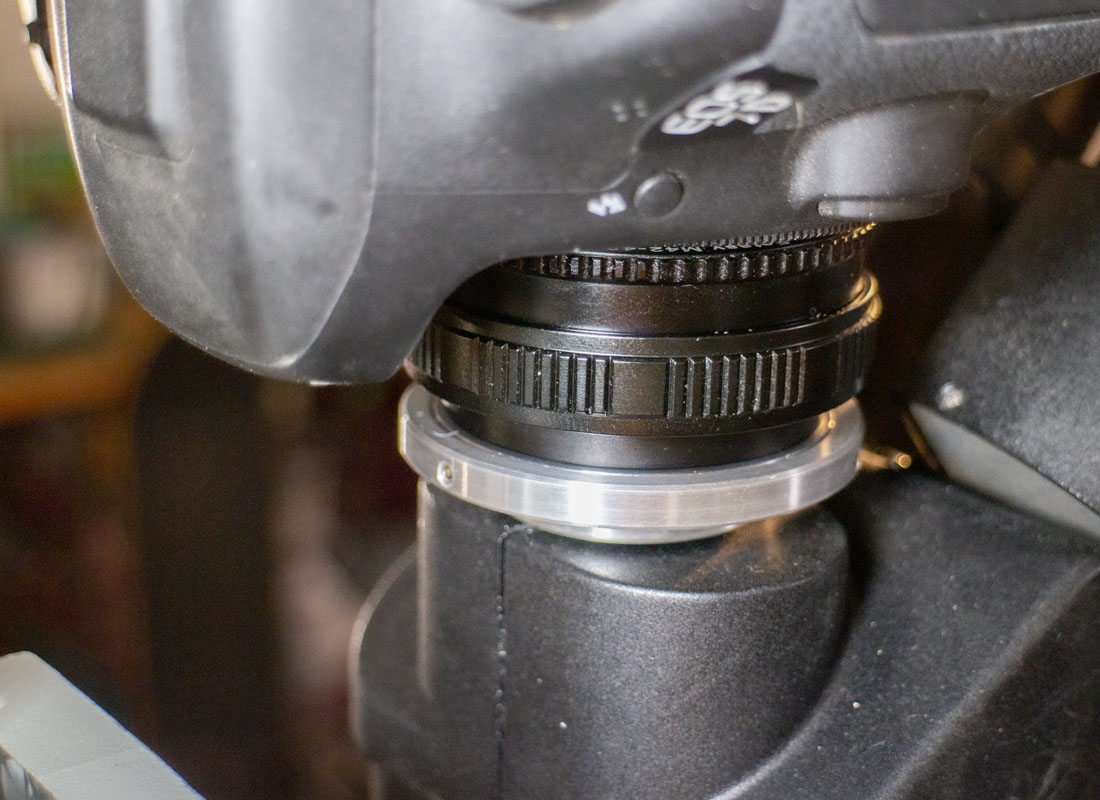
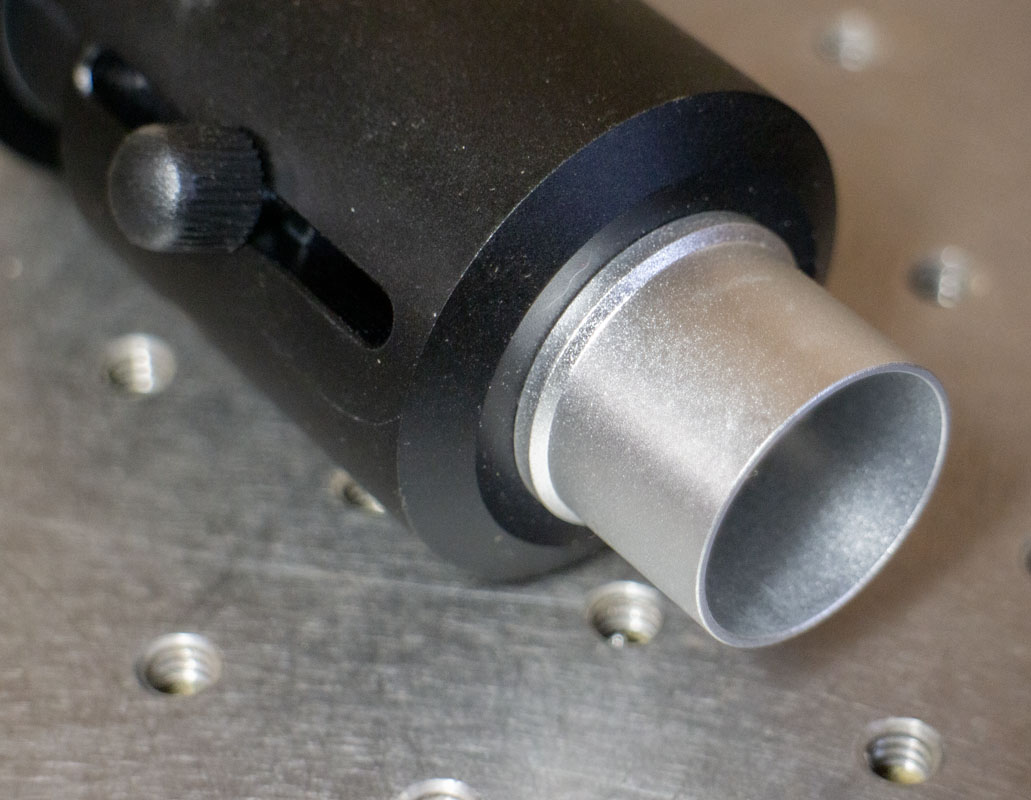
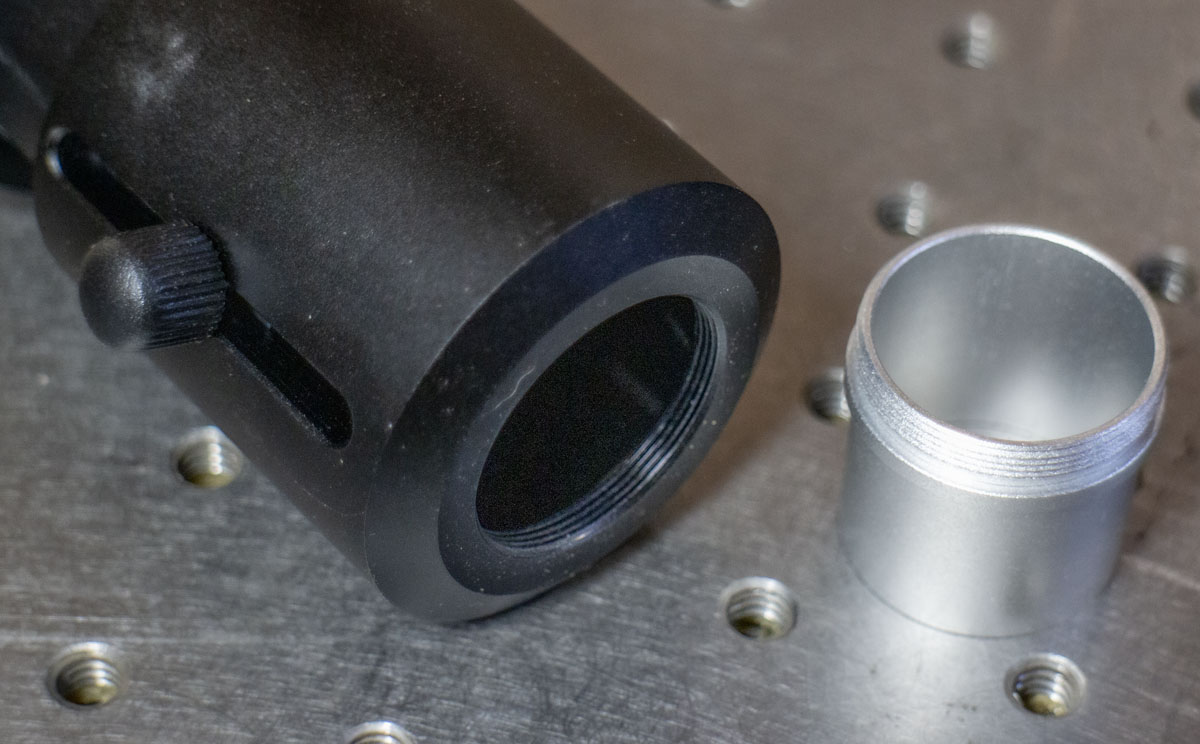
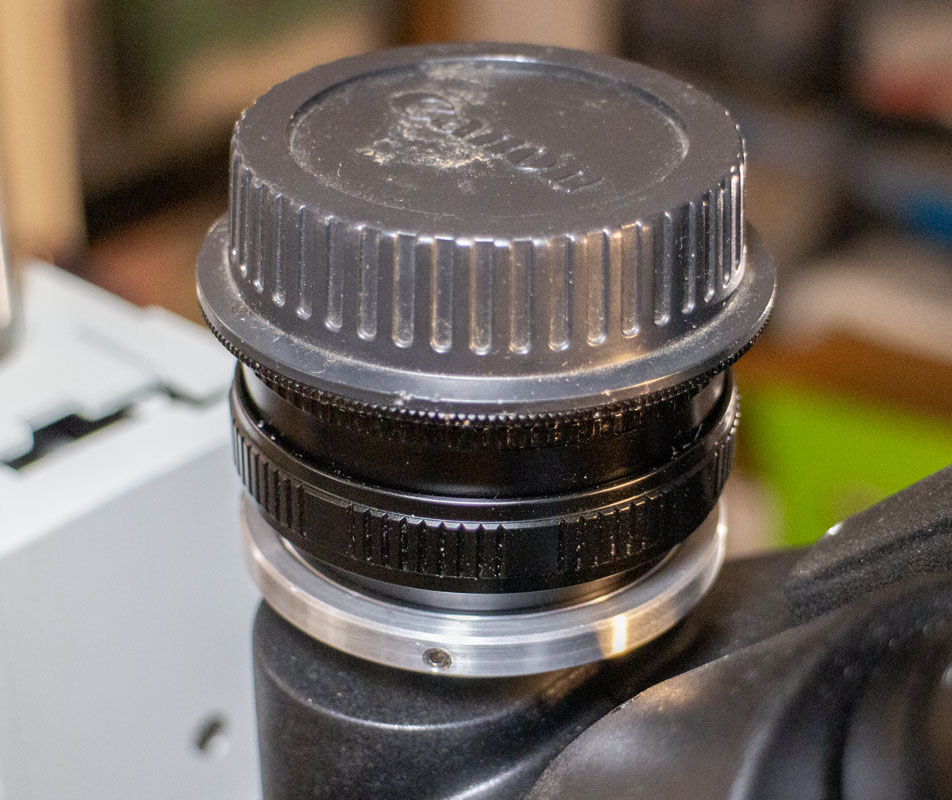
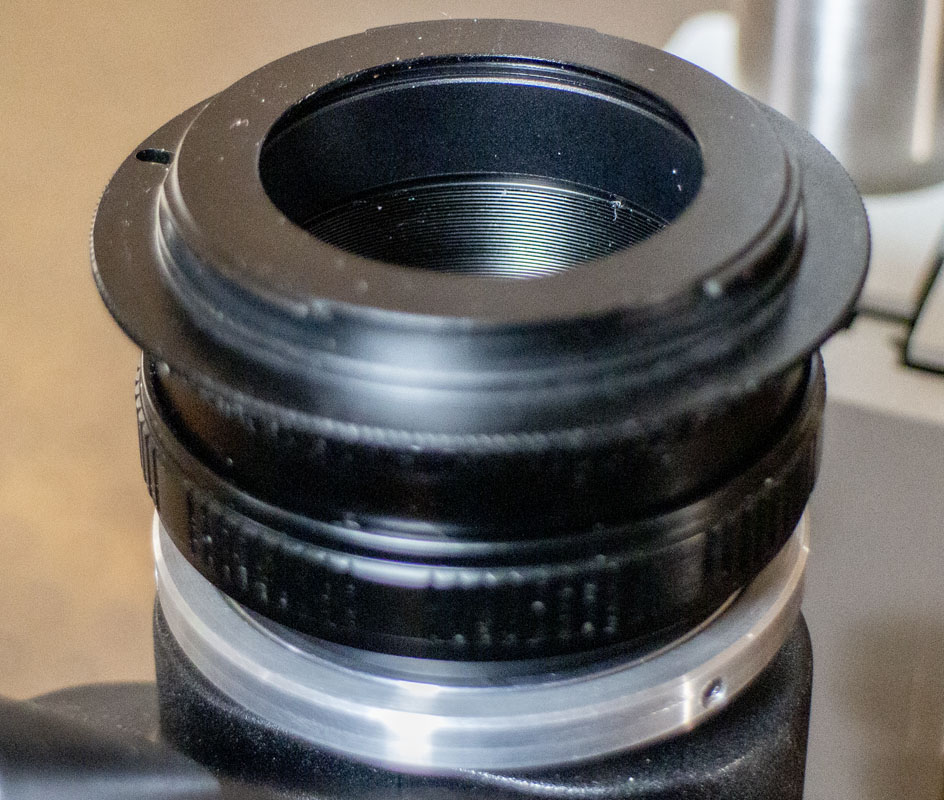
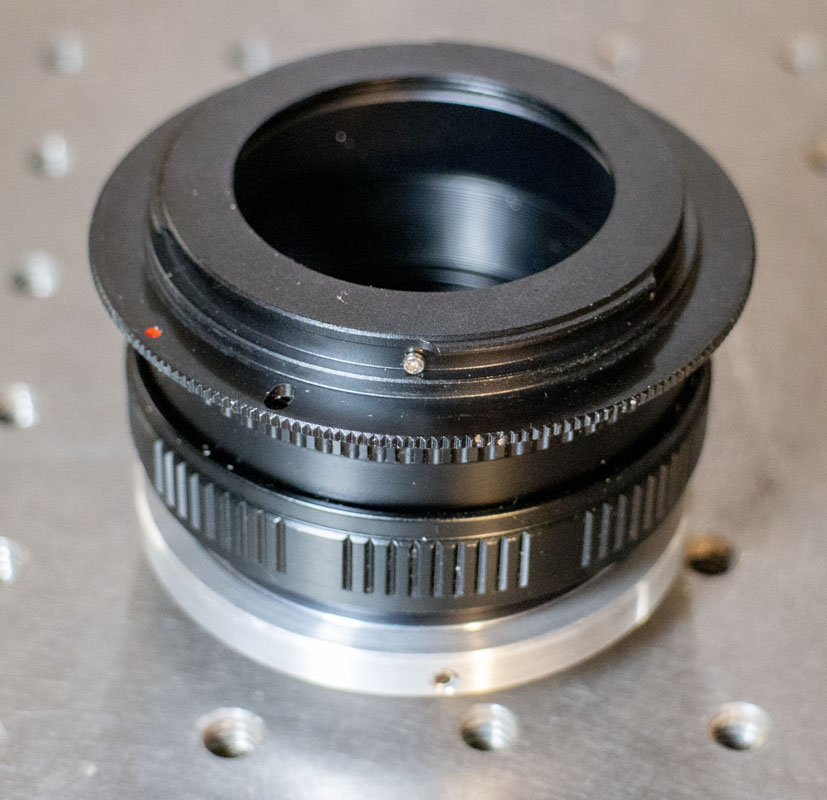
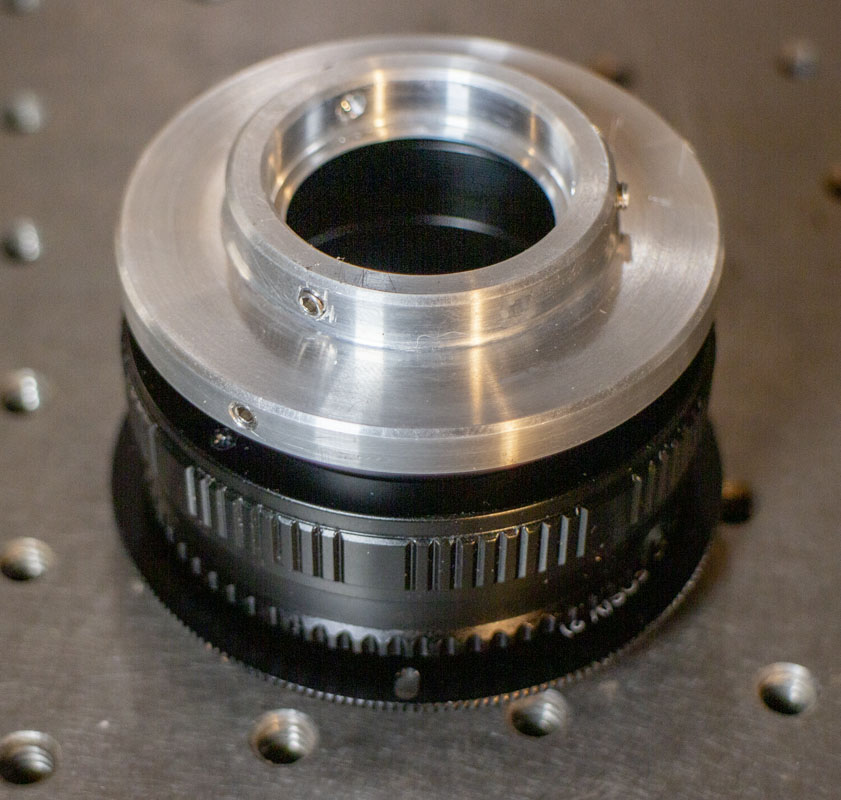
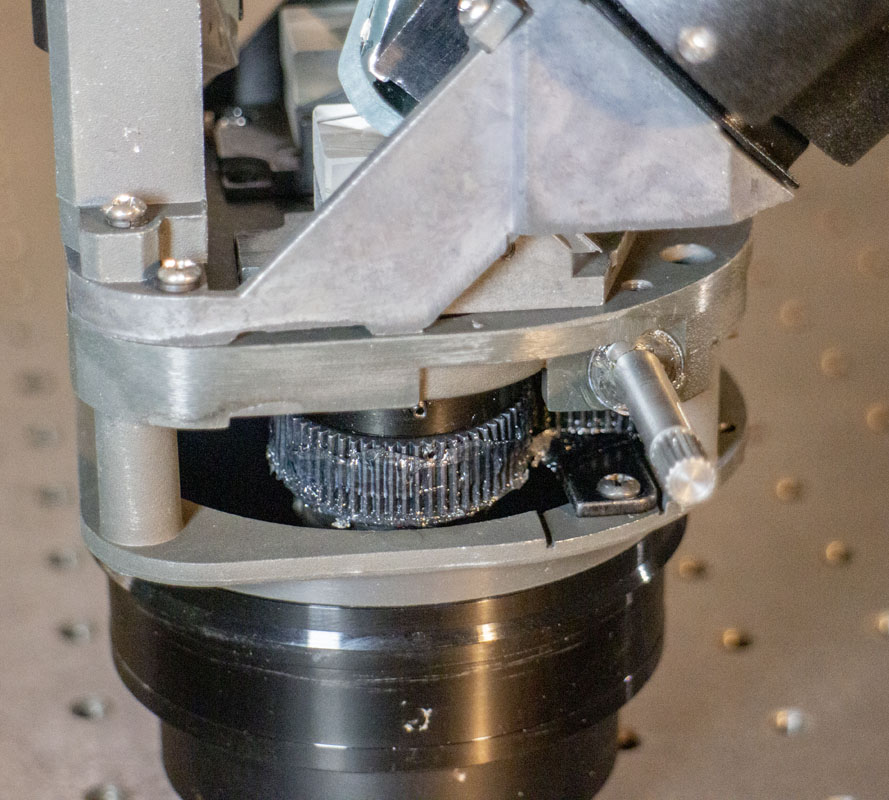
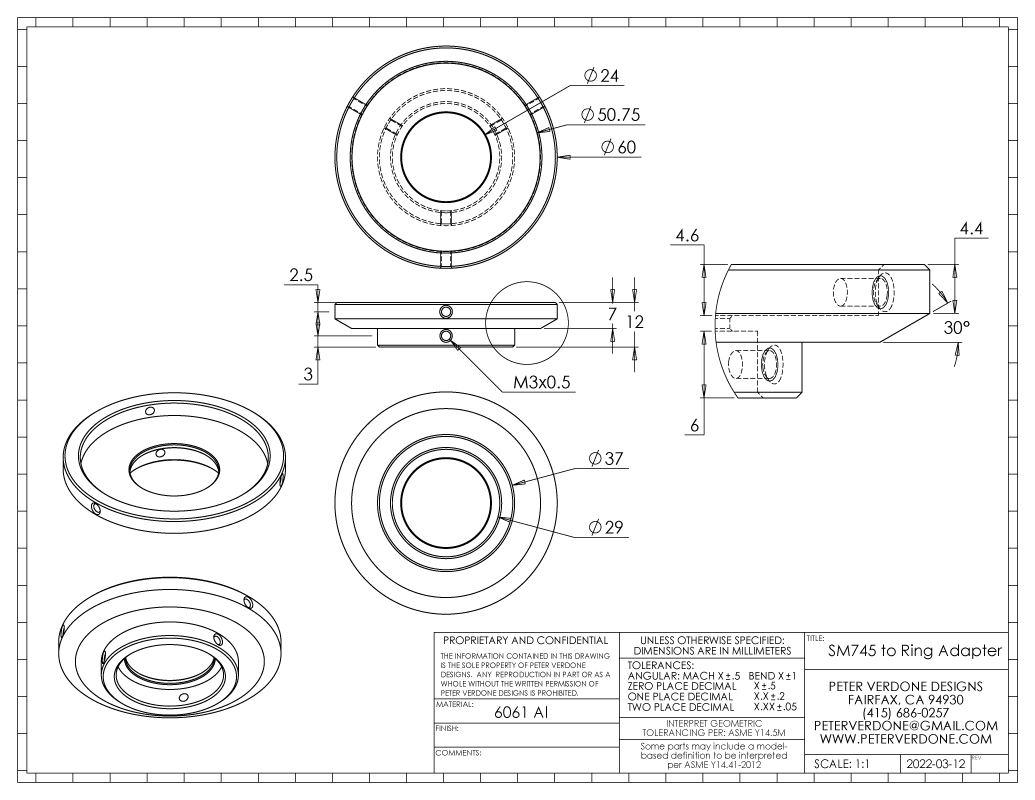
I started by making an adapter to the scope that would hold a M42-1.00/DT51 adapter ring. This let me use Pentax type threaded lens parts for a focuser and to the camera. I’ll get this black anodized next time I send parts out.
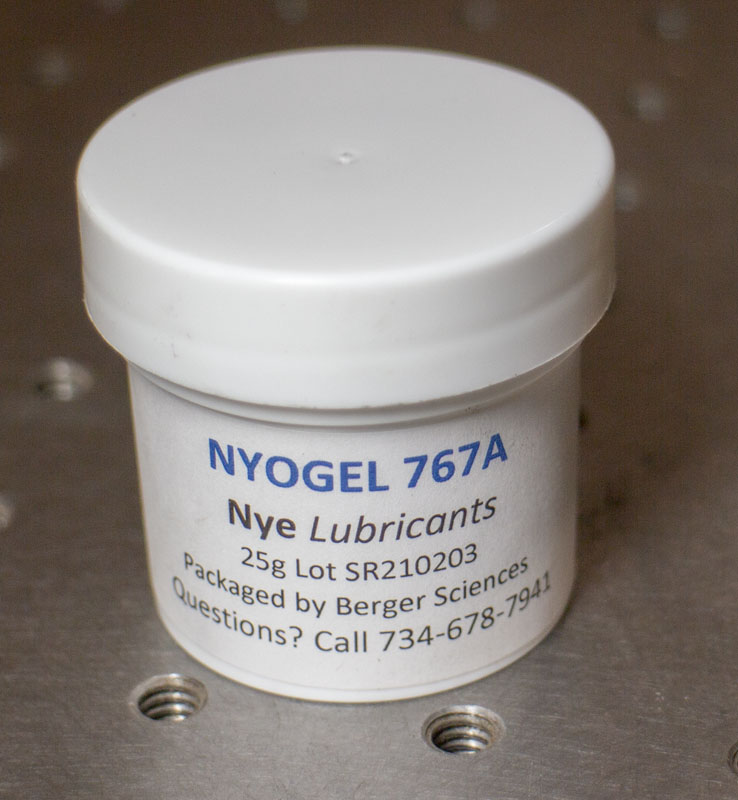
 A Fotasy helicoid adapter 17-31mm (Amazon) gives the setup focus. To get the right feel for the helicoid, I used some Nye Lubricants Nyogel 767A synthetic damping grease in the helix grooves. This stuff is amazing. It’s like the glue of greases! Everything it touches is solid AF.
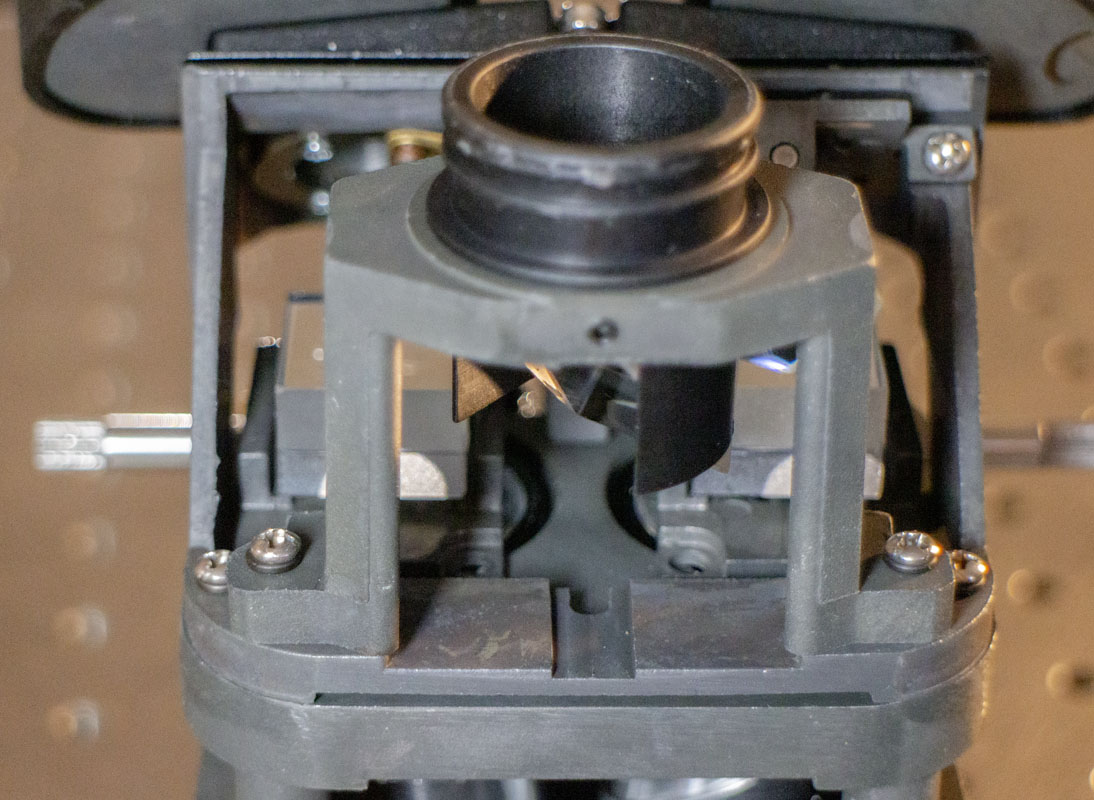
Then a M42x1.00 male/male couple into the Fotodiox M42-EOS(V.2) bayonet adapter. Now I can go directly to a Canon EOS DSLR or use another adapter to mirrorless within the camera group. What is nice is that the focus adjustment will be constant for either type of camera, provided the correct lens adapter (commercially available) is used, like the Canon Mount Adapter EF-EOS M (6098B002).
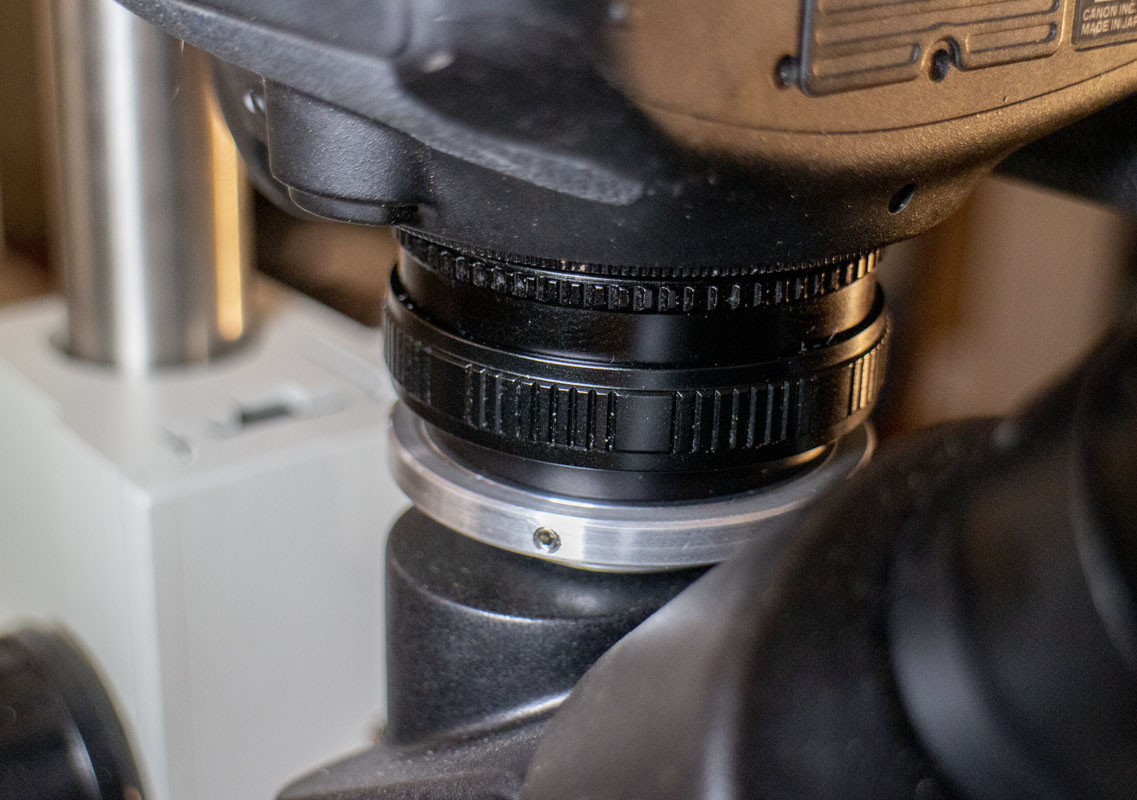
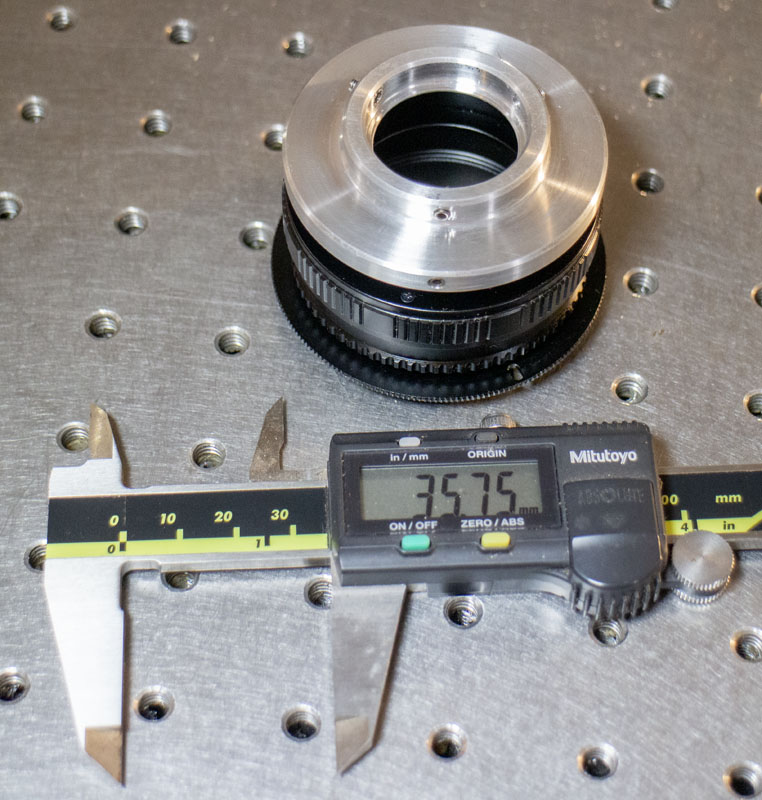
This arrangement brings the total stack, from the face of the bayonet that butts up against the camera, to the top of the scope lug on the scope to 35.75mm when the camera is in focus. That’s very short. It’s all pretty slick in use.
When taking photos, ‘live view’ makes it all pretty easy as we see what is going on.
It is still possible to mount a cheap c-mount webcam, like the Mokose C100 (4K, 30fps, Sony IMX377 sensor) and keep the EOS setup in place with a cheap EOS to c-mount adapter like the Fotasy EOS-C. I haven’t used this yet but it looks like it would be nice.
One issue that anyone doing this work is being aware that there are two different and common M42 threads used in these situations. It is a massive headache to sort through this stuff but it pays off in the end.
- M42 (42mm x 1.00mm thread pitch) – Used in photography, ala Pentax
- T/T2 Thread or 42mm T-Thread (42mm x 0.75mm thread pitch) – Used in telescopes
https://agenaastro.com/articles/guides/astronomy-threads-explained.html
RAF Camera has a ton of M42x1.0 threaded adapters. You pay, but you get the right stuff.
Here’s a sick project: https://www.closeuphotography.com/42mm-setup
https://www.closeuphotography.com/4x-lens-test/part-one-4x-for-less-than-100-dollars
https://pylin.com/2018/07/31/adapting-industrial-lenses-for-macro-photography/
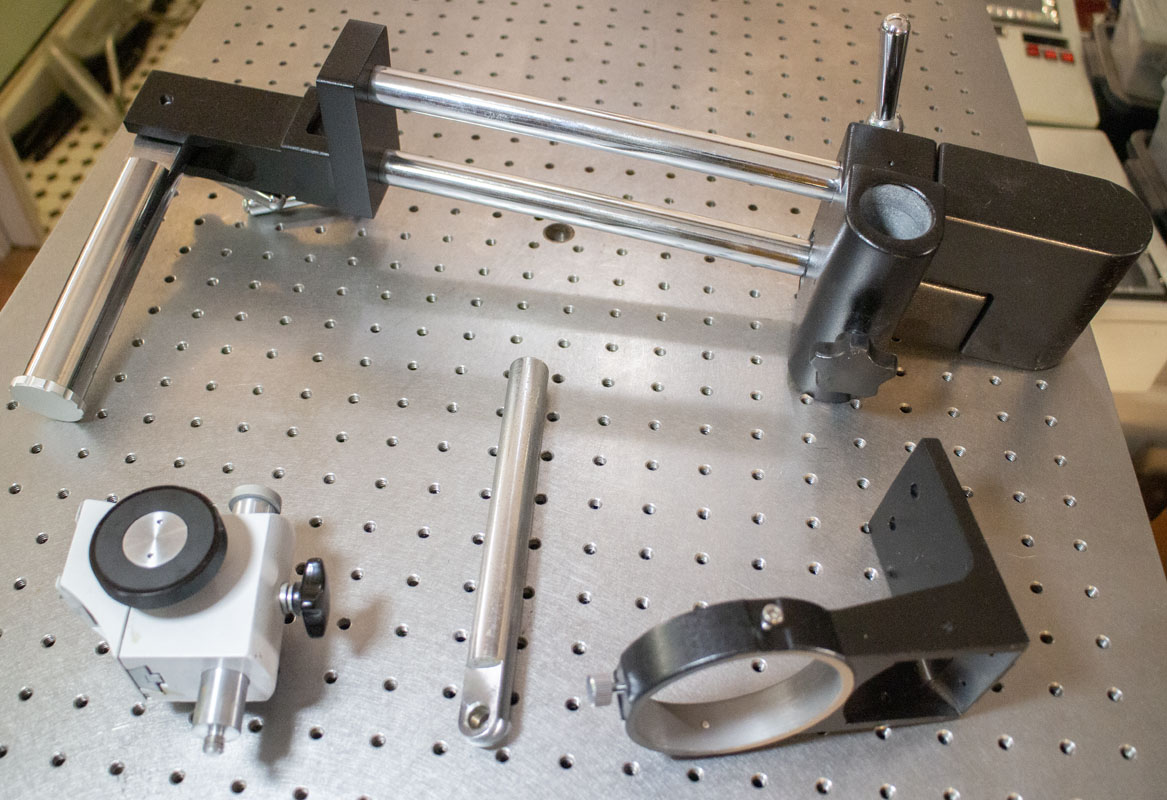
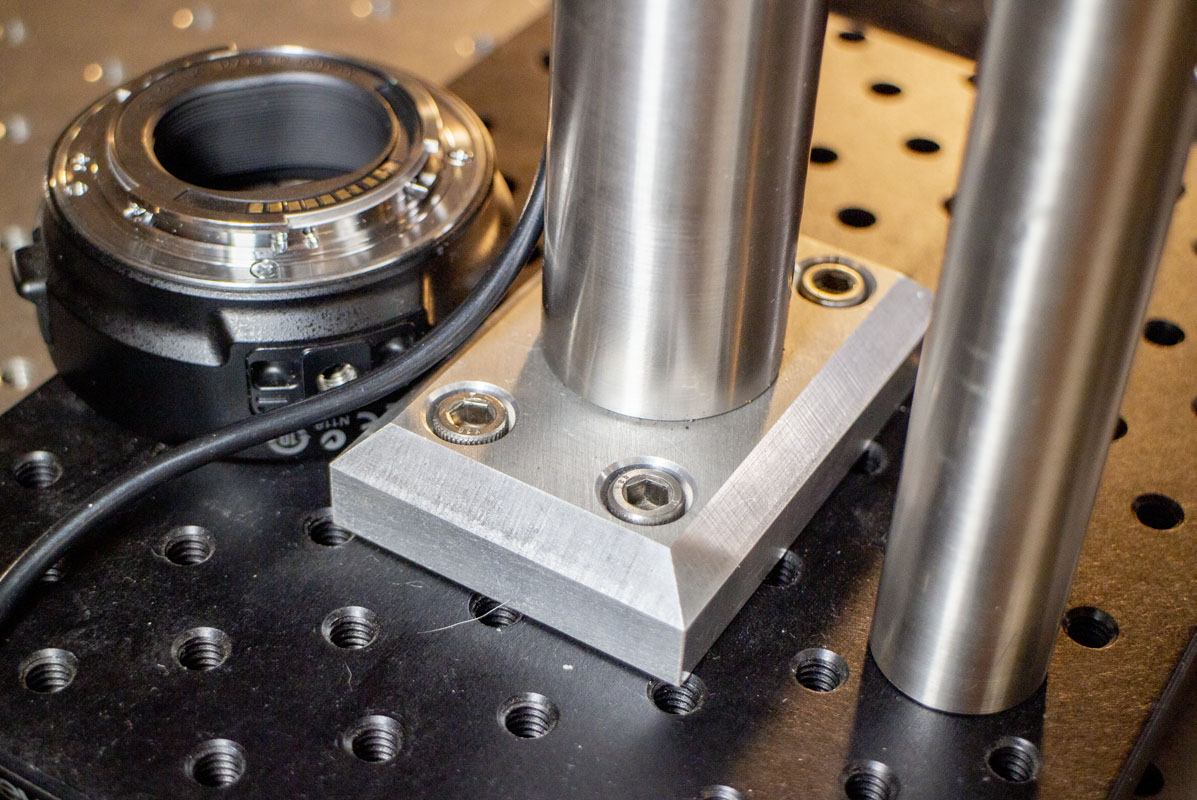
The base that I like using is mounted to the small 6×12 breadboard. I had this breadboard plate leftover from a project years ago and this seemed like a great place to repurpose it.
- Optical Breadboard Plate, Solid Aluminum, 6 x 12 in., 1/4-20, Double Density (Newport #SA2-06X12-D)
- Easy-to-Machine 303 Stainless Steel Rod 1-1/4″ Diameter (McMaster, 2ft., #8984K33
- Load-Rated Threaded Bumper Rubber with Steel Base, 1/4″-20 Thread, 1″ OD, 200 lb. Load (McMaster #93115K211)
- 18-8 Stainless Steel Socket Head Screw 1/4″-20 Thread Size, 1/2″ Long (McMaster, #92196A537)
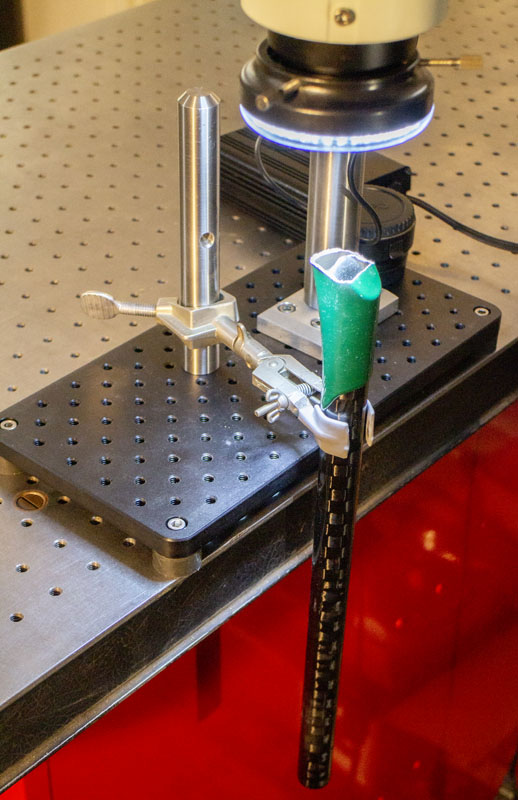
- A 7/8″ stainless steel (made from scrap) auxiliary post for mounting to.
This is a rigid setup and that’s important when working at 90x. The pillar is 600mm over the breadboard plate. The rubber feet isolate the setup from much of the high frequency vibrations from where it sits. It is easy enough to move around the shop. It can look over the breadboard or swing to the table top. With the auxiliary post, I can hold odd things like handlebars off the edge of the table and look at the end. The height of the pillar allows 3x magnification to be used even with tall items below it.
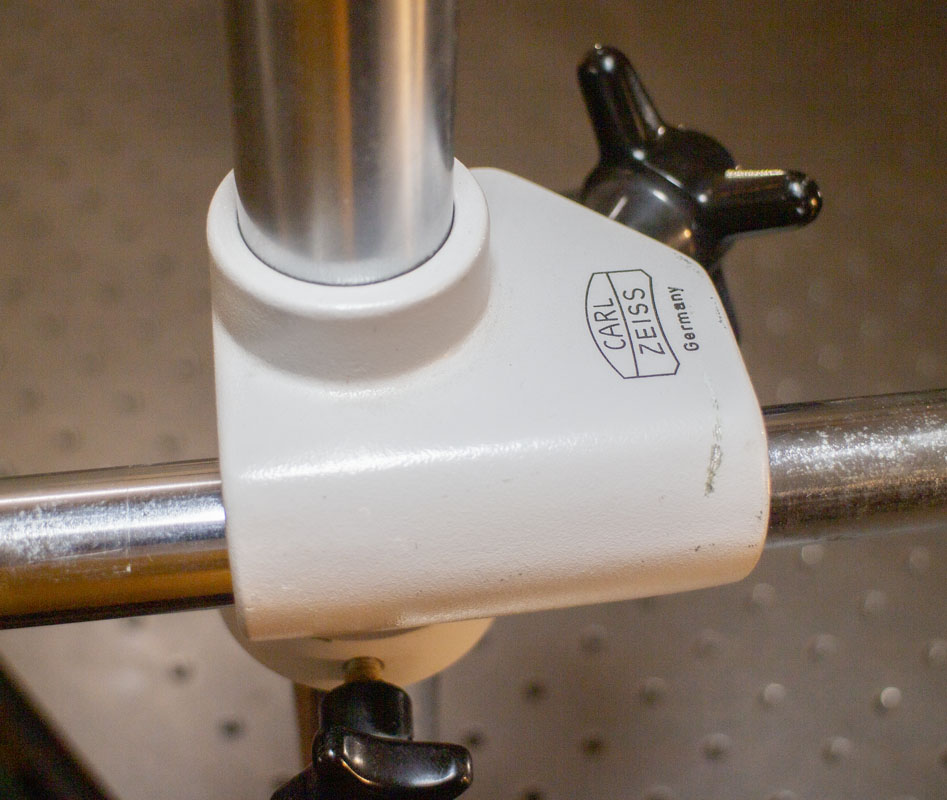
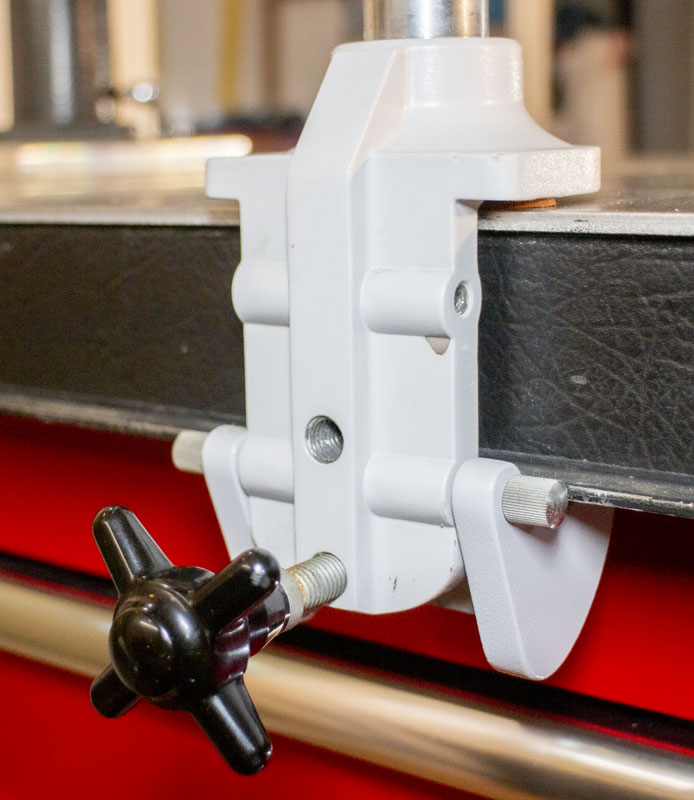
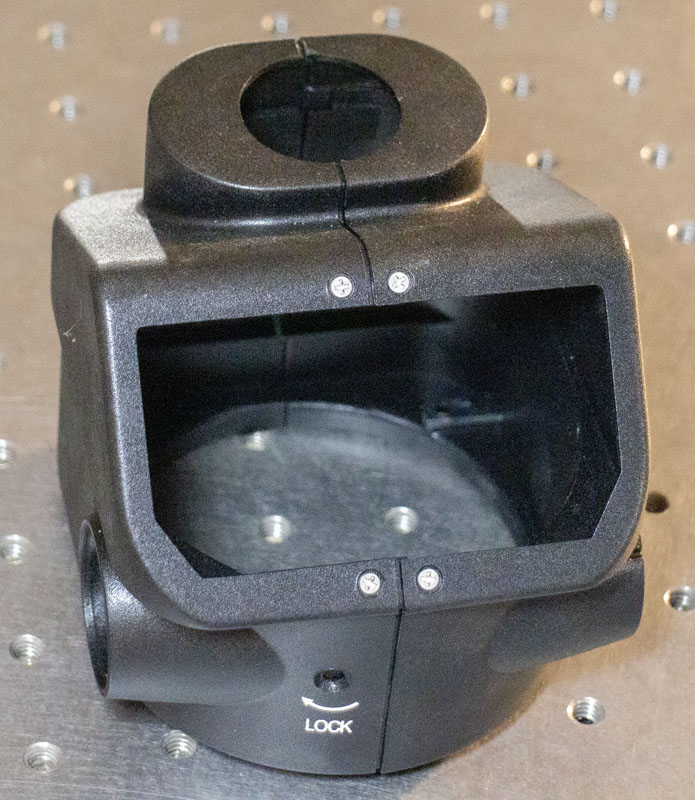
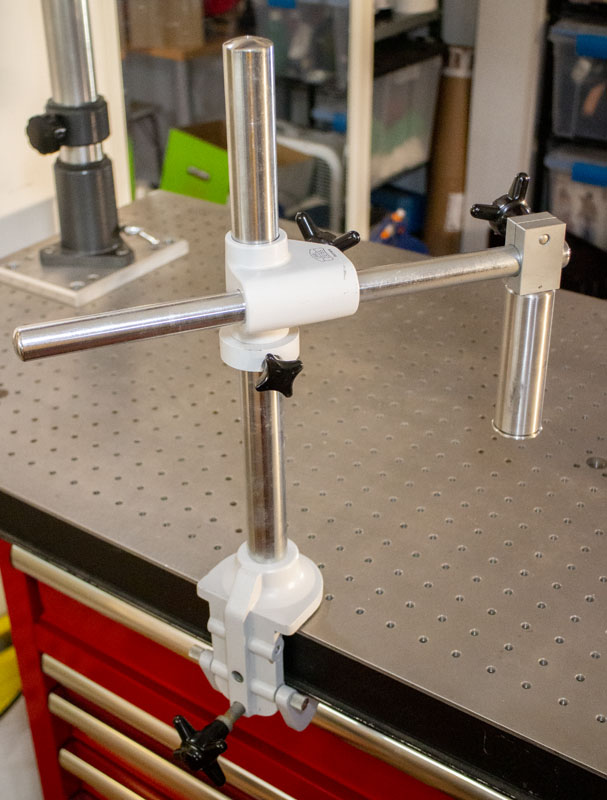
The bases –that I needed to do work on to be usable– are very nice as well. First, a Zeiss table clamp unit and second, a huge pillar with a counterweighted arm. The Zeiss clamp needed to have the focuser and pin removed and replaced with a more useful 1.25″ pin. The giant pillar needed the pin changed to 1.25″ as well as the counterweight mechanism repaired. It also had a terrible tripod base that only got in the way of the work area when in use. I made a plate to mount it to either optical breadboard or welding tables as need be. Now, they have a new life.

I think that a neat project now would be to 3D print some plastic adapters for various popular cell phones. While this is certainly not the best way of taking photos with a scope, it is the way that is accessible and understood by students in secondary and university schools. That is a fun project I’ll pick up at another time when I just want to play.