There’s a lot of change that’s been happening for the last 8 years or so in the world of mountain bikes. I discuss much of that on my blog here. I’m most associated with discussions on geometry and frame engineering but I do a bit in many other areas as well. Rarely do I talk at length about specific parts but rather how we use parts. But there has been a trend in mountain biking that is just as exciting as forward geometry and hydraulic drop bar levers… great bike parts are getting cheaper every year! This is a huge development. It lowers my cost of riding and testing but also means that novice riders entering the sport are using better and better bikes every year. Yes, there are parts that cost a bid of money but then there are other parts that steal the show at very low price points; GX Eagle, Cane Creek 40 headsets, and PD-M8120 pedals. Until very recently, a high performance dropper post would be a high dollar purchase. That’s changed. A lot of low cost dropper posts are hitting the market. Some are just as terrible of some of the pricier posts. Some are gaining traction.
For the past few years, I’ve been using the BikeYoke Revive 185mm seatposts on most of my bikes. Prior to that, I used the RockShox Reverb and KS LEV Integra posts. I’ve done extensive riding and mechanical work on all of these posts, so I know them outside and inside. So far, the Revive is the absolute pinnacle of performance that I’ve seen in a post. Effortlessly smooth and simple to rebuild. Still, this post is priced at a premium, $499 via US mail order companies. That’s a big ton of cash.
I’m always interested in better but also lowering costs so I stay tuned for what comes up at the low end of the market to understand what may be a money saving option. What you see in the bicycles I put together reflects this.
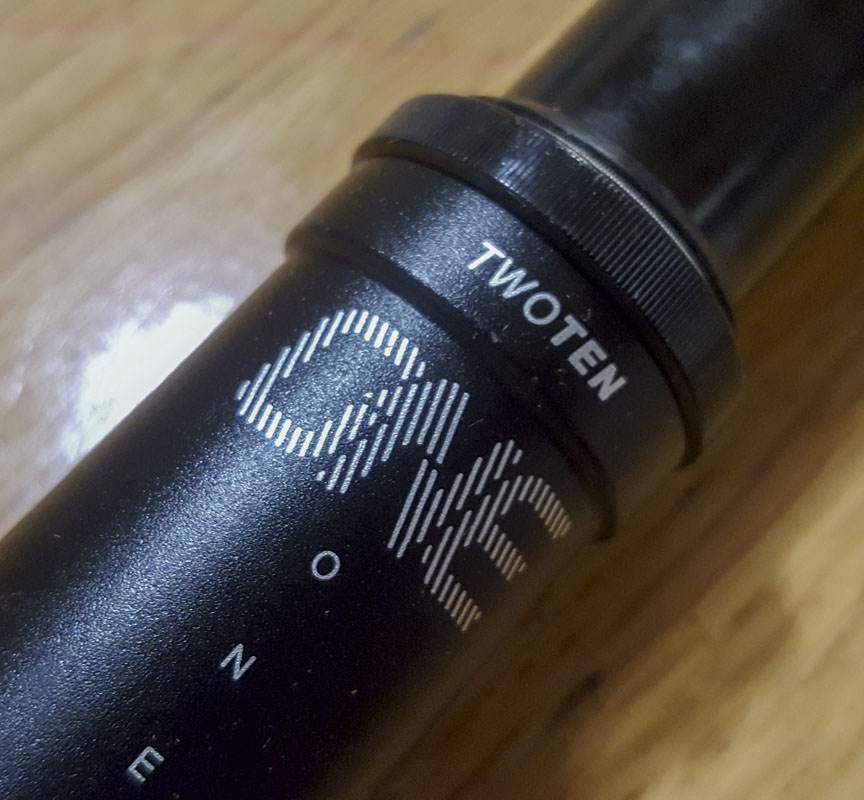
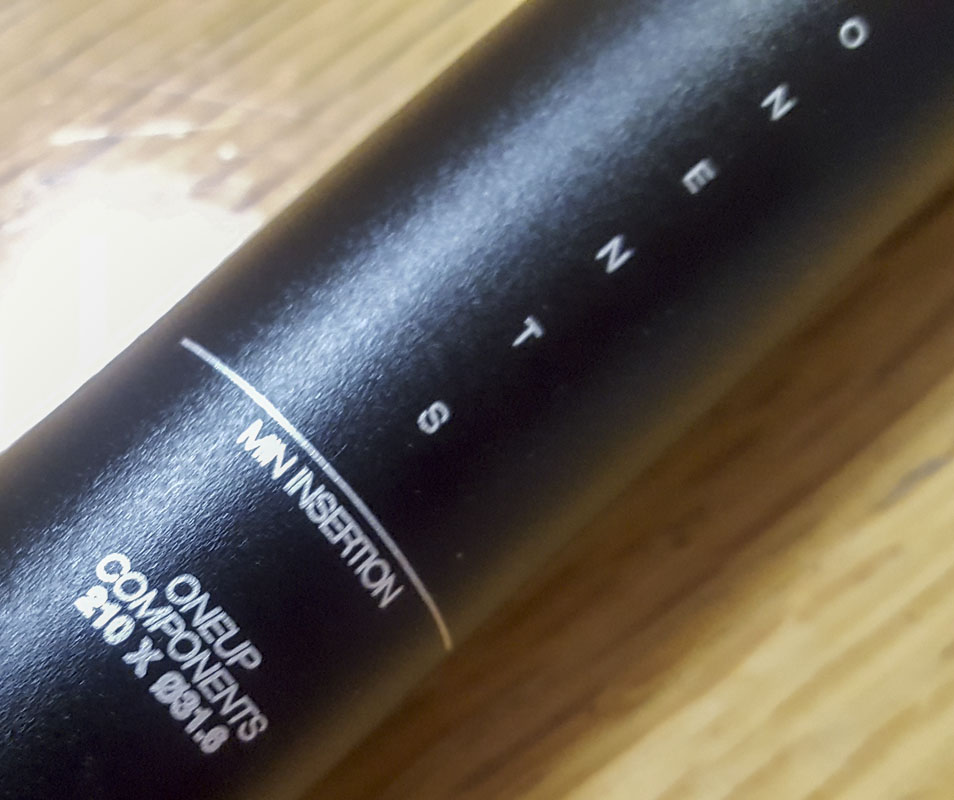
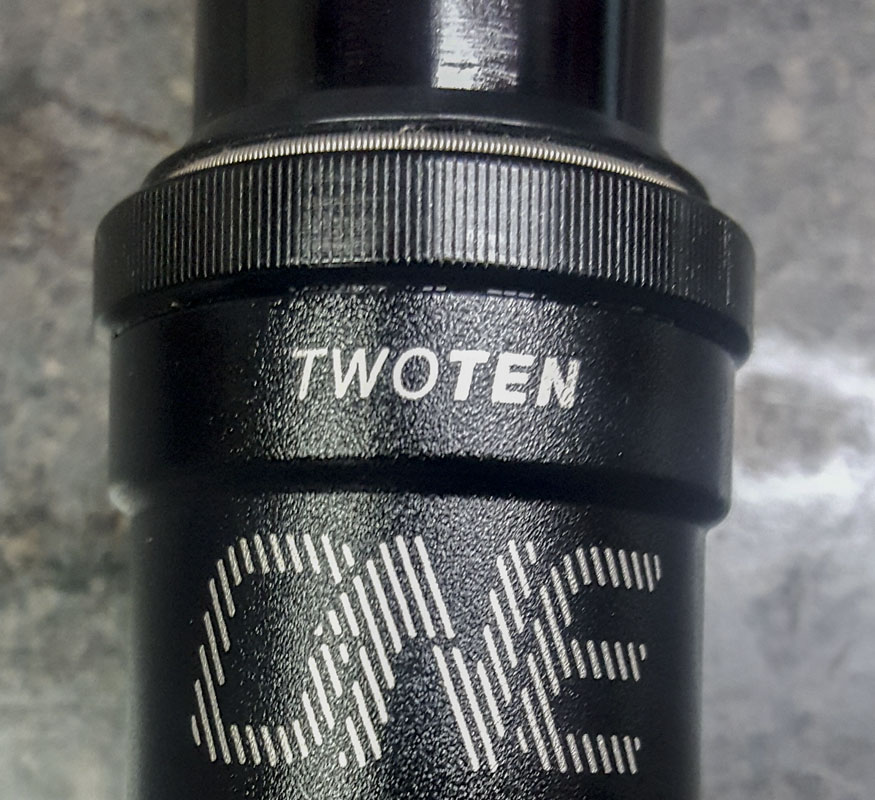
The new OneUp TWOTEN V2 dropper post has been been getting noticed. It’s a low cost dropper post that stands out from the others. The V1 was obviously their introduction but that came with some subtle flaws and issues like most posts have. What OneUp did, and was pretty awesome, is they kept hammering the design, fixed a lot of problems, and very quickly issued the V2. They are serious!
Testing this post would allow me to test two theories:
- Is a $209 MSRP dropper post worthy of serious high performance mountain bike use?
- Is 210mm of drop better than 185mm of drop?
I try to make sensible decisions when putting a bicycle together. If a part works the way I need it to, isn’t of unreasonable weight, is low cost, and is durable enough for real performance use, then I’ll probably choose it. I’m not going to spend a lot more money for a part that works the same or worse. I’m also not going to chase total perfection if “good enough” is good enough. This post is 42% the cost of the Revive post. 26% the cost of the $800 RockShox AXS. These are massive differences in cost. The OneUp post may not be as “amazing” as the Revive or wild as the Reverb AXS, but if it does the job well then I’d be dumb to ignore it.
Over the years, I’ve ridden a lot of different dropper strokes in a lot of different ways. In general, a road or gravel bike will get a minimum of 150mm of stroke and a mountain bike will use a minimum of 170mm stroke. This, for the minimum of what is needed while on the pedals. There is a condition that comes up mountain biking where more drop can make a real difference, re-mounting the bike in very steep and technical sections. Going to 185mm had made a difference in these cases. Would another 25mm of stroke help here or is 185mm enough? Will the additional stroke make a difference somewhere else?
There is a hazard of using too much dropper stroke. When we are pushing the dropper down, we lower our butts. If we go too low, we need to put a lot of extra effort to pick ourselves up to attack position again. This is a considerable factor and can use up a lot of energy over the course of a ride and when at exhaustion. It can also cause some instability. A hard stop at just the right place can be used to push against to get back up. Essentially, too much can be too much. This will be noted. If I’m not getting real gains over the 185mm and I’m getting drawbacks, 210mm will be the wrong choice. This is new territory as few have tested having too much drop.
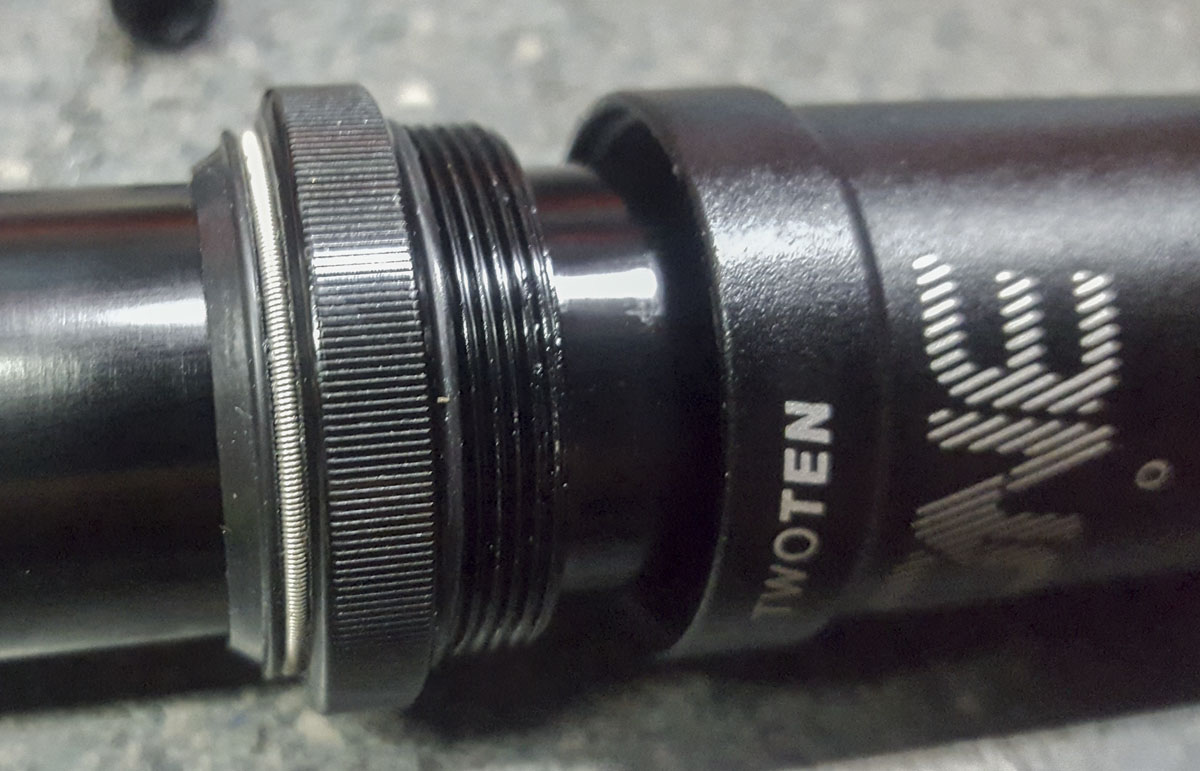
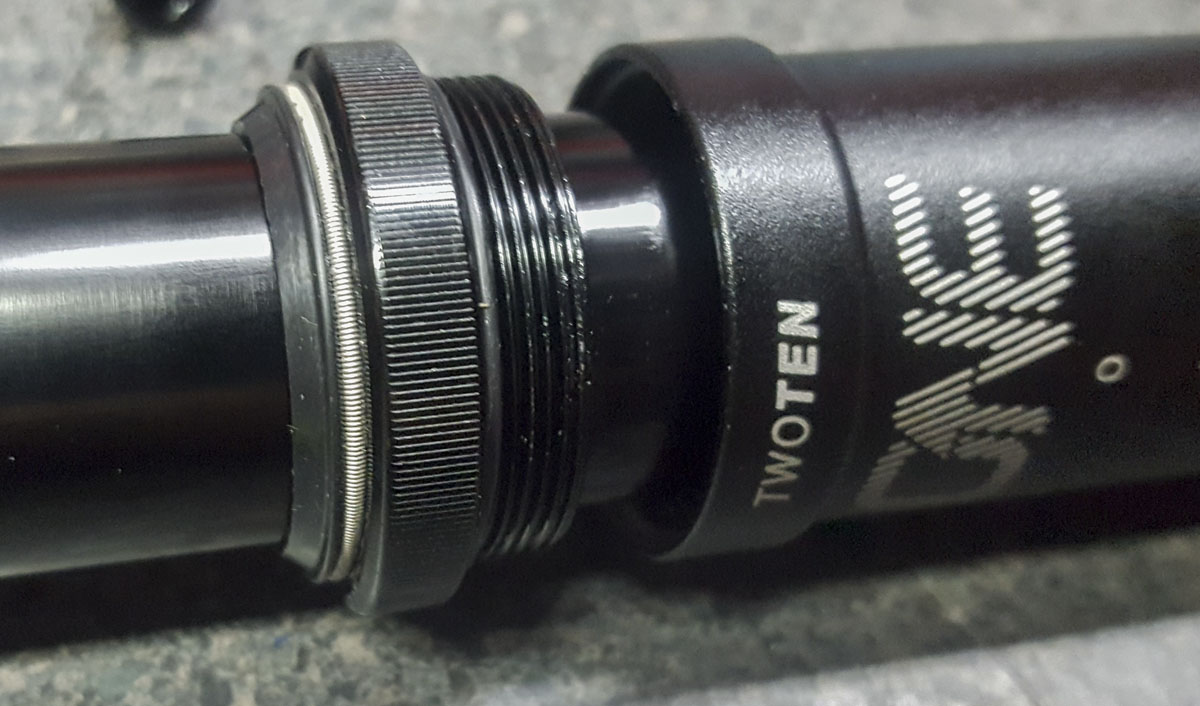
A big selling point for these dropper posts is the relative ease of travel adjustment without even removing the post from the frame. My bikes are designed to use any travel post so I can use whatever I please but most people don’t get access to high performance designs. The V2 post did away with the plastic strip travel adjustment and now uses differing key additions to reduce the post 10-20mm. This seems nice enough but I’m going to keep my eye on the system. Keyed stops have been an issue on other designs.
![]()
Low stack height is another feature. This post will fit into places most others can’t. A buddy of mine who is a very difficult fit on his Transition Smuggler was able to use a OneUp V2 150mm post reduced to 140mm where most other posts would have forced him to use a 125mm post. This a huge advantage for someone in this position.
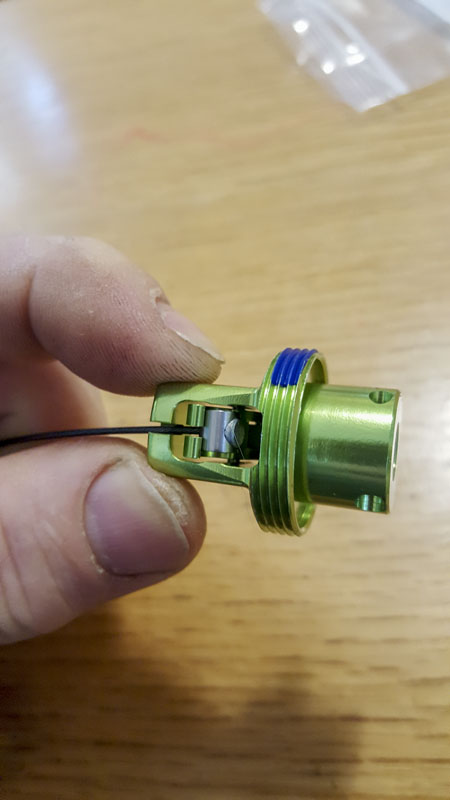
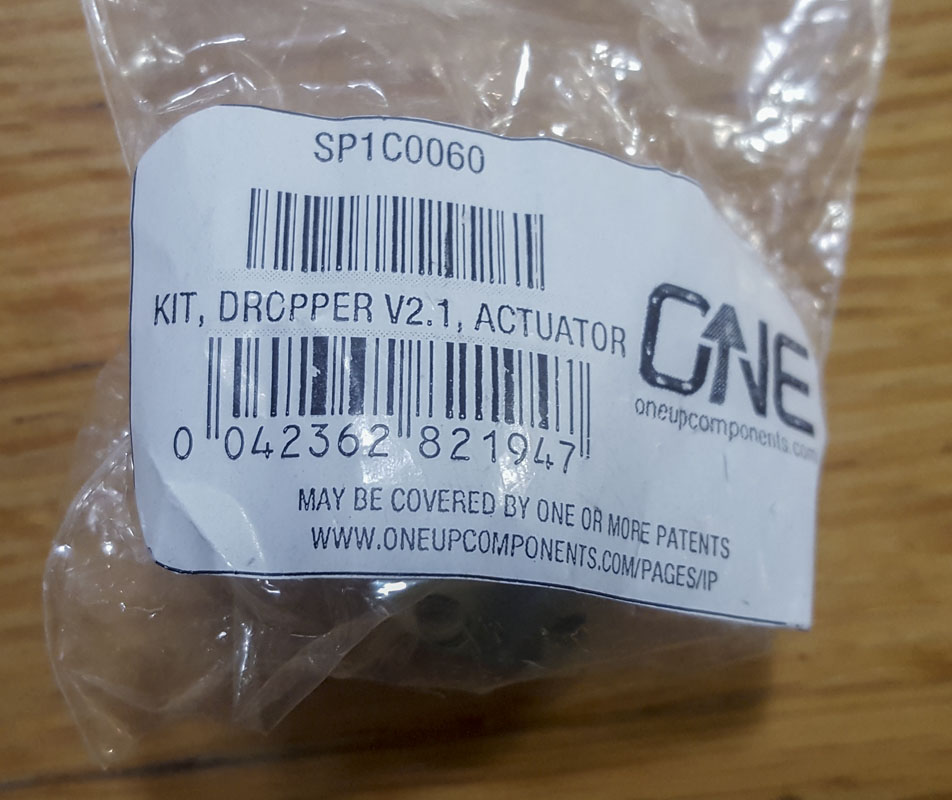
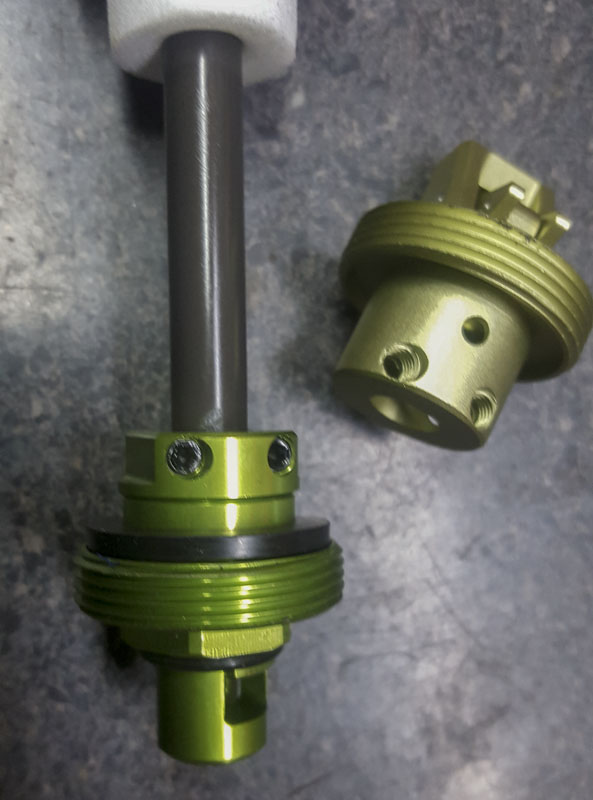
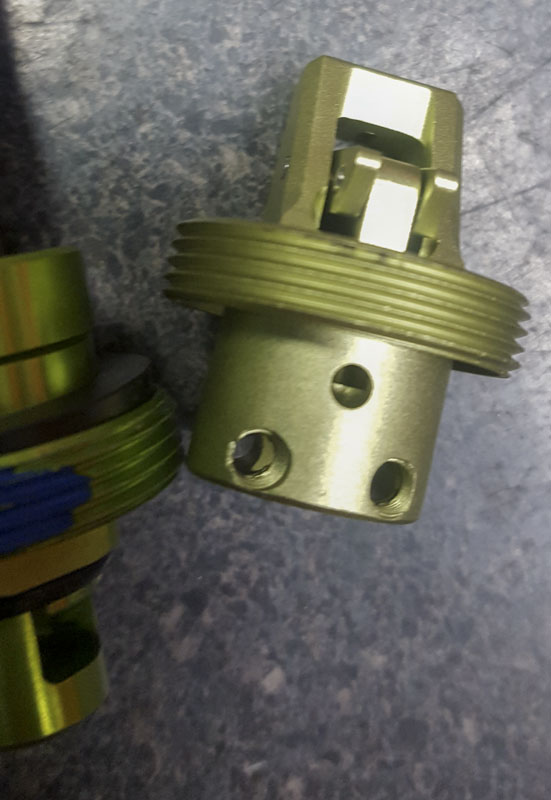
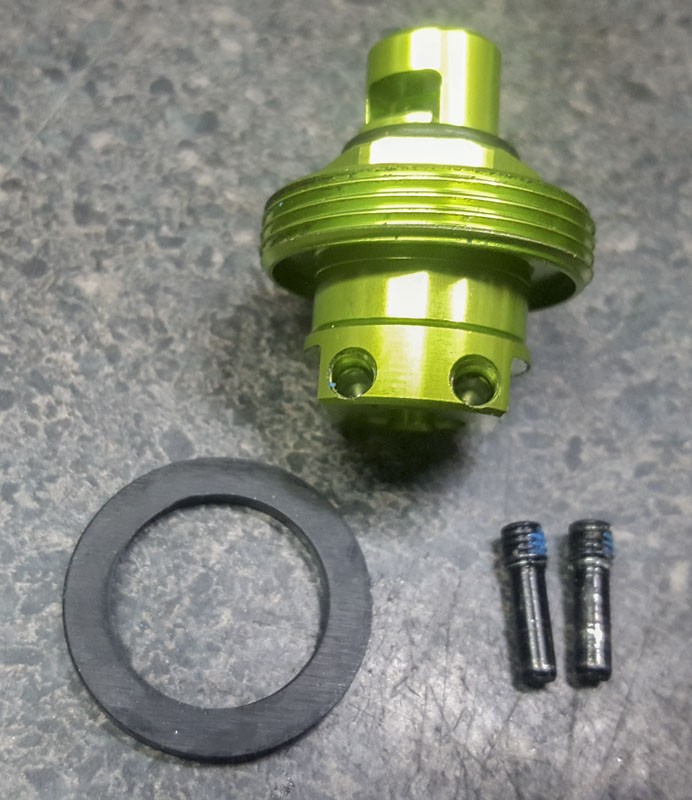
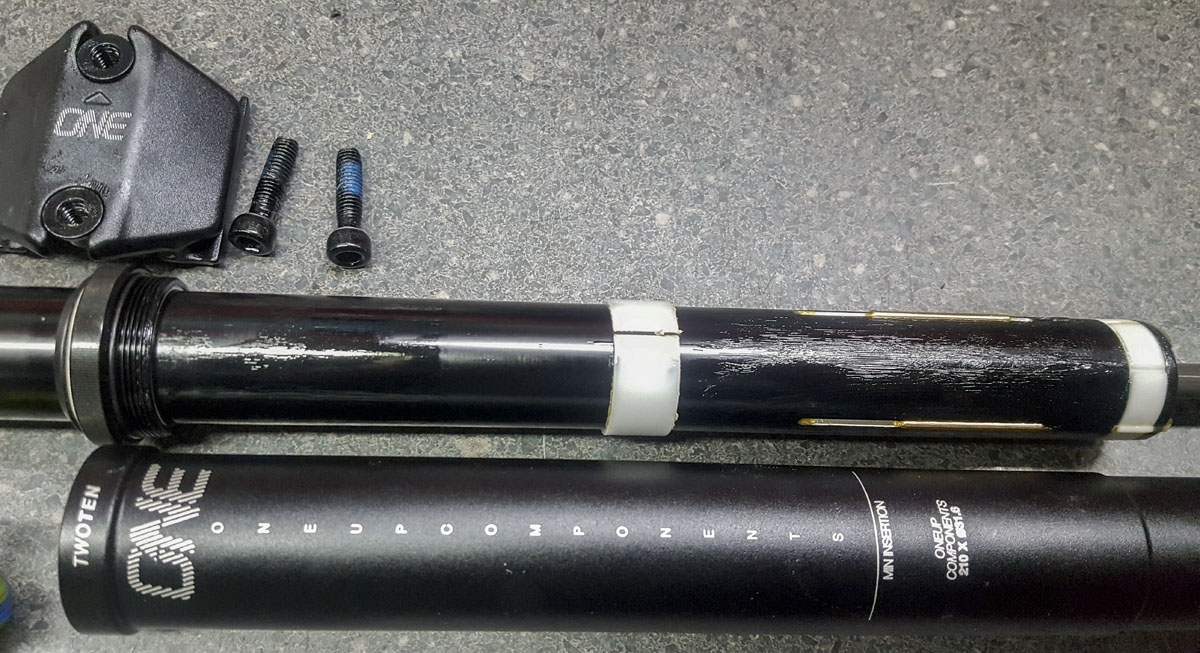
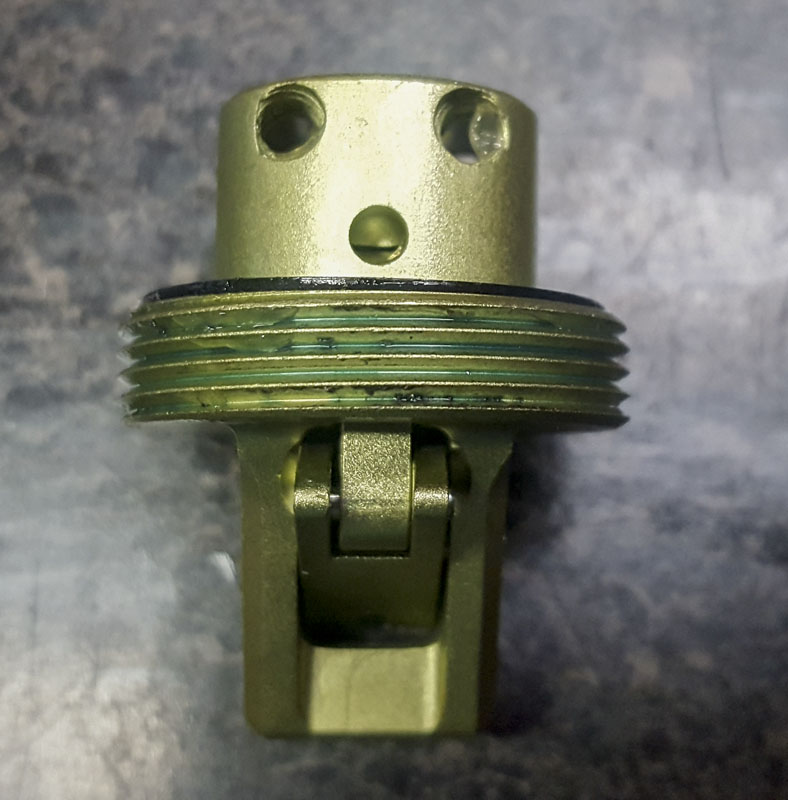
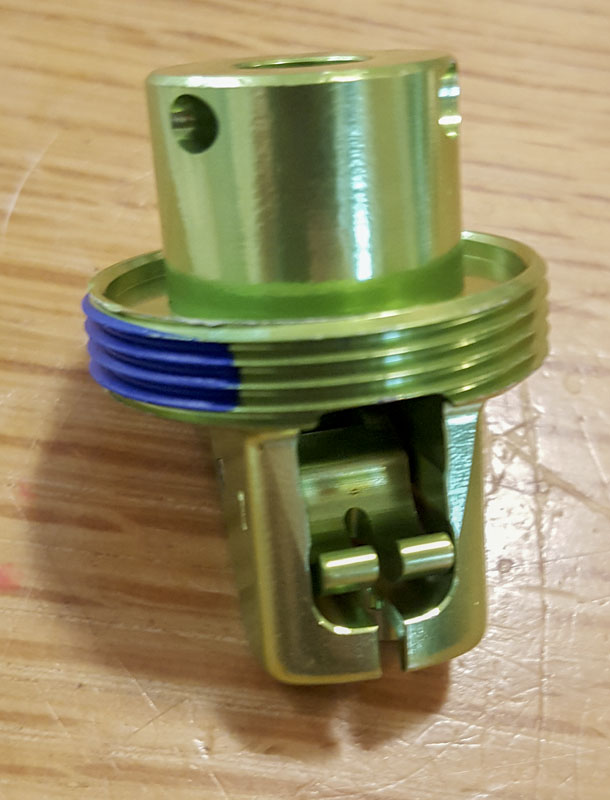
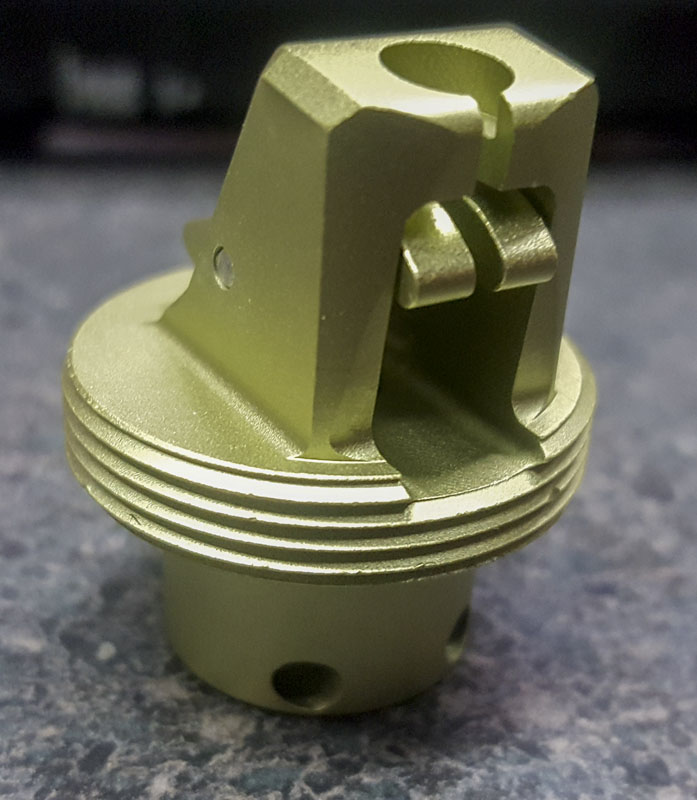
In the V2 issue of the OneUp dropper is the new V2.1 actuator. The original design used a terrible system that moves the cable housing during actuation that can be problematic inside the confines of the seat tube, pivots, and internal routing. The new design does away with that and it’s far better. I would like it if they move to a steel action arm in the future. I think that would be easier on the pushrod system.
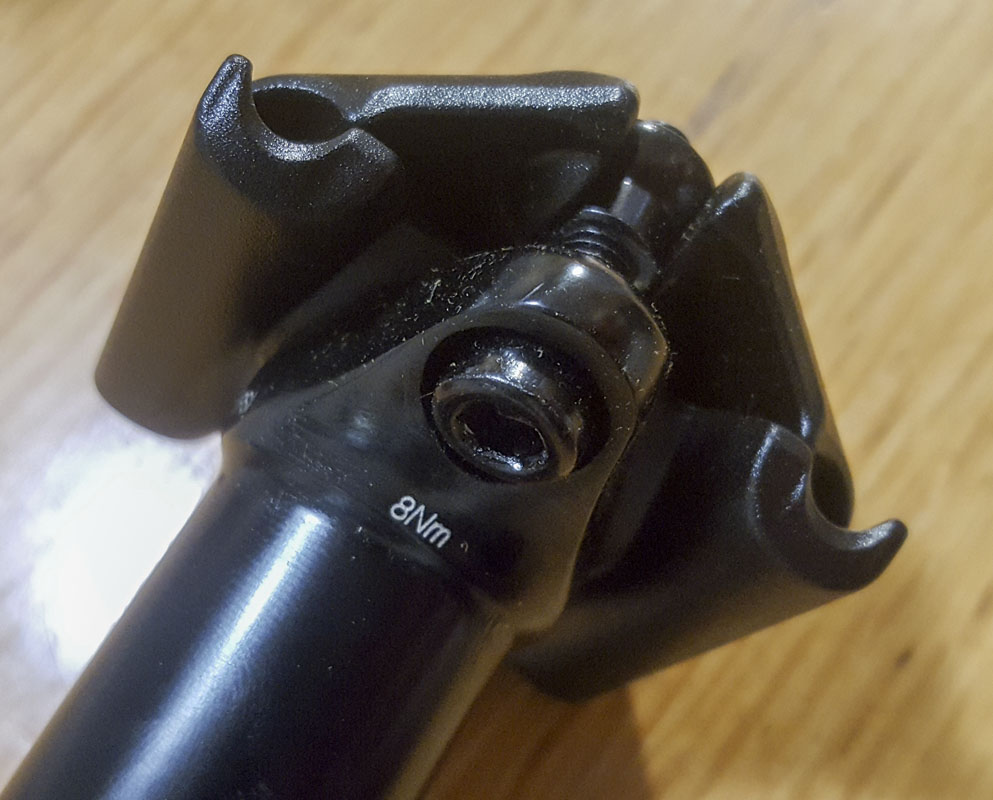
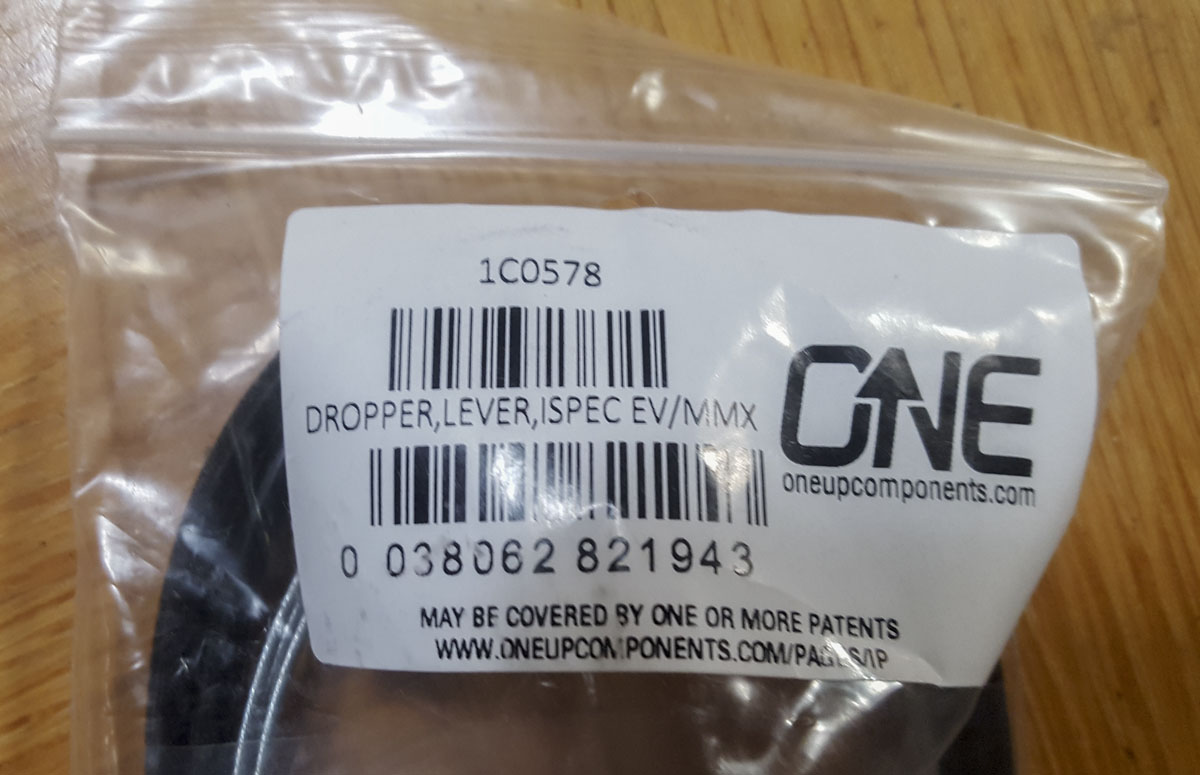
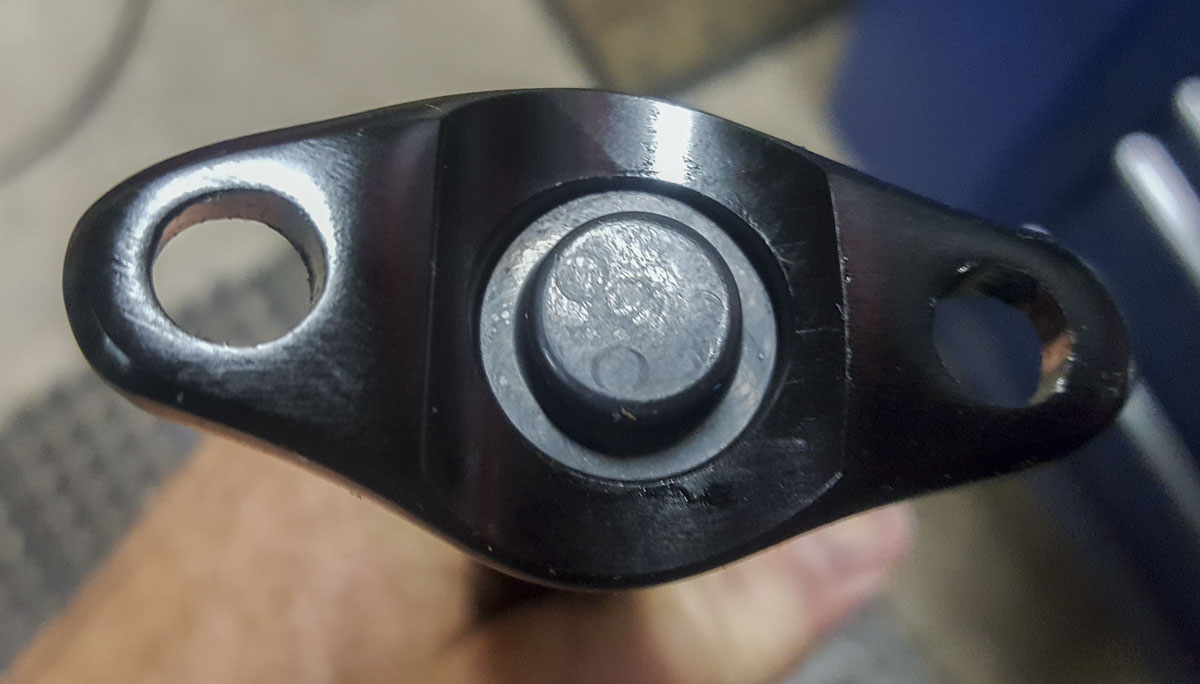
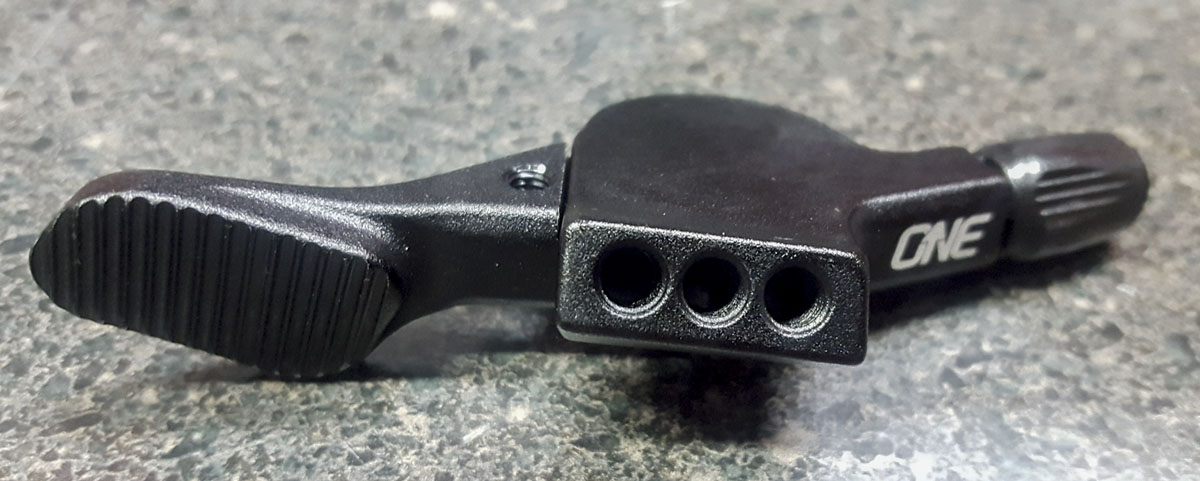
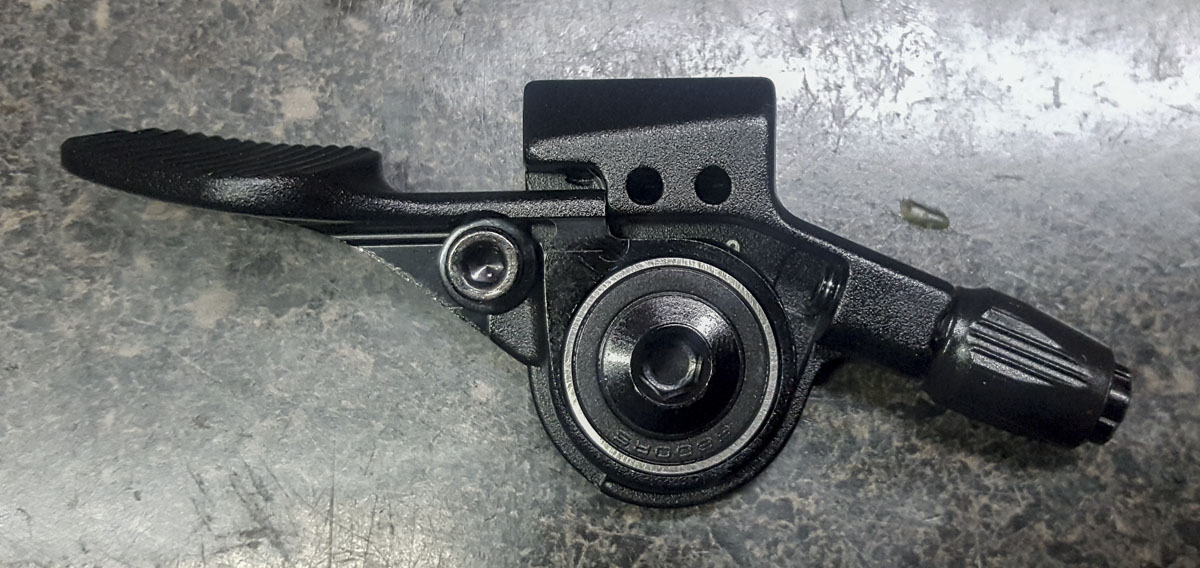
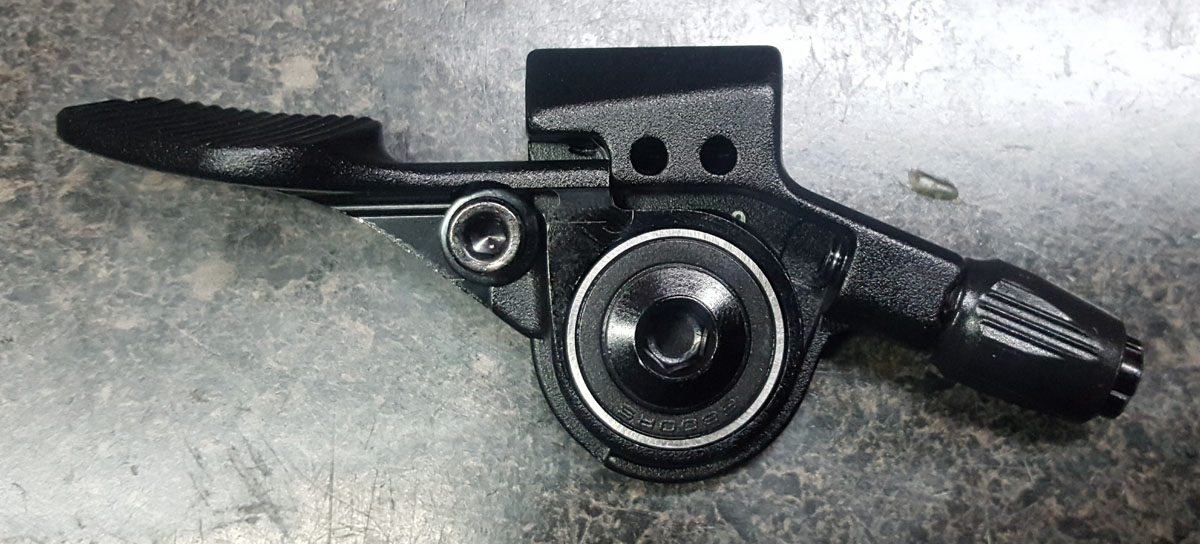
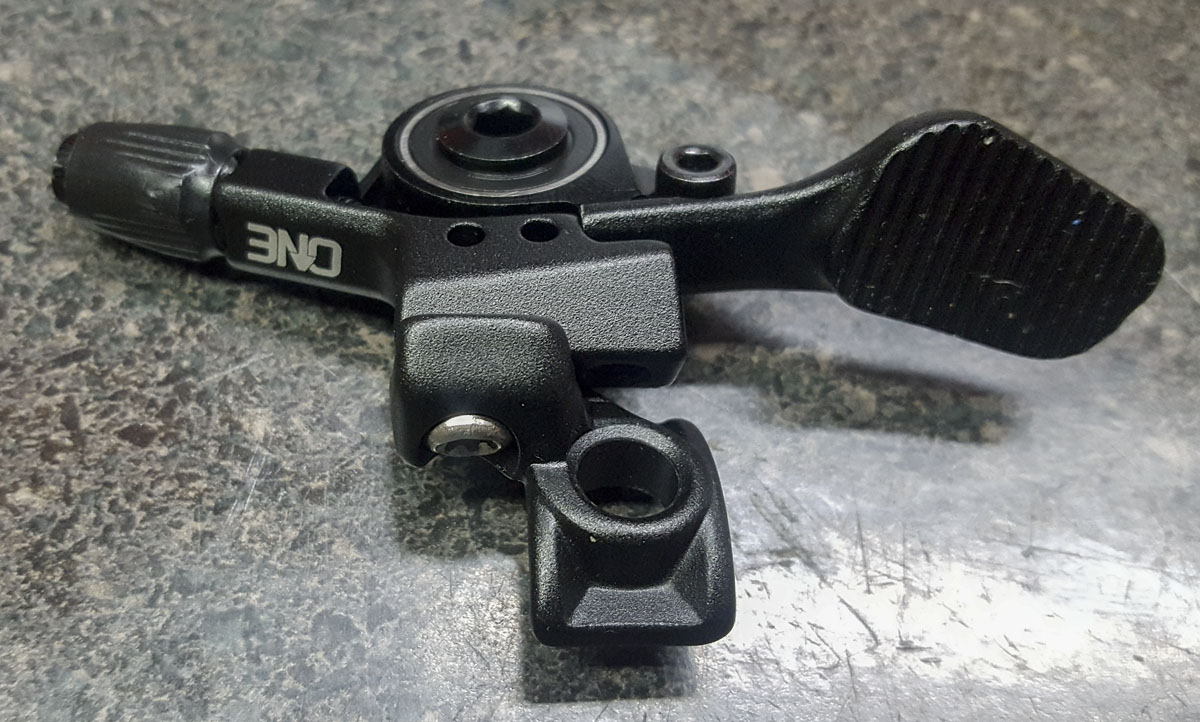
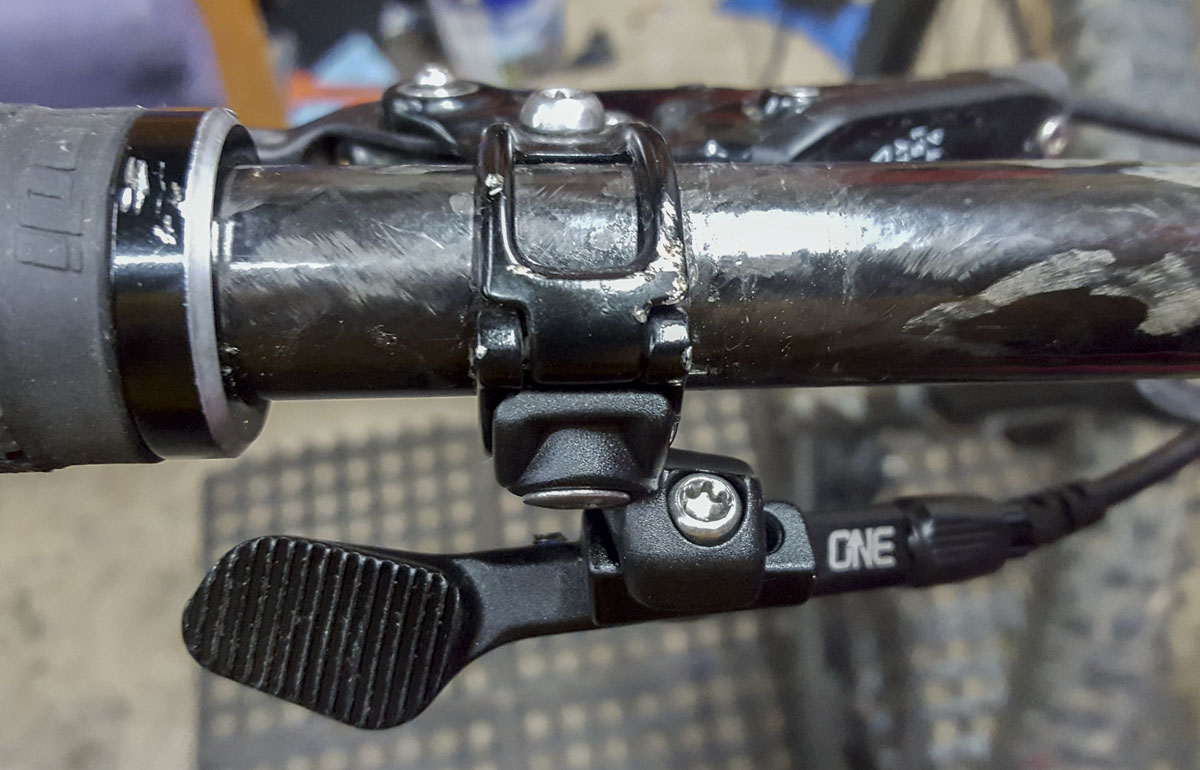
I really like the design of the OneUp V2 Lever. I definitely wasn’t interested in the older plastic lever. This one is stout, simple, low profile, and metal. Another thing I really like is the three mount locations. More choice is often good in controls and this is excellent work. That said, the actual thumb pad location once mounted to the bars seems a little too tucked in for me. I like a bit more projection in my lever. I may take a closer look at fixing this in time. It’s still plenty usable and the price at $49 is pretty good compared to the other bearing pivot designs.
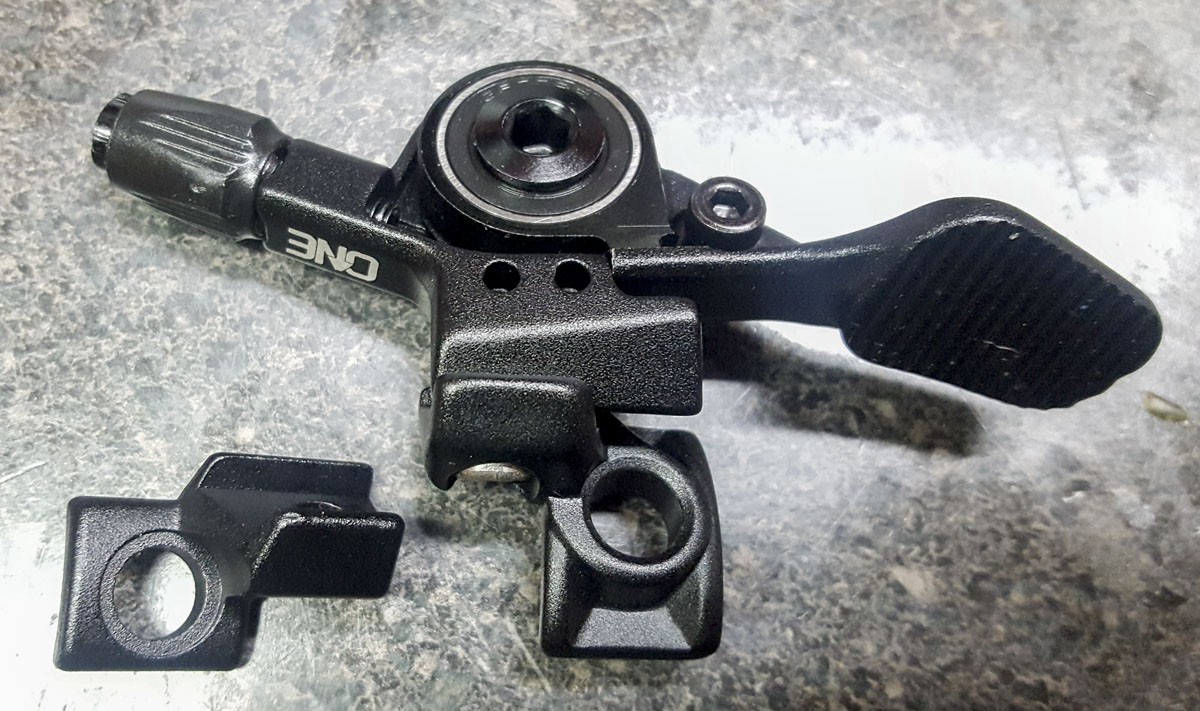
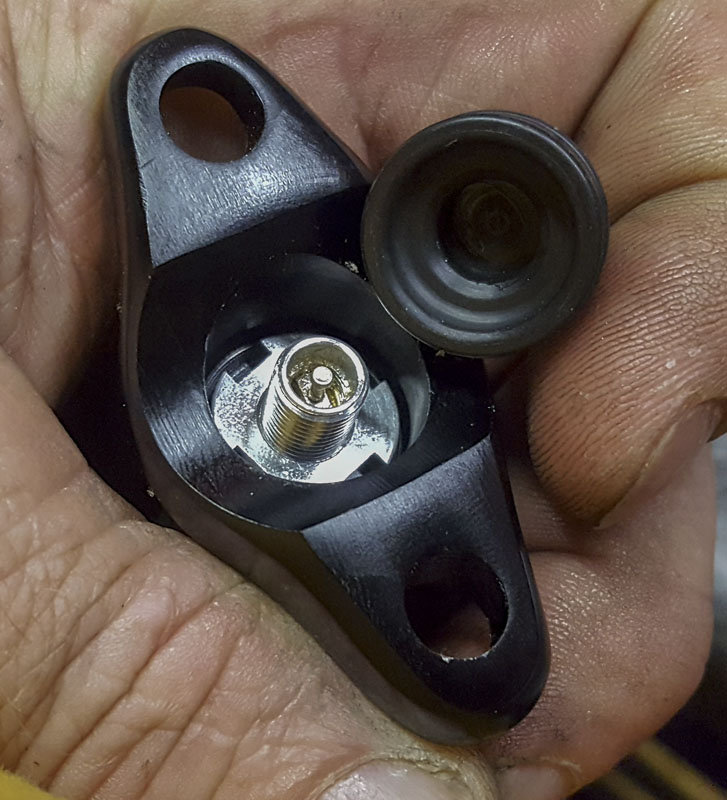
One mistake that OneUp made with the lever kit is using a generic ‘left’ (11.5315.049.010) MMX bracket. For most performance builds, we switch the MMX brackets on the sides. Thus, a ‘right’ (11.5315.049.020) MMX bracket should be used on the left and vice versa. This gets the shift and dropper levers inboard enough so that they don’t interfere with the hand grip area of the bike. Also, the included screw and mount bracket in the kit are of a courser and cruder design than the common SRAM parts and shouldn’t be used. Thus, it’s more wise to order the 22.2 bar clamp version of the lever kit and use SRAM hardware for MMX mounting. This gives you more mount options over time.
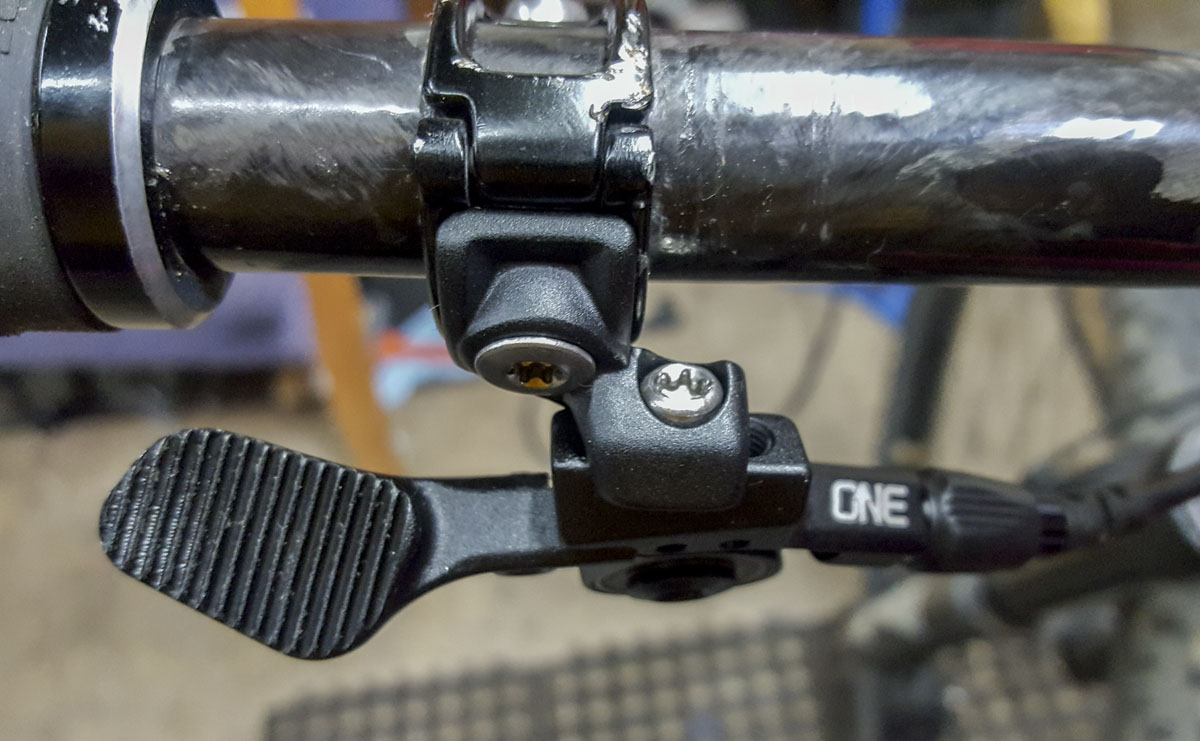
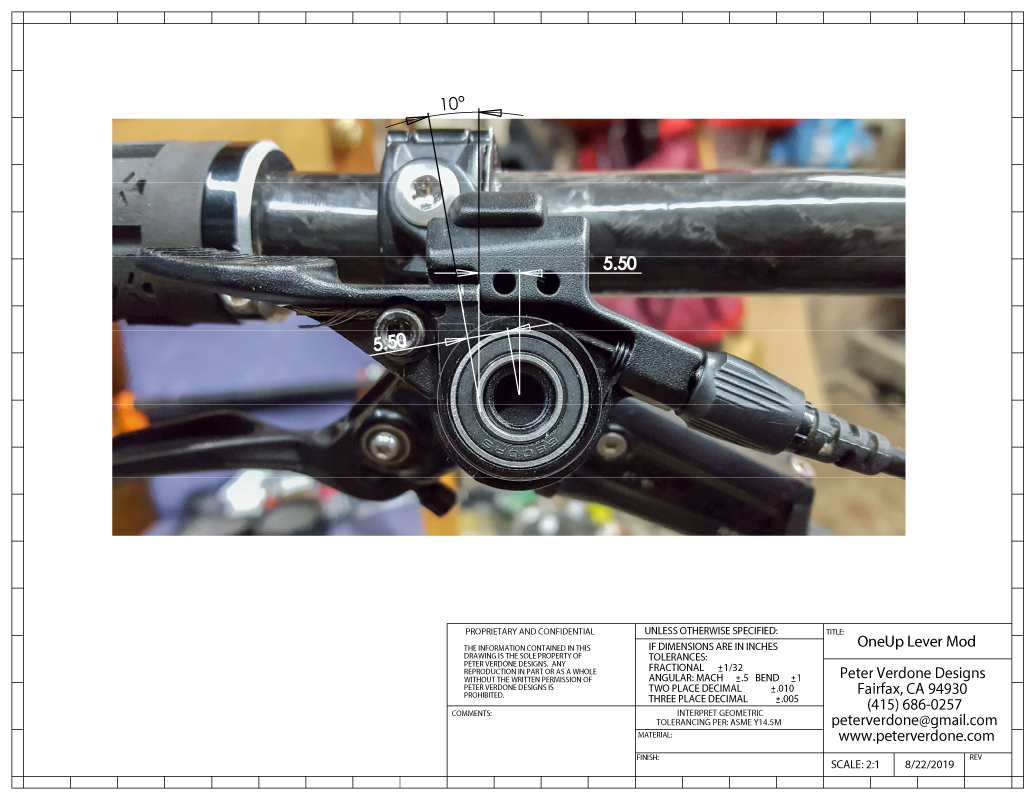
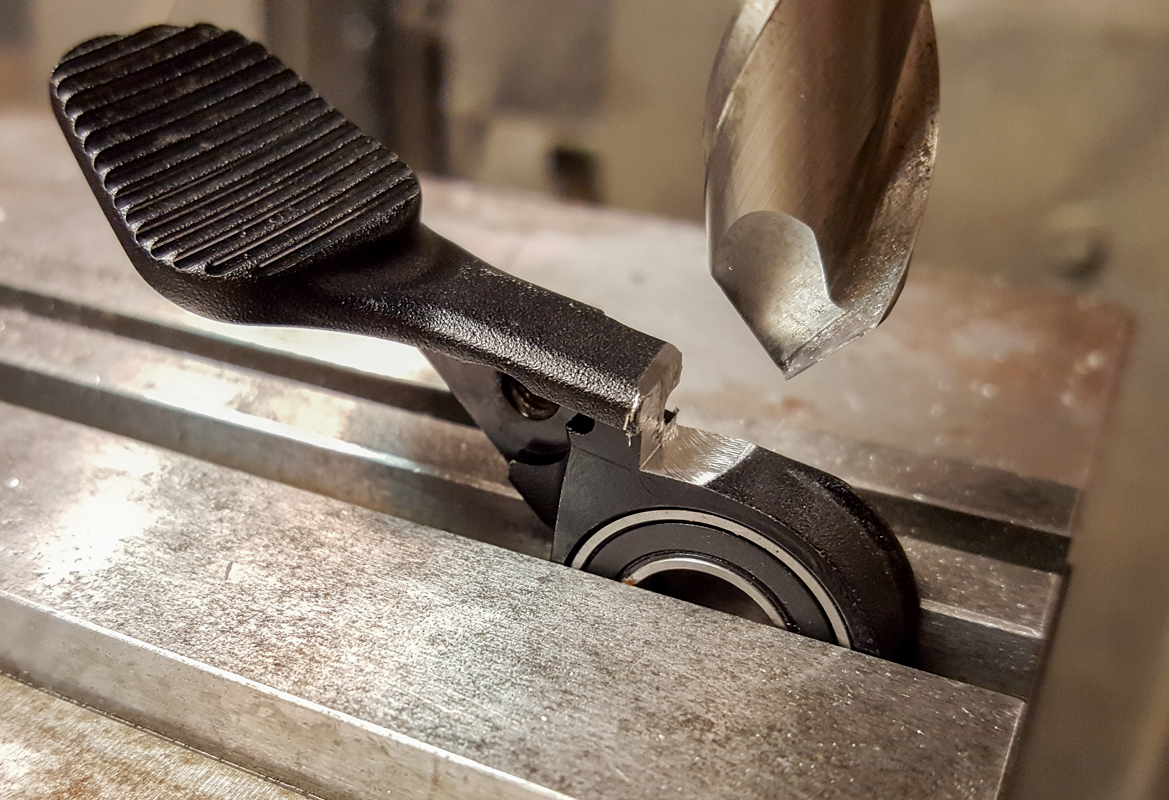
The geometry of the end position isn’t to my liking. I like a bit more rise from my dropper levers so I shaved some material off to give it another 10 degrees of rotation to stop. It’s still not enough. I was being too safe. Next time I’ll add another 10-15 degrees for a total of 20-25 degrees of change. The lever is pretty far off.
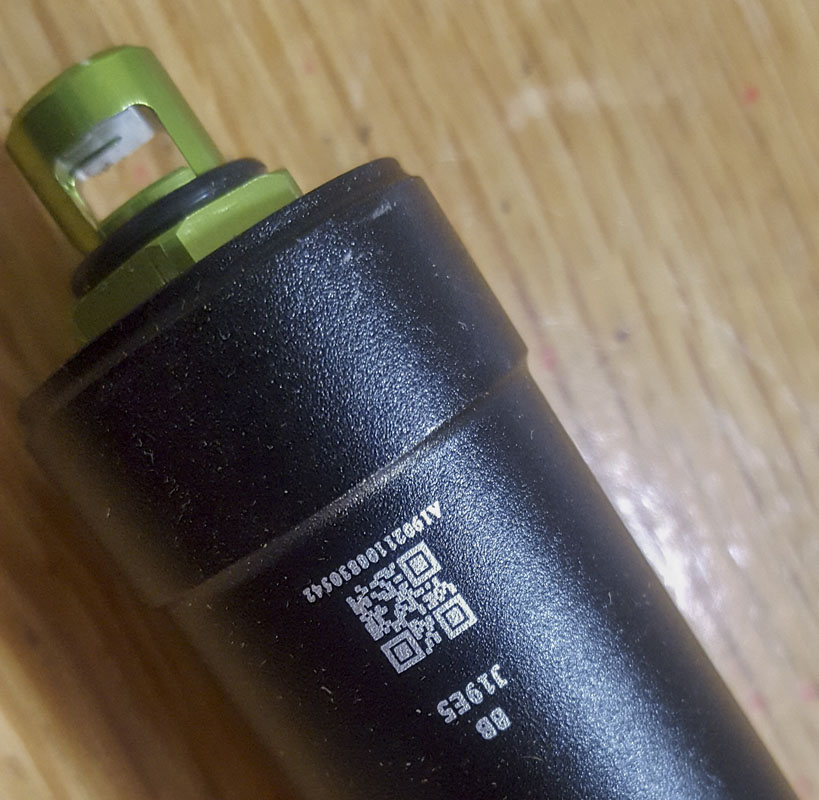
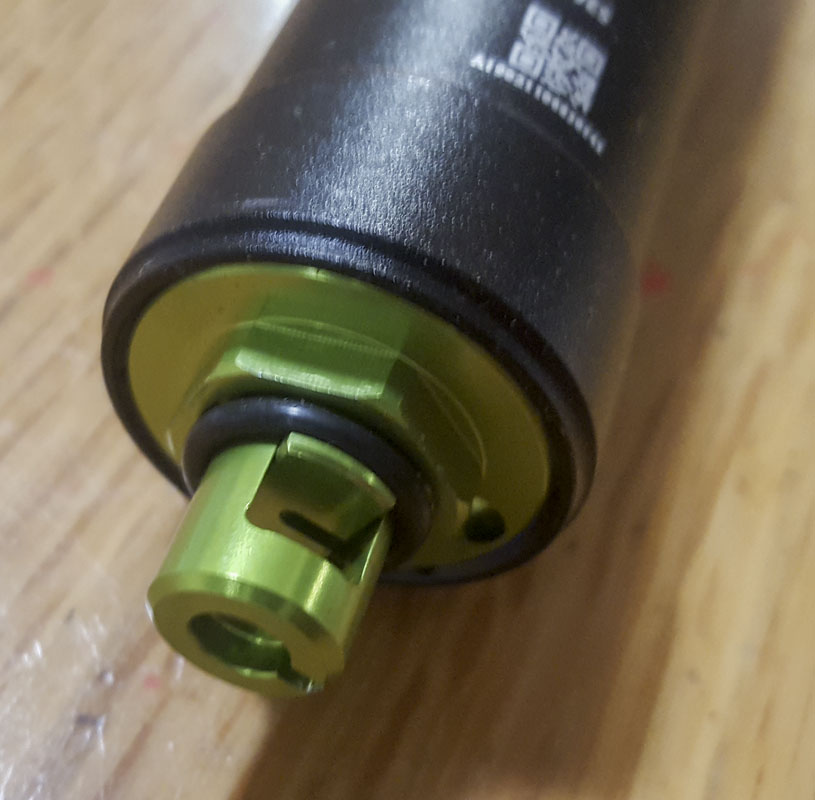
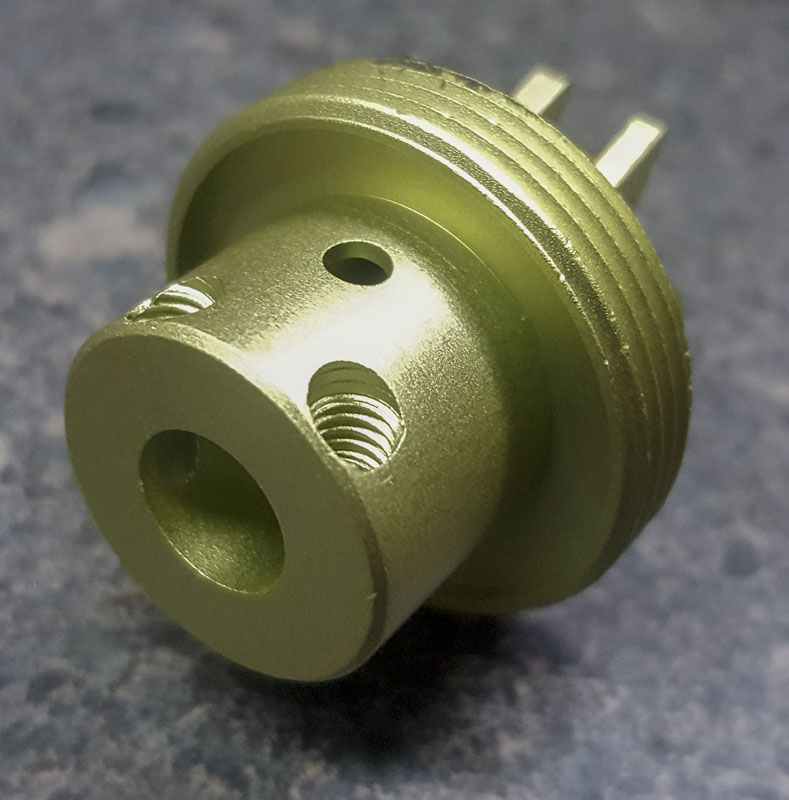
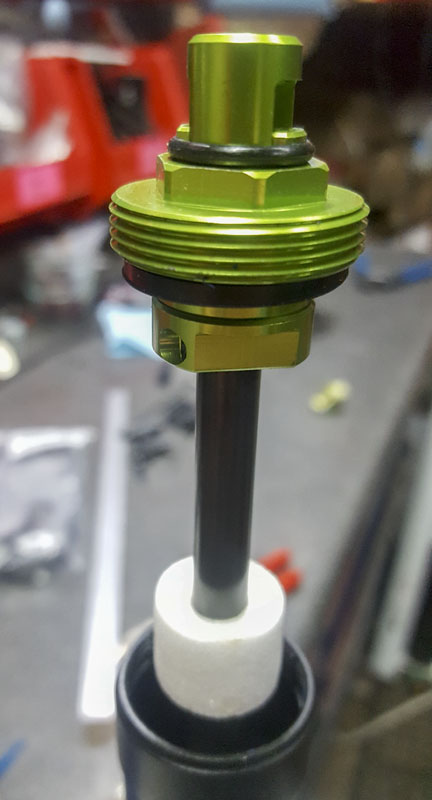
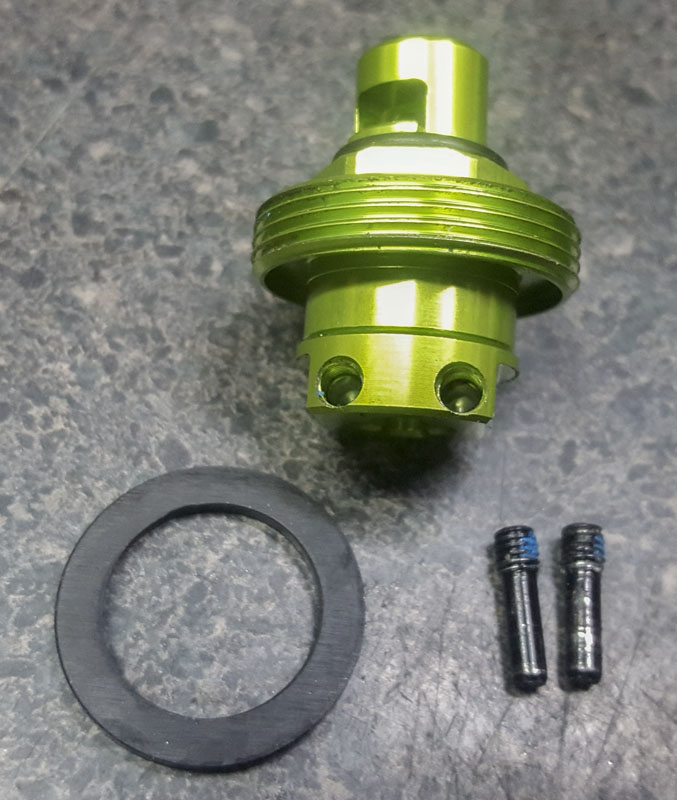
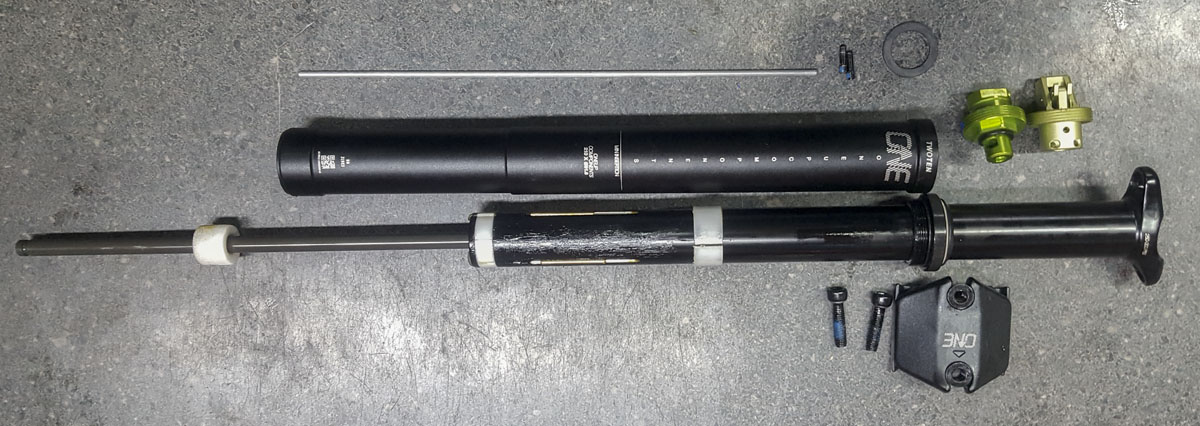
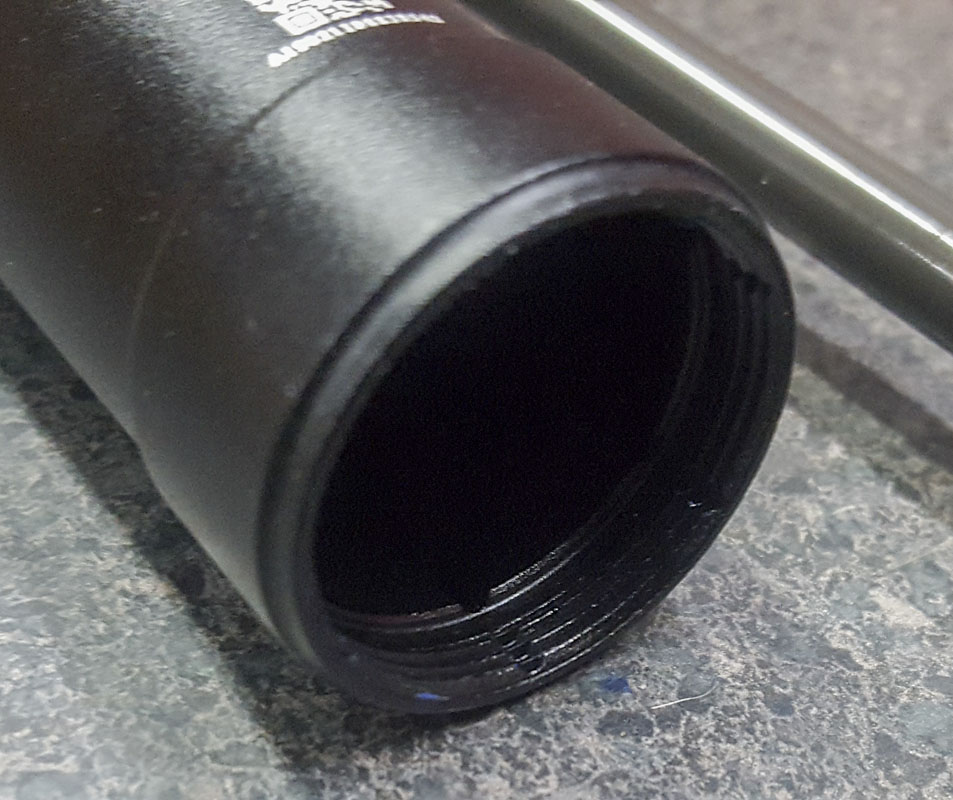
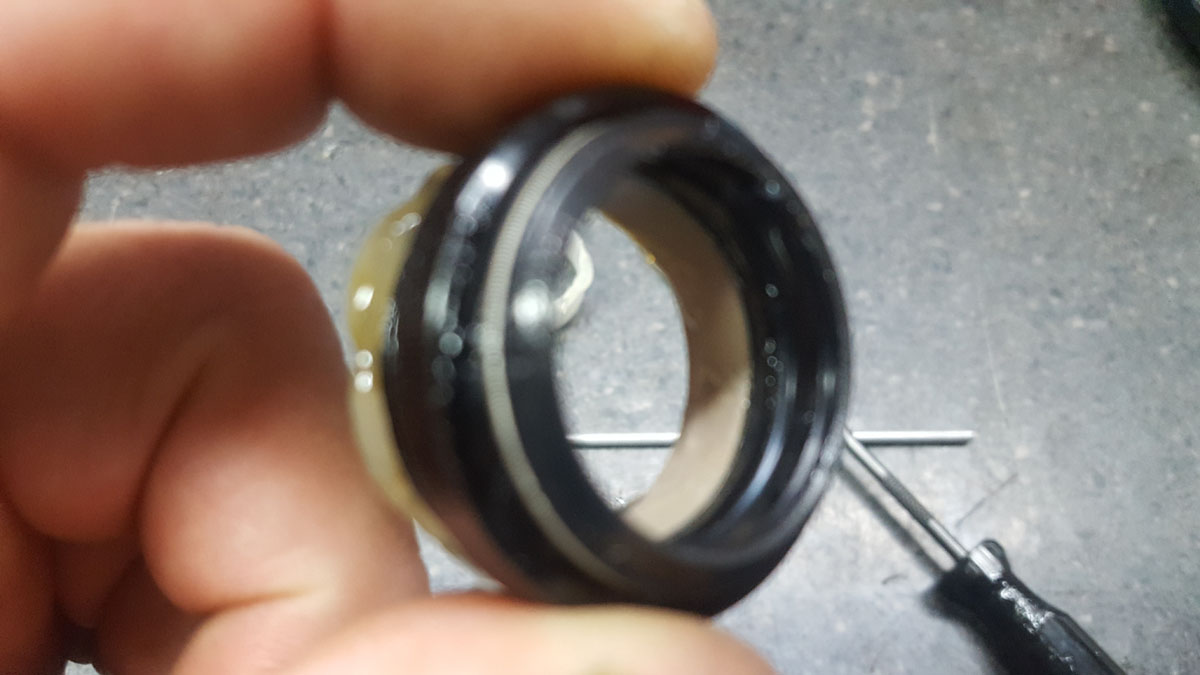
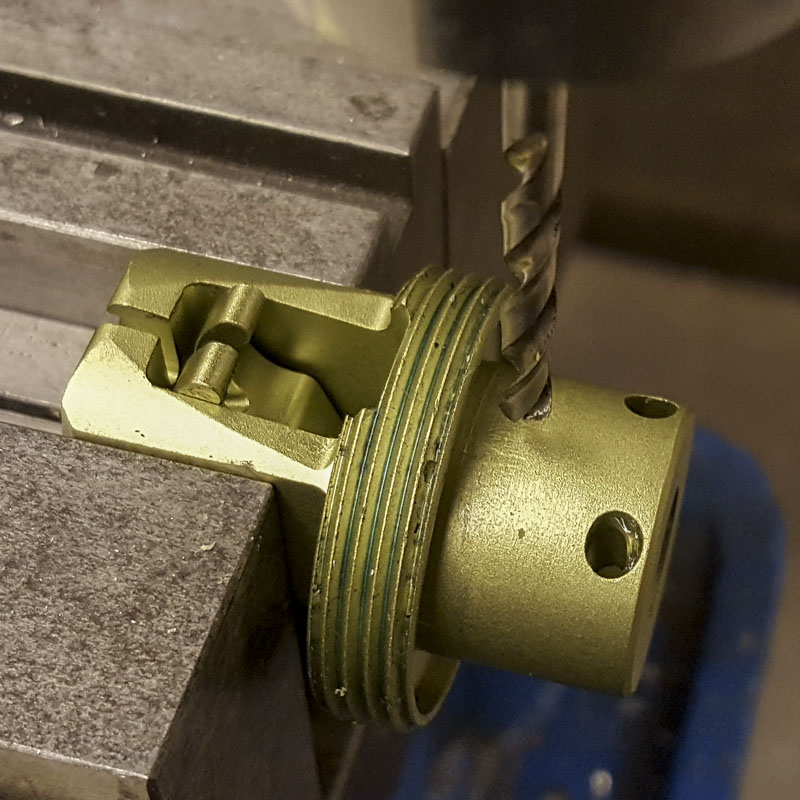
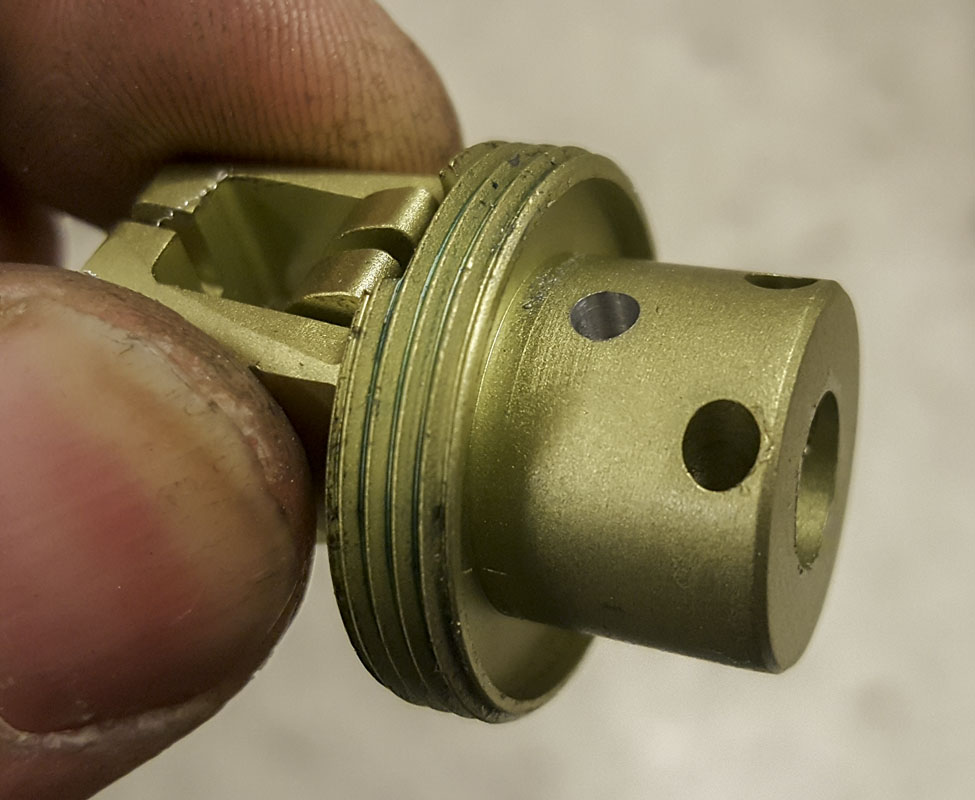
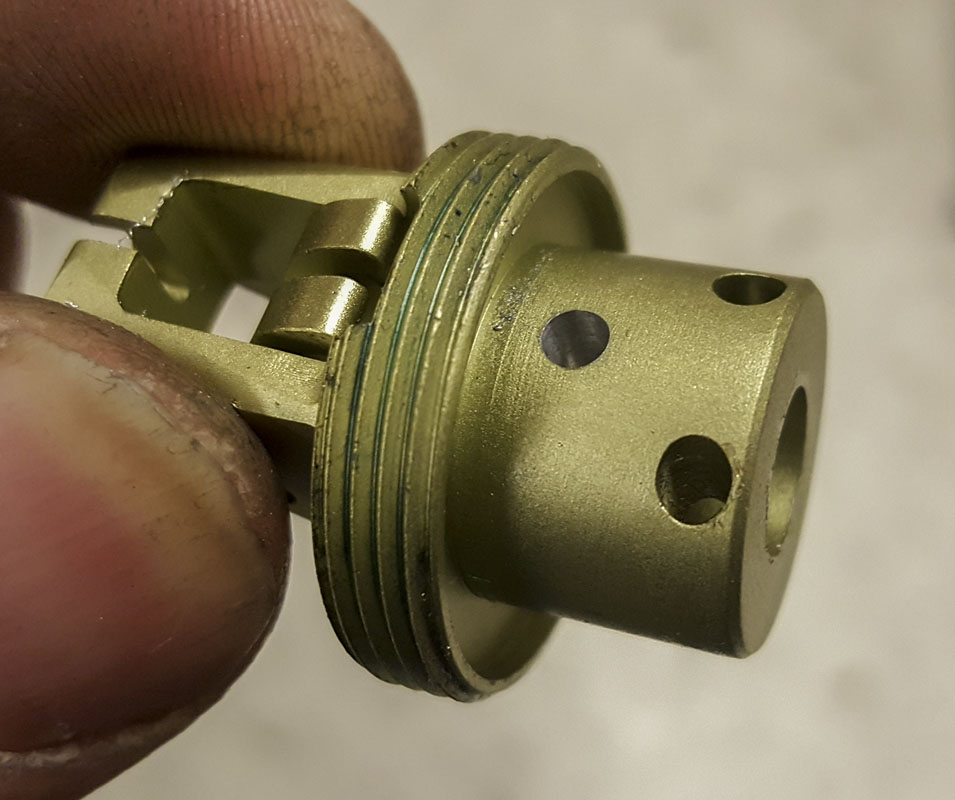
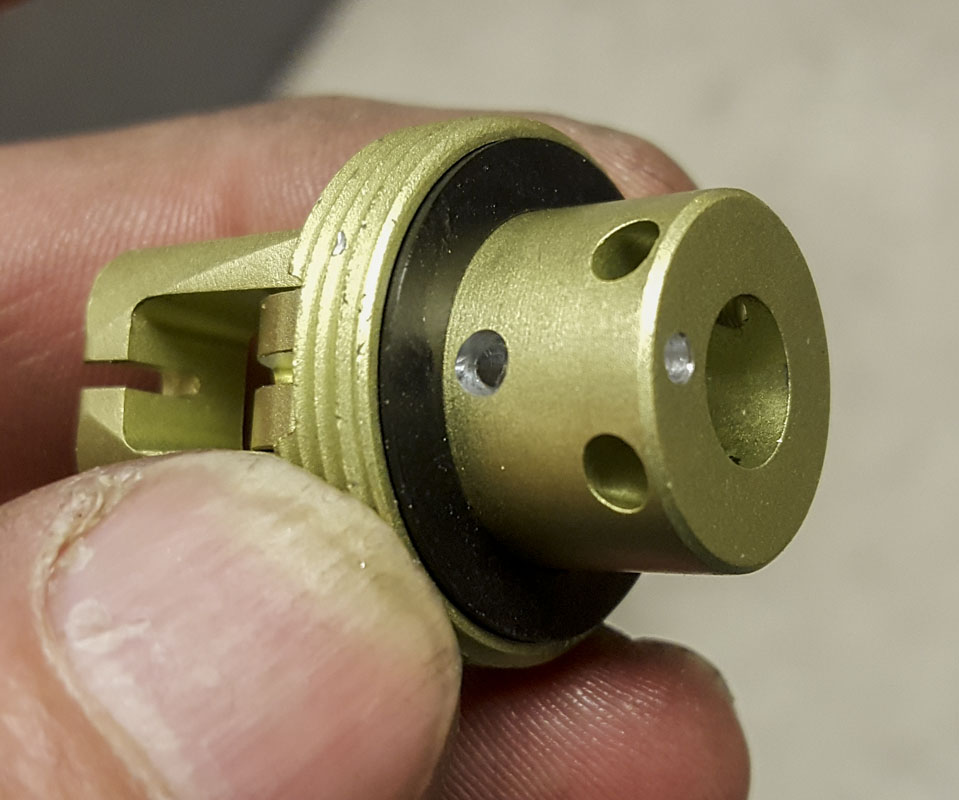
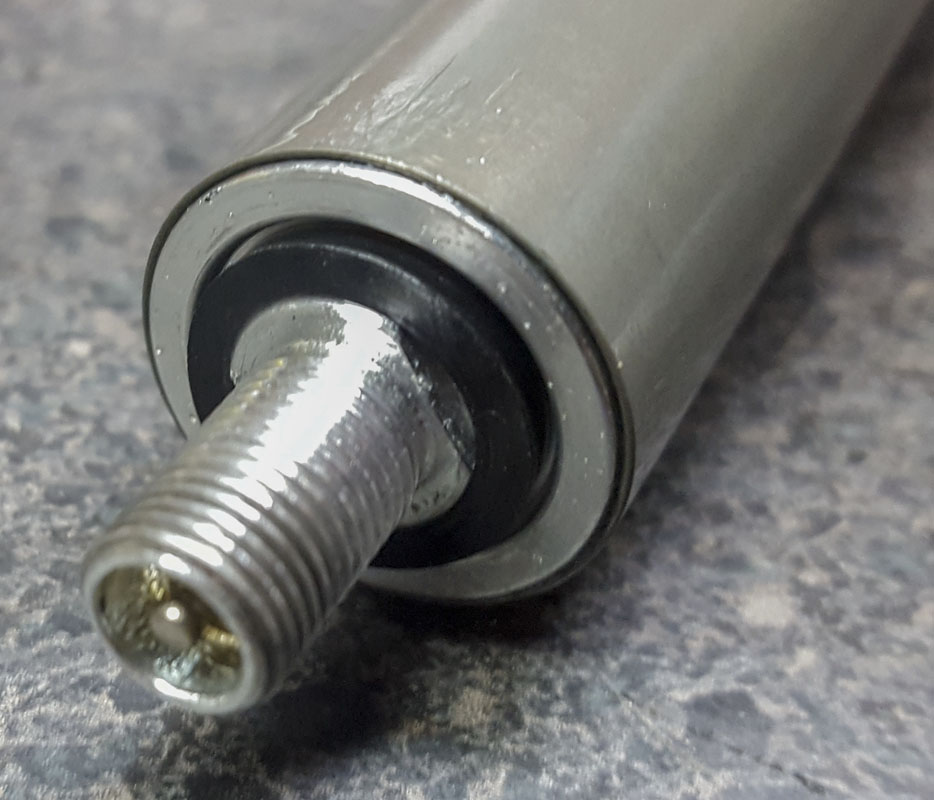
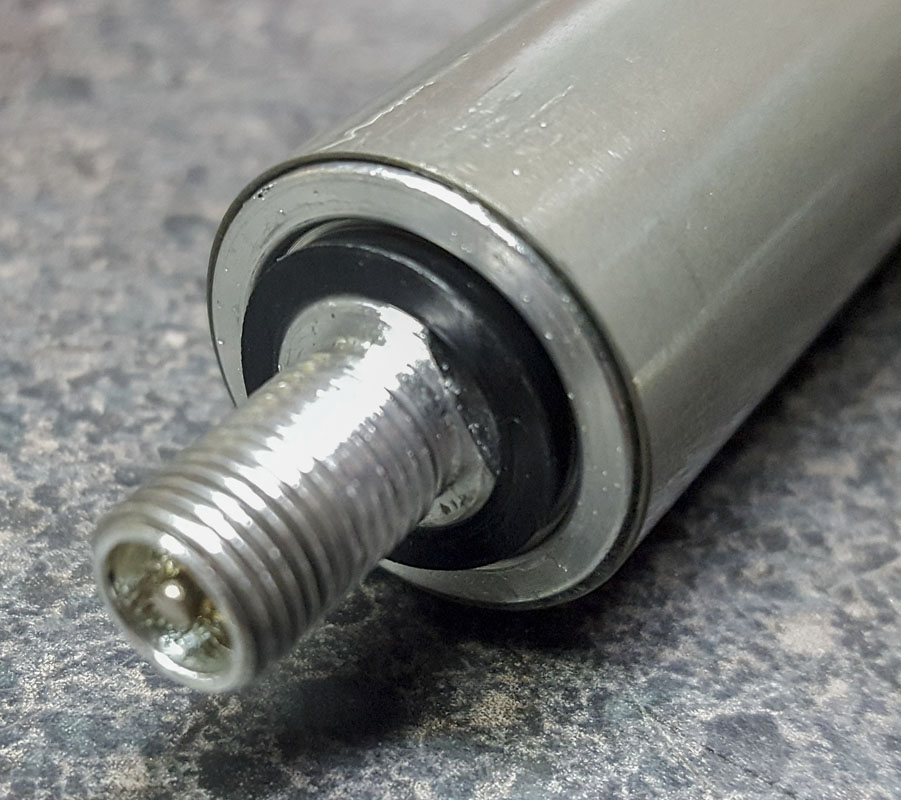
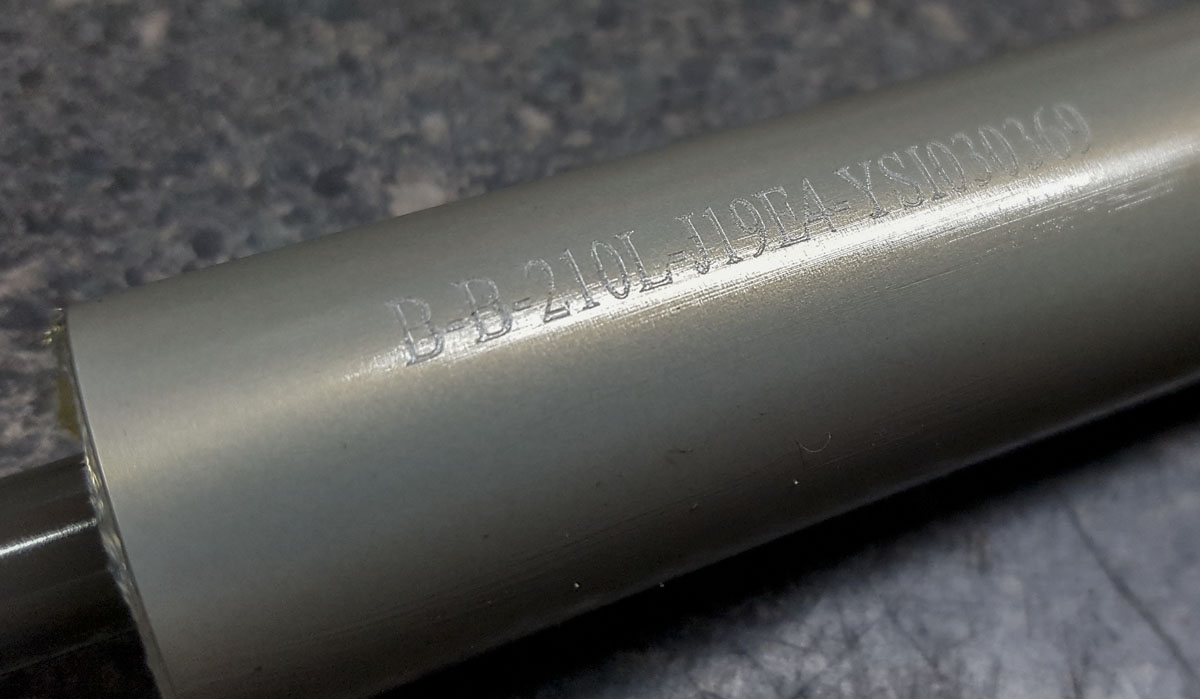
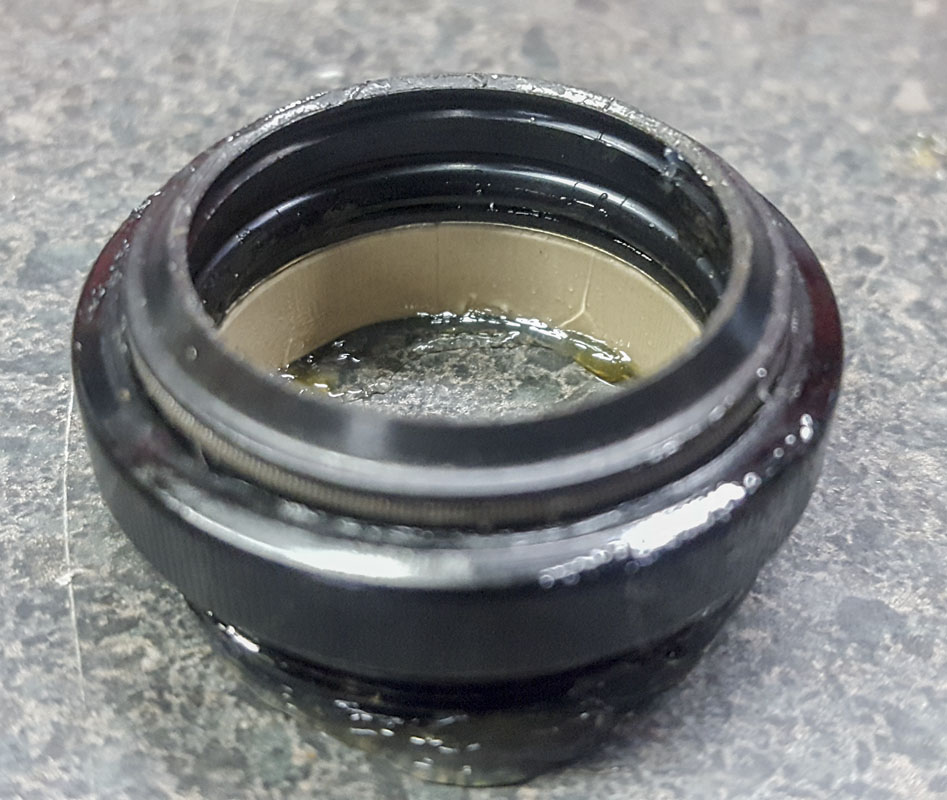
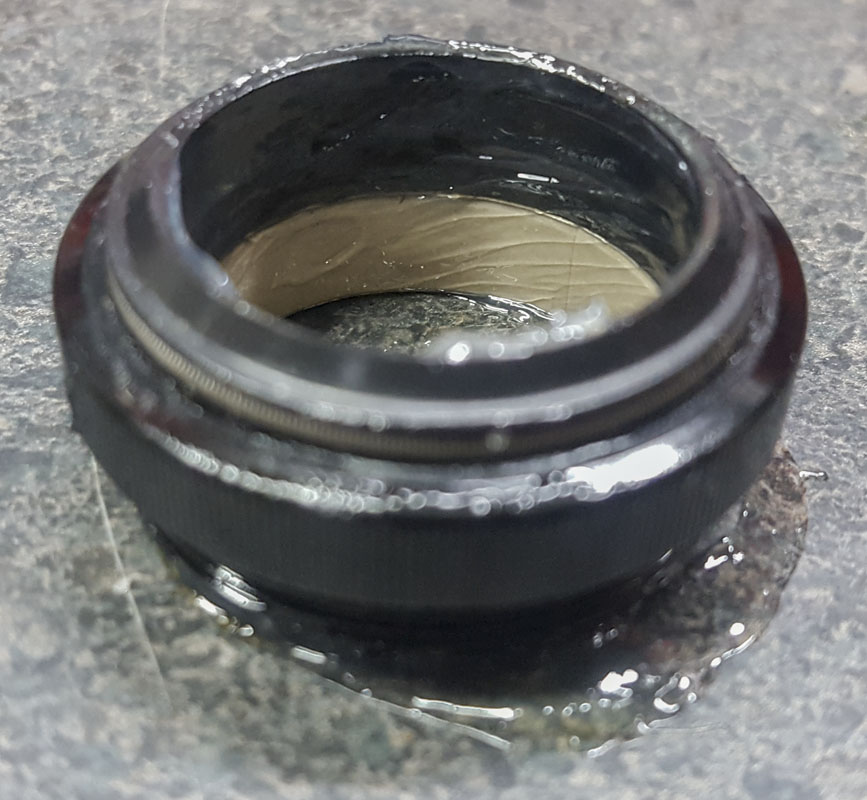
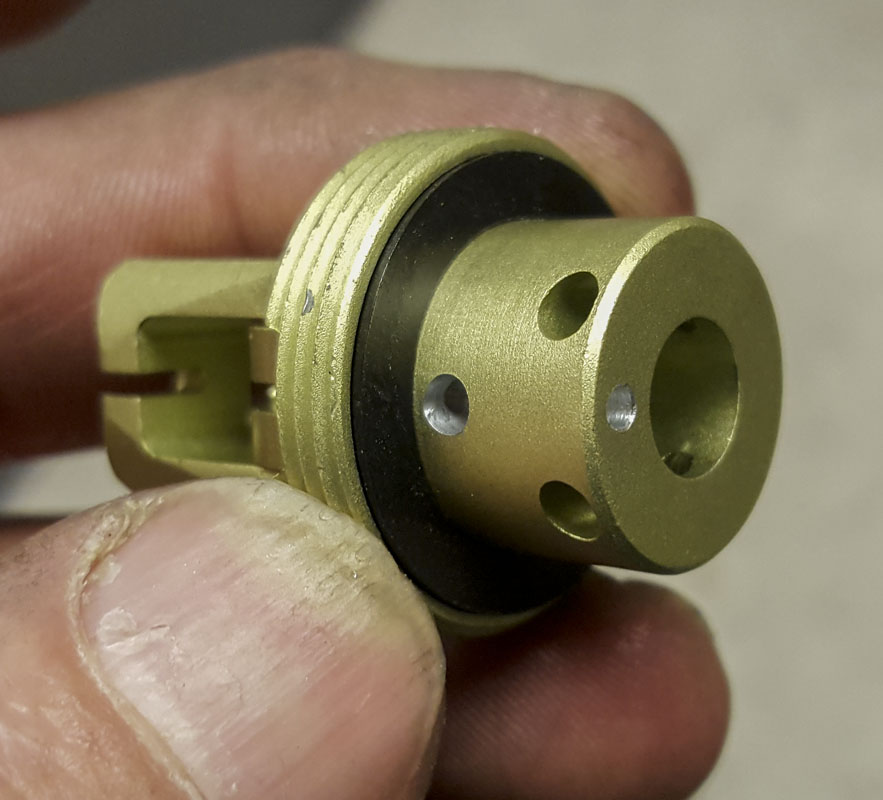
This post is a “sealed cartridge” system as opposed to the Revive and Reverb. If it’s a cartridge similar to the KS LEV, then there’s a lot of room for internal adjustments. If it’s truly factory sealed cartridge, then it may require replacement when that time comes (SP1C0050 – 210MM, $60). Rumor is that the cartridge is filled with an ISO18 suspension fluid. Regardless, a special tool is needed for removal from the post. I didn’t explore removing the cartridge for this blog post. I’ve been told that a pin tool or needle nose pliers are suitable for removing the cartridge nut but I’ll probably end up just making something custom when the time comes.
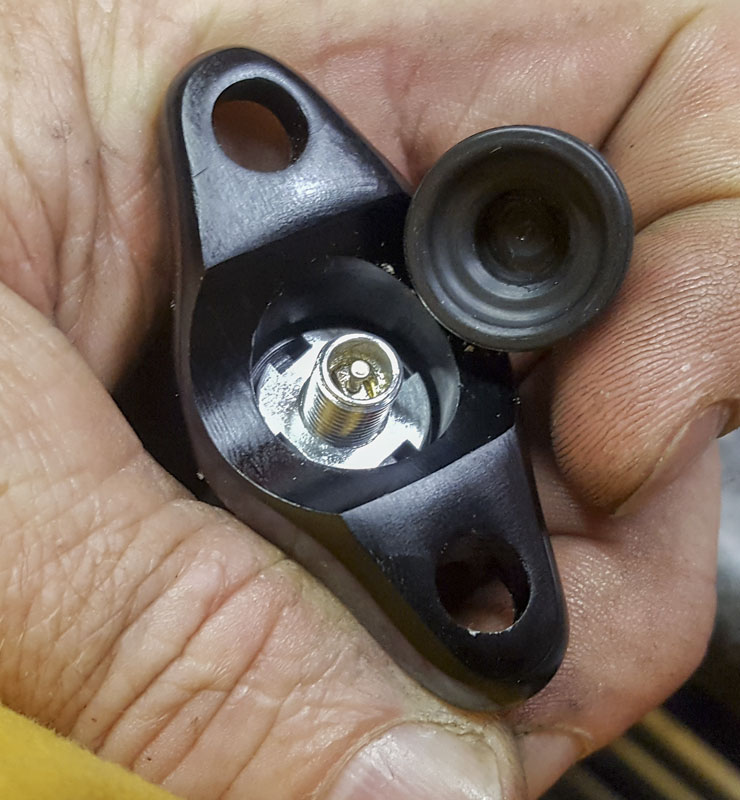
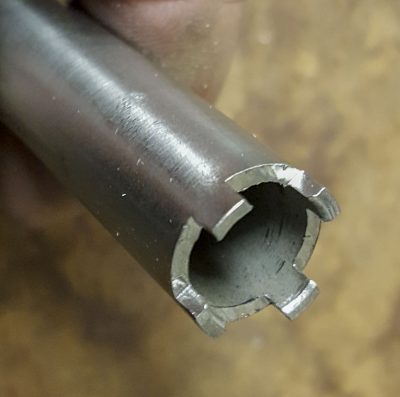
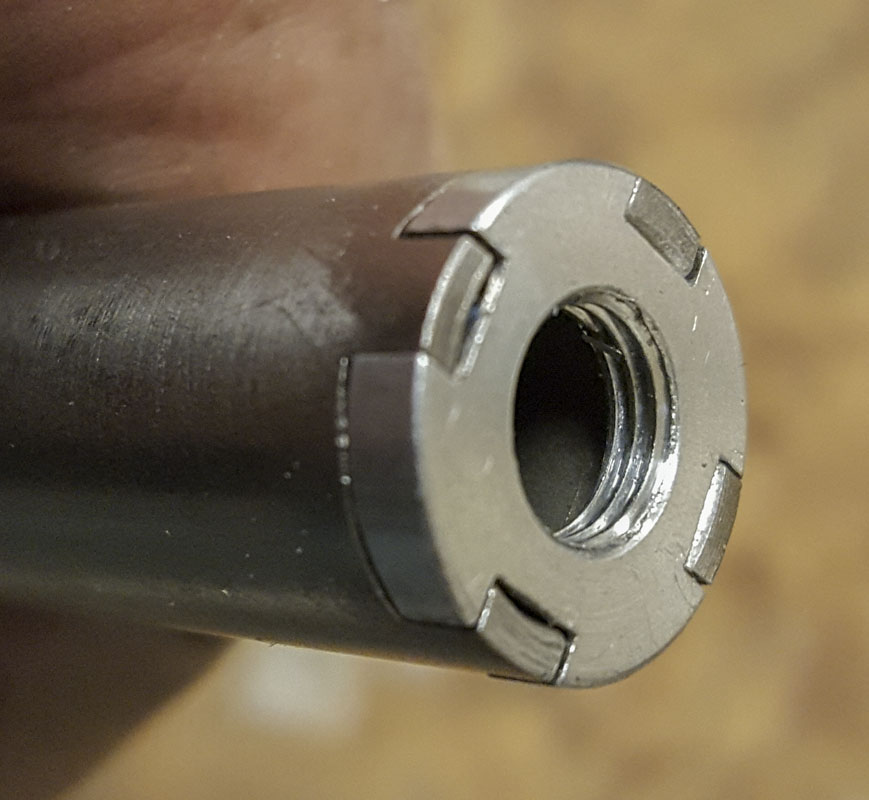
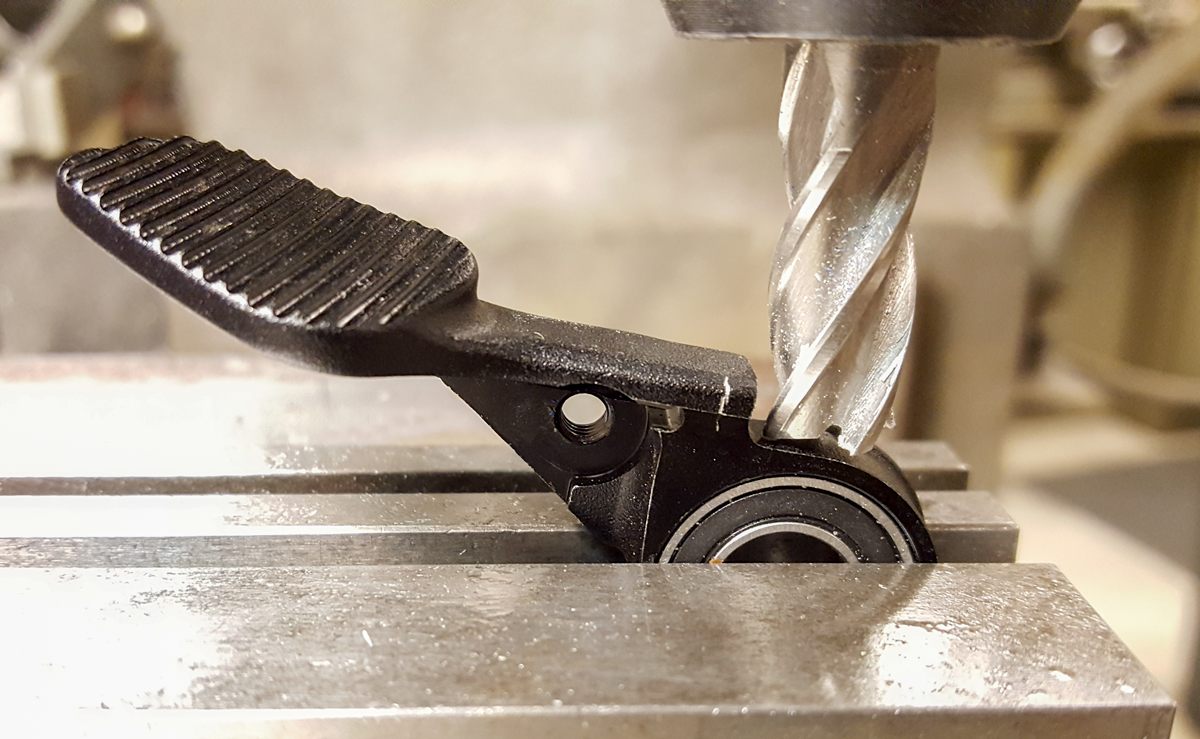
The cartridge looks to be serviceable. I’ll get into the guts at another time. A 20.25mm shaft clamp and a 8mm shaft clamp are needed.
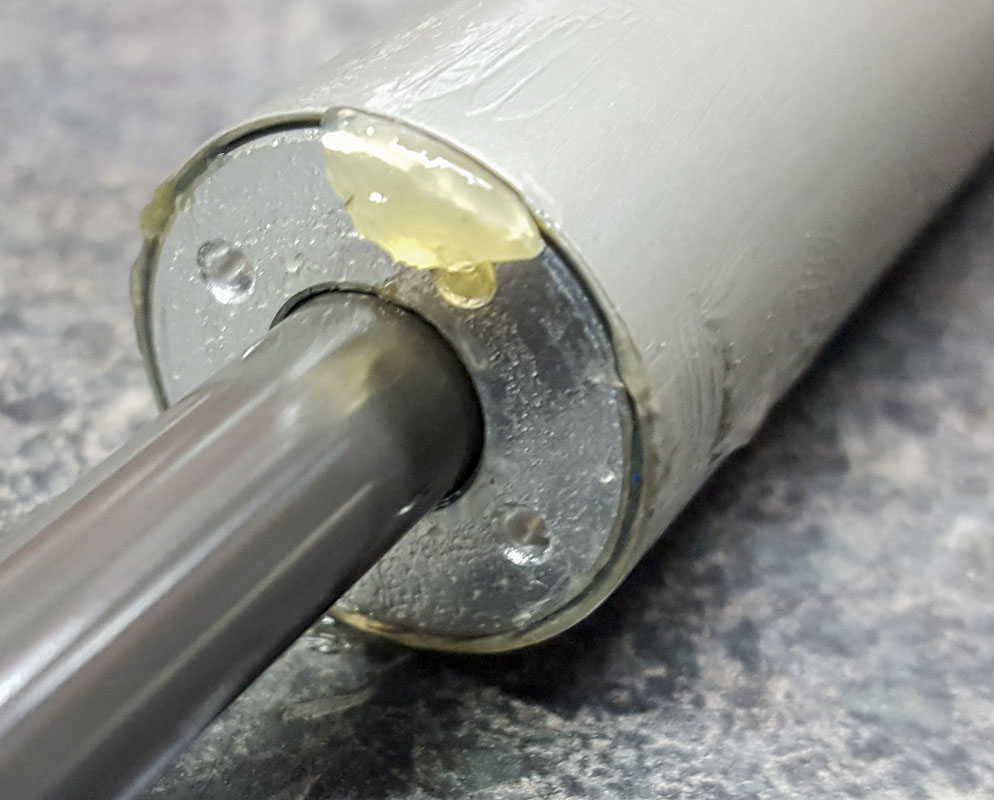
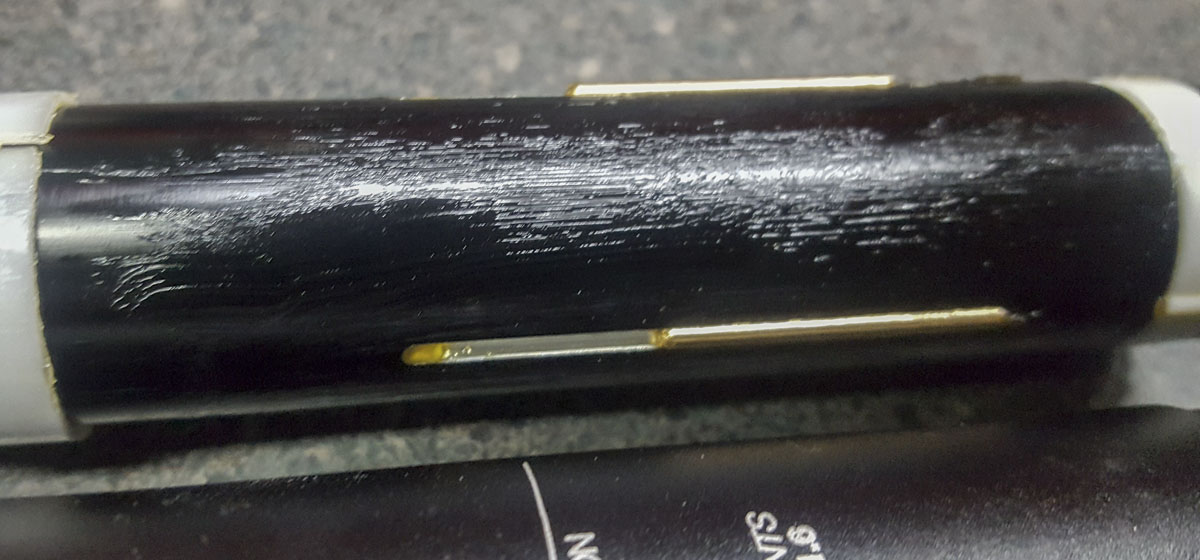
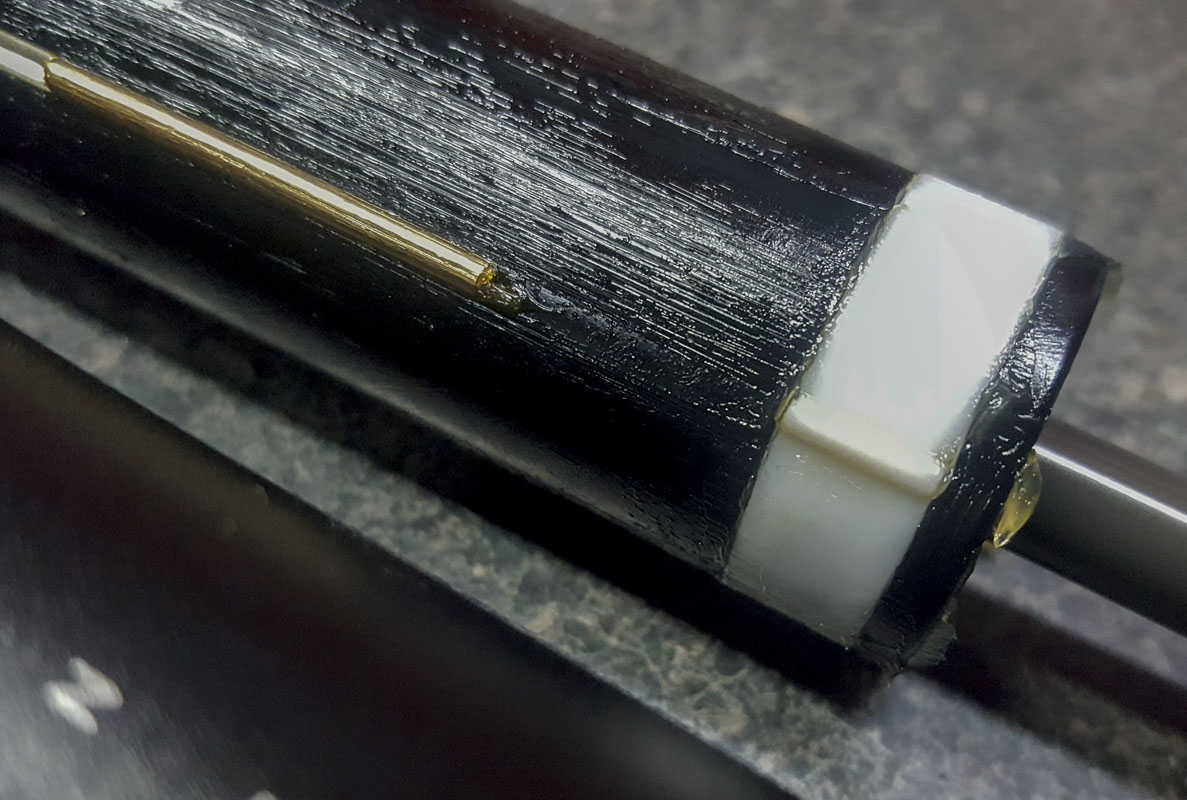
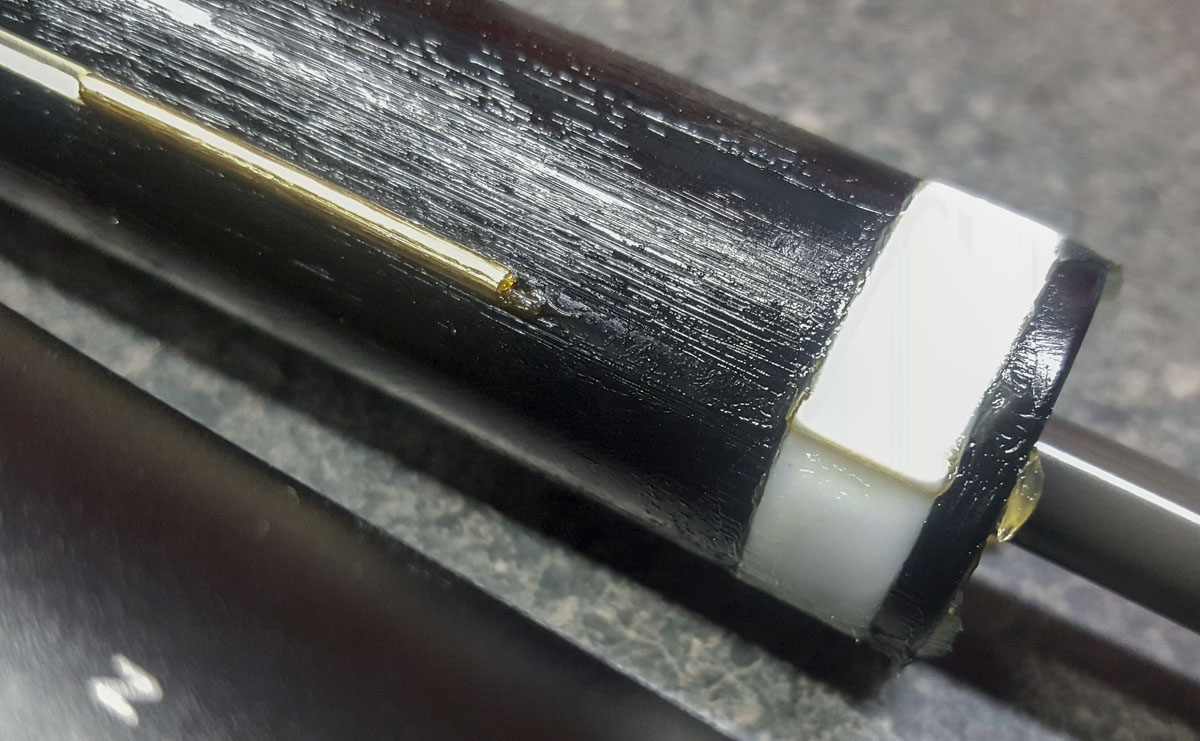
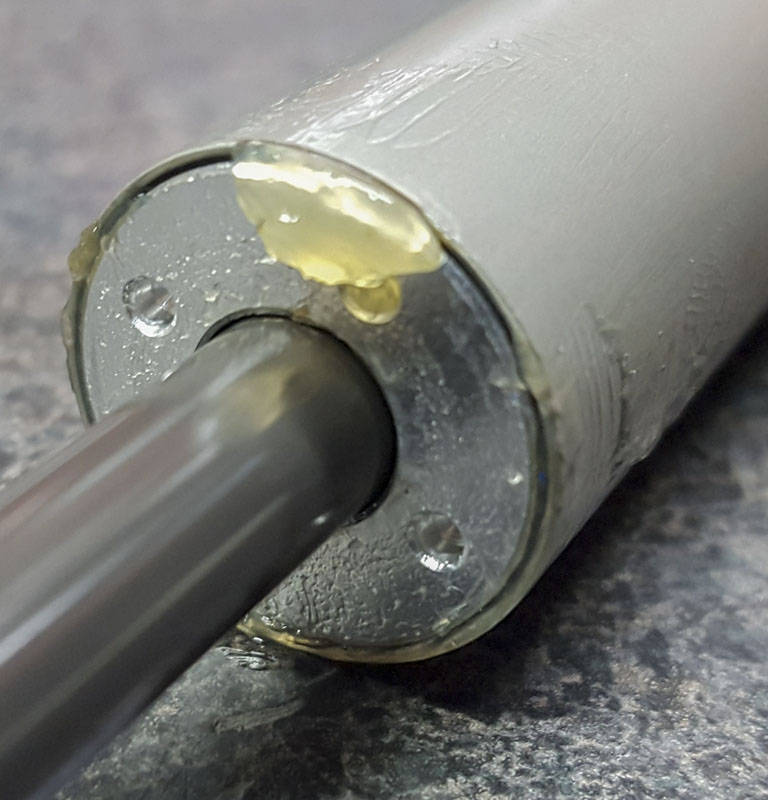
I did a little reading on other people’s opinions after using the V2 post and the original. Lubrication and possible rub inside the post got mentioned so I took the post apart to inspect while it was on my bench. I rarely take message board chatter seriously but it does give me a clue as to what to look for. Keeping the sliding area of a dropper post clean and well lubricated is crucial to performance use. There was very little lubrication inside the post and what was there was a bit thick. I went through and made sure there was plenty of lube where needed, especially in the seal area. The post’s action feels very smooth and free, an impressive feat at this price point. Hopefully, this will last during service.
A big issue that I noticed while working on this post is the amount of seal drag. It is significant and would be good to reduce. I tried several special seal greases, none had any noticeable effect. In the end I used RockShox Dynamic Seal grease (not shown) as I have a big tub of it. Hopefully, some work can be done on this front.
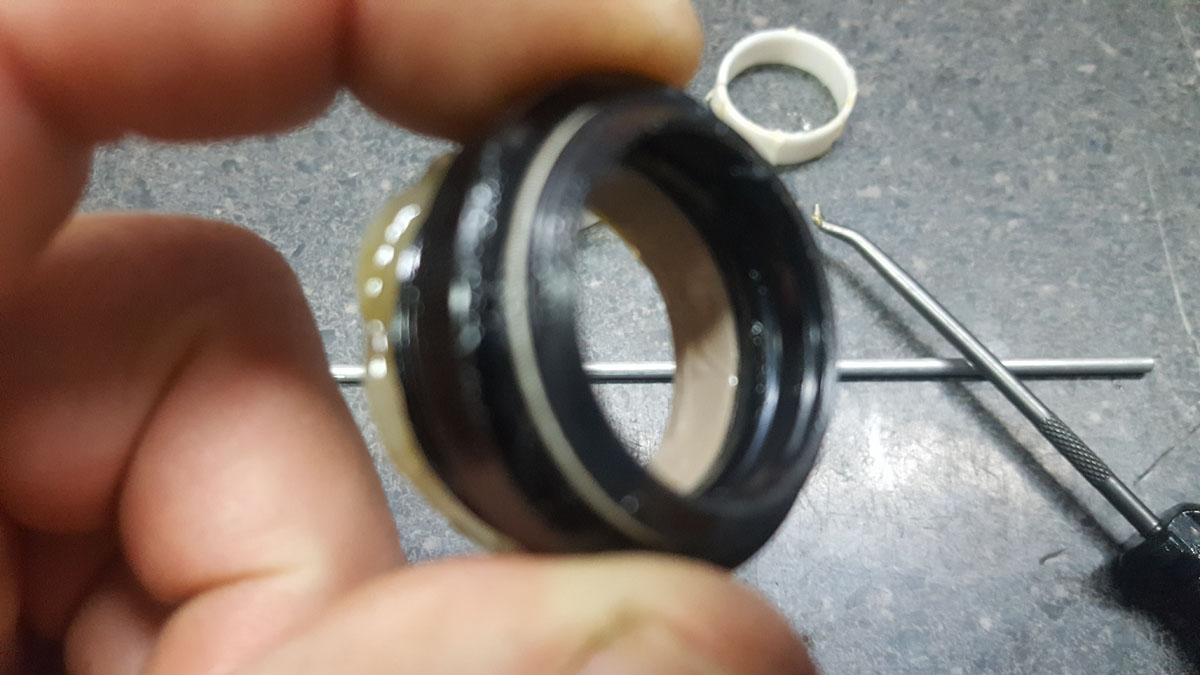
I need to order some of the over-sized 30mm long guide pins (stock, 2.00mm, SP1C0053, 0), to tune out the play. 2.02mm (SP1C0061, 2) and 2.04mm (SP1C0061, 4) are available. It’s not bad now, I’m just used to a very tuned post. I would like to see 6 guide pins instead of 3.
I did find that as this post is of the thin guide pin type, the Revive trick took almost all of the play out without special pins. Carefully bend the guide pins over a 1/32″ drill bit (or something close to that). The goal is to produce the slightest bend in each pin. It works.
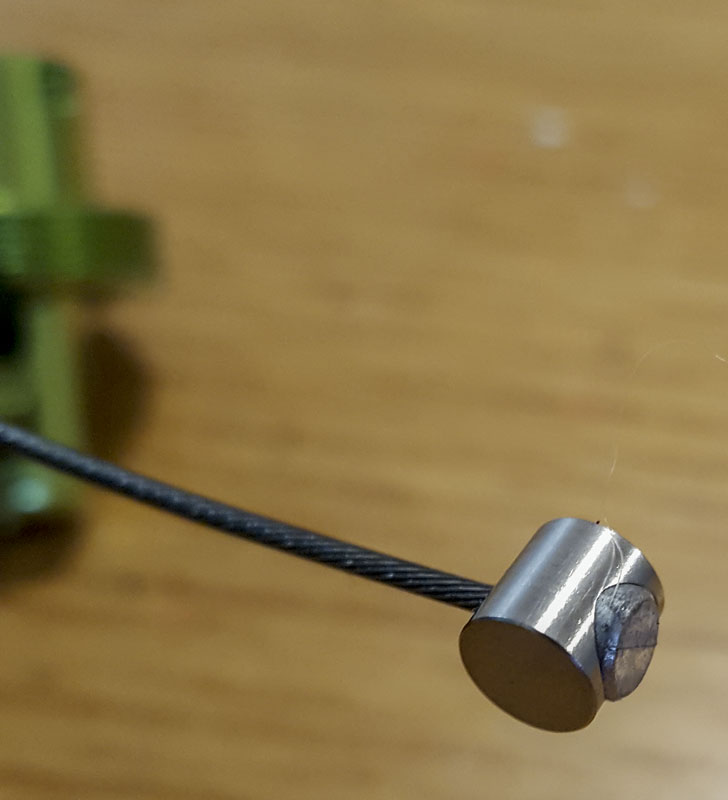
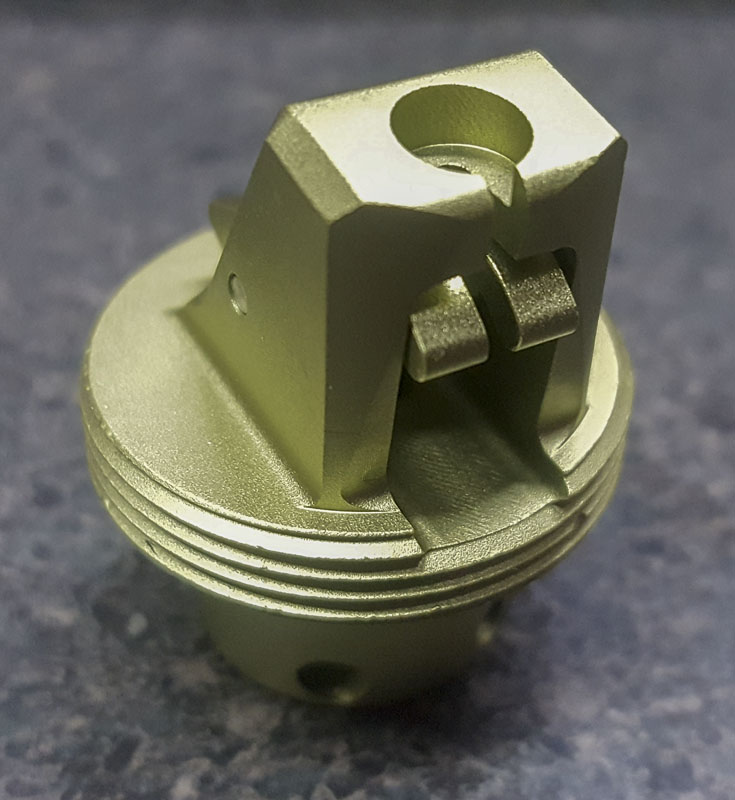
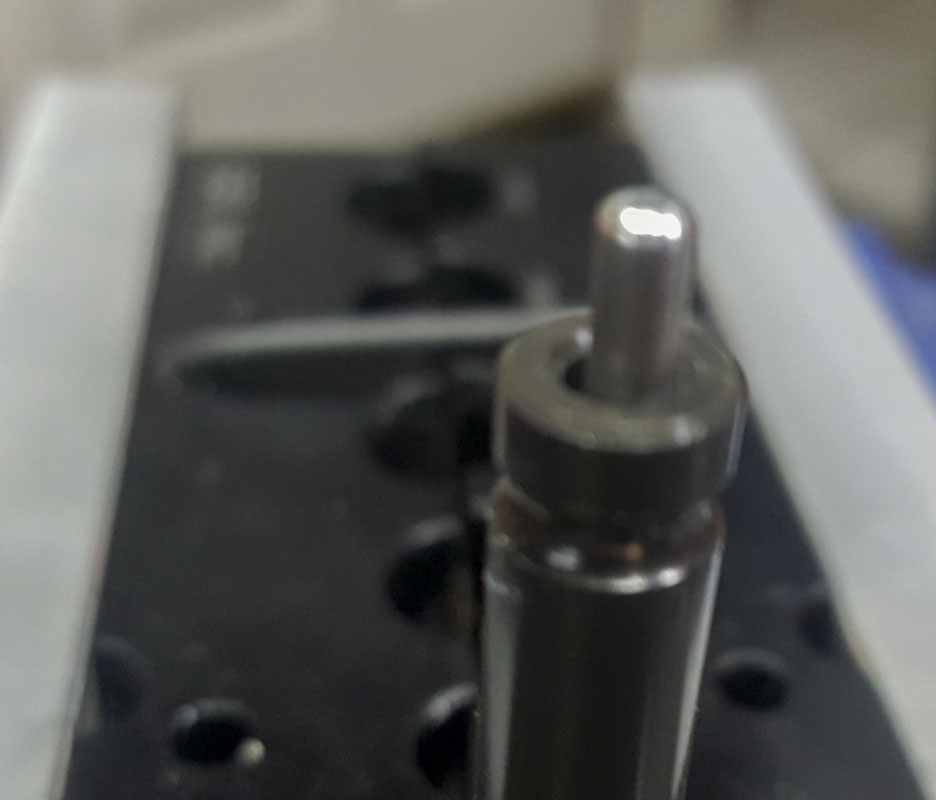
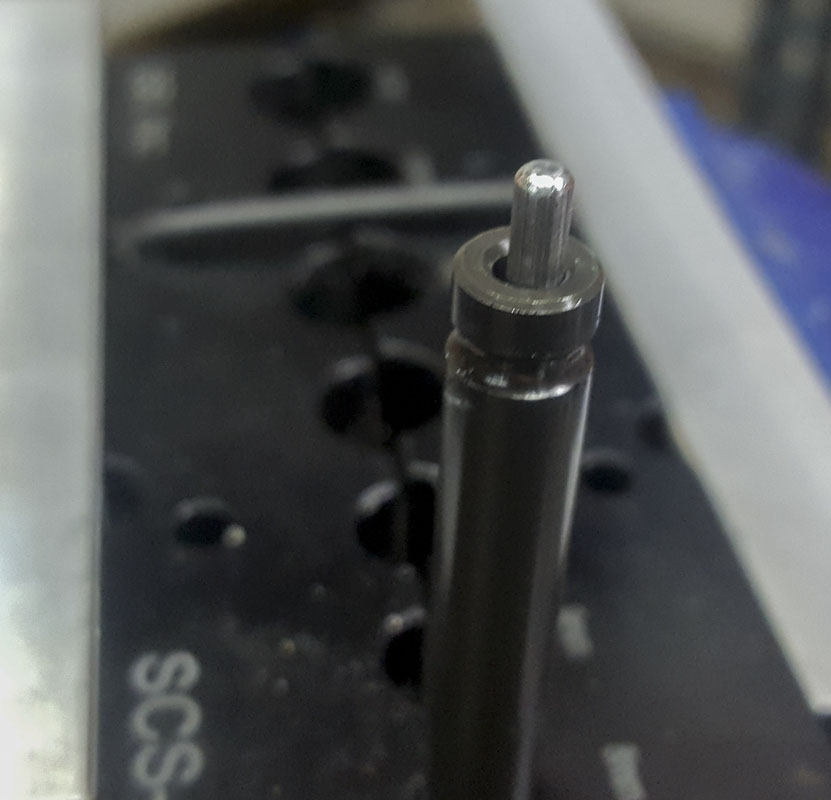
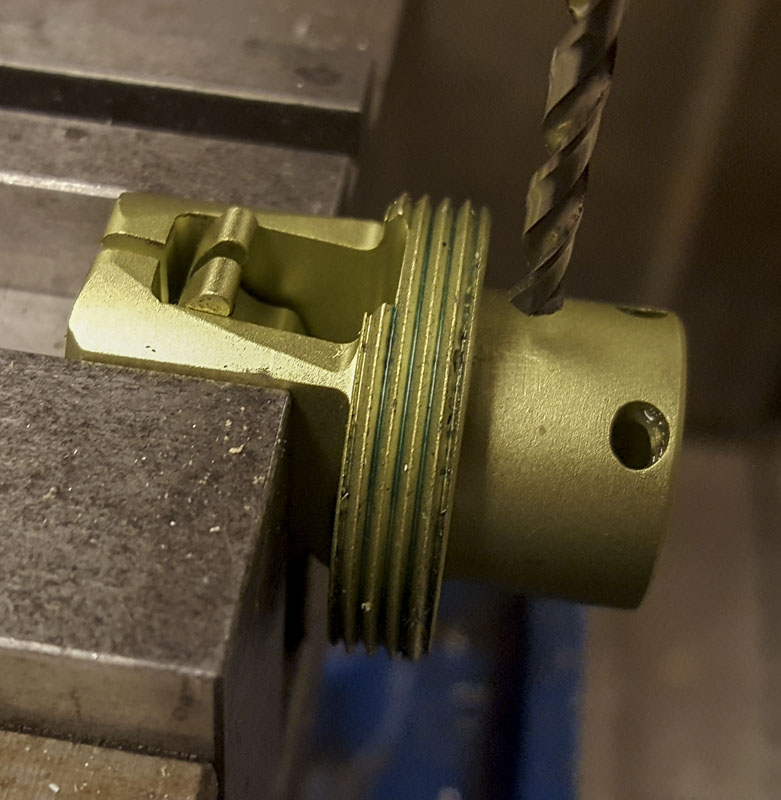
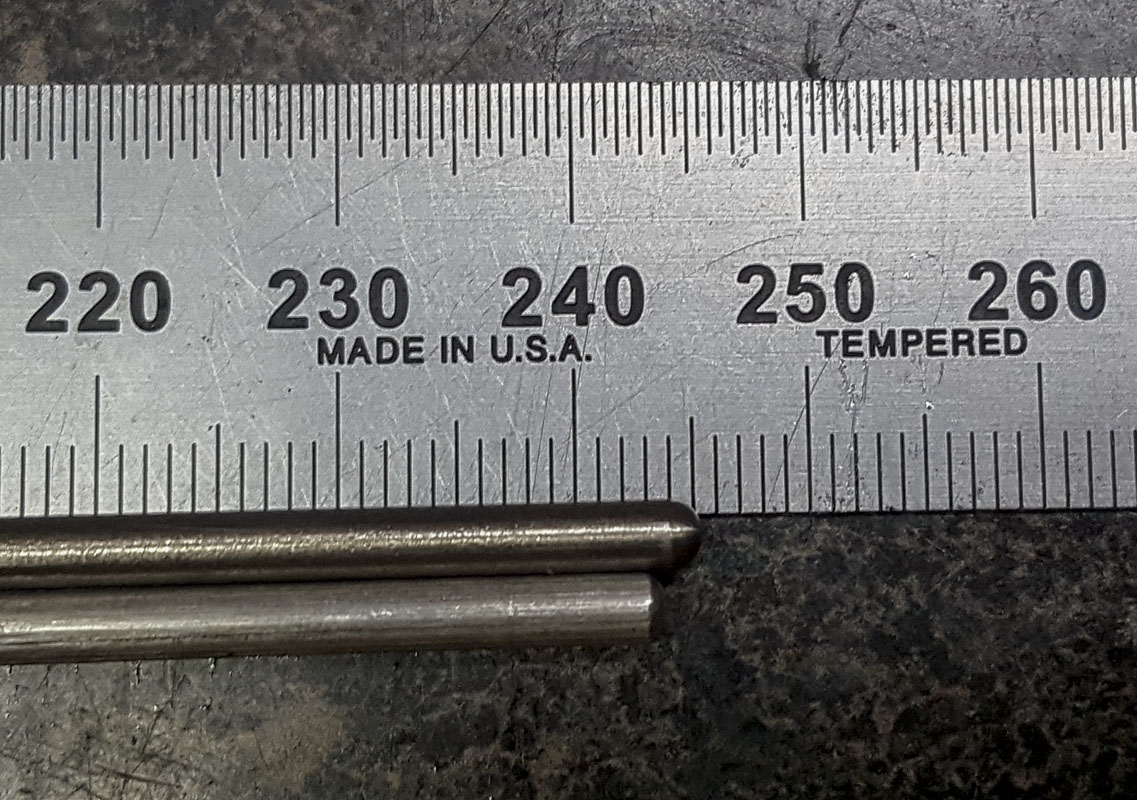
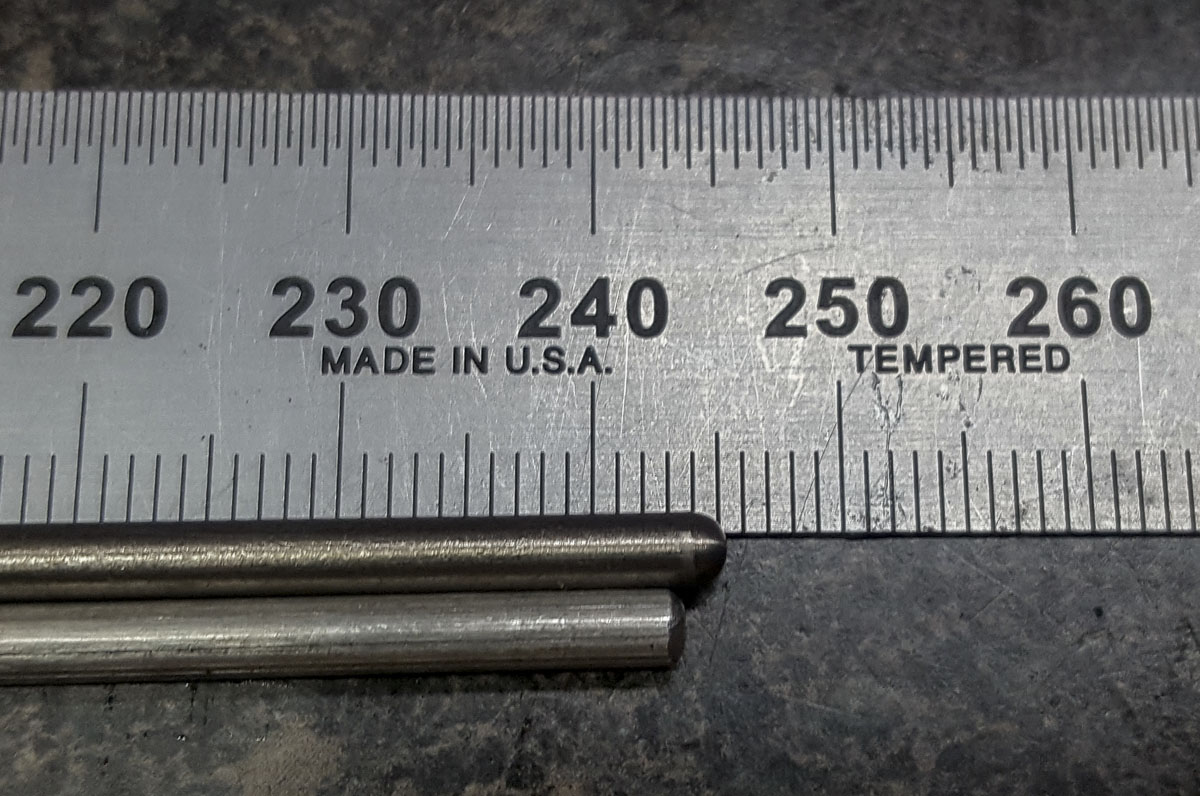
Generally, an extremely fast return speed is preferred on the trails. It’s much faster than most folk think, the trail and the workshop are very different places. There are a few tricks for getting this outside of just increasing the air pressure (250-300 psi) in the post. The easiest is to change the fluid to a lighter viscosity. As this is a sealed cartridge, I won’t play with that until this one blows. Then we move to the pushrod length. Increasing the length will reduce the amount of lever travel that isn’t actually opening the valve. The lever is quicker to let fluid through and can be made to allow more fluid to pass than with a short rod. This post uses a 3mm rod and I had some 3mm titanium stock on hand that I cut to be about 1.5mm longer (245mm). This did the trick and only a little bit of cable needed to be taken up for a razor sharp control. The post works at the speed I like now.
One issue that I noticed while going through tuning this post was the significant air pumping past the very small openings in the actuator. I didn’t want this to be damping the post speed any so I drilled a couple of additional bleed holes through the actuator to ensure that this wasn’t happening. There’s still some air noise when the post is moved now but I’m confident I’ve eliminated any issue that might have been in place.
Due to a recent injury, I’m not able to get out and really thrash this post on the trail. While I’ve been down, a friend, Brian, has been using my Warbird mountain bike for the PinkBike Trailforks 30-day challenge. He’s got a bit of time on my bike and is used to how the premier Revive post functions on the bike. We swapped the post out to the 210mm post and he’s ridden it a bit. When asked which post he prefers, he says that he likes how the Revive functions best. When factoring the 58% savings in cost for the OneUp, he said that it’s pretty awesome and a “no brainer” for budget minded riders. The difference in function is very slight.
So, the post is perfectly usable as sold. The next questions to answer will be about the durability and stroke length. Once rolling again, I can take the system down some more extreme trails for examination. Tamalpa time!
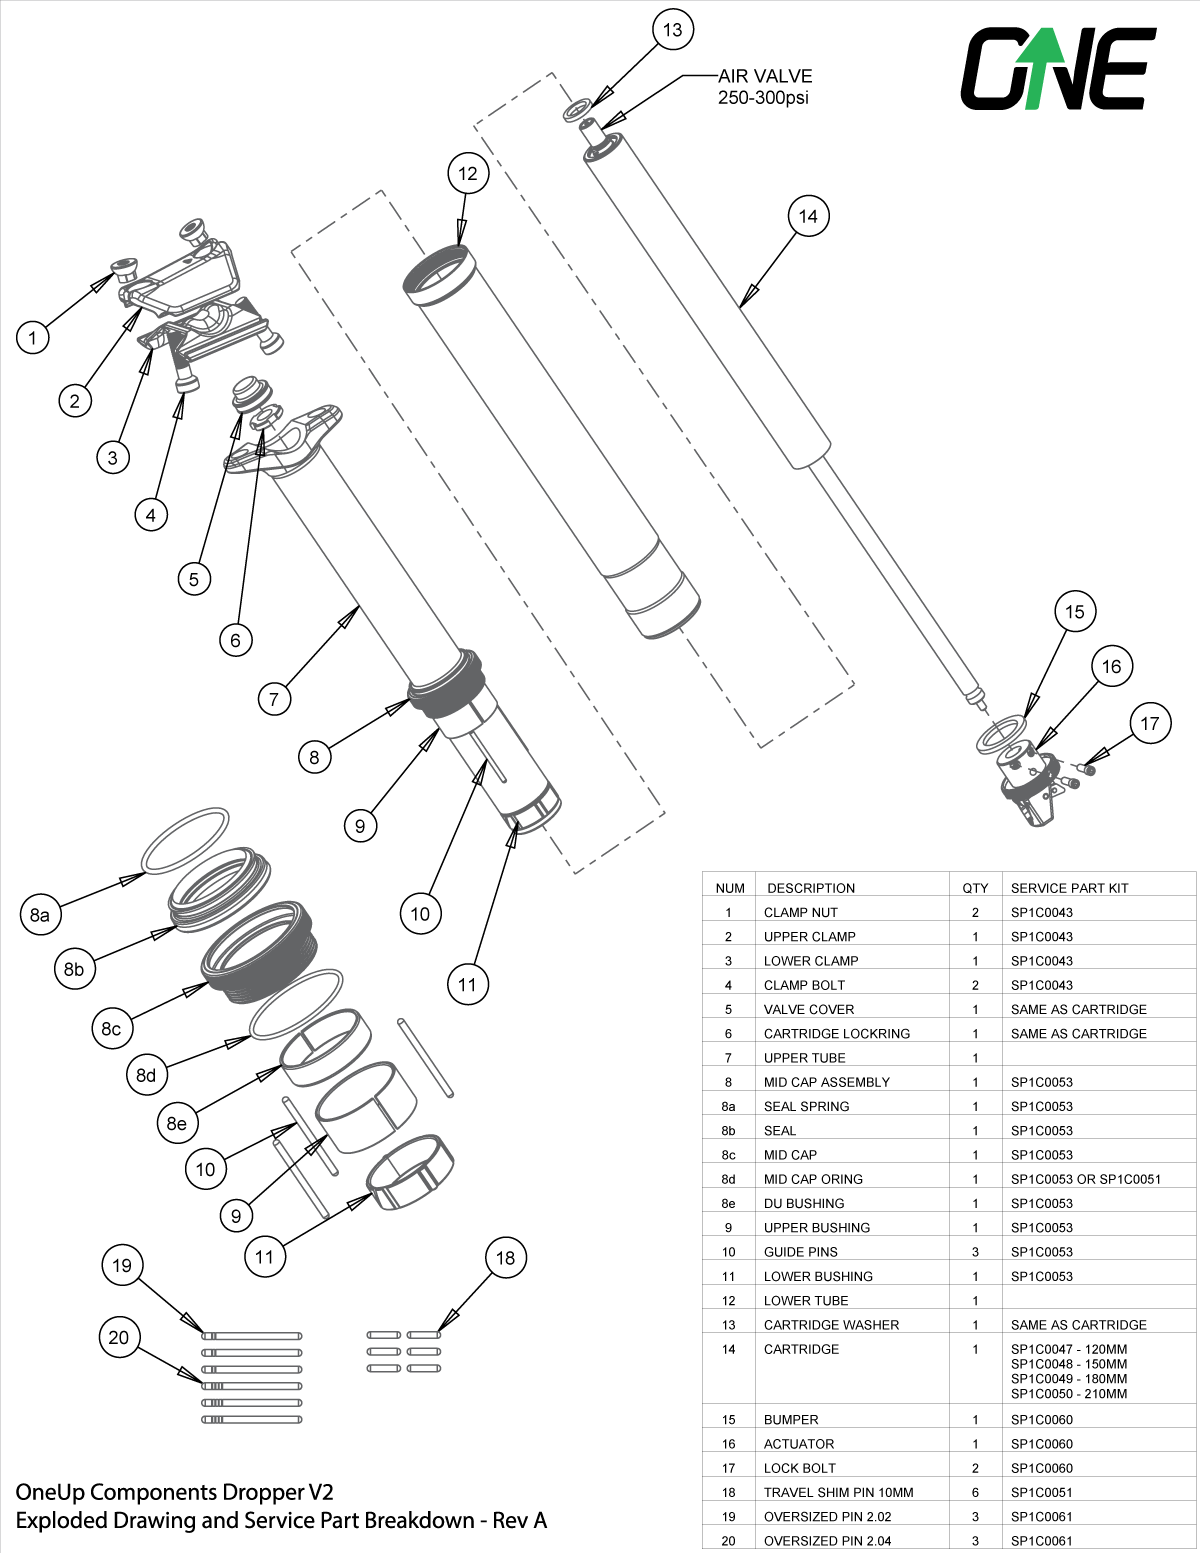
One hop-up for this post that I believe will work is using a Fox Transfer Cable Bushing (#225-00-052) for the connection to the post actuator. It seems that the manufacturer of this post had intended for this to be used but it wasn’t included in the kit. It will smooth out some of the movement. Will confirm this in a few days. It would be nice if the Fox Shox Transfer Index Pin 31mm (221-00-035 to 221-00-041) were usable in this post for reducing free play. I’m told that the bushing will be included in posts as a part of a running change. That’s good news.