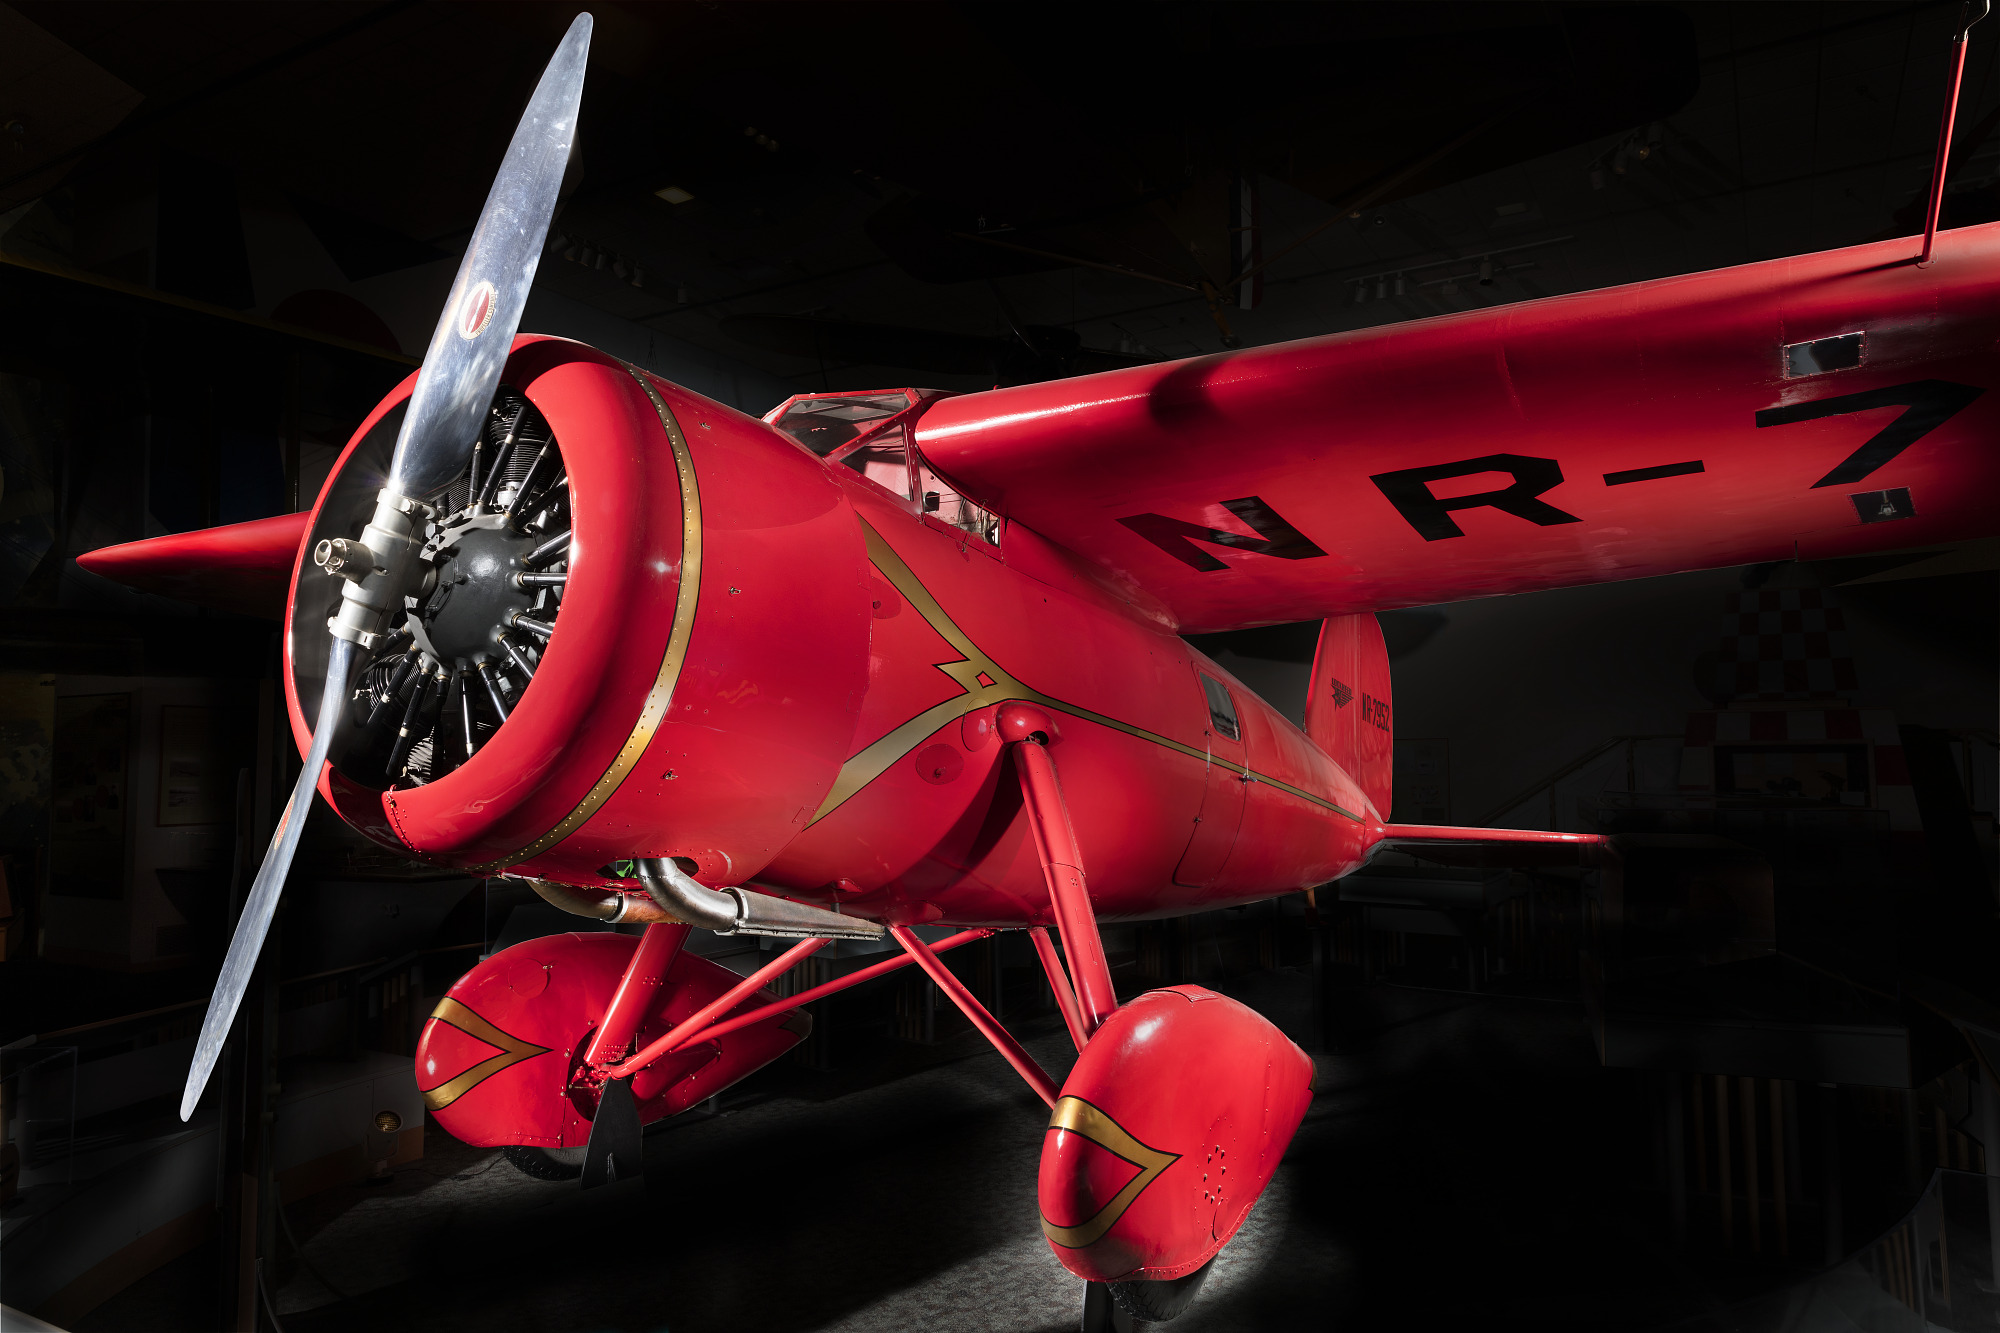
This is one of the big ones….hold on!
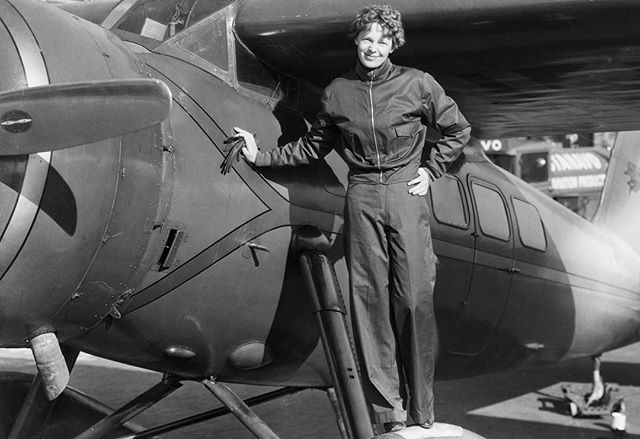
The Lockheed 5B Vega “Little Red Bus” is the airplane Amelia Earhart used to set two of her major aviation records. In 1932 she flew it solo across the Atlantic Ocean, only the second person to do so and the first woman. She was the first woman to fly nonstop across the United States in the plane, also 1932.
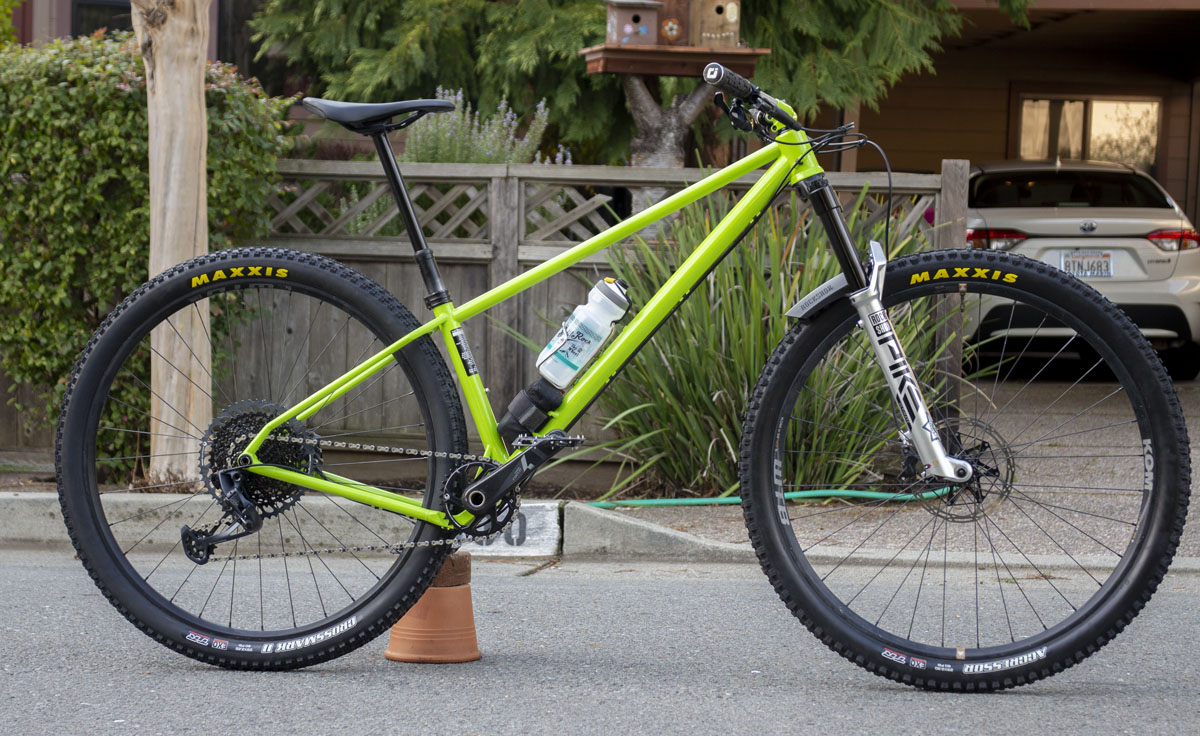
It was time that Windy had a new hardtail mountain bike built for her. So much had changed since January 2018 when the Glennis dropped. The Glamorous Glennis had become dated and some new hotness was in order. Five years! Hell, so much has changed in the last two years. Crazy handlebars, post-forward geometry, 3D printing, narrow cranks, and a google more maturity in design. This was going to be a hard reboot. Sure, Windy just got a fancy new full suspension bike early last summer. That meant that I needed to throw down with something that could be even more tempting for her to ride than that.
That’s the trick for us hardtail builders: making a hardtail bike that is favored over a full suspension bike.
The new geometry got tossed around for a while. Back and forth it went, mainly trying to place the fit just right. Measuring and imagining, over and over. Windy isn’t a great help with testing. This is why fitters get paid: to make the call with little or no feedback. Ugh. I had to use my eyes on the trail.
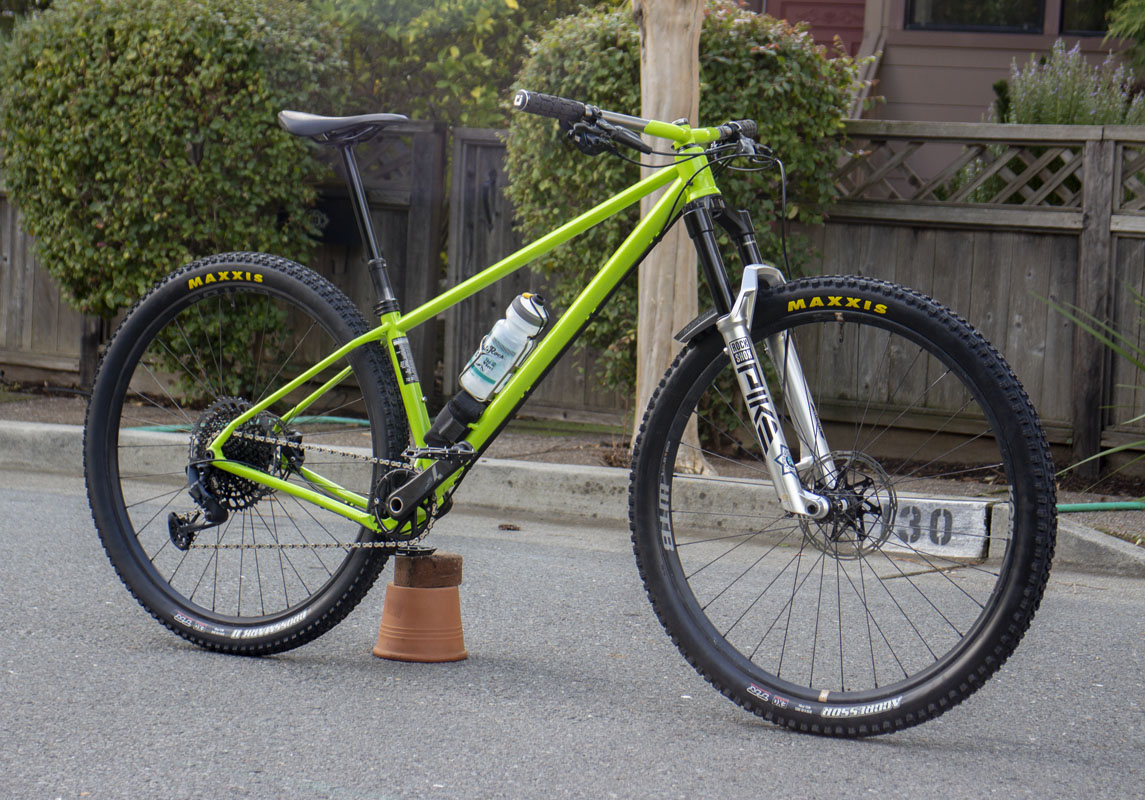
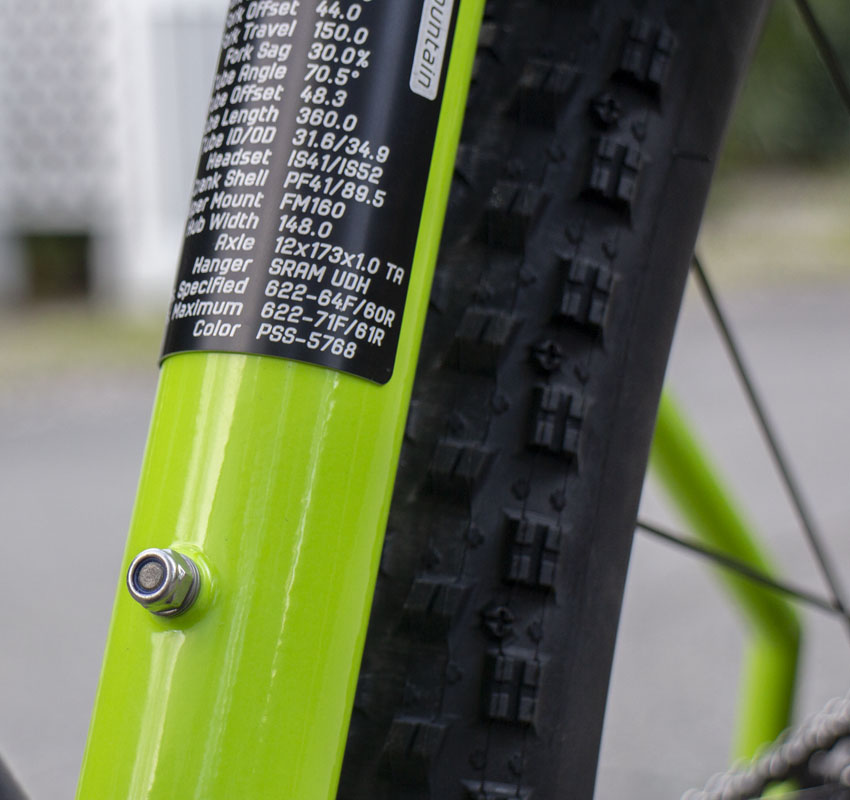
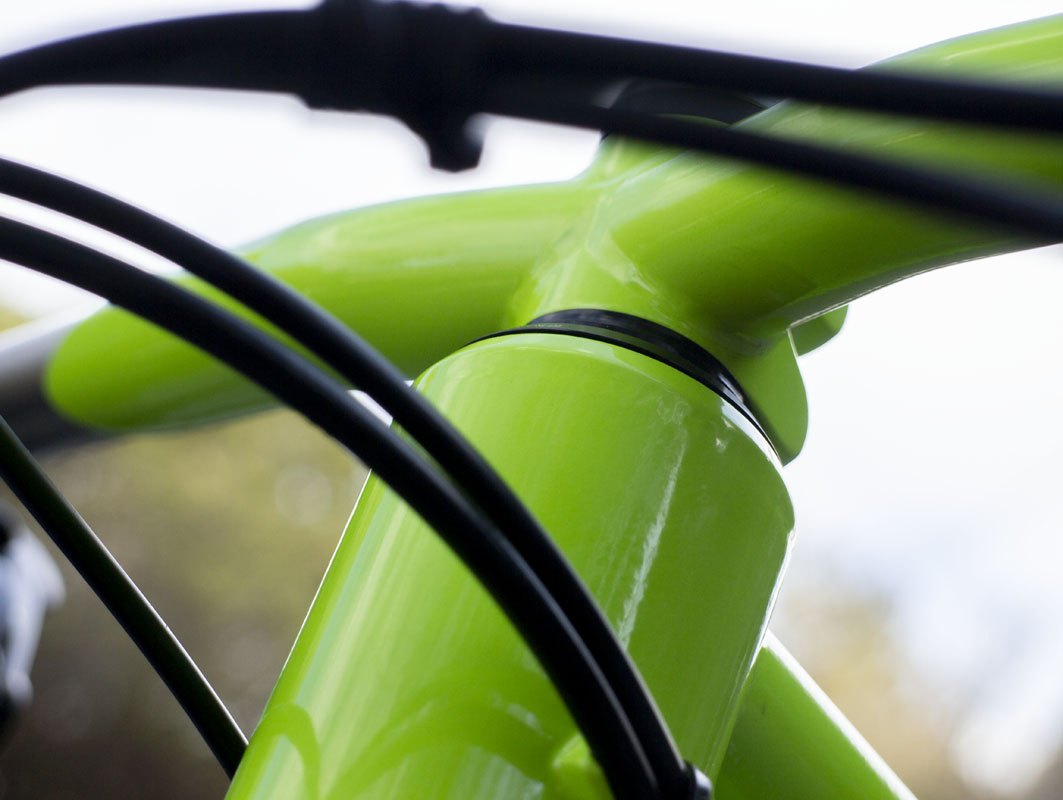
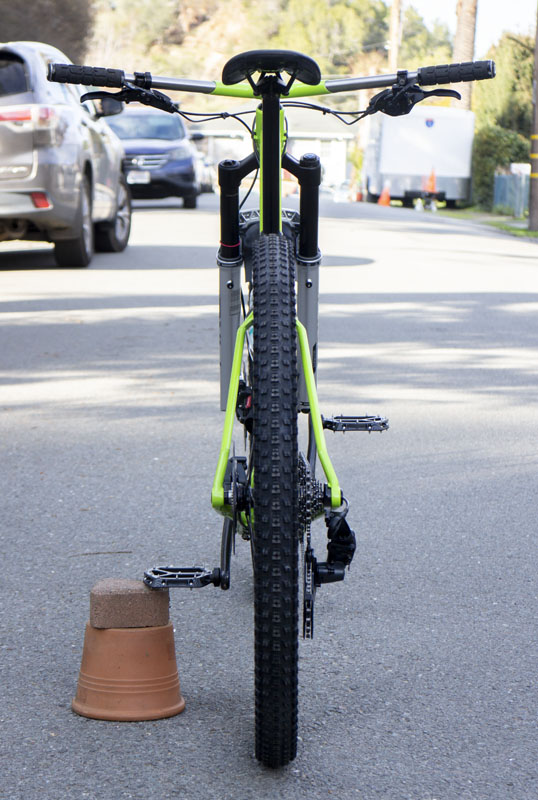
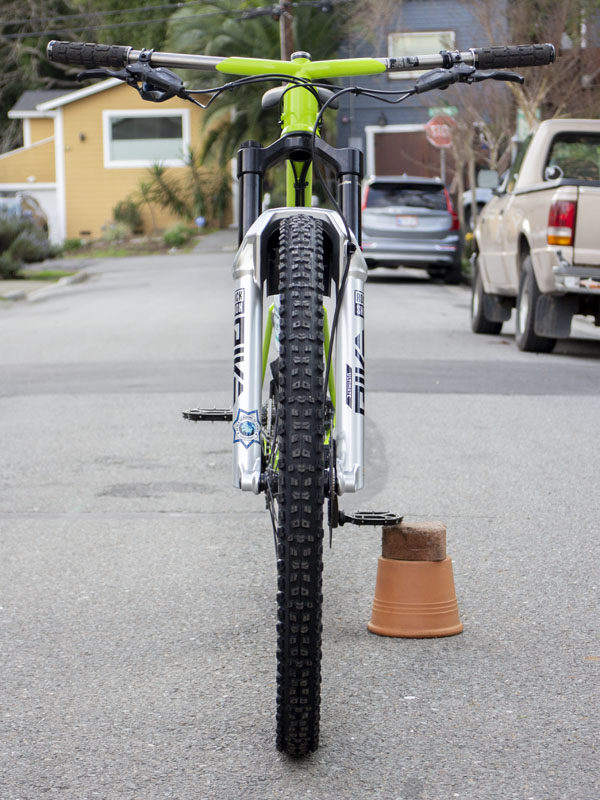
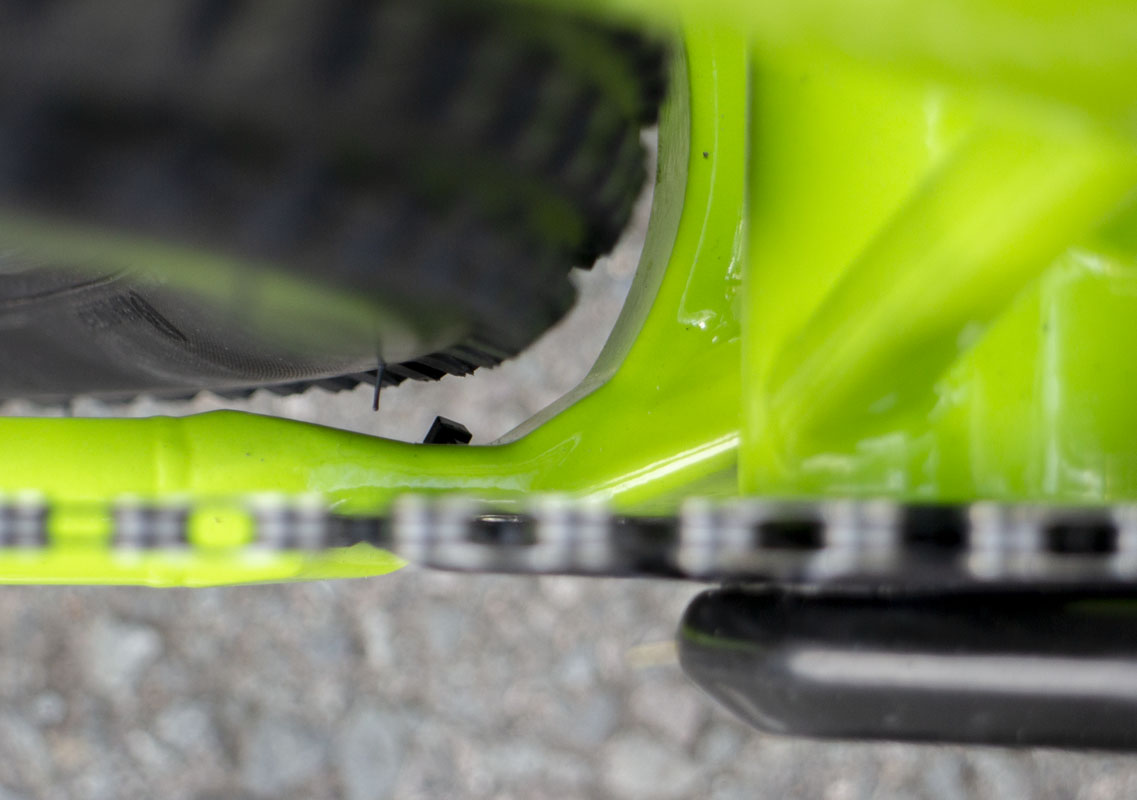
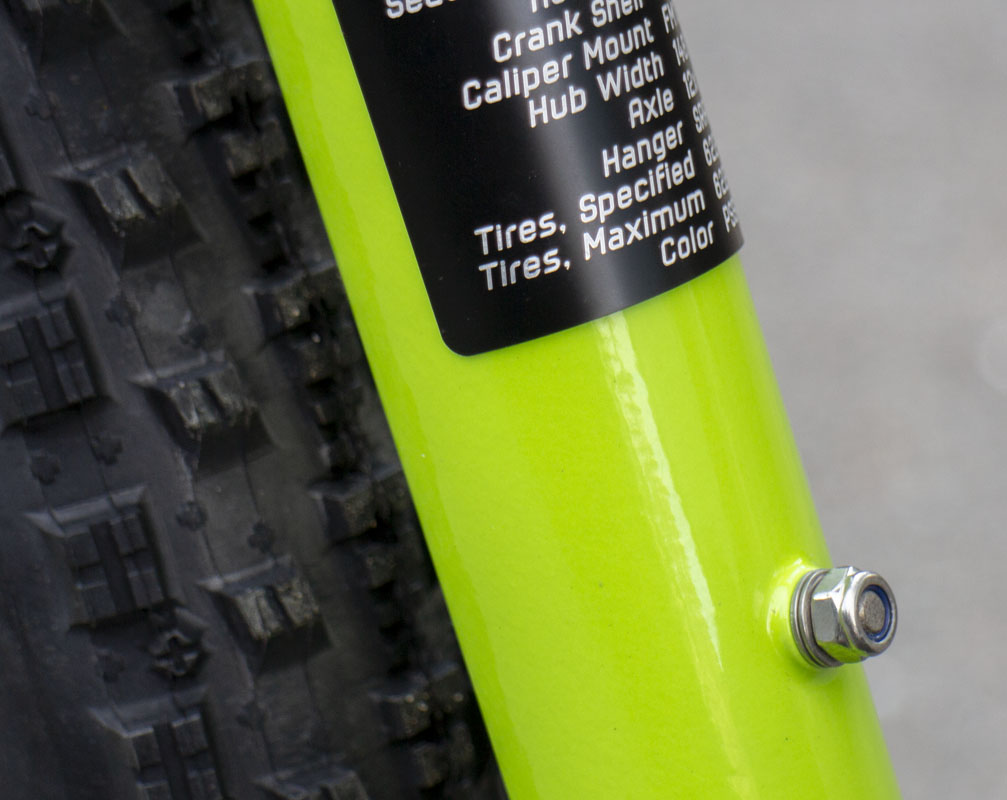
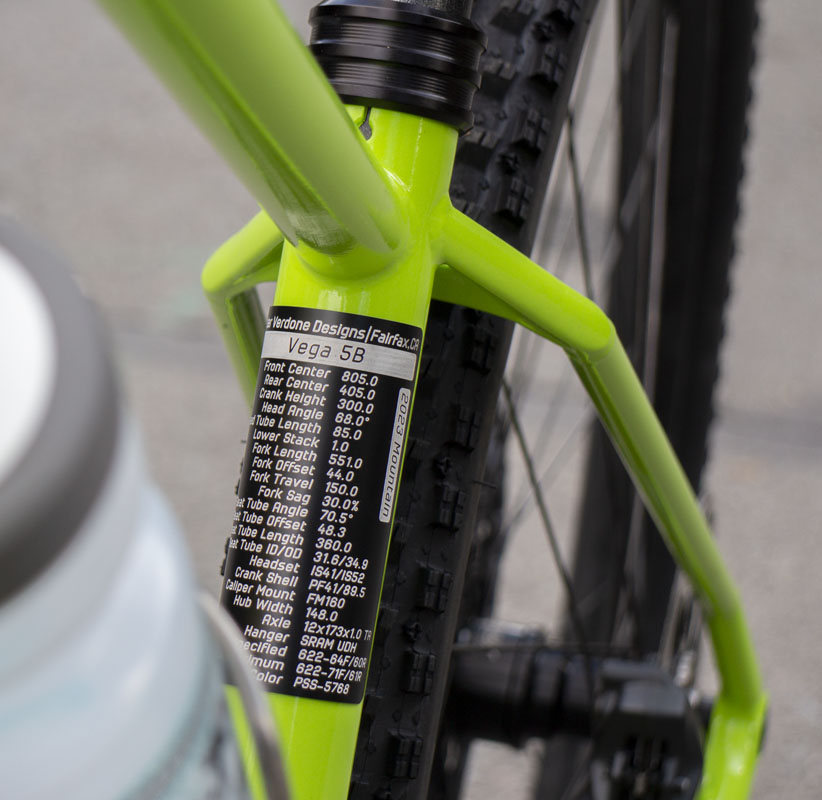
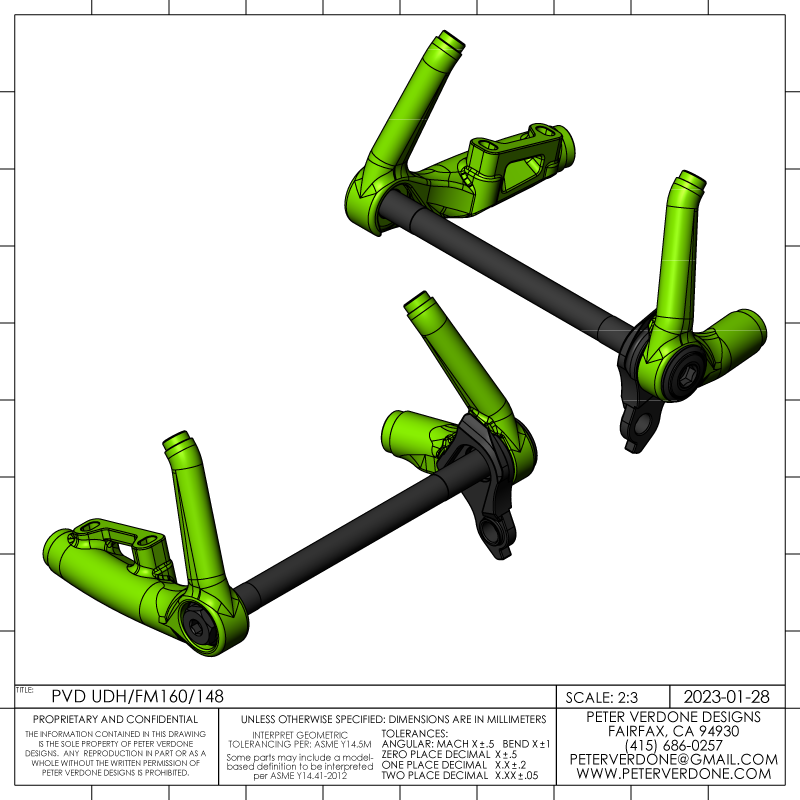
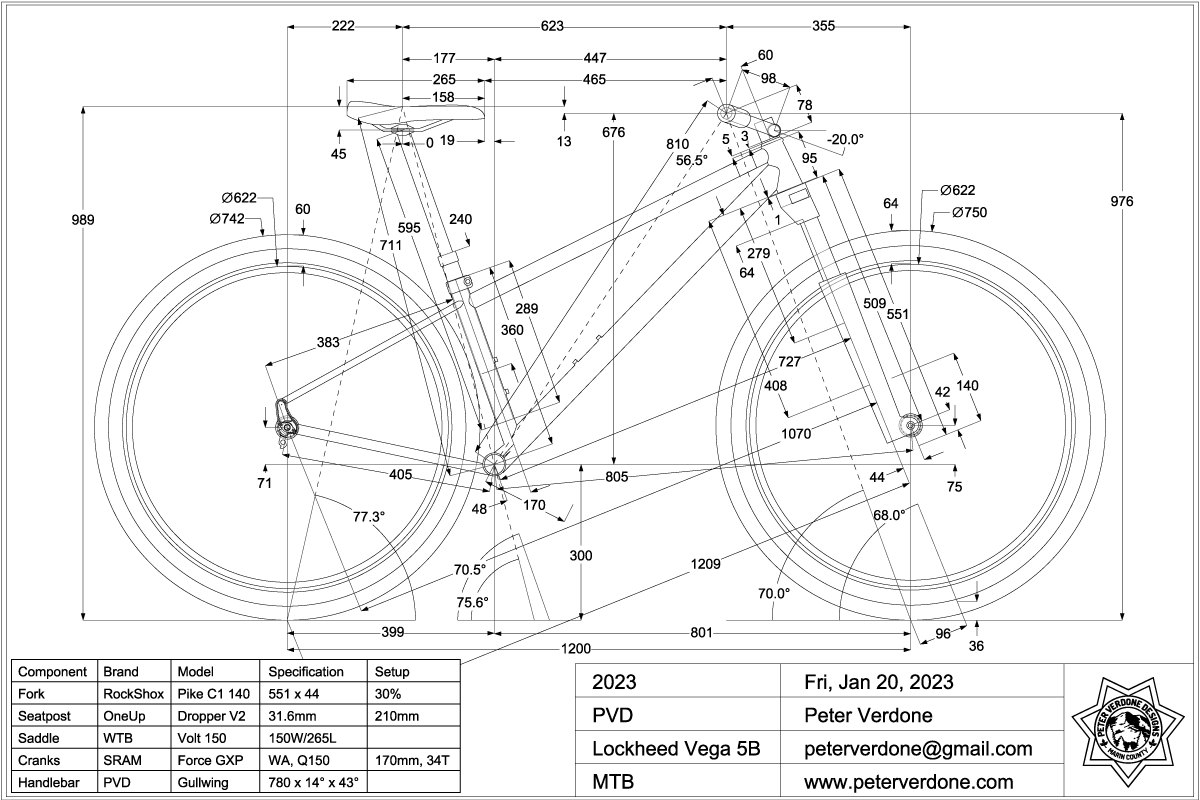
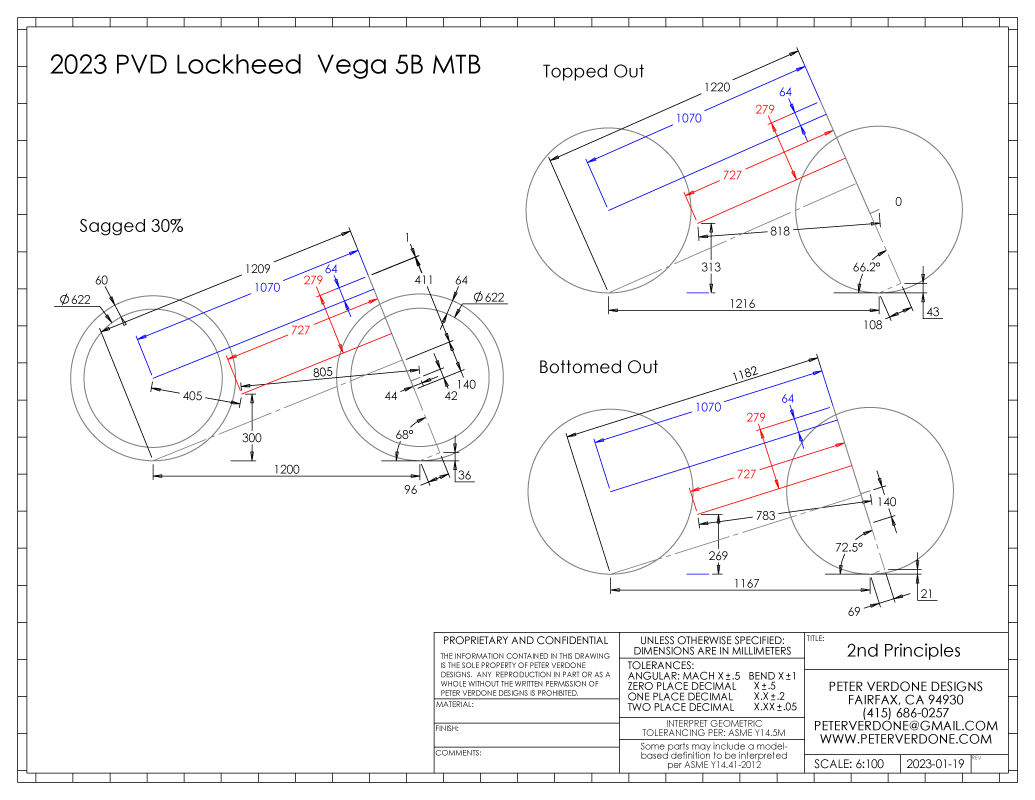
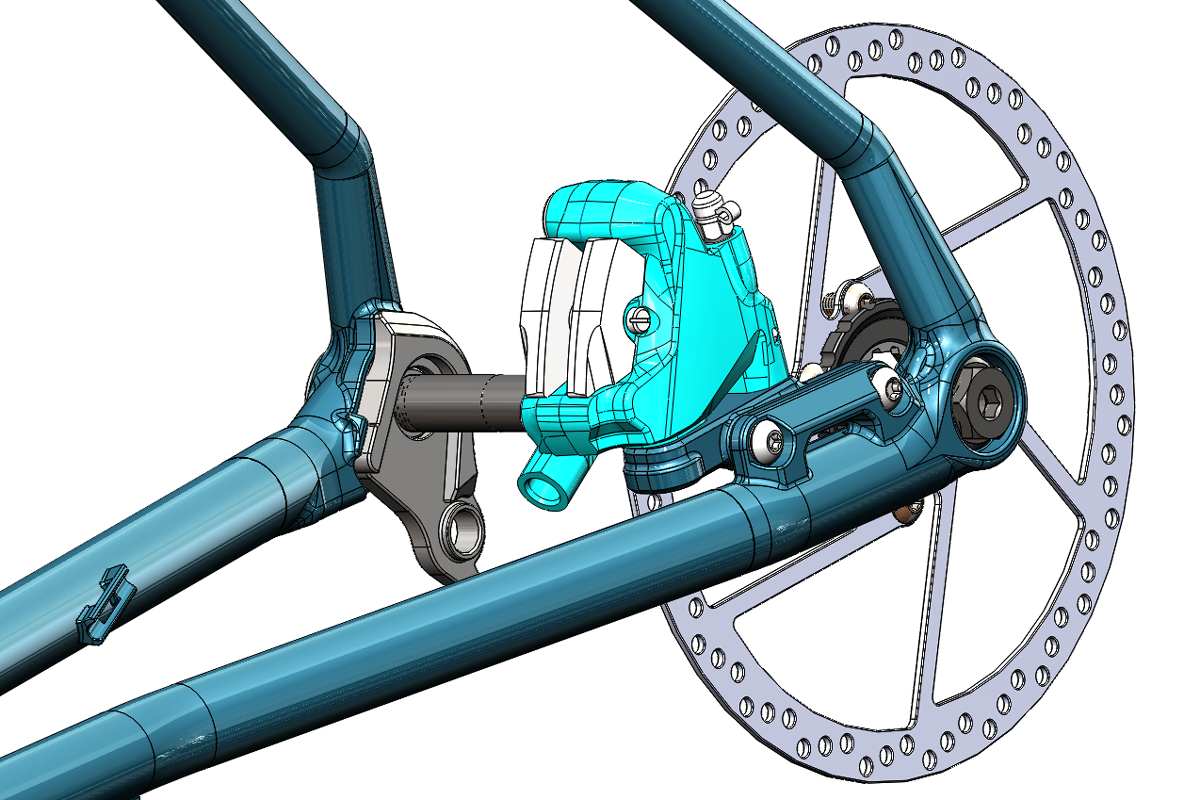
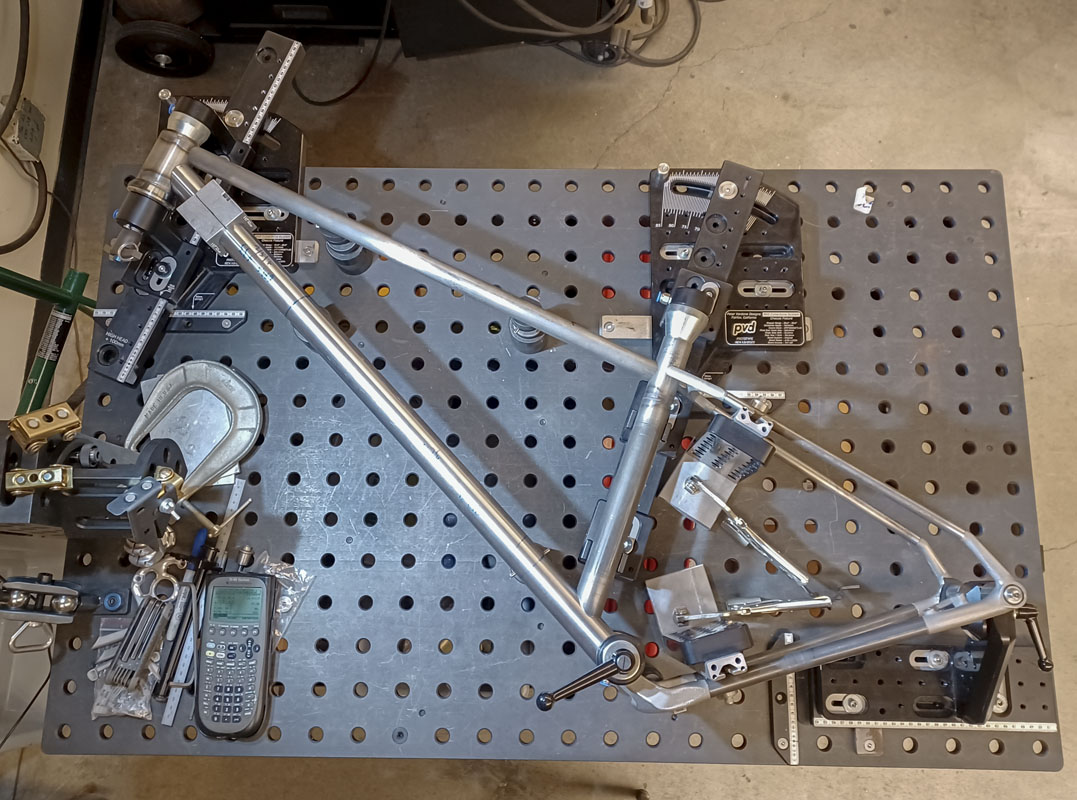
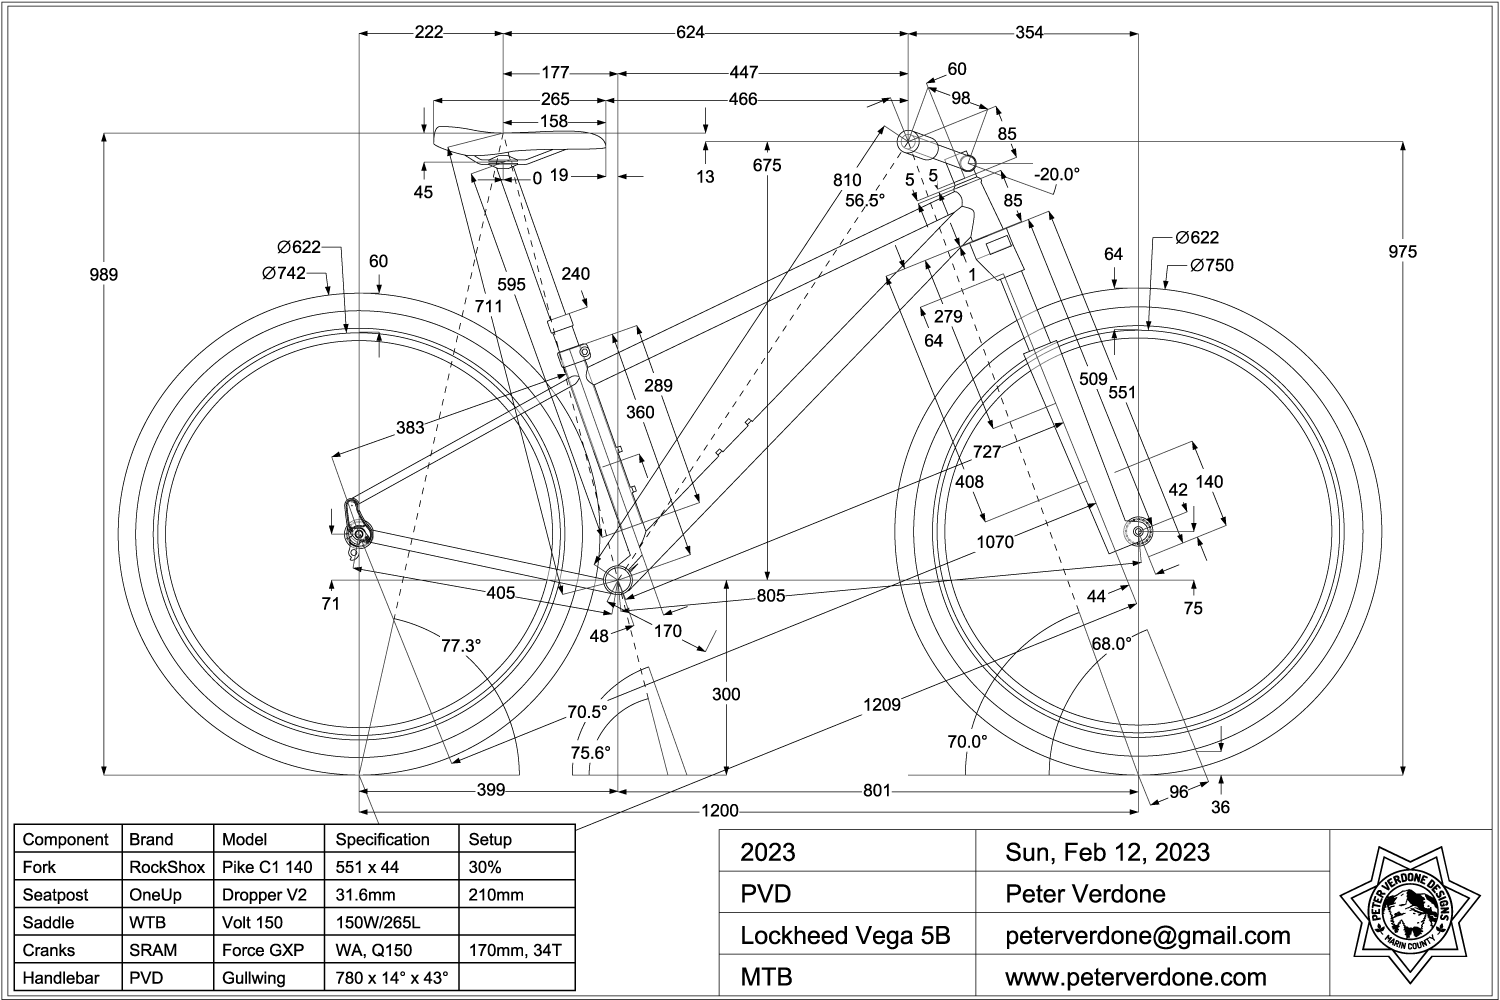
Post forward! Notice in the print below that the head angle on this bike is 68 degrees. That’s the steepest mountain bike head angle I’ve done in a long long time. This brings the wheel flop down to 36mm for an amazingly light feel, especially at lower speeds. It also gets the fork more active for a larger percentage of the ride. The front center at 805mm is aggro AF for a rider of this height. The rear wheel is tucked tight and the BB is low. The saddle is forward just enough to keep NorCal riding feeling good but with some pep up the hills. Wild stuff.
![]()
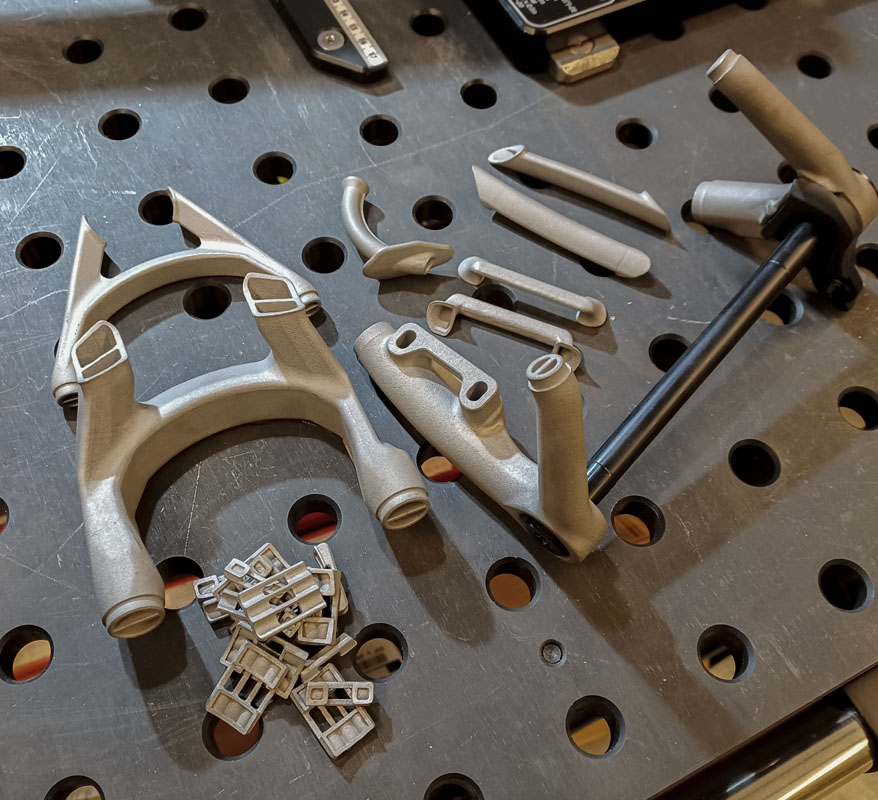
The solid model files that I had used to produce the Fighting Falcon had worked but I wasn’t entirely happy with them. Finding the proper shape of new parts is a challenge, taking multiple generations to get close. Learning to model for additive manufacturing takes prolonged effort after decades of thinking in another mode. I am slowly reprogramming my subtractive mind. I have some work to do.
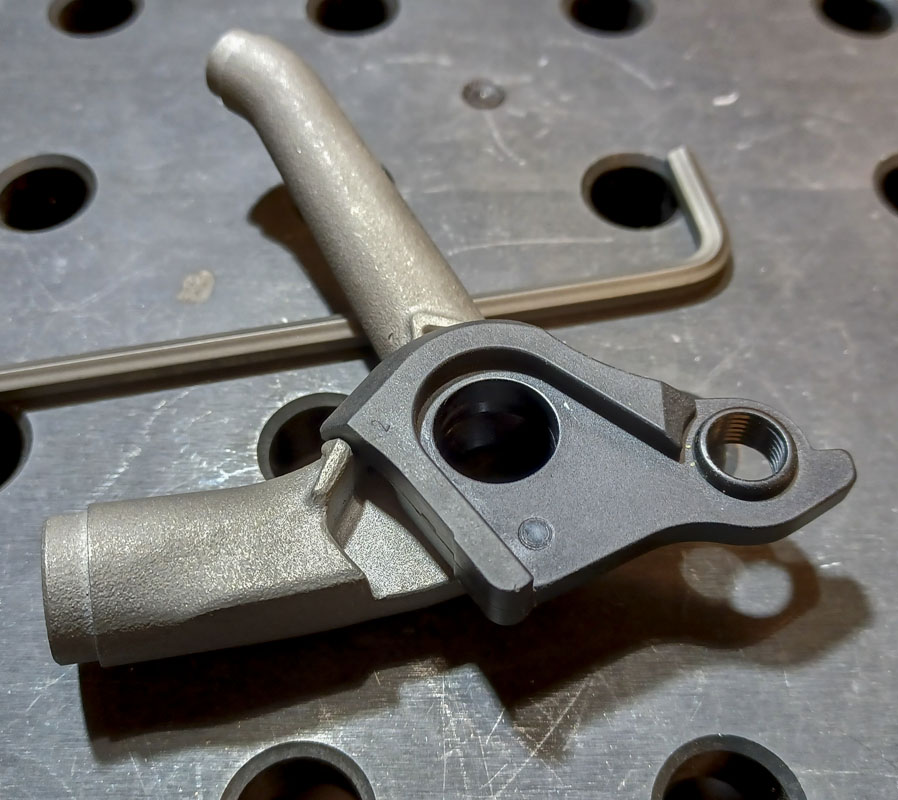
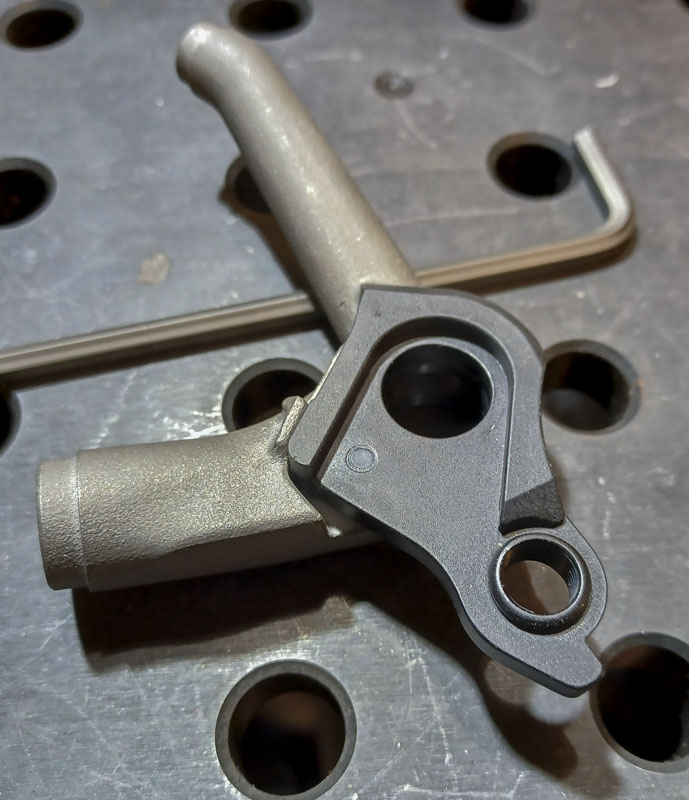
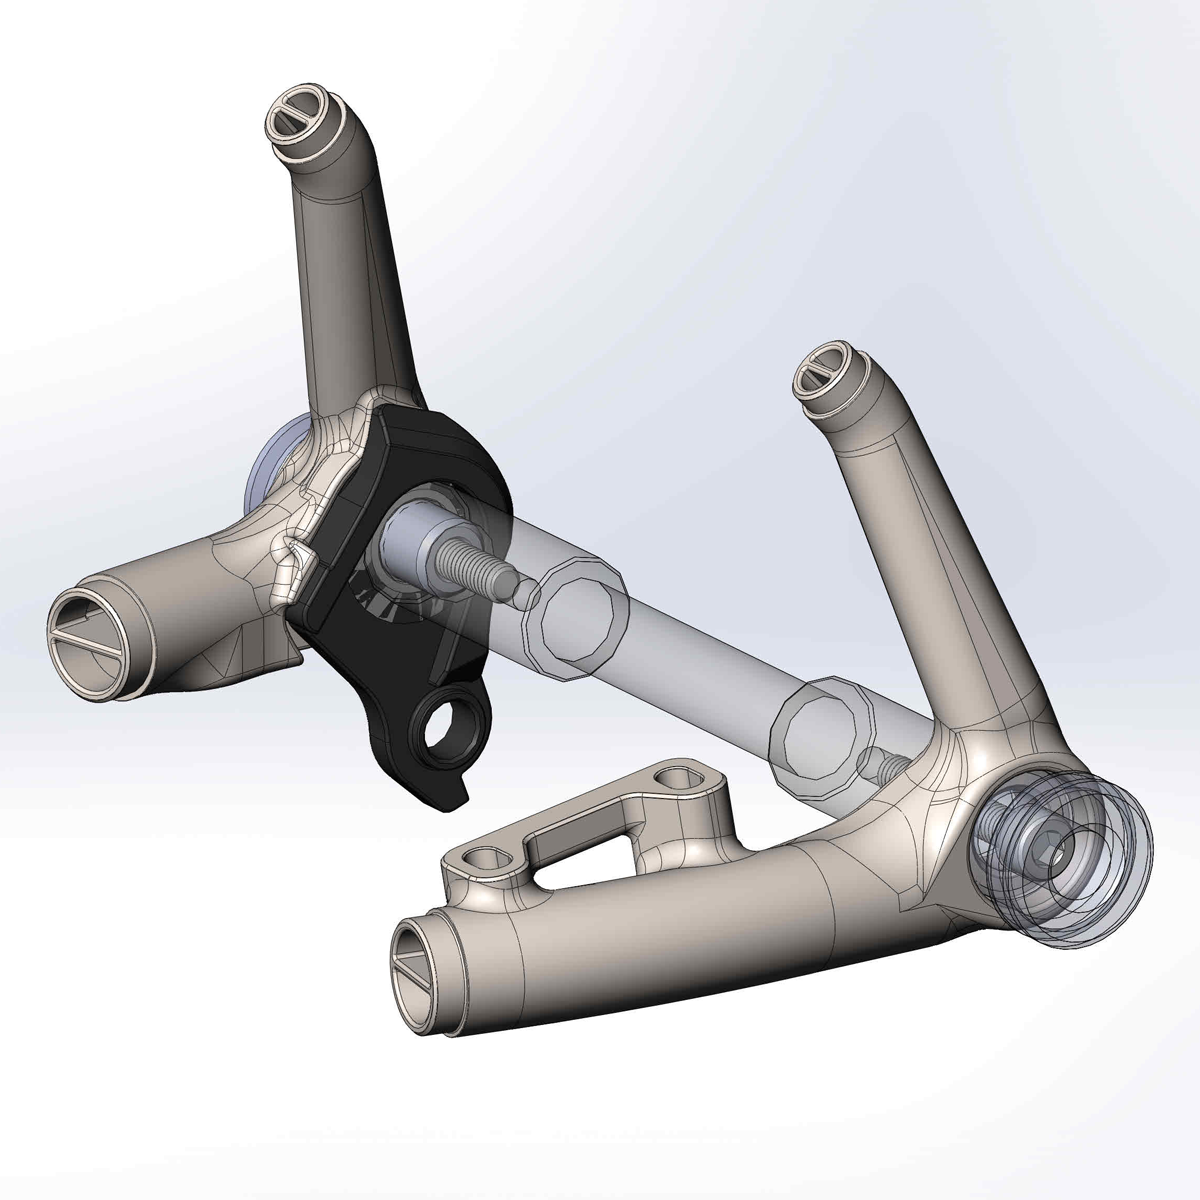
When I started into all of this, I began with a push of work to model new dropouts for the Paragon B4086 hanger. A ton of effort went in, mostly unseen in the model but all new in the feature tree. I came up with something amazing. I was stoked! Done! They were gorgeous and sublime. But right then it happened…COAX. Fuck.
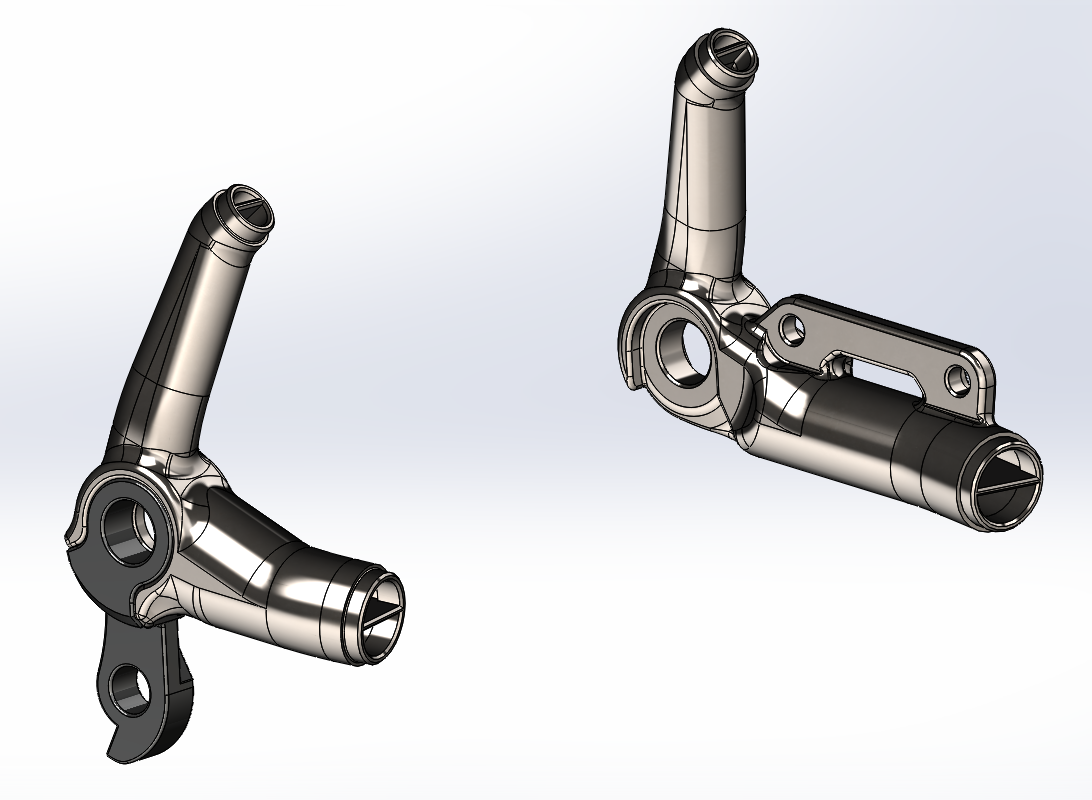
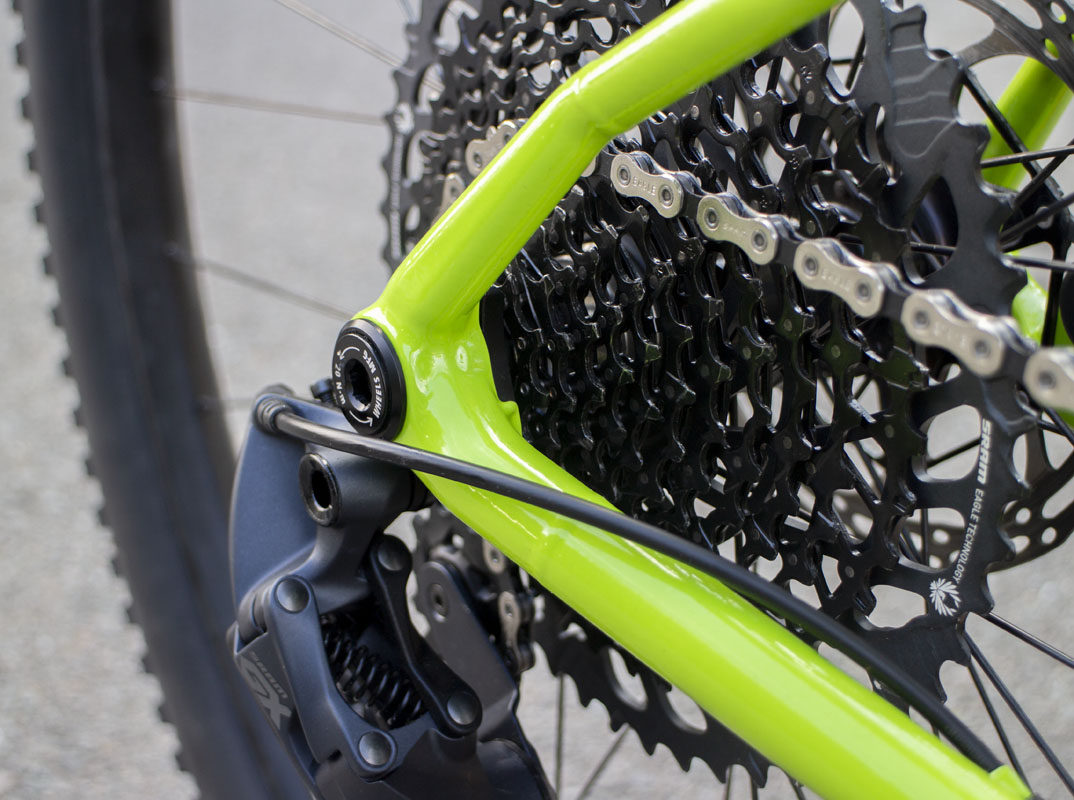
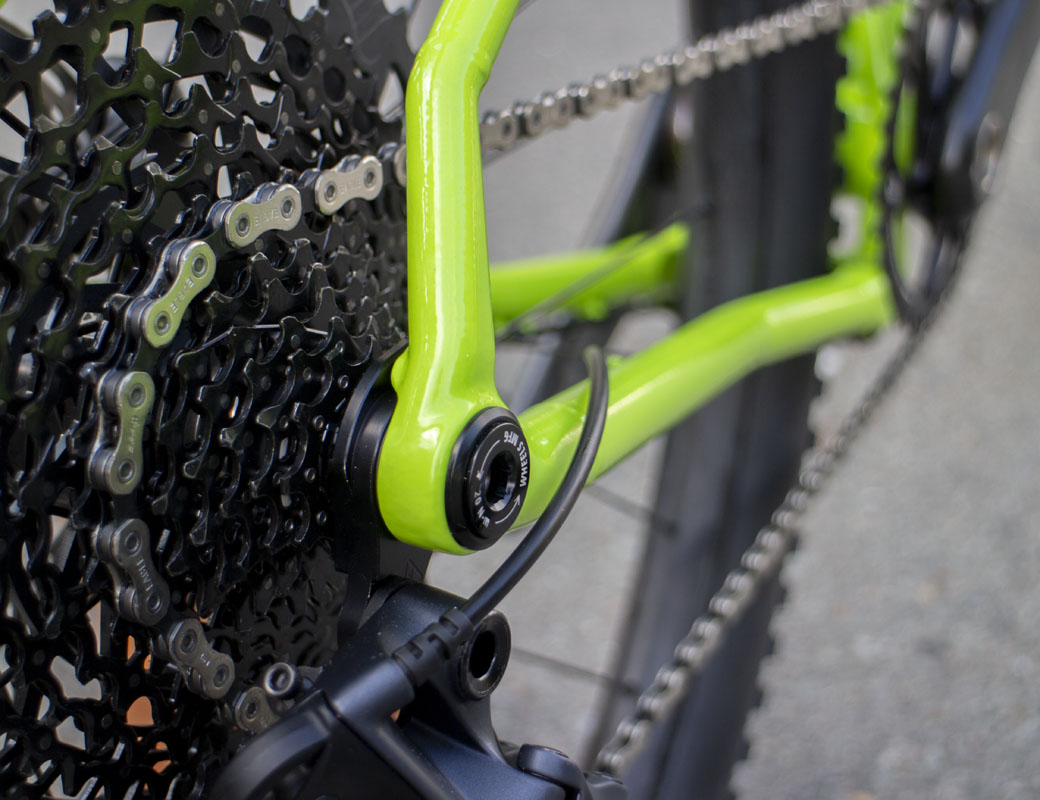
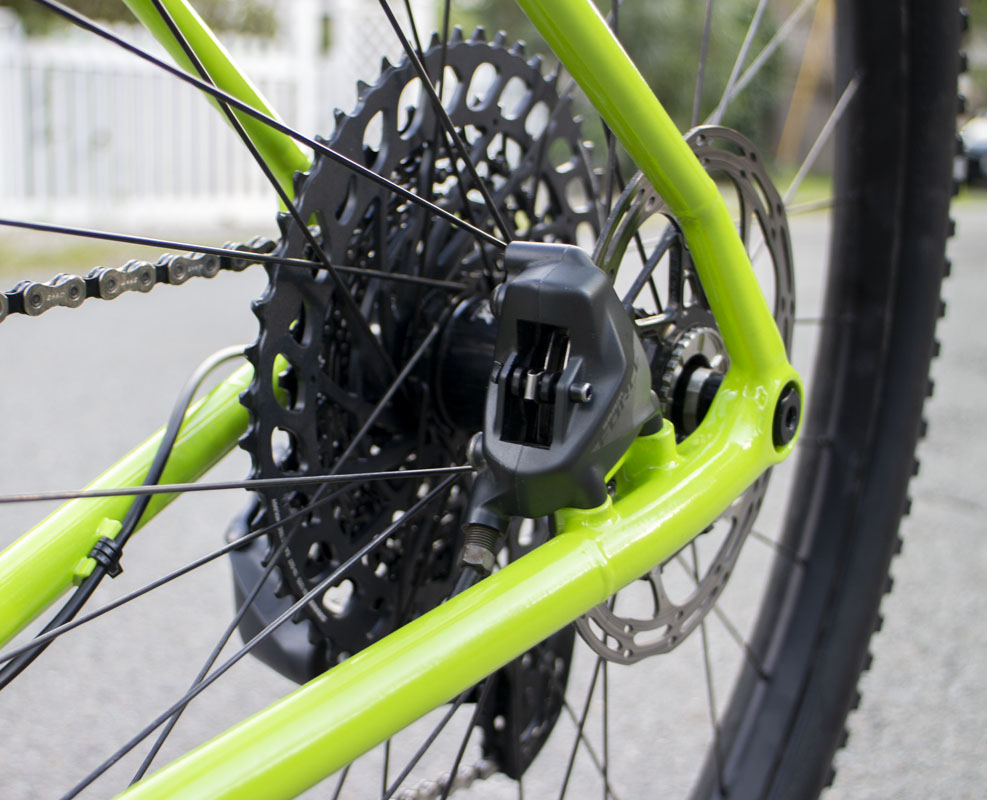
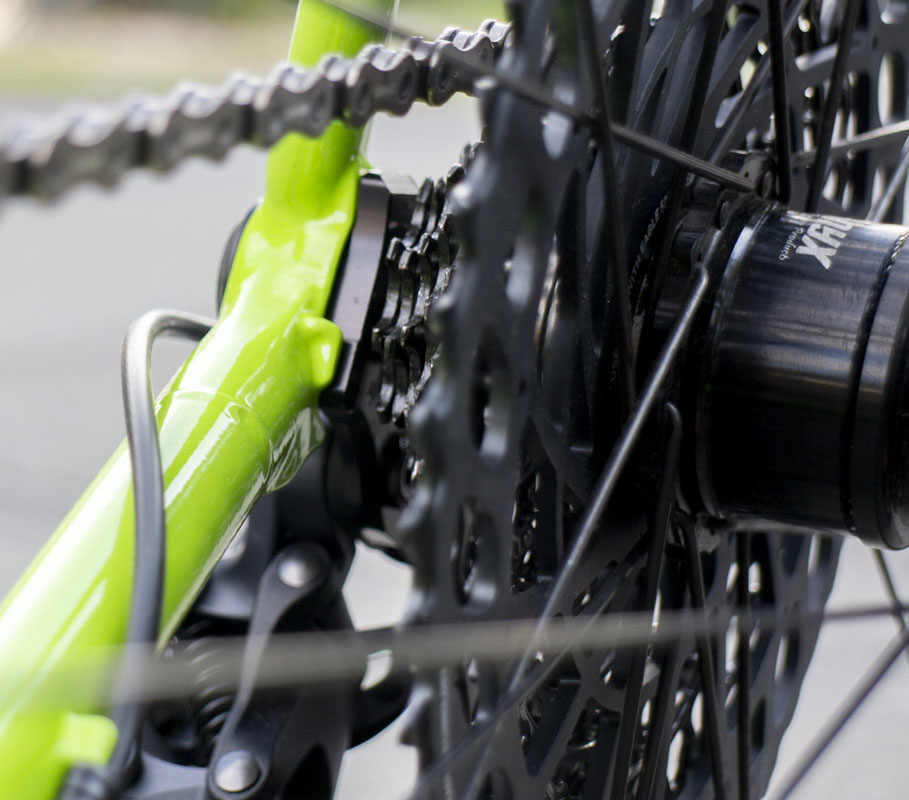
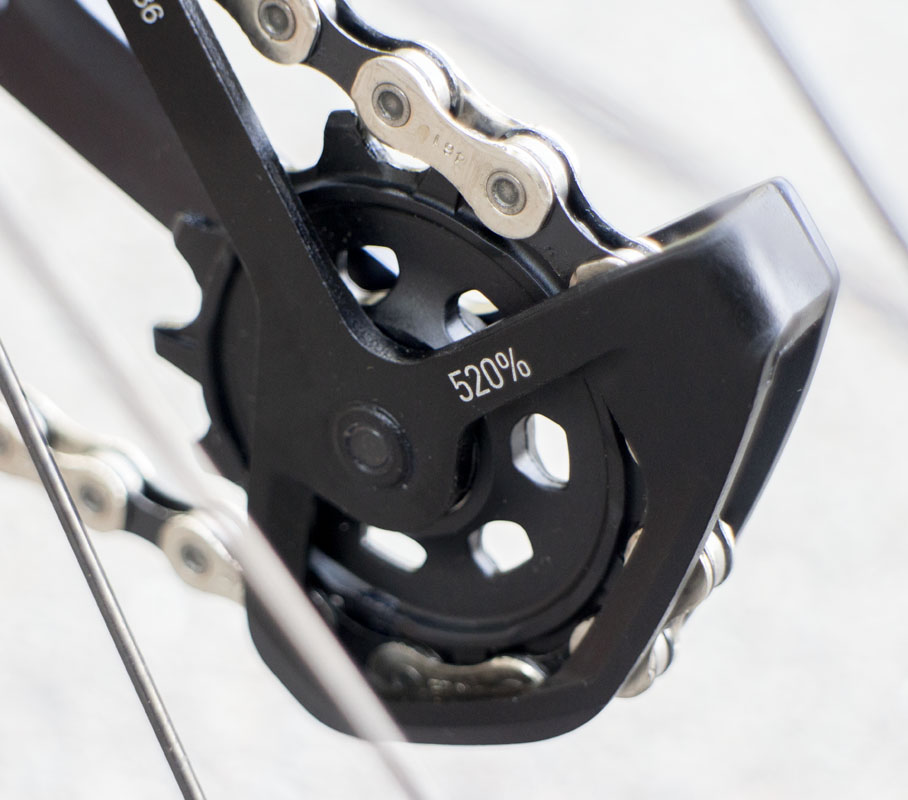
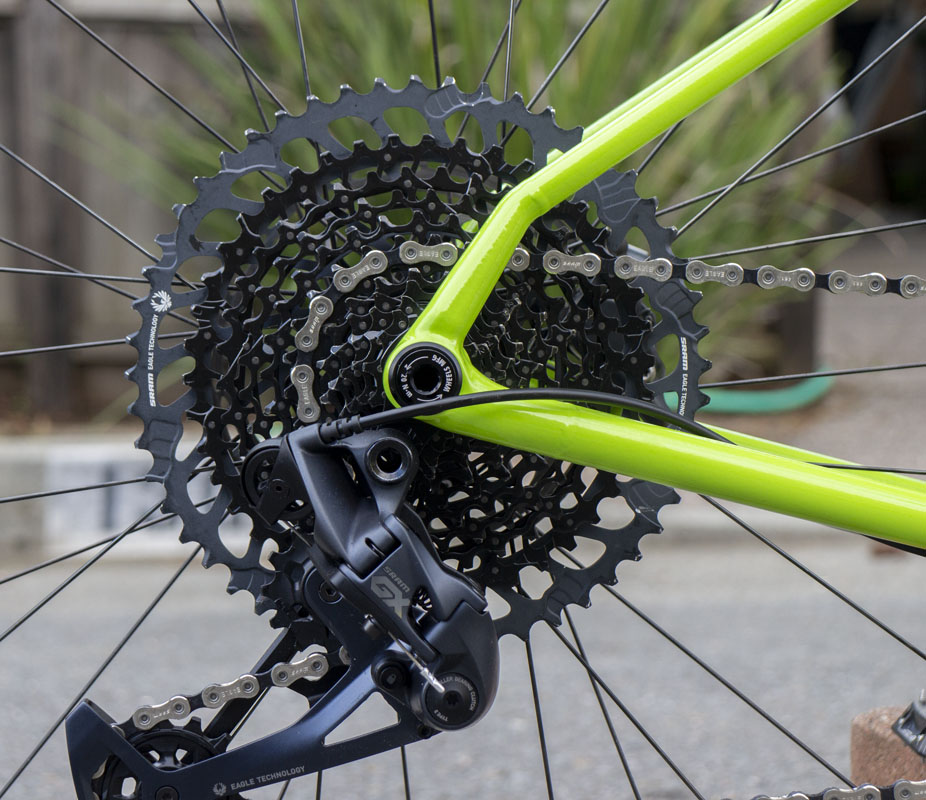
We knew it was coming but the day had arrived. Suddenly, my new dropouts were antiquated. The new SRAM COAX derailleur was spotted and the clock began ticking. In mid-2019 SRAM made it clear the direction that they were going. At the time, we knew it was going to take some time before this was going to matter as I had decided to wait until these were truly on the market before designing for them. COVID slowed things down some. The hope was that the spec would be refined or changed in some way so that I wasn’t spinning wheels for no reason. A mere four years later, they’ve arrived (ha!). No more putting it off. I needed another design. NOW!
The SRAM UDH is a tricky part to design around. It is difficult to fit into the frame in a way that isn’t clumsy, especially working with metal. It’s also extra wide on the drive side. This is counter to everything I’m trying to do at the rear of the bike. I was hoping that we’d see some changes but nothing has been shared yet.
Another issue is that we (anyone outside of SRAM) only has the UDH spec and hangers to infer from. I wildcat plenty of specifications in my designs to get more from the parts than the specifications would allow. I can use risk to an advantage but not in the absence of information. I’m flying blind until later this summer when a real COAX derailleur can be in hand.
It took about three weeks of hard modeling. I redesigned the dropouts while I also rebuilt every other model I use in the bike from the ground up. I learned a slew of new techniques that make more sense and produce better results. This was a deep dark CADhole.
Aside from the shape of the final part, the method used to model that part in the computer is critical to being able to produce good files. Everybody knows about using the shell command, but to successfully use that with complex shapes and thicker walls takes good strategy.
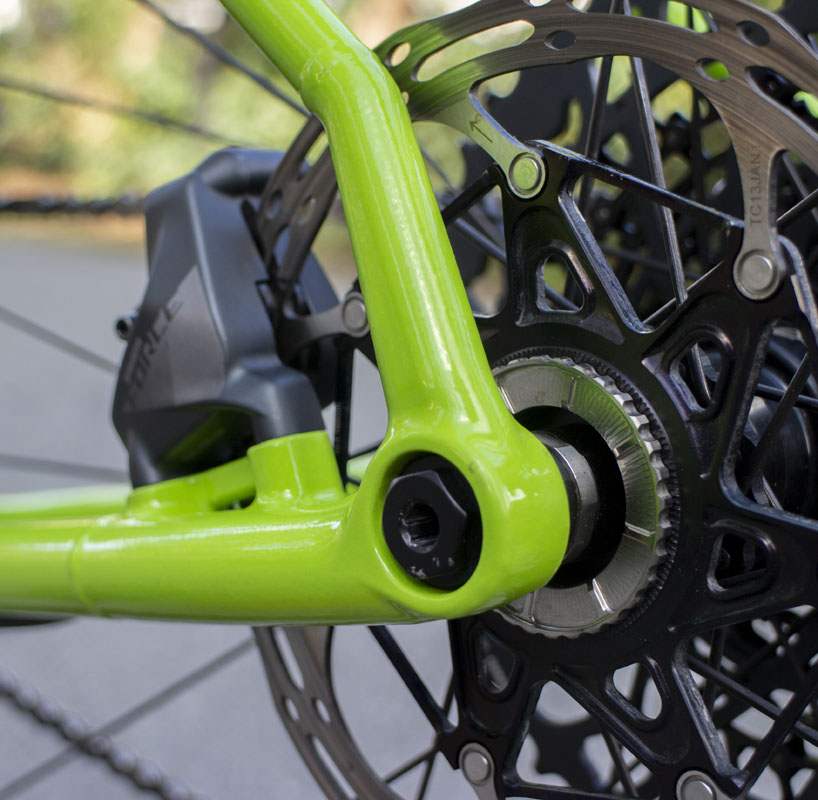
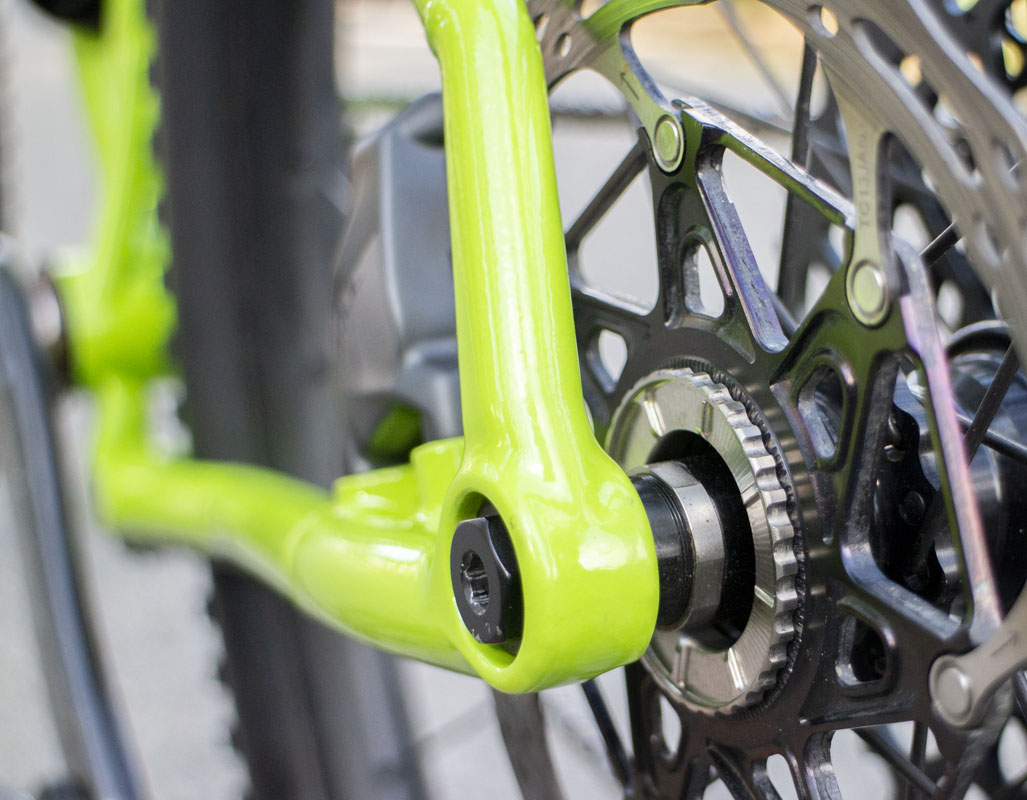
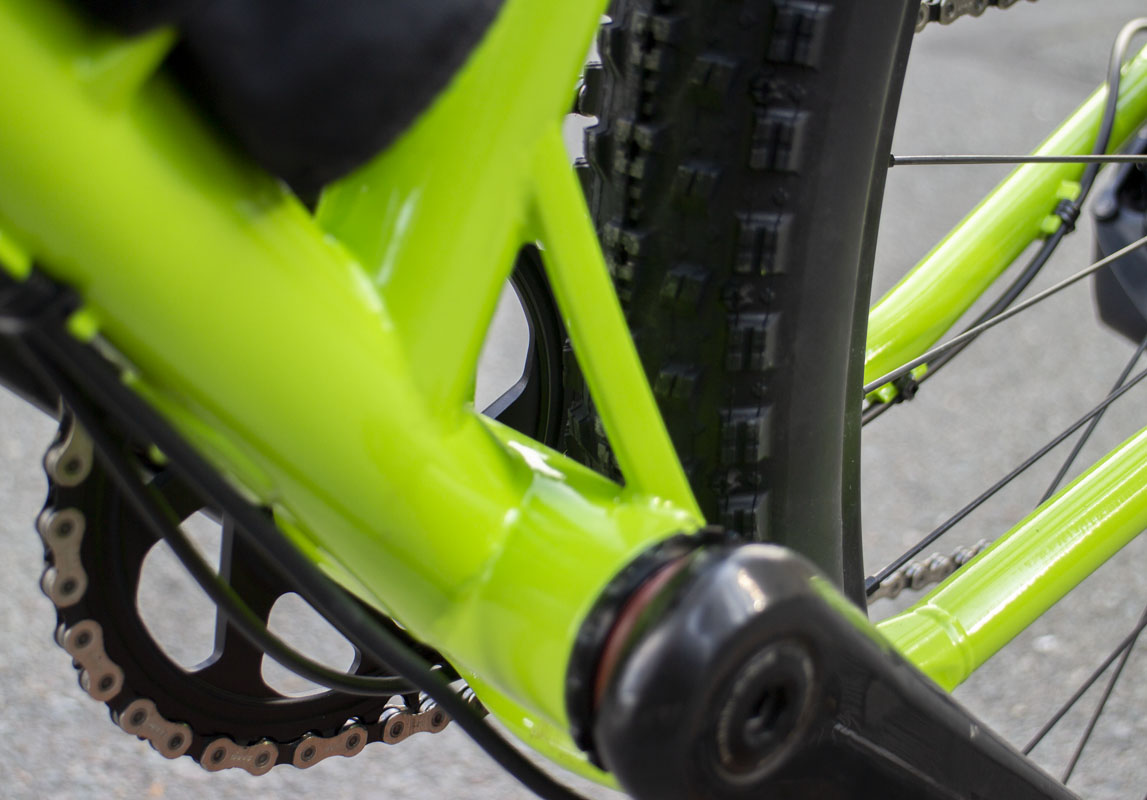
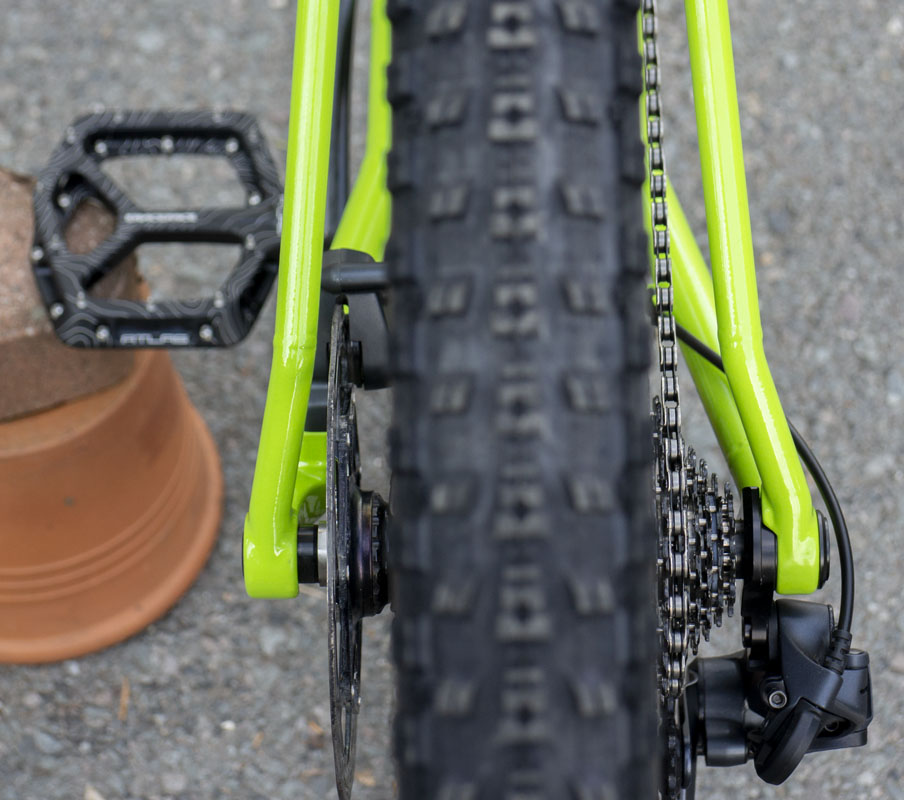
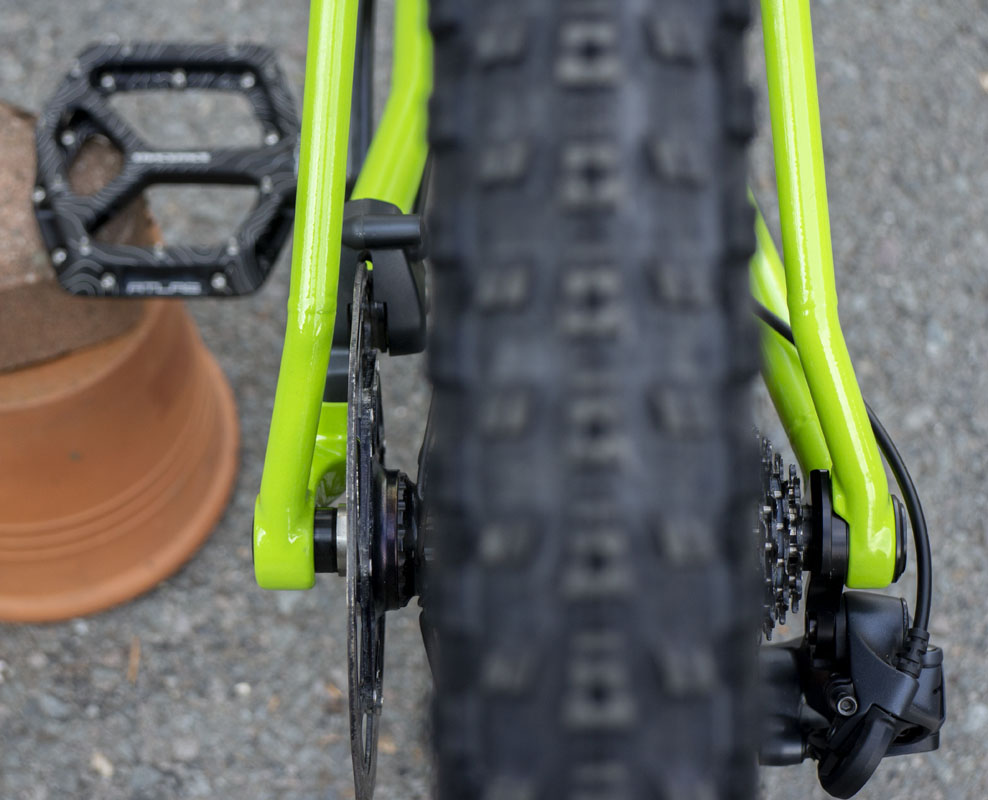
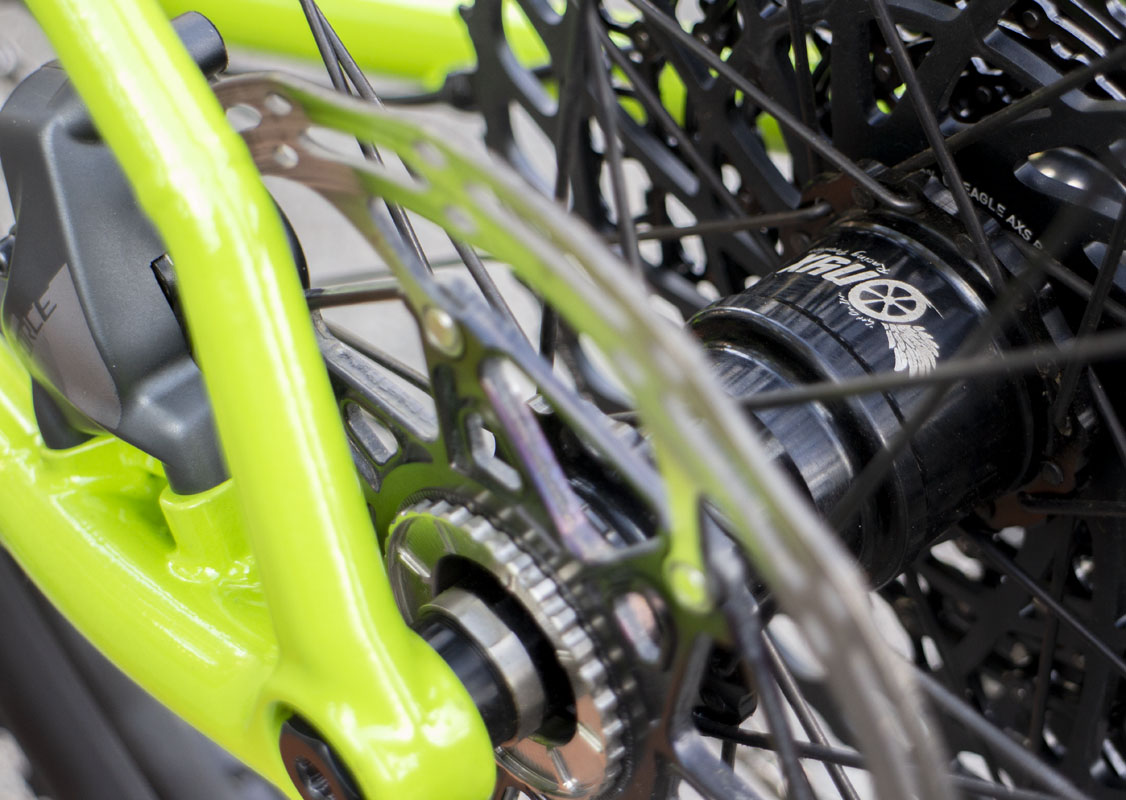
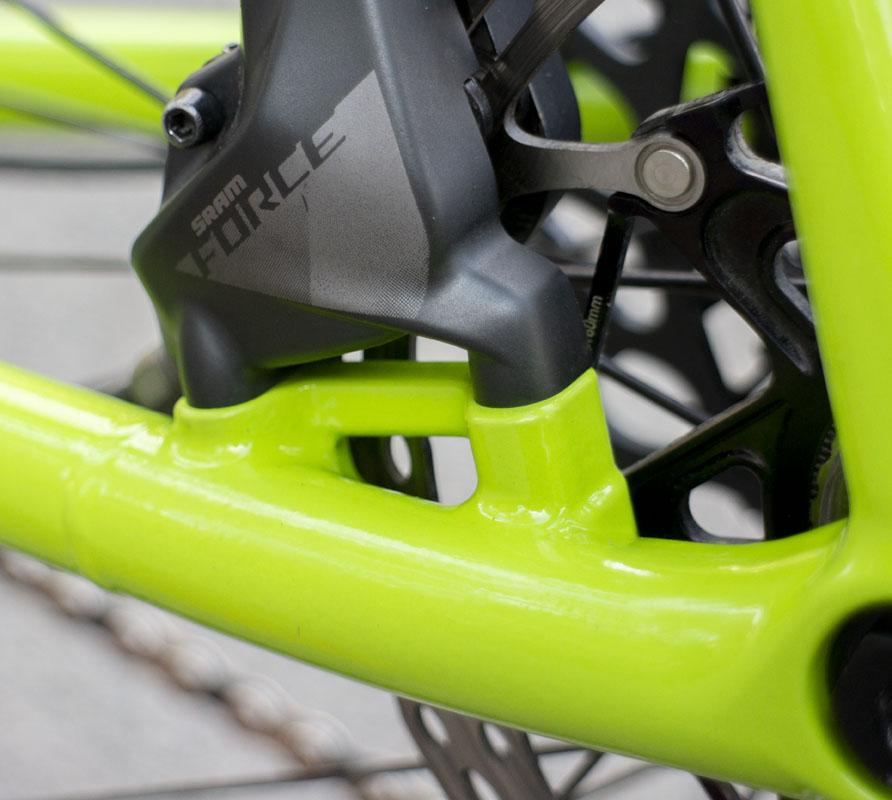
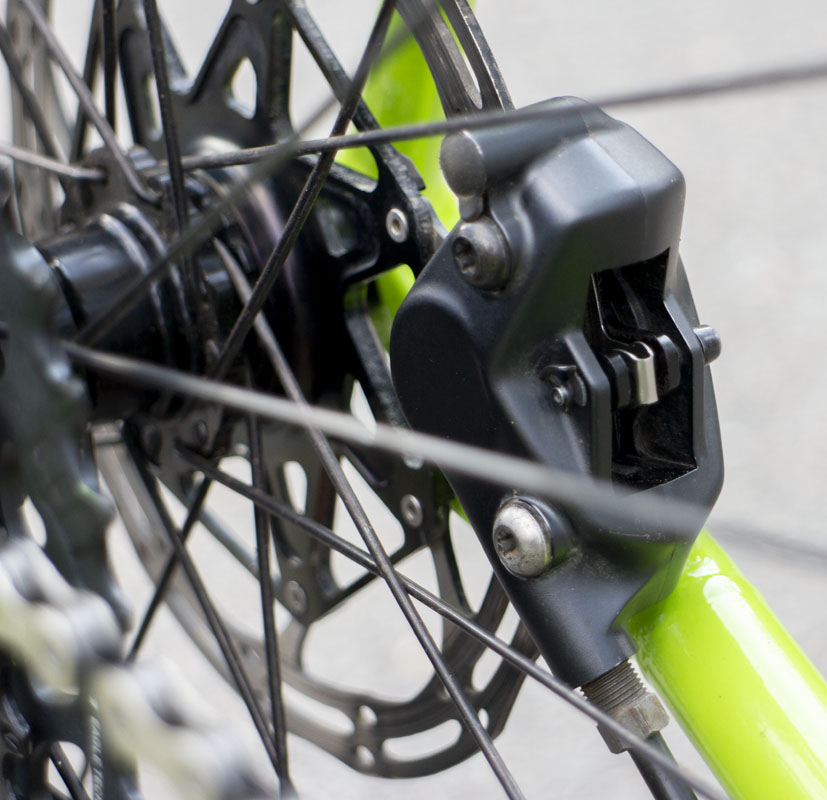
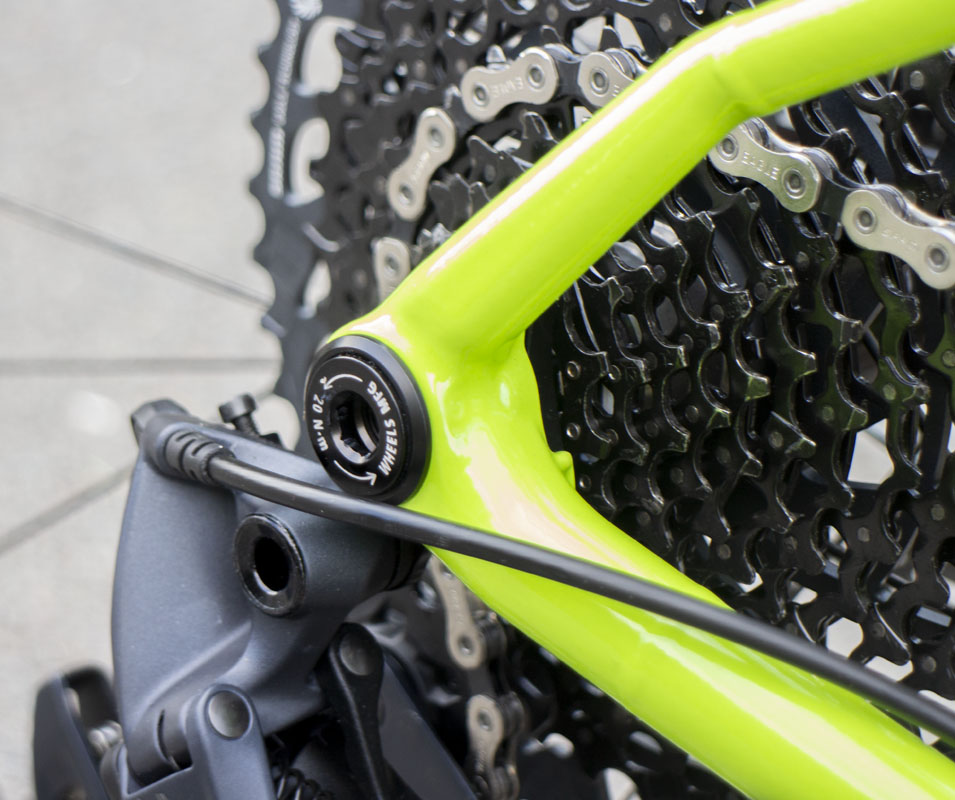
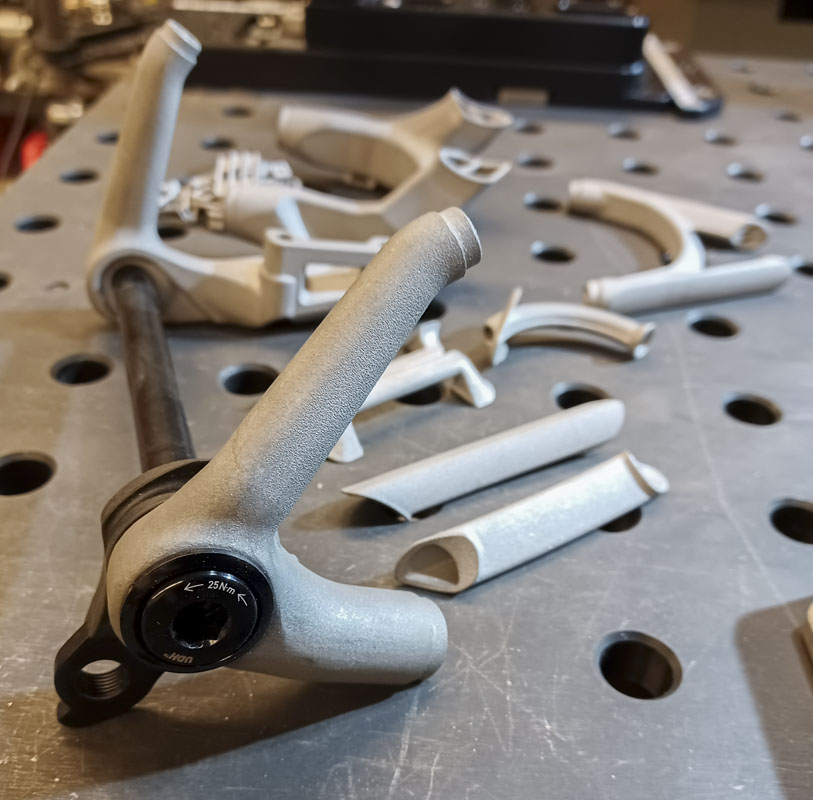
Brake mounting was changed. Initially, I was going to use my Sidewinder system in the rear. It is always important to to be able to use a flat mount or post mount caliper for a bike at this state of the art. Over time, it became clear that, especially for this bike, a flat mount 160mm caliper mount would be best, just like the Warbird. That took up another few days of modeling time but I’m happy with the result. Flat mount is so clean and tidy. I can’t wait for good four pot calipers in flat mount. Remember, flat mount mount bosses can mount flat or post mount calipers. Post mount bosses can only use post mount calipers.
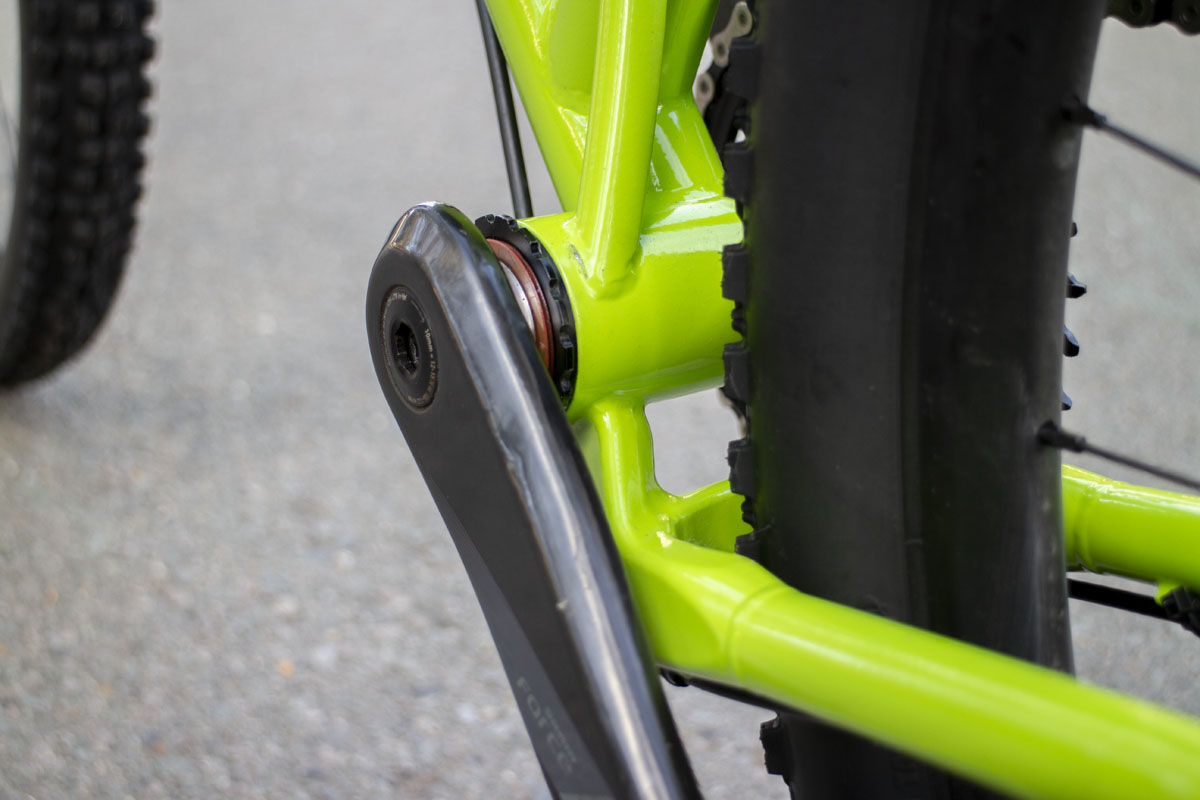
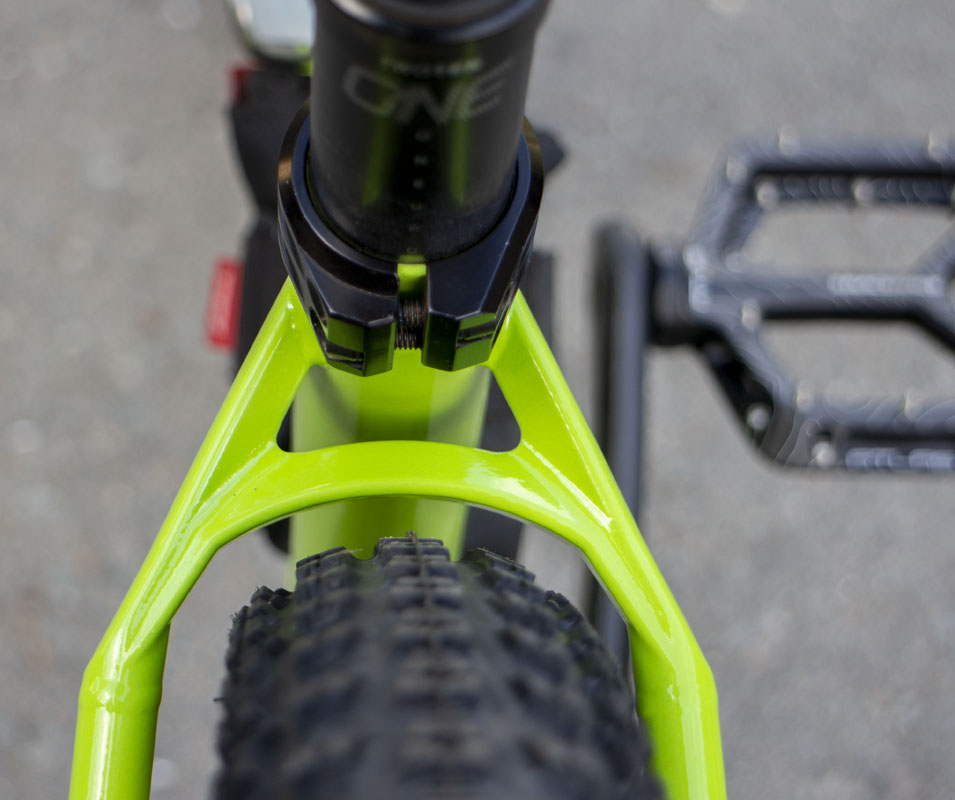
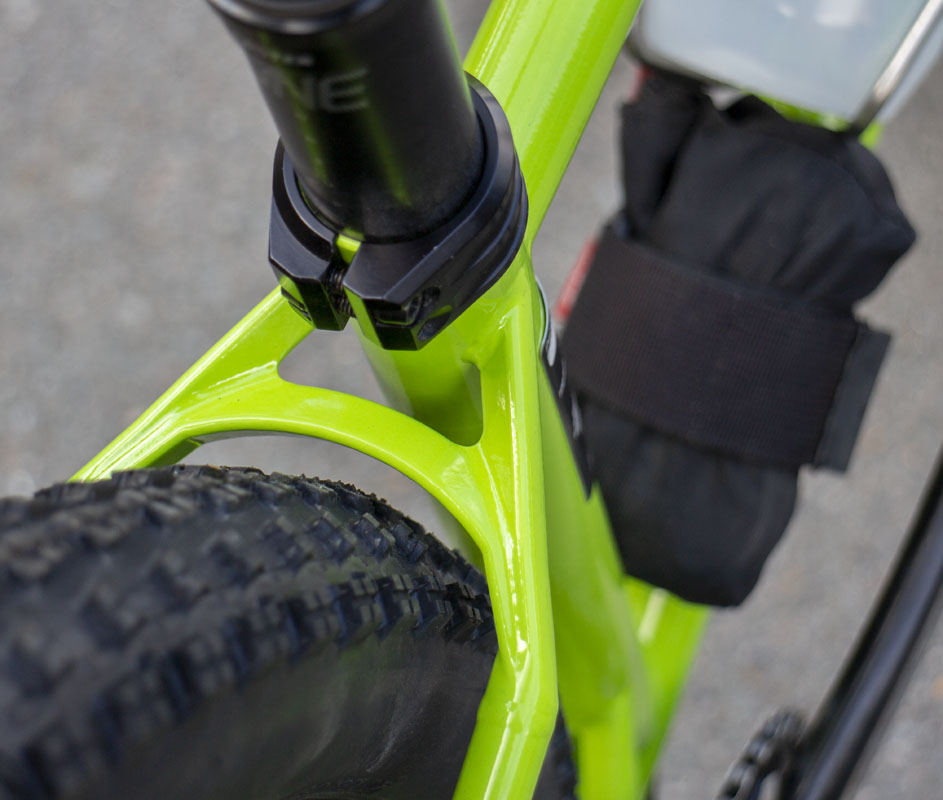
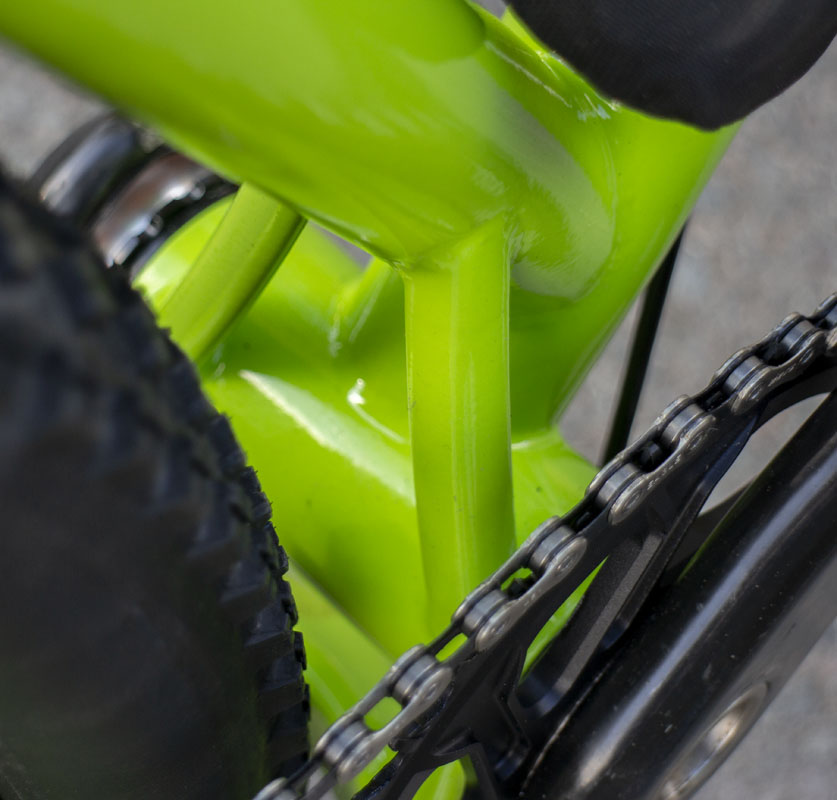
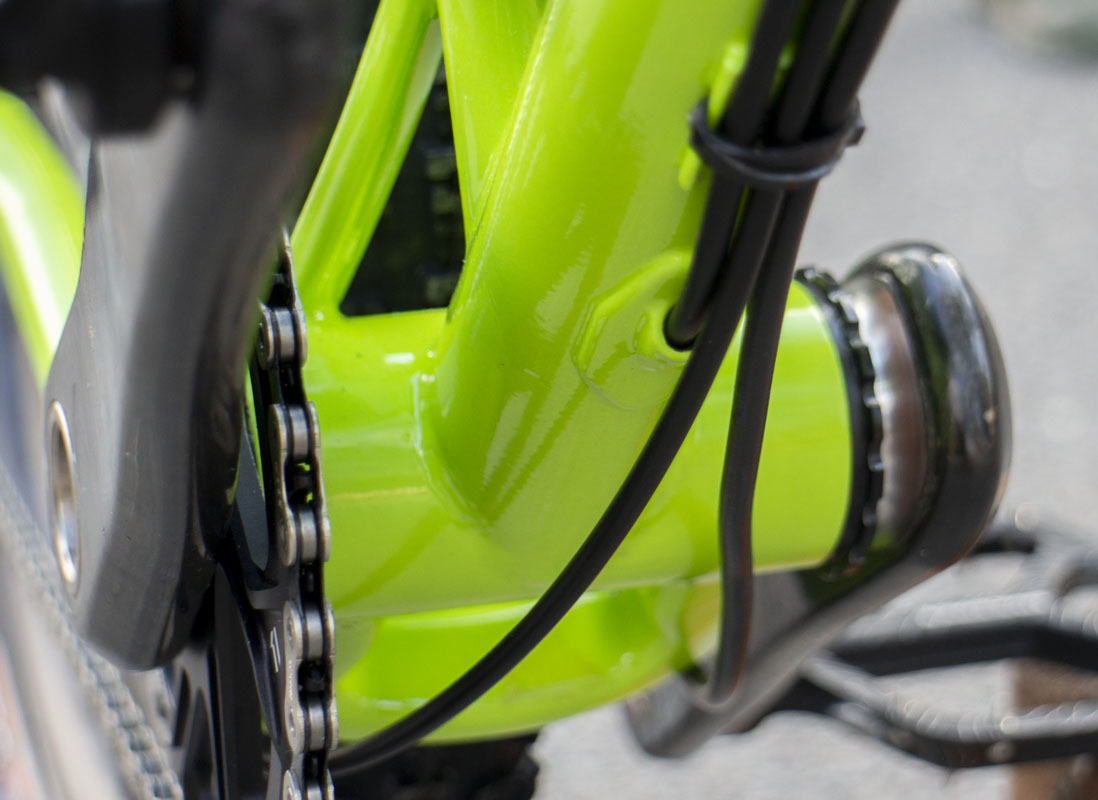
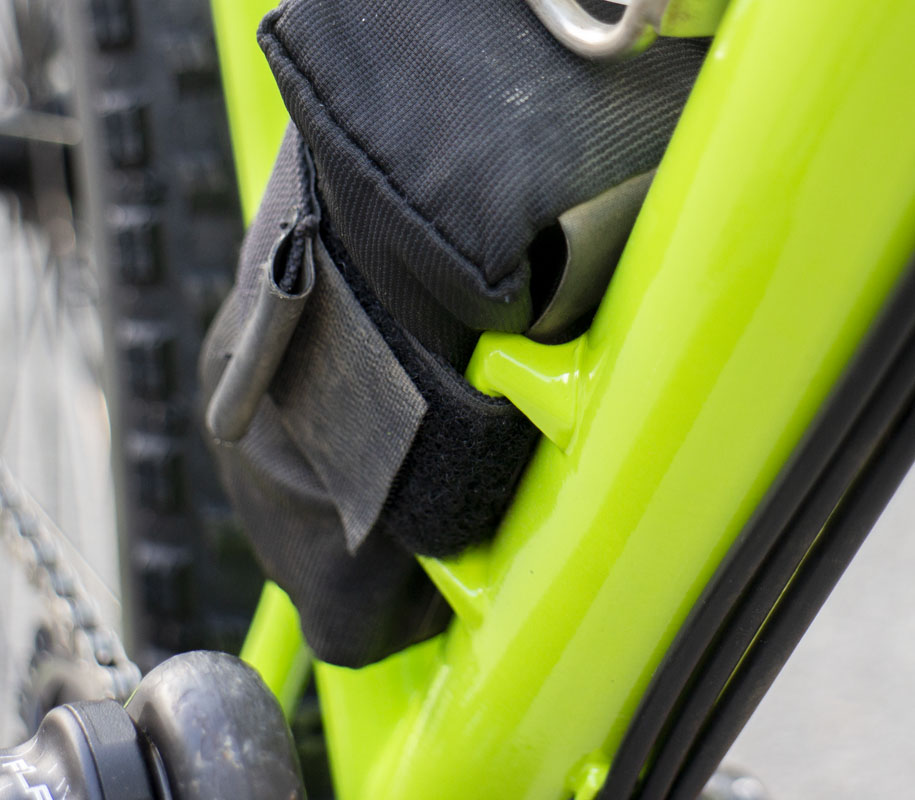
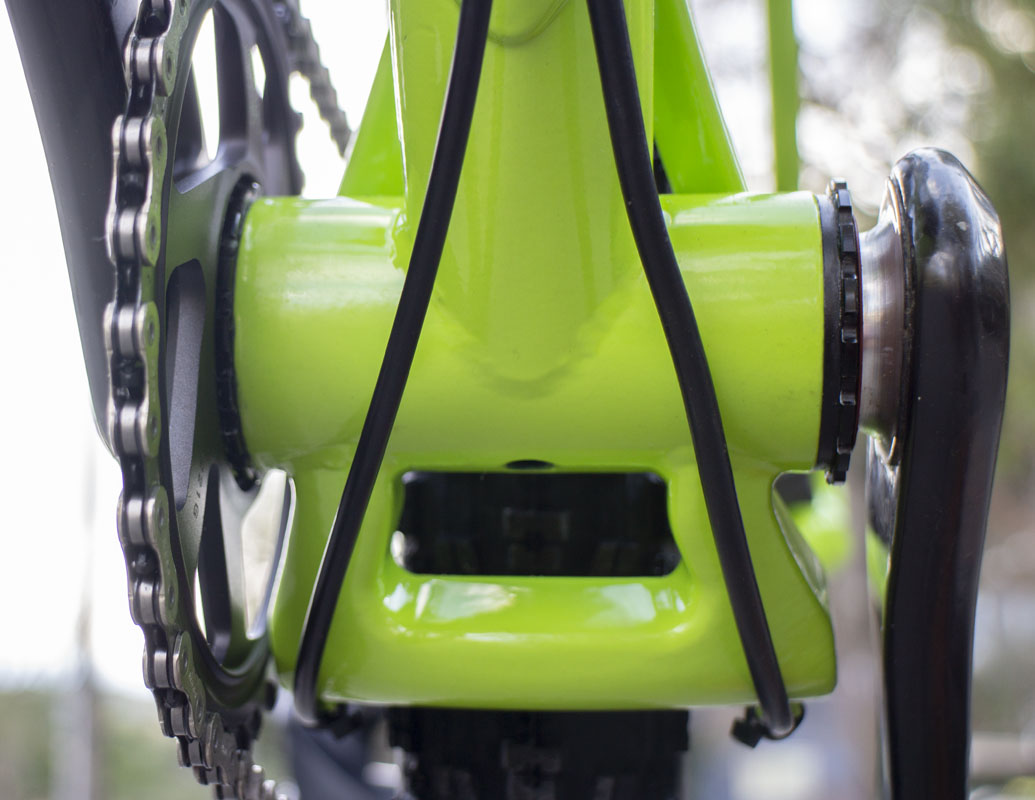
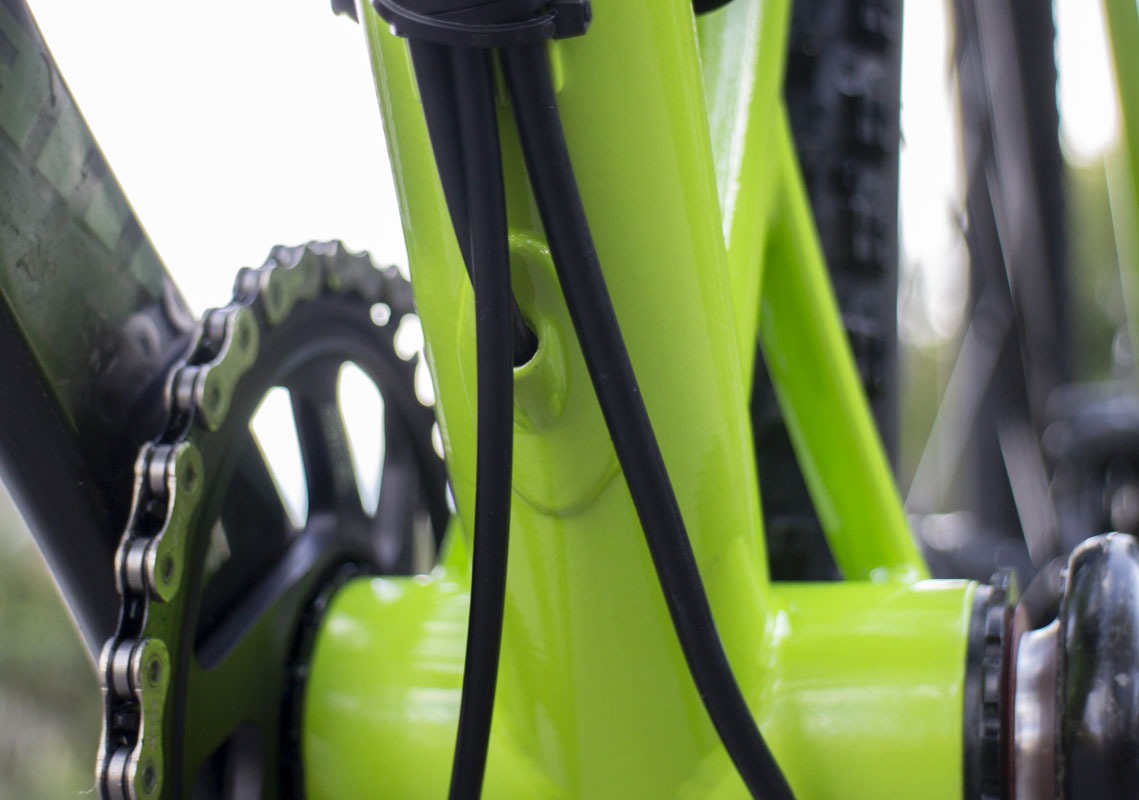
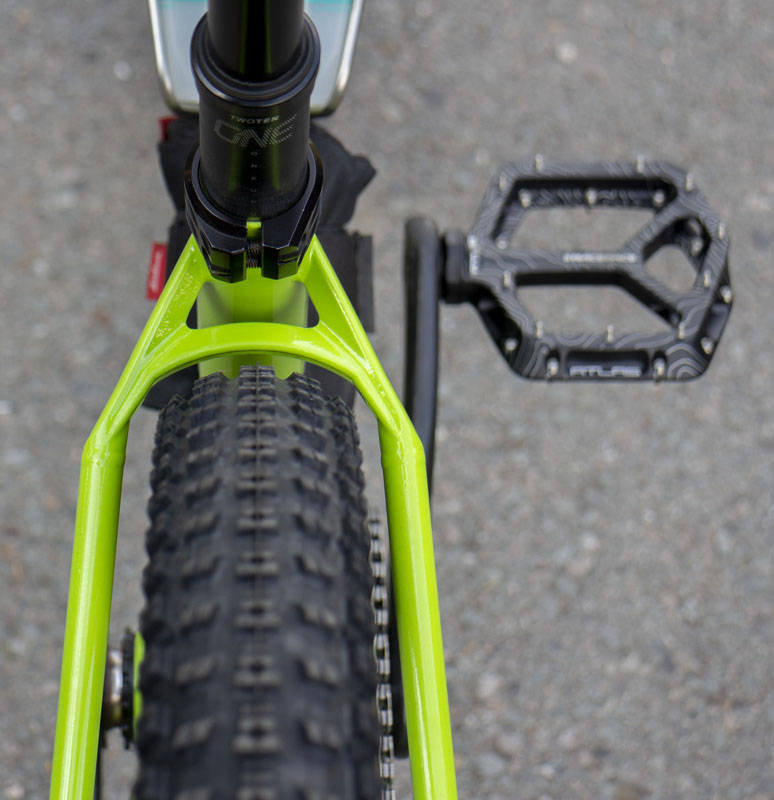
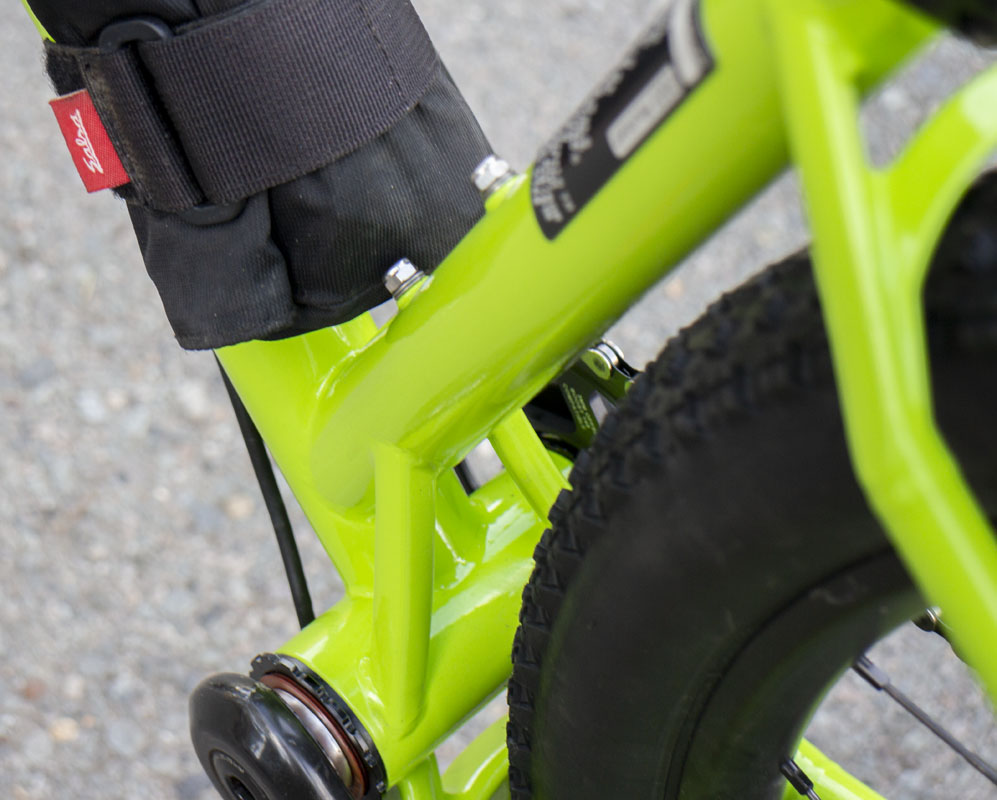
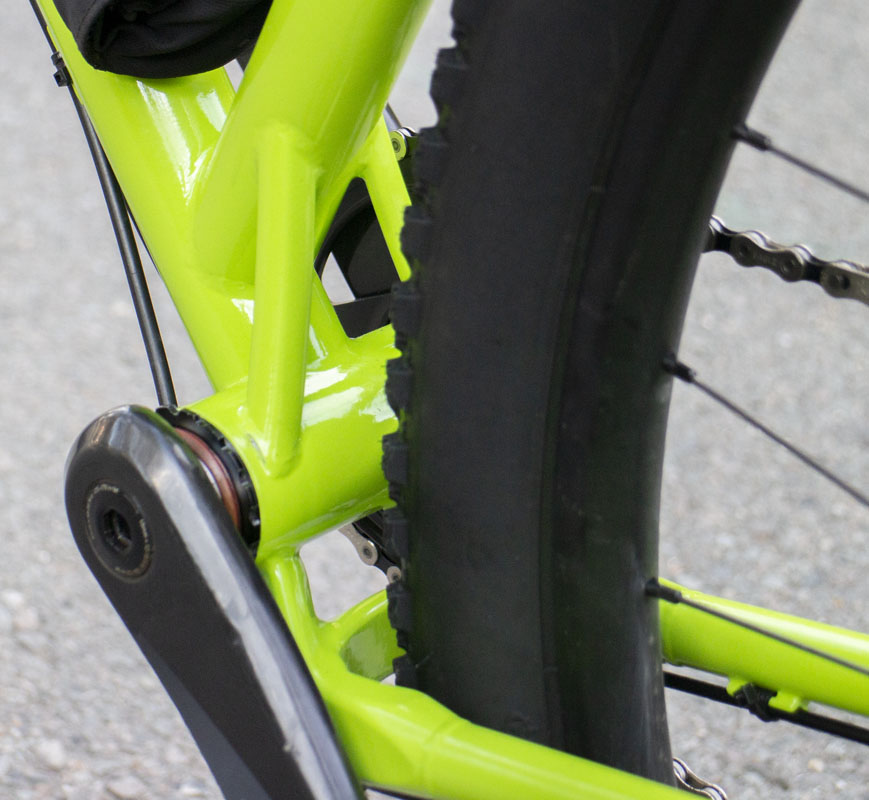
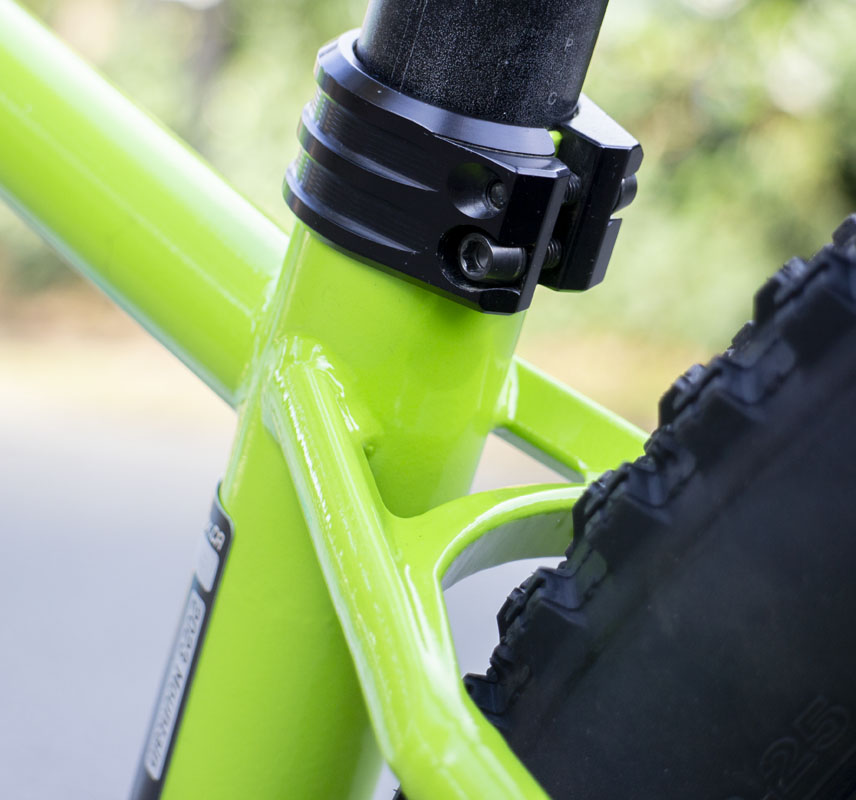
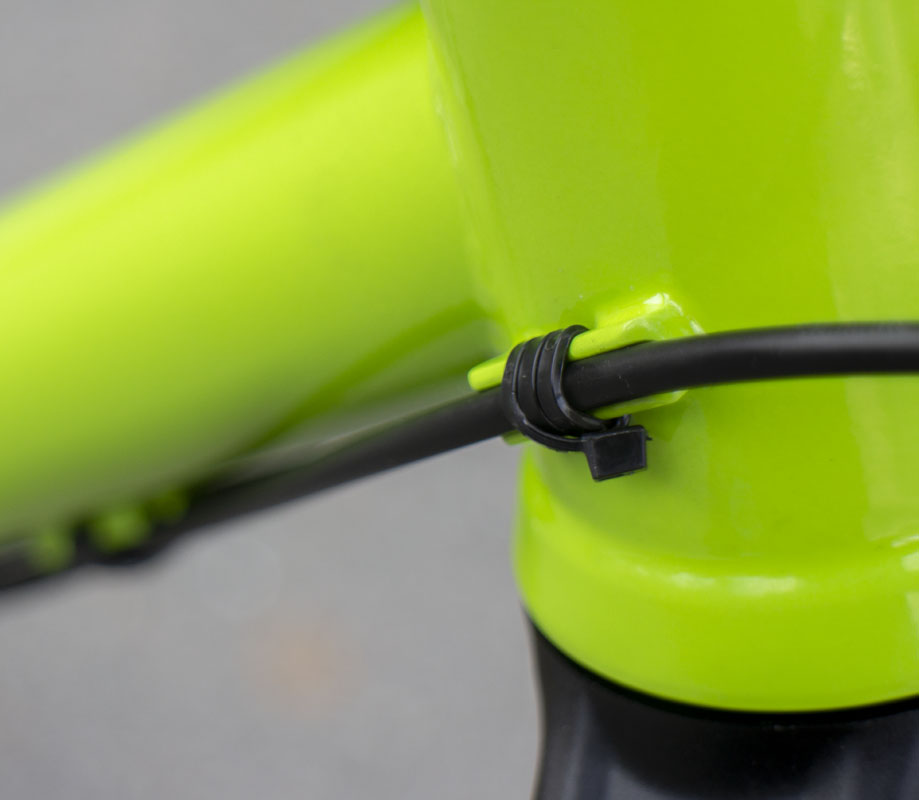
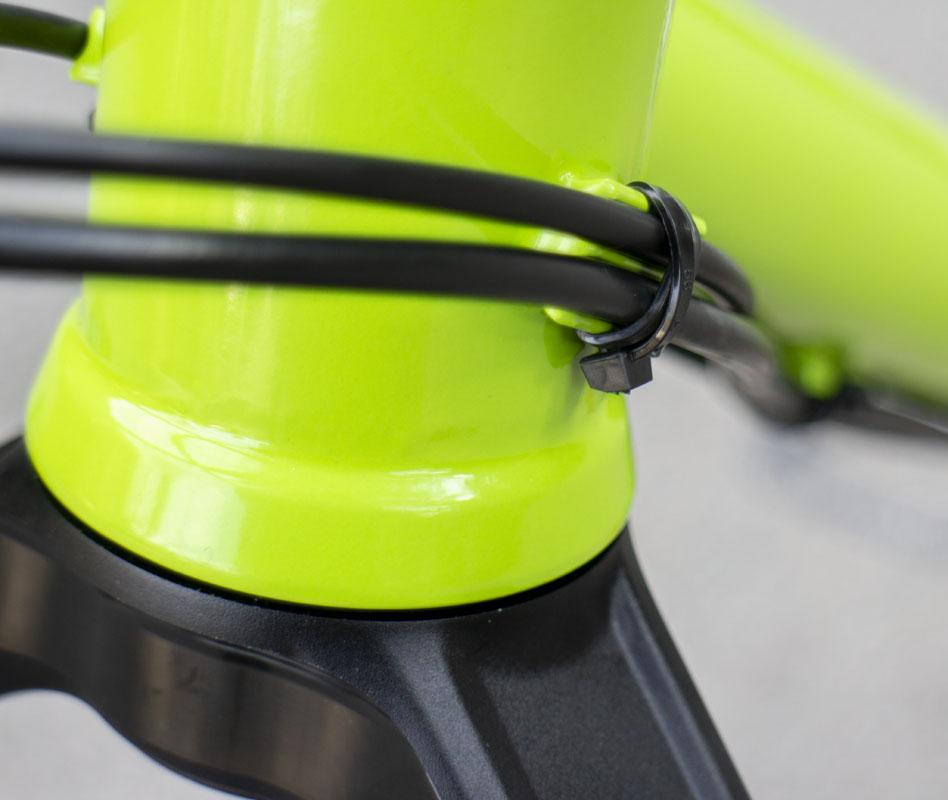
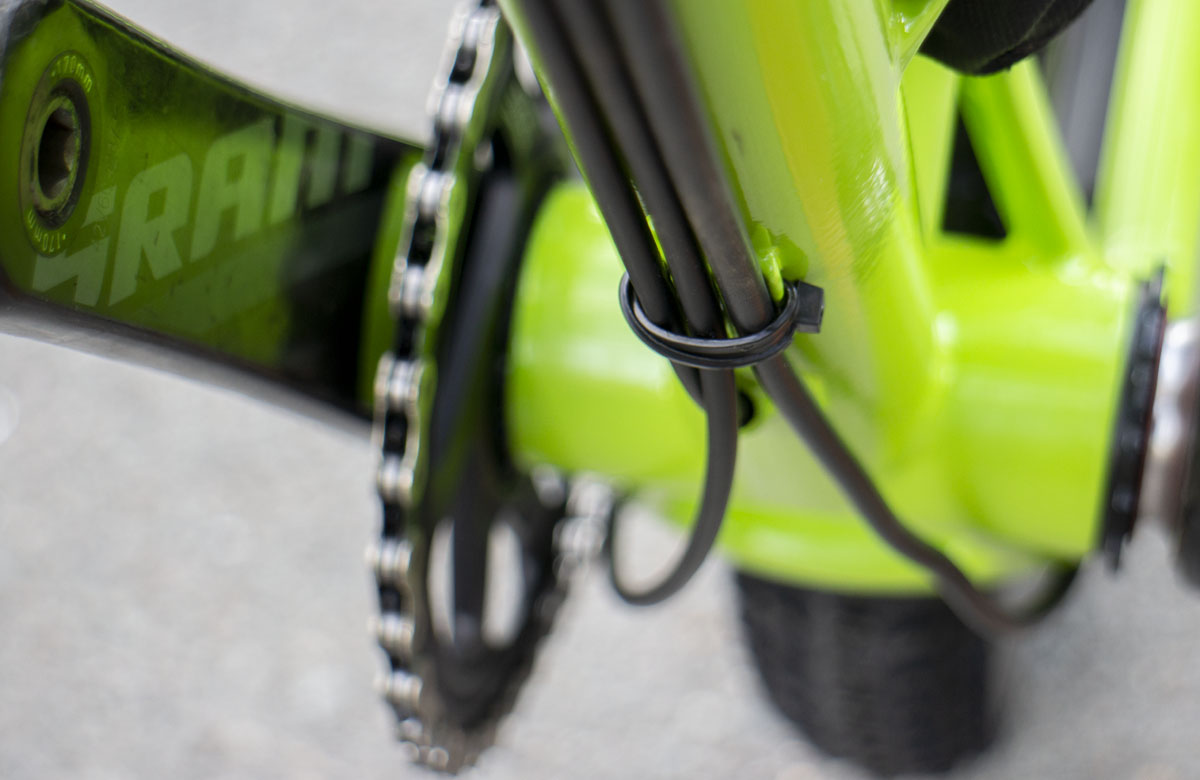
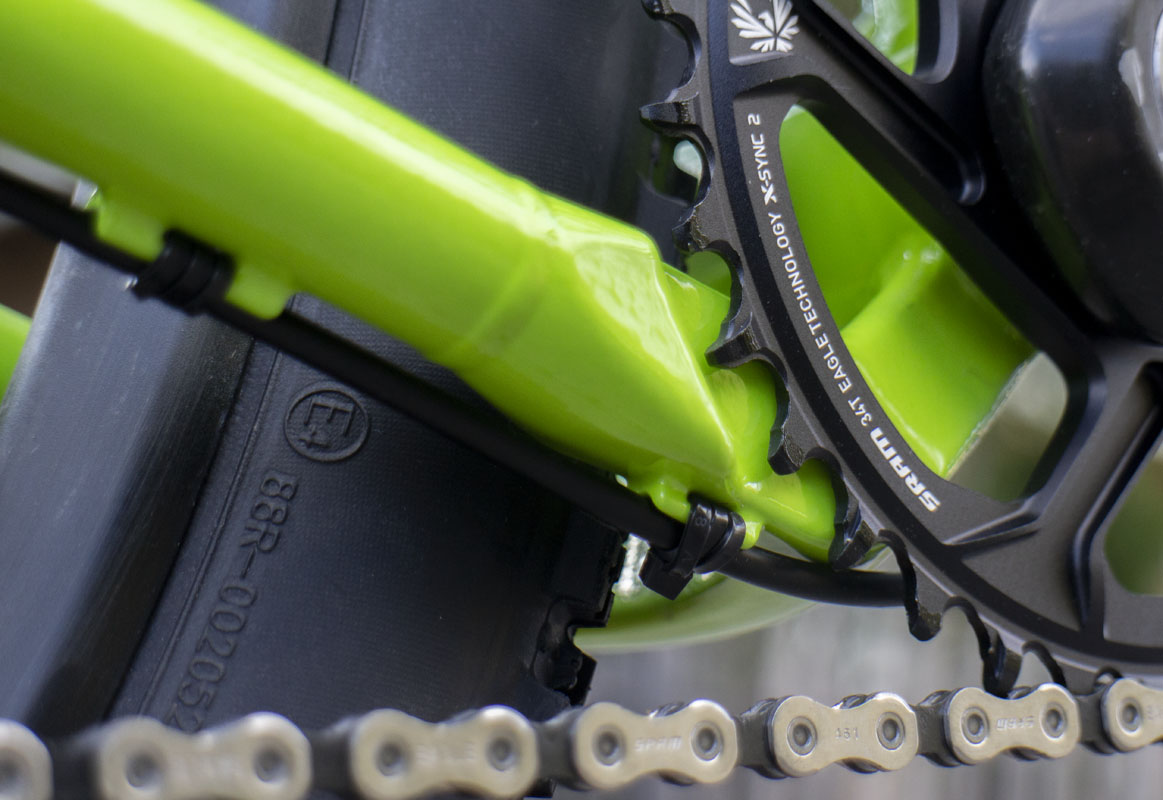
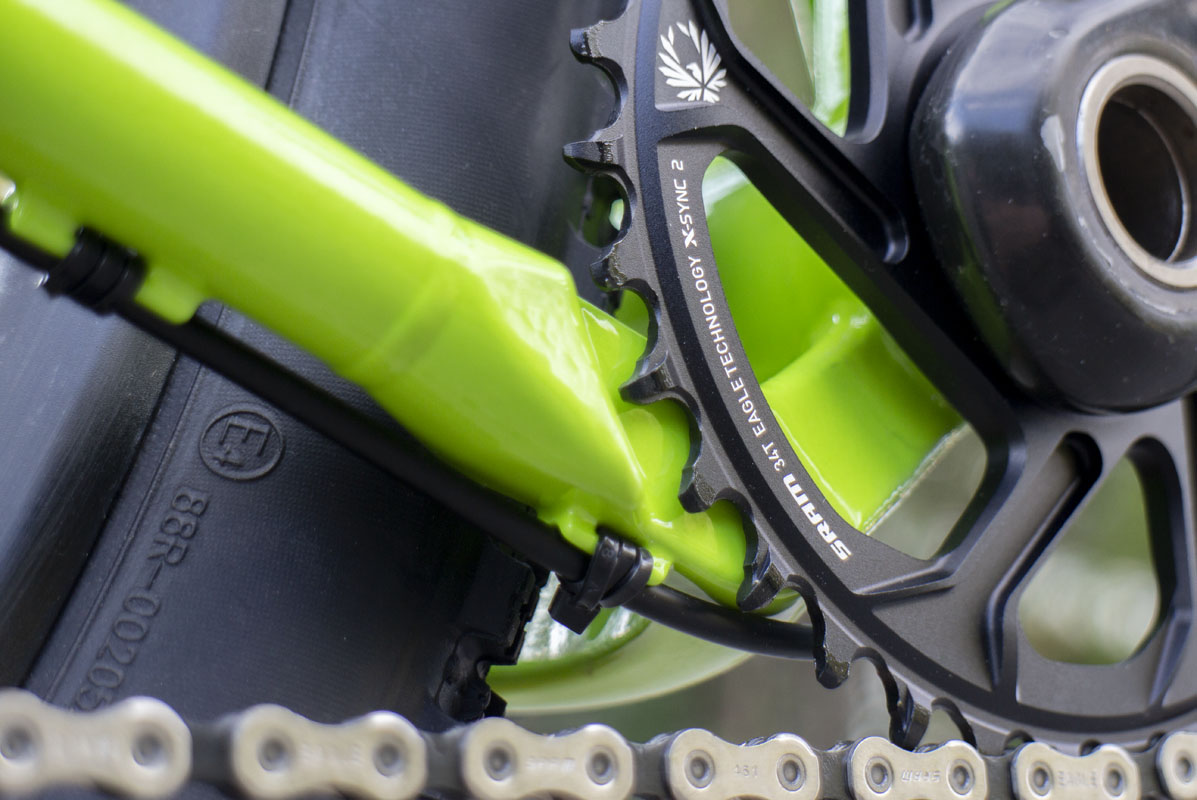
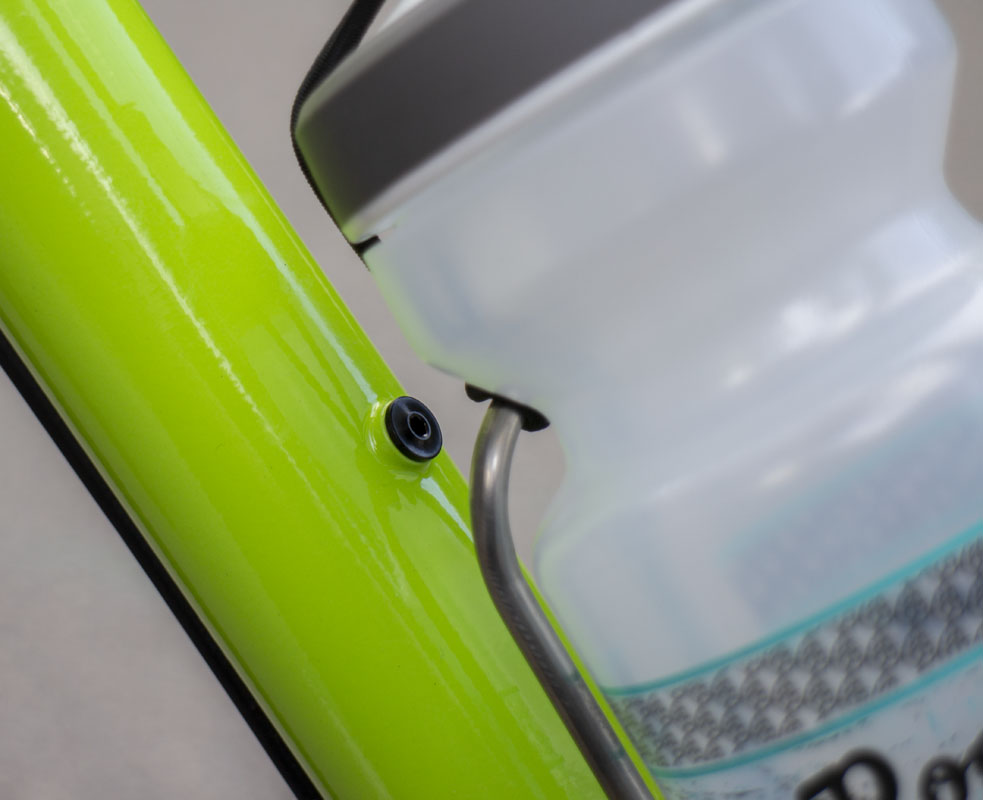
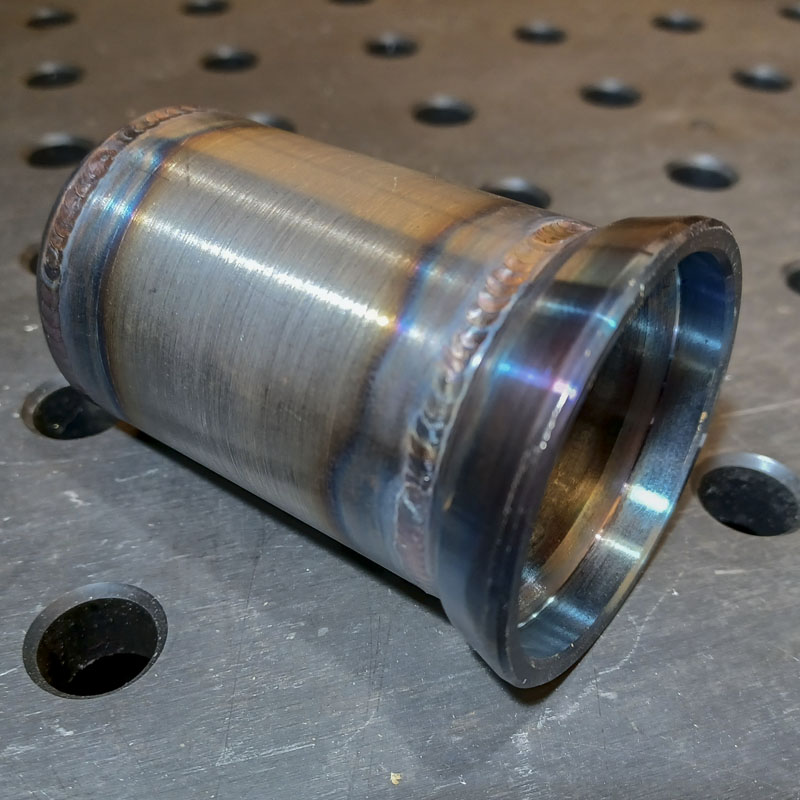
The seat tube configuration was changed to maximize the insertion space available for the longest dropper posts. That had me design two new parts: the housing routing noodle through the down tube and the support struts that connect the seat tube to the bottom bracket. The purpose of these should be obvious.
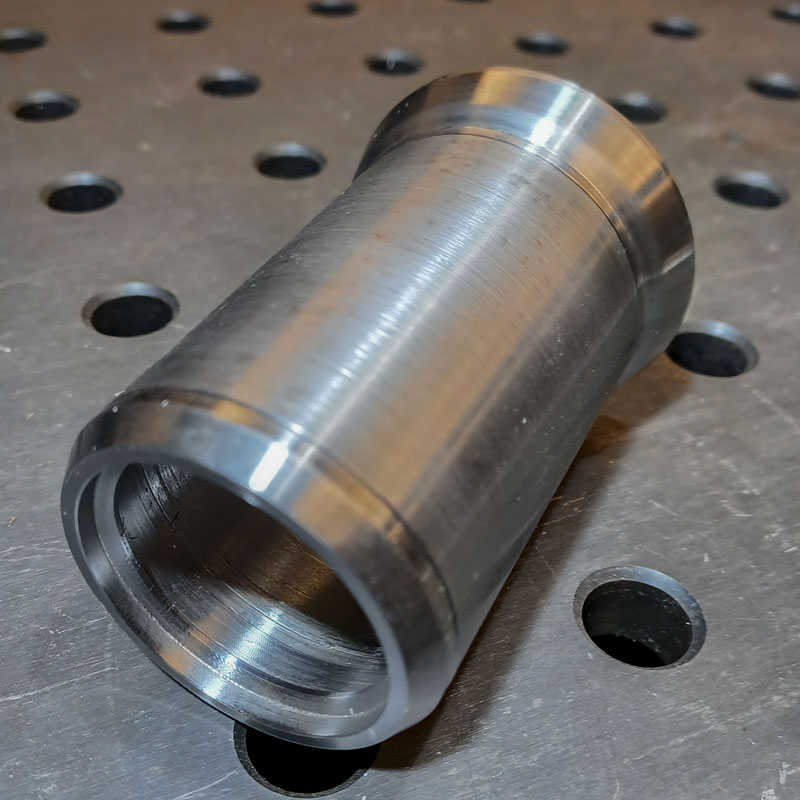
Once the 3D prints were ordered, the clock started ticking. About twenty days until the parts show up in the mail. Now, to wrap up the other details…
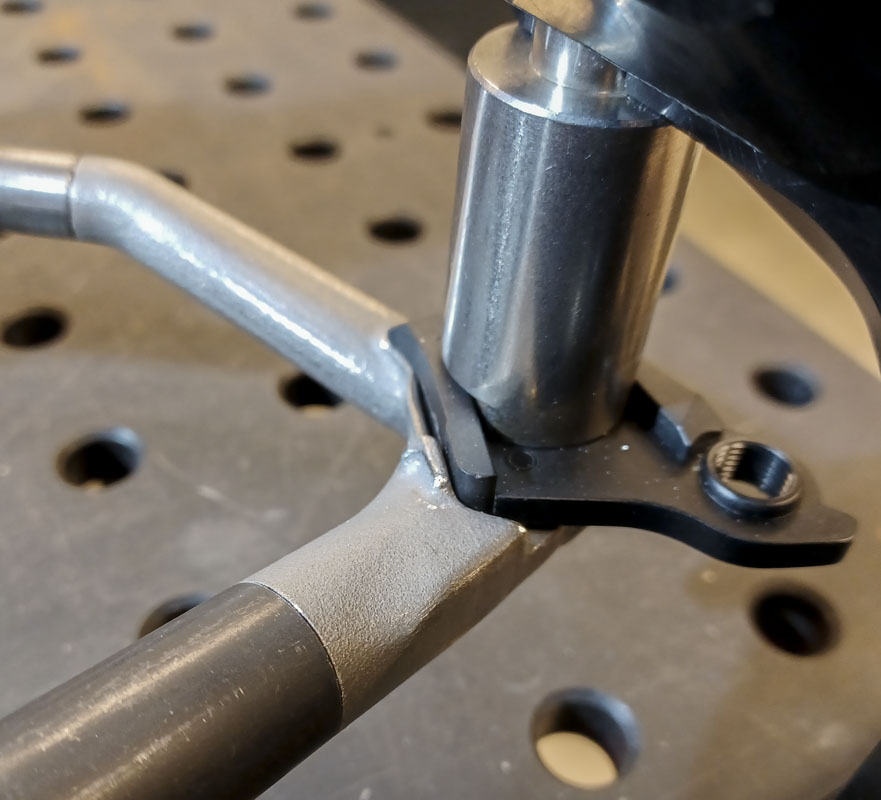
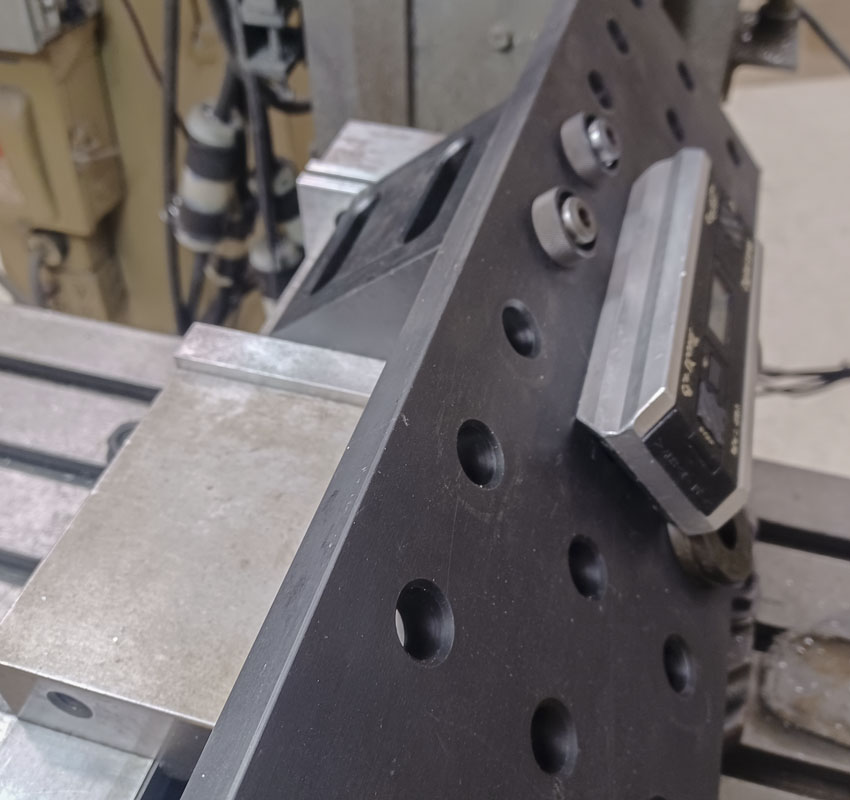
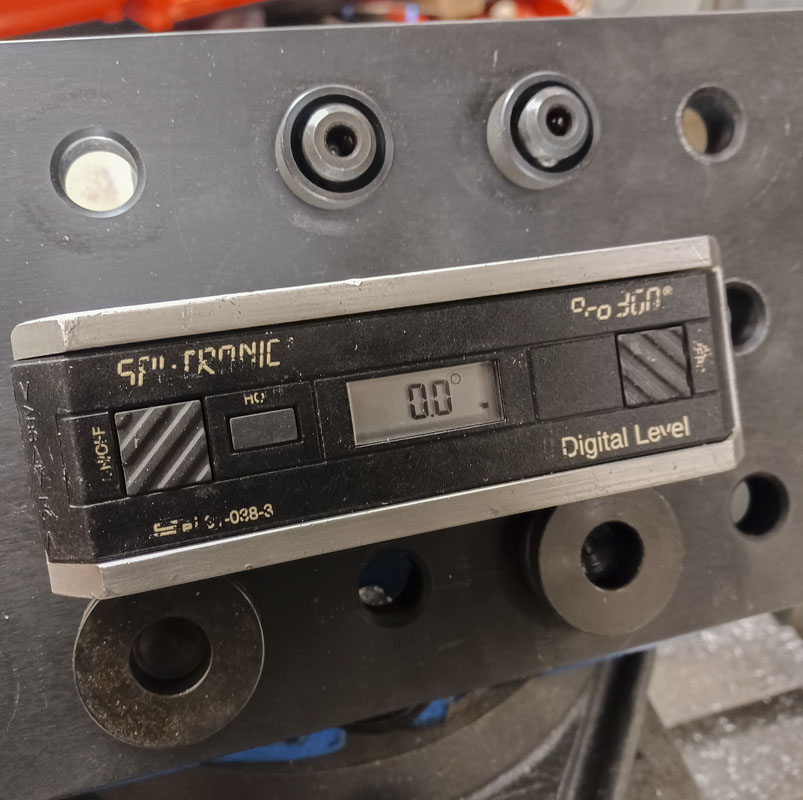
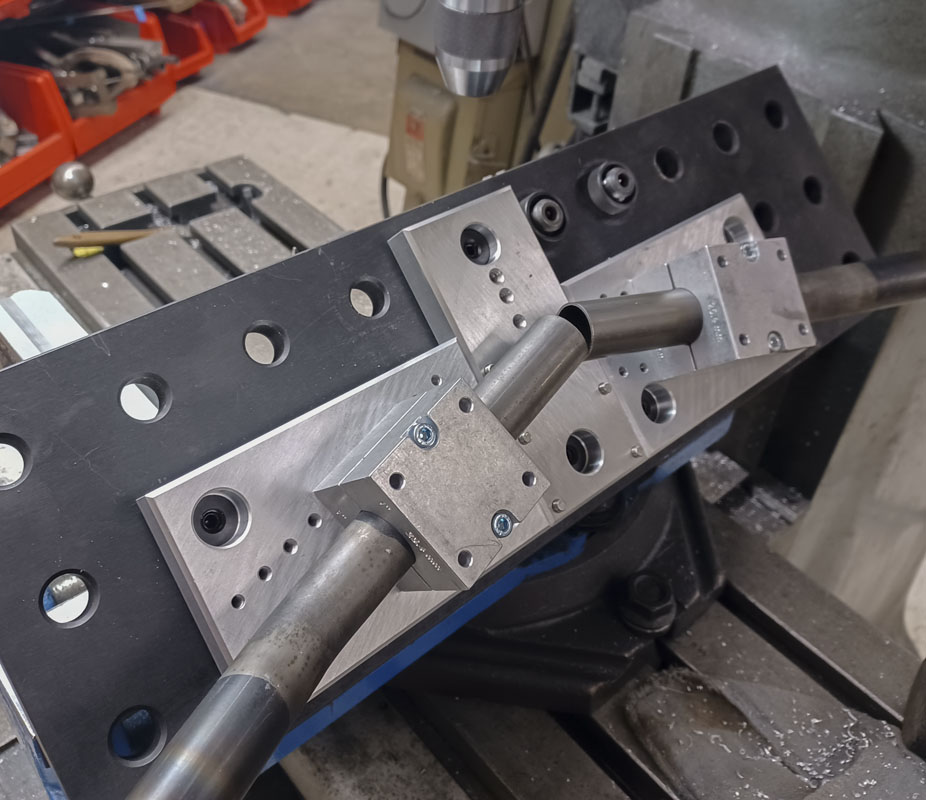
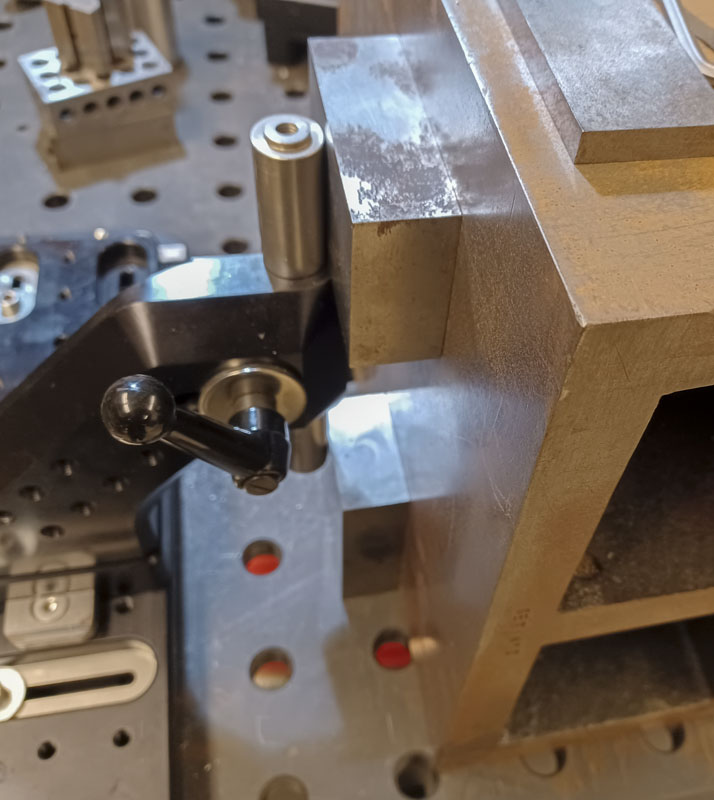
I needed new tooling for my handlebars. This would be the fourth or fifth round of development for this. I would start integrating the BuildPro fabrication table and parts into how I approached this, similar to what I did with the frame fixture.
I spent a week designing the crap out of a new fixture for the bars. It was pretty awesome. So many cool ideas. Sadly, it wasn’t time to do a full on fixture from CNC and I had to do something far more basic on the manual machine for now. I decided to strip down to the core and get some learning in. The result was pretty good and definitely the right direction. It’s modular, rigid, precise. I hope to have this further developed before the next bike.
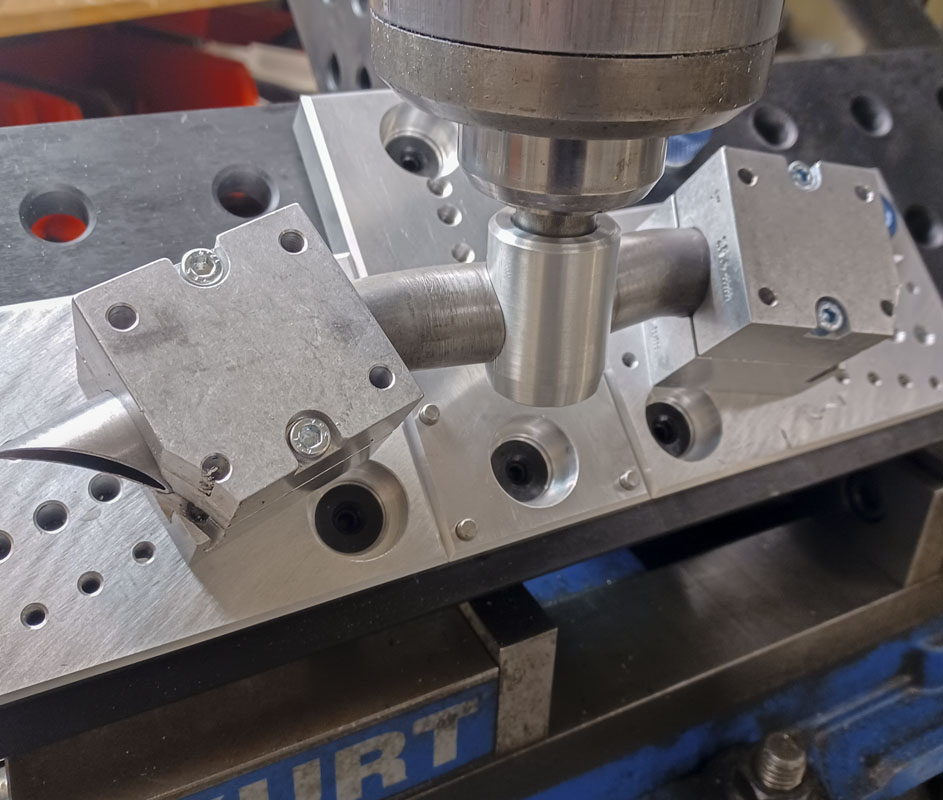
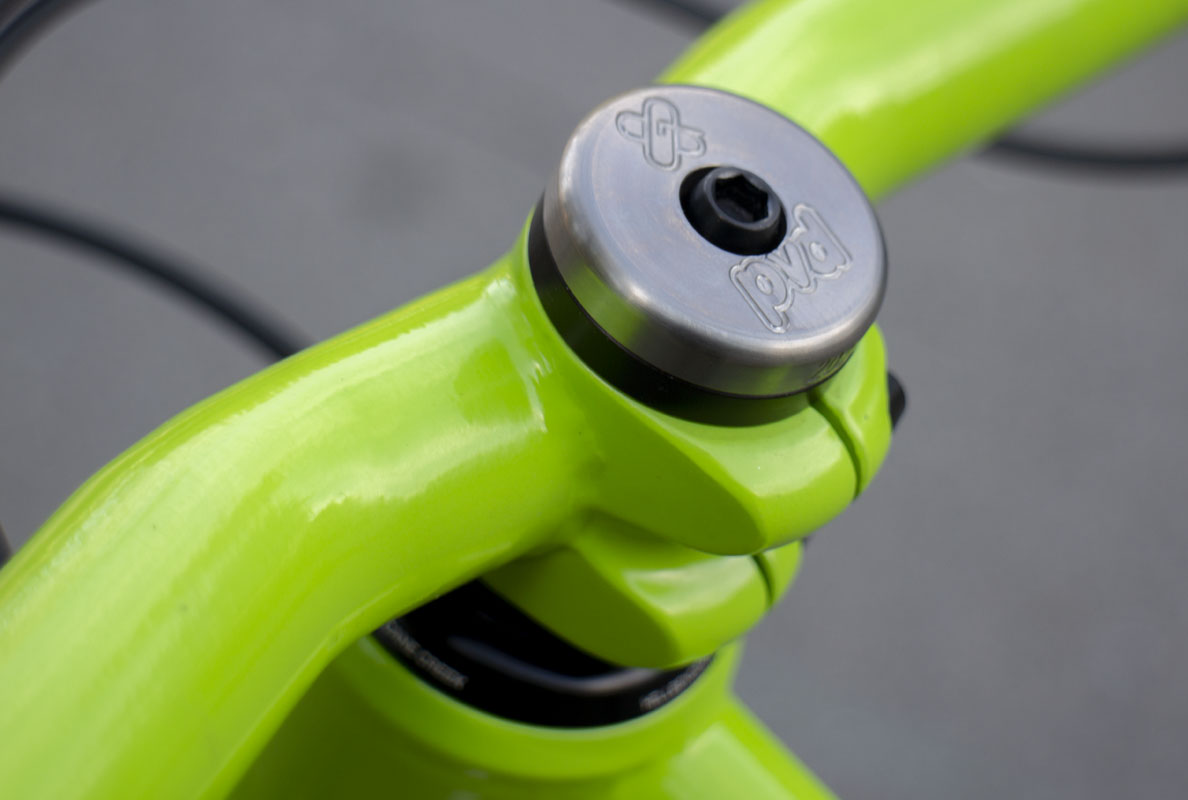
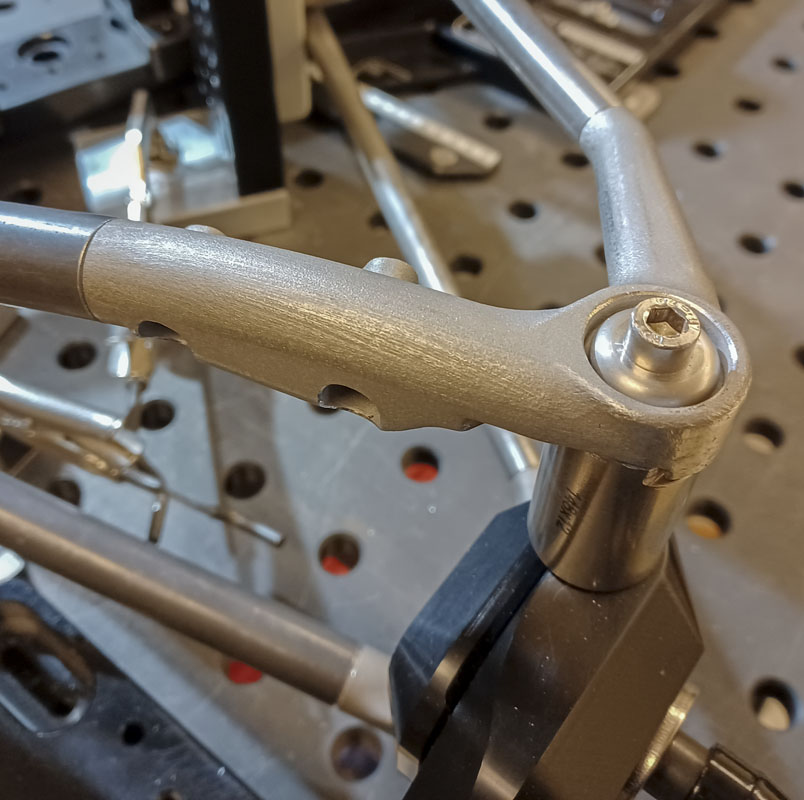
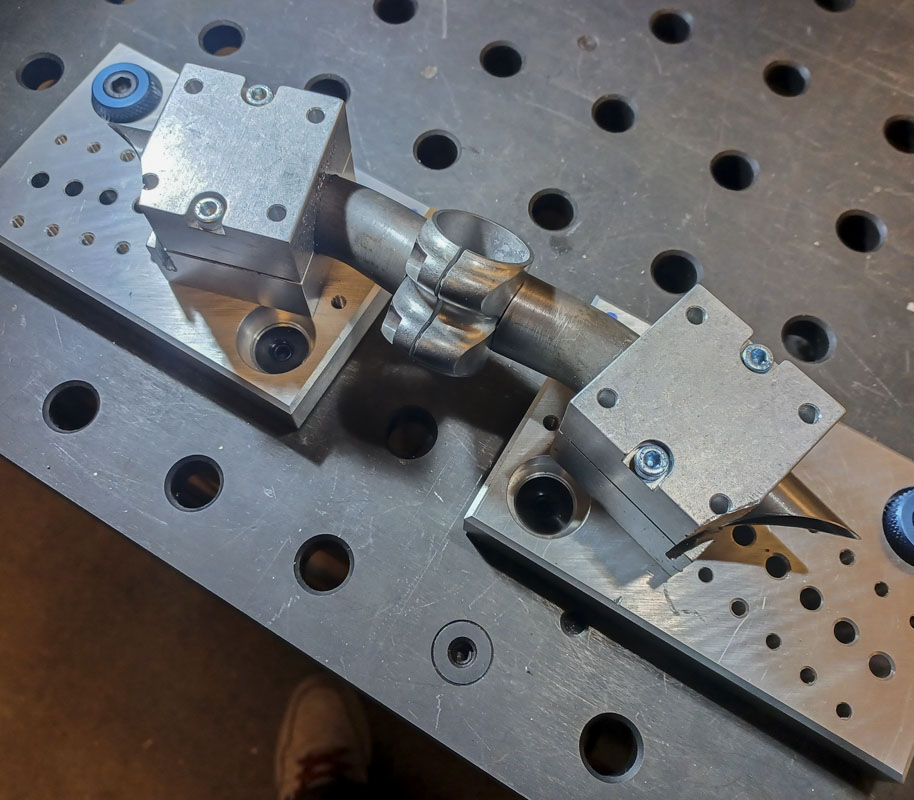
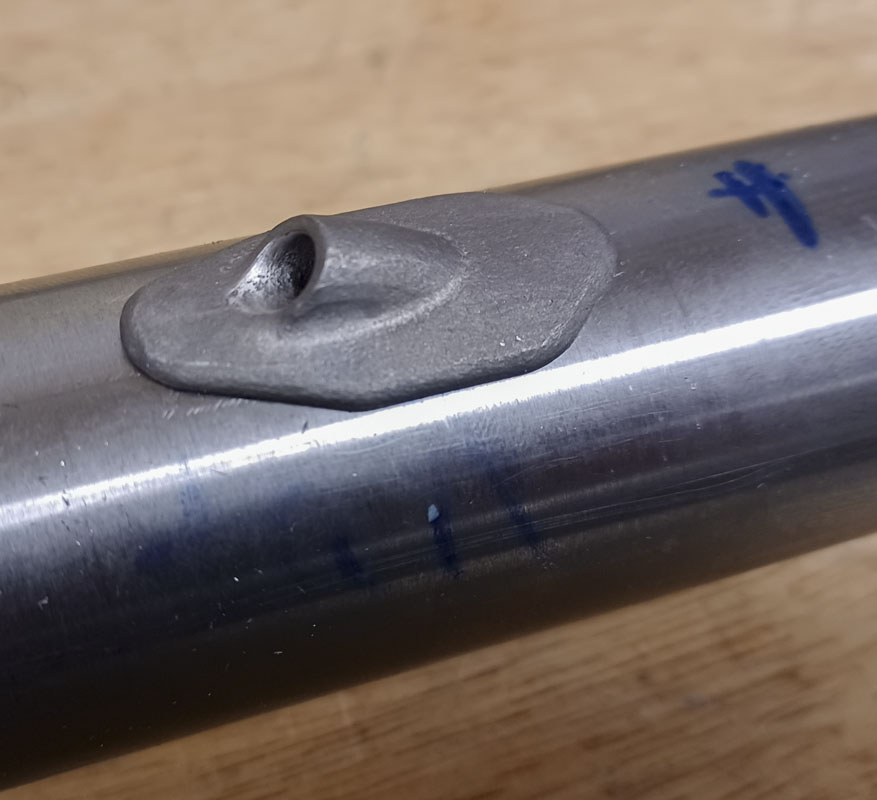
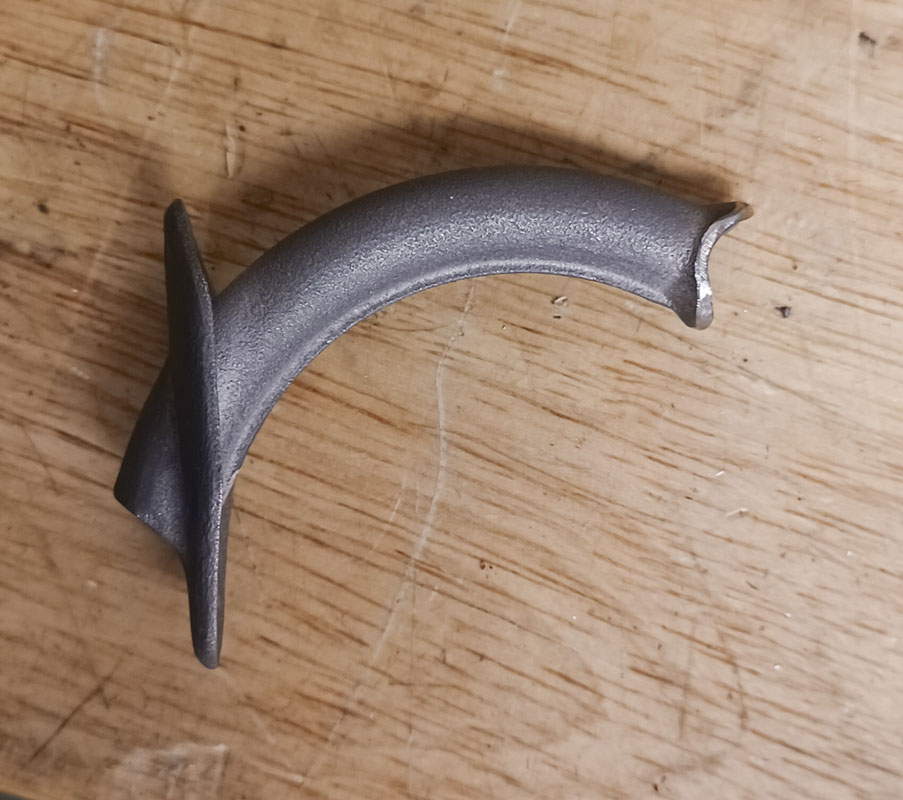
I had finished welding the binder to the lugs for the handlebars that will go on the Vega MTB. It was time to go to lunch so I put the part in my pocket to take with me. It’s helpful to fondle and contemplate parts after they become real. I want to imagine what is still needed or what could have been done better. It can take time to see that. So, I was sitting in the food court at Stonestown Mall. Chowing down on some Panda Express. I was staring down the lug on the table. I was confused. I couldn’t understand the design. You see, I designed this part six or more weeks ago. I’ve been building tools and fabricating parts since. The mode shift creates a separation. What was I thinking?
![]()
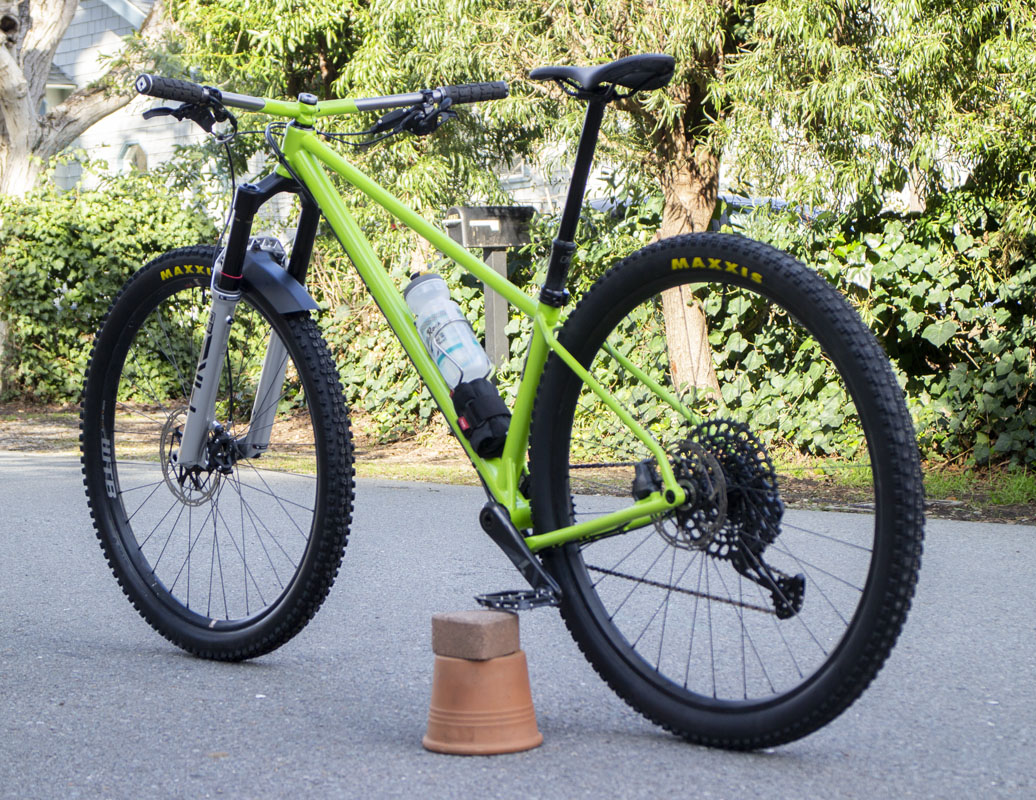
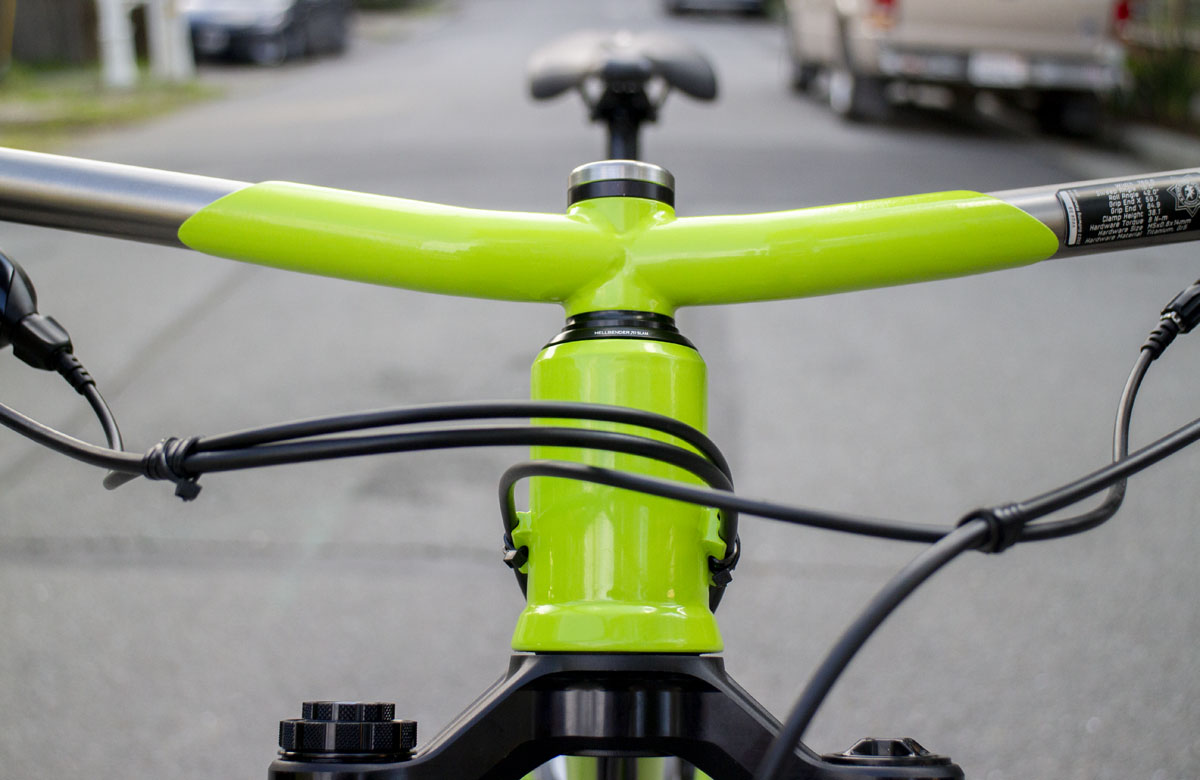
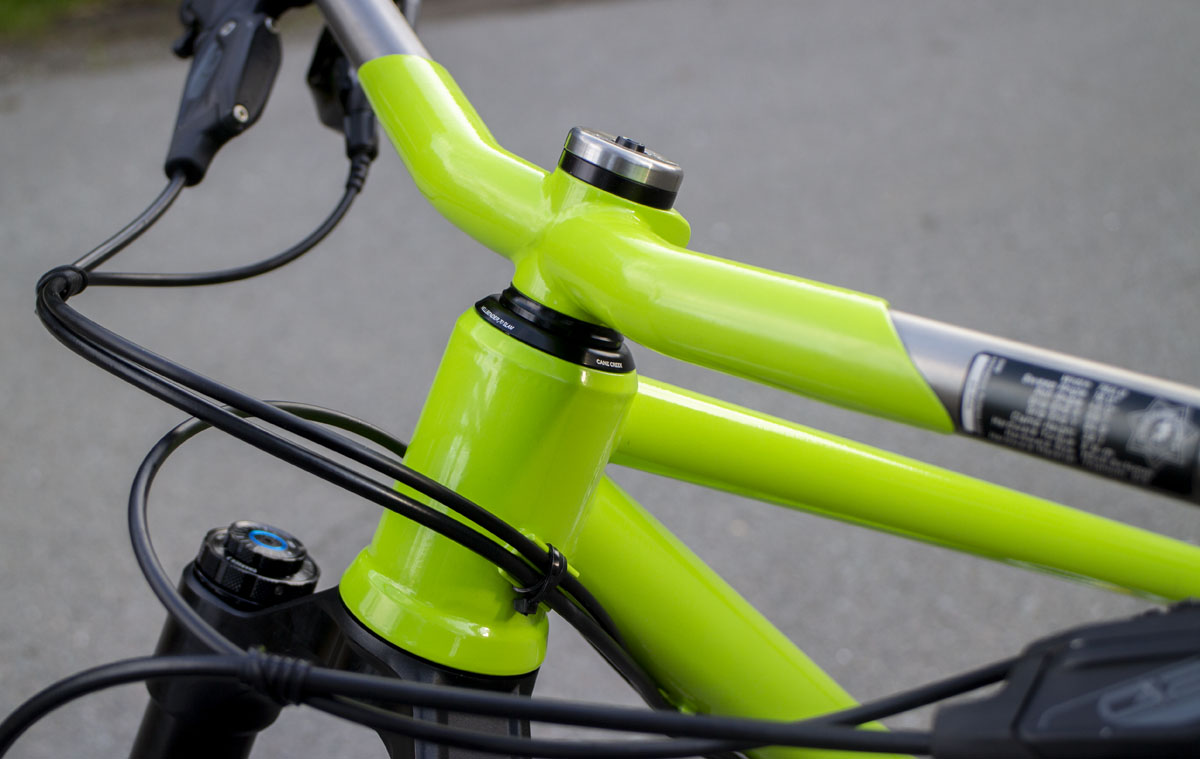
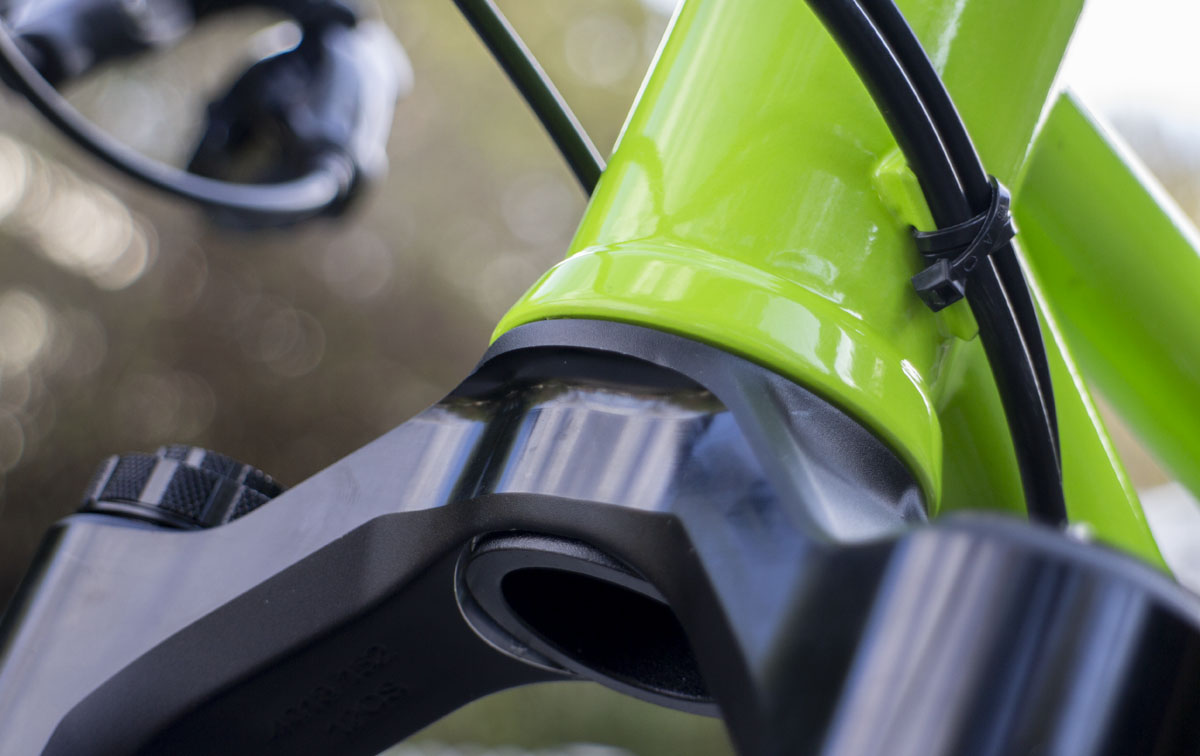
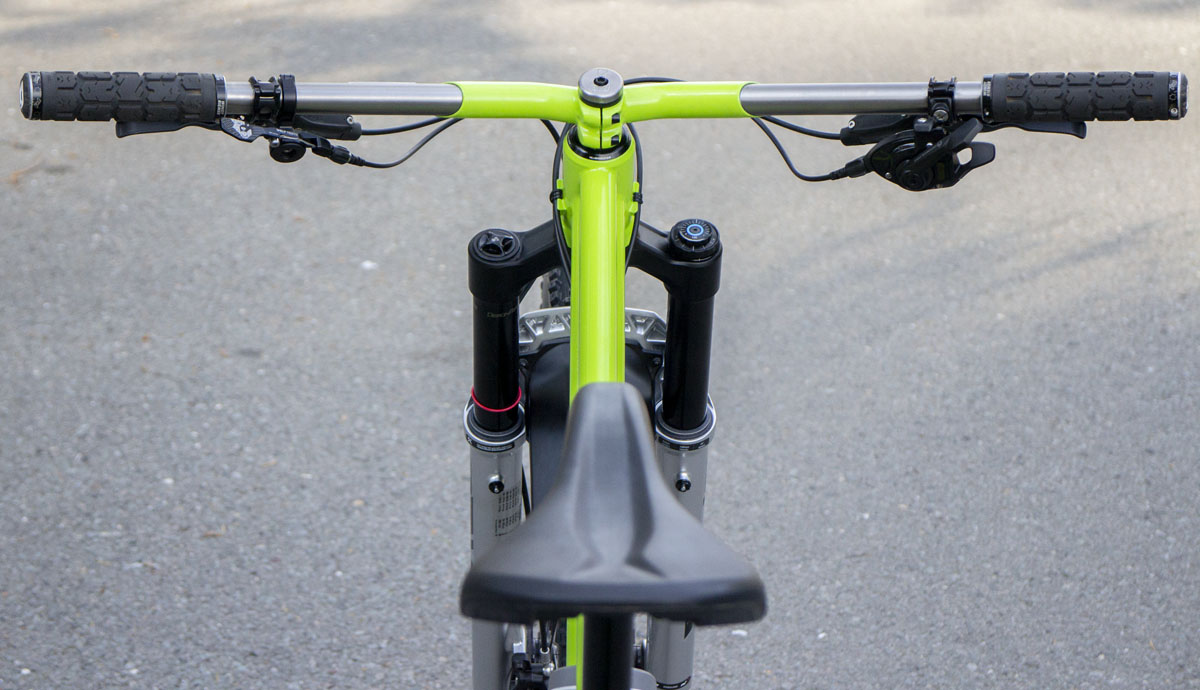
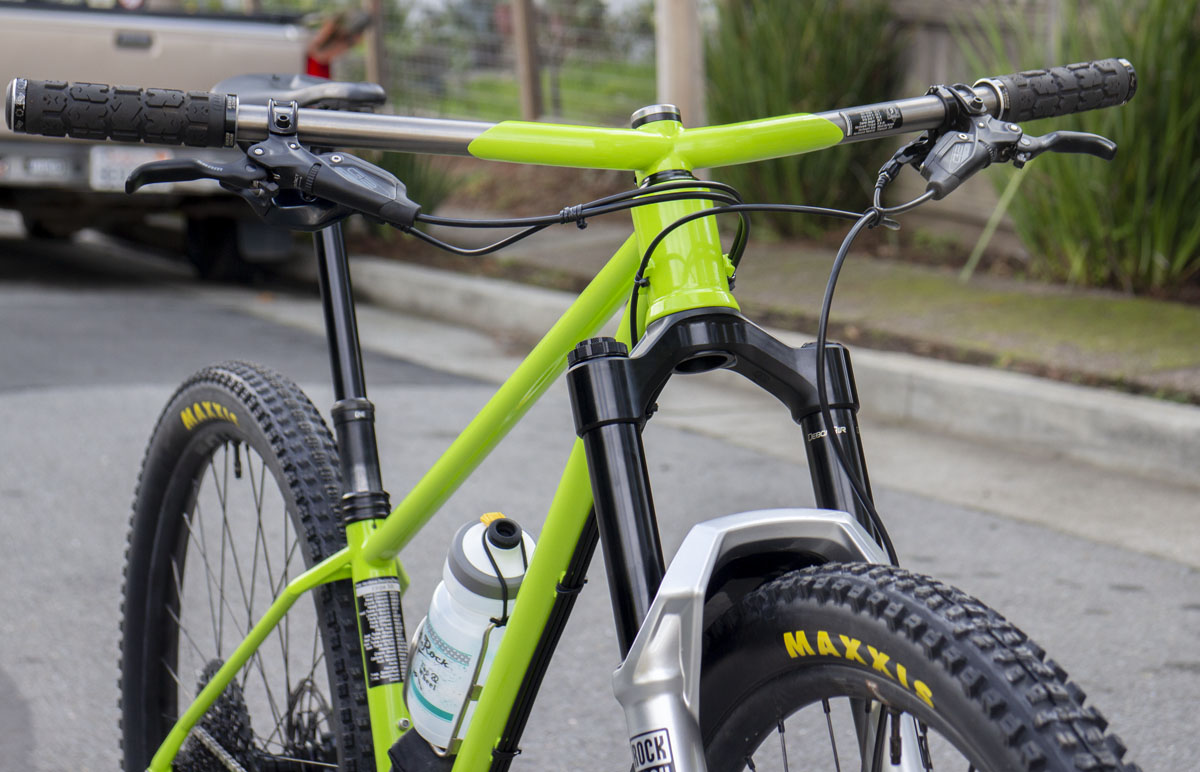
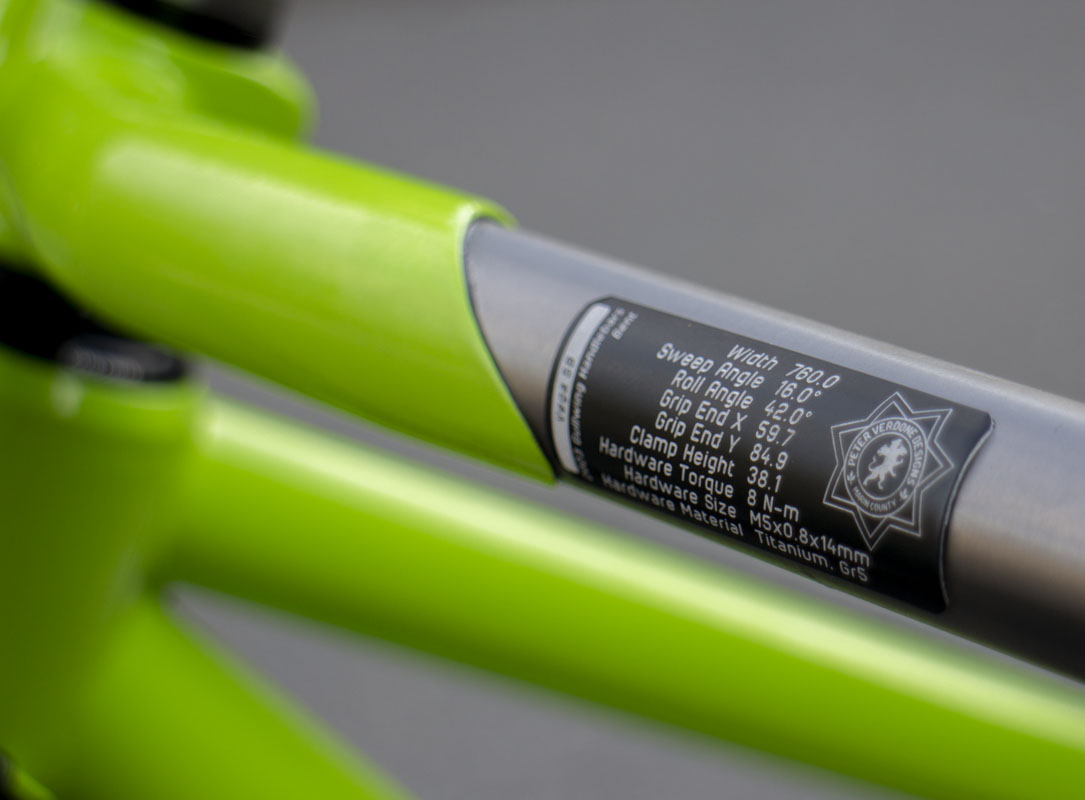
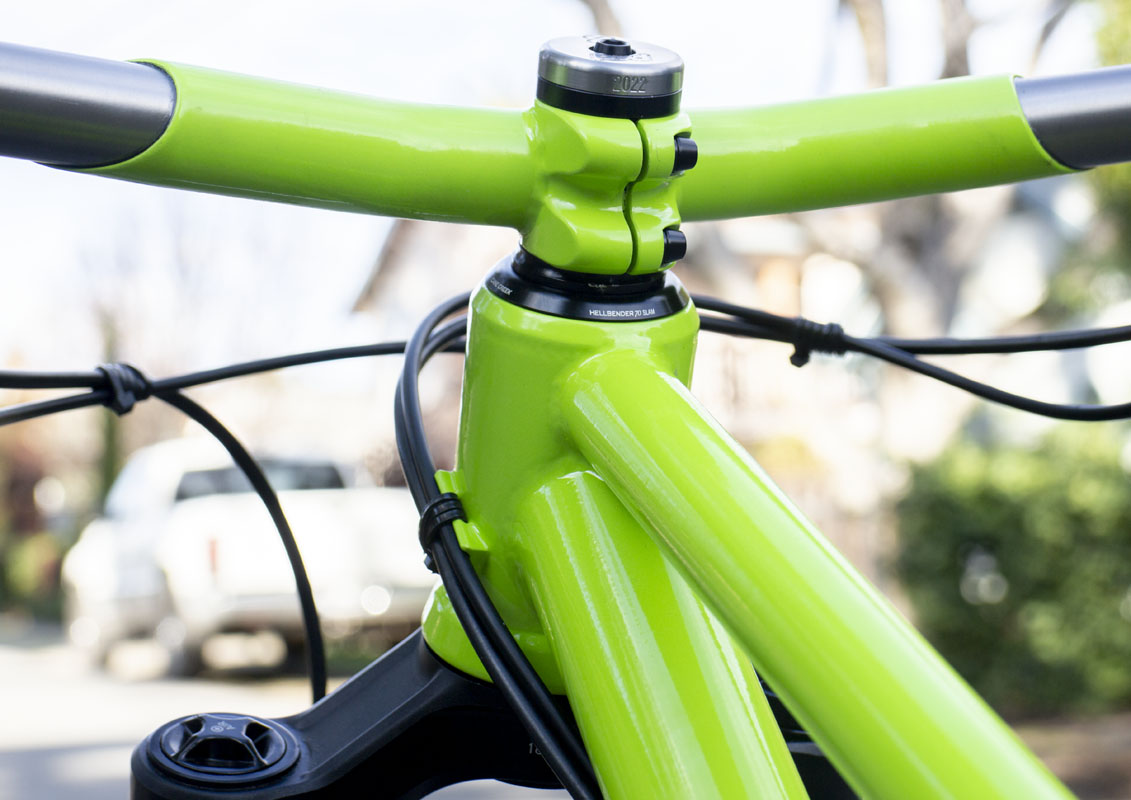
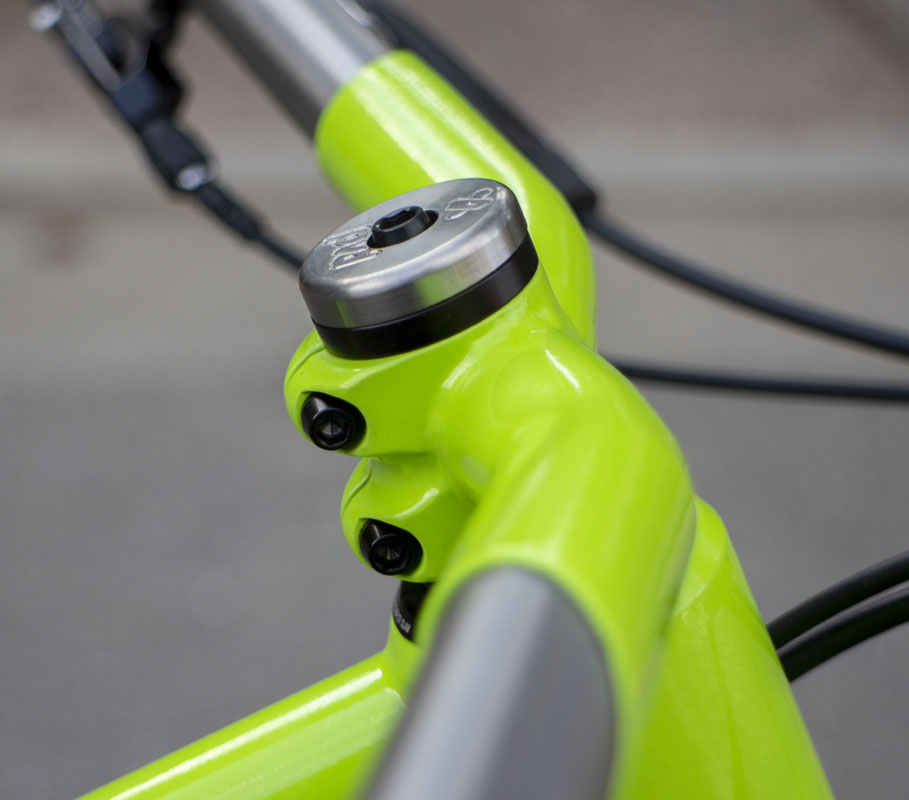
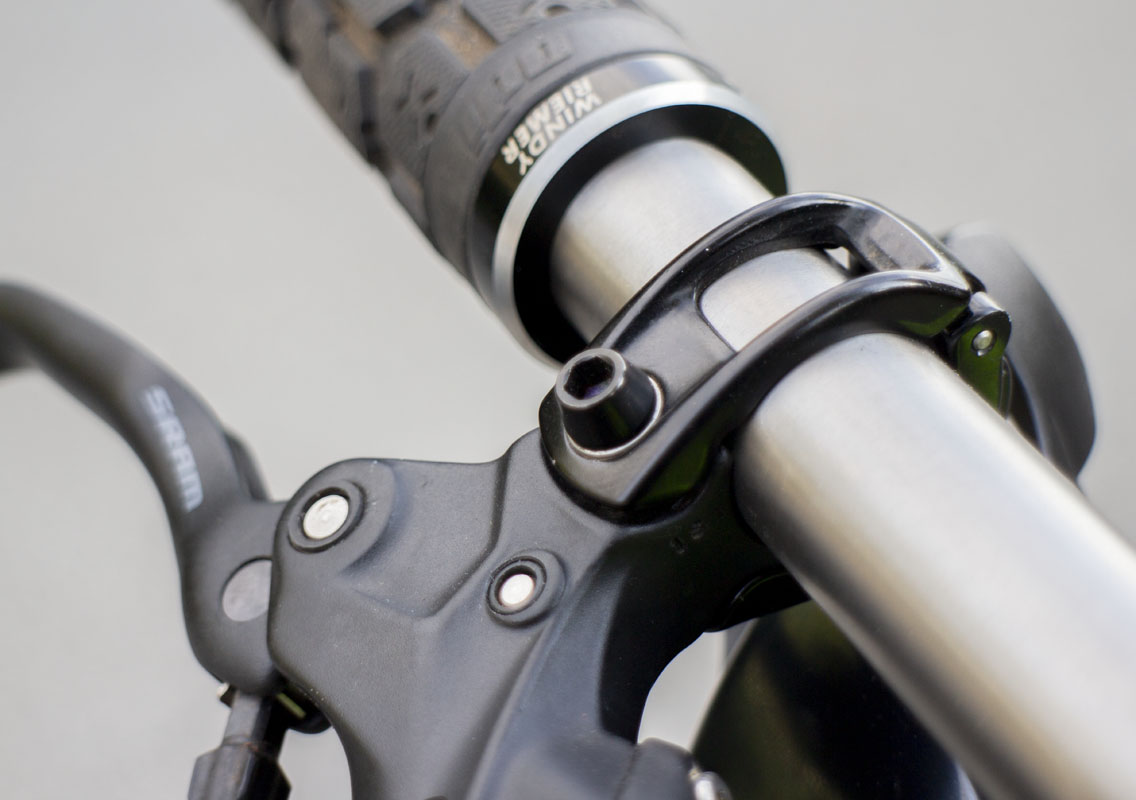
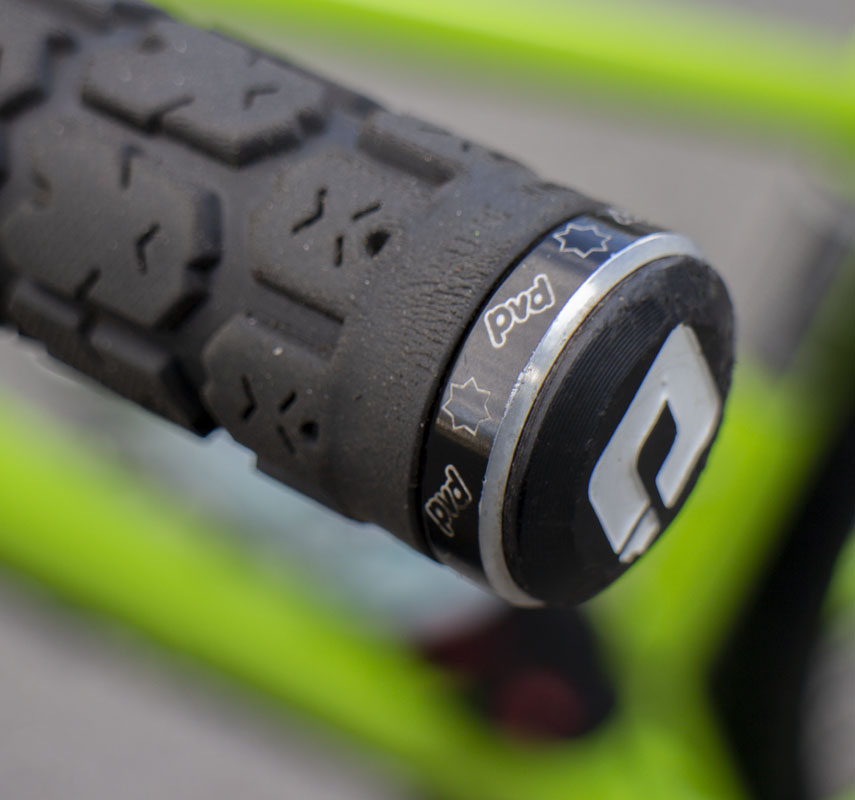
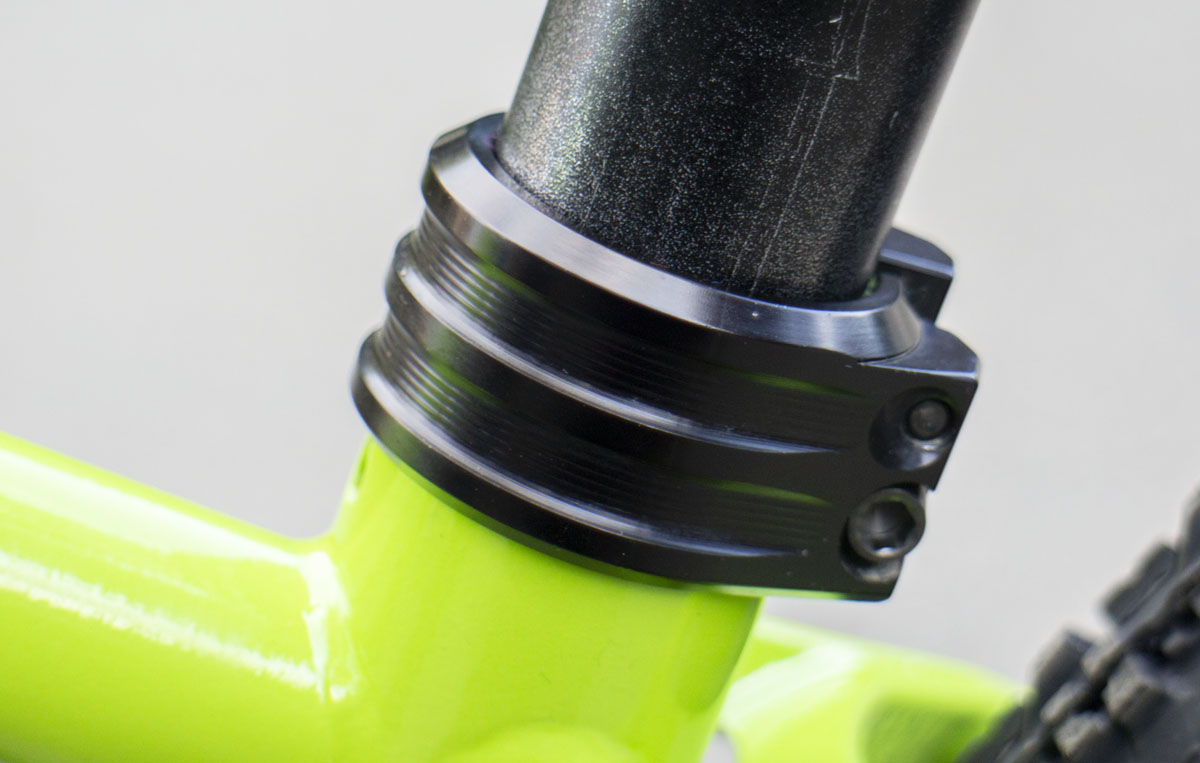
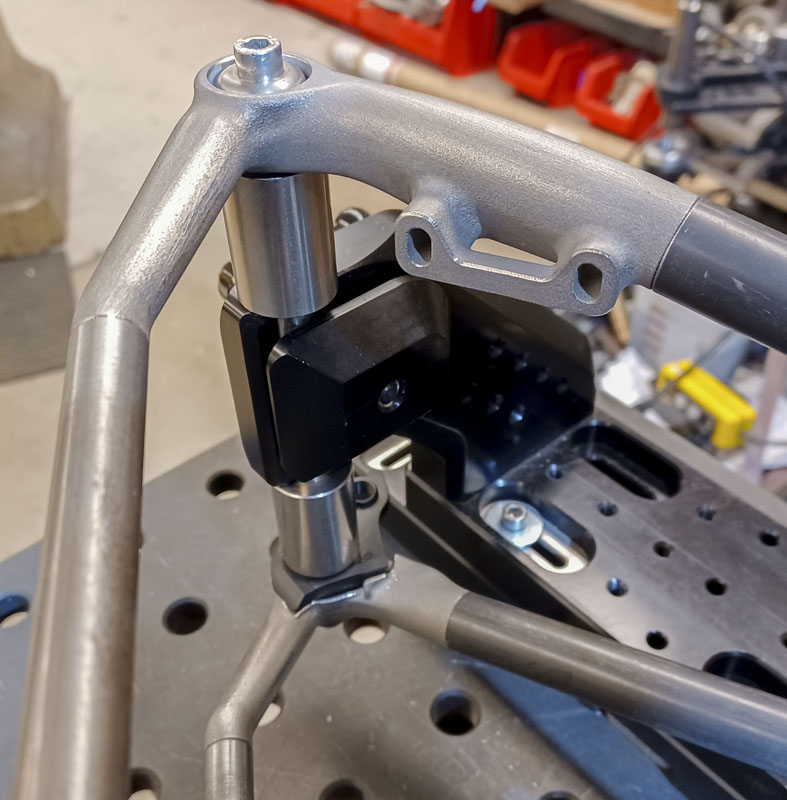
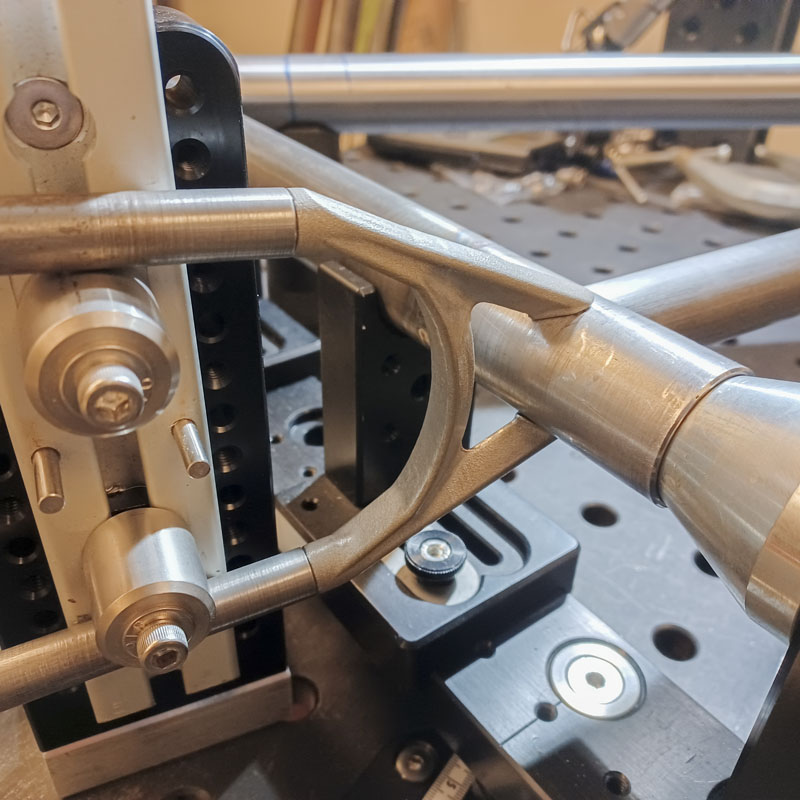
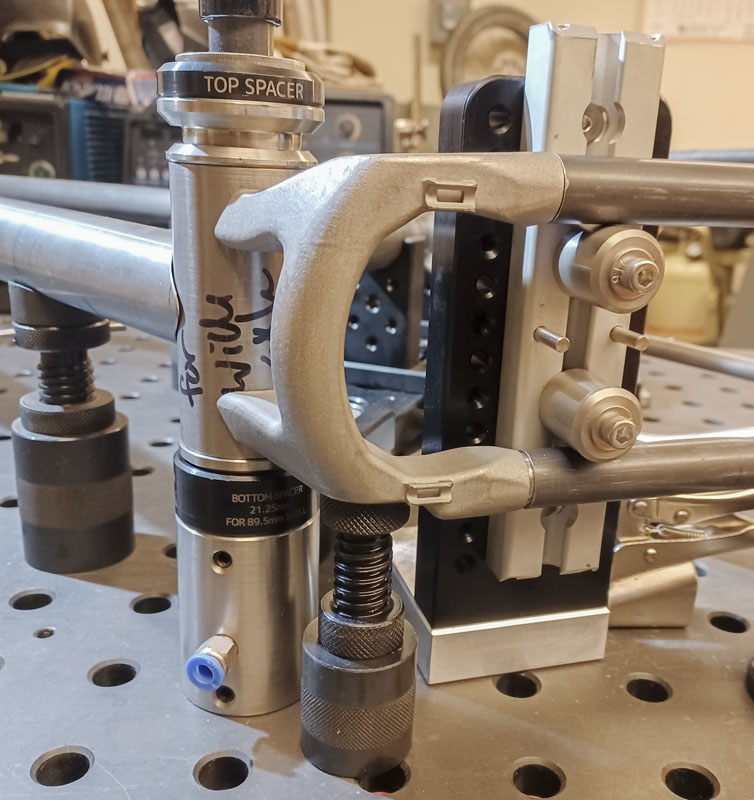
Then I remembered and I was a little excited about what I had done. With Windy’s fit, she is looking for handlebars 760mm wide, grip ends 810mm @ 56.5 degrees from the cranks, and a 16 degree sweep. With a 140mm fork, space starts becoming a premium at the head of the bike. I had designed the frame with an 85mm head tube, a 4.6/1.0mm stack headset, and a 5mm spacer to give as much cockpit space as possible but that was still cutting things very close. A big factor contributing to this is the 68 degree head tube which brings it all higher. This is keeping the flop to 31.6mm even with a 805mm front center. This is the ‘post-forward’ geometry that I’ve been developing with over the past year and a half. It’s magic but requires attending to downstream issues. Given the handlebars and the geometry, I needed to truncate the extension toward the intersection of the bars and steer the lug to the steerer to make the connection. Without that, a simple vee termination would need a connection well below what is possible given my current framework.
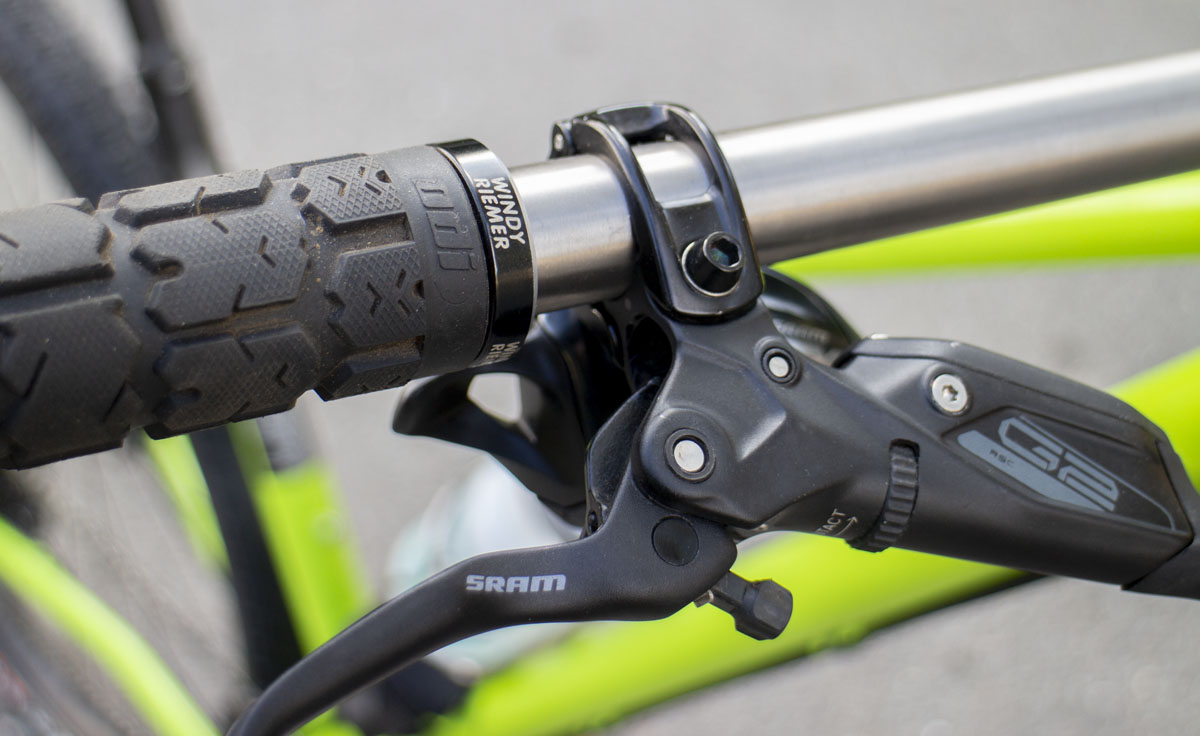
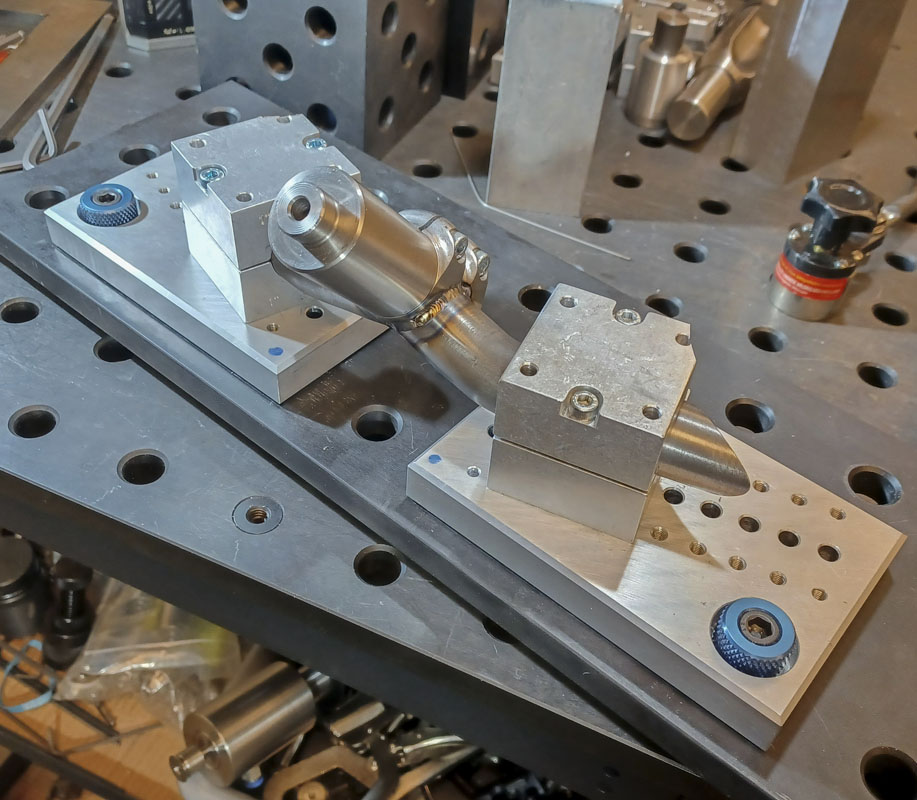
I have recently given up on using carbon fiber ends in the handlebars. Without a custom layup, there are too many issues that keep coming up. Last November, I made the switch to titanium. It turns out that I am able to get more flex, safety, and durability than from carbon fiber. What would seem to be a bail turned into an upgrade. Thanks to Rody Walter at Groovy Cycleworks for taking the time to talk to me about titanium handlebars.
Why not just make the bars entirely from titanium? I’m not a fan of titanium. Sure, it’s a great material, but the problem is economic. Many builders in the last 10 years have switched from steel to titanium. It’s the only way they can get enough margin on a bike to stay in business. The problem is, with all the bikes going through their shop costing so much in just materials, they can’t ever take a chance. Development. Real development ends. I don’t want to get caught in that trap.
![]()
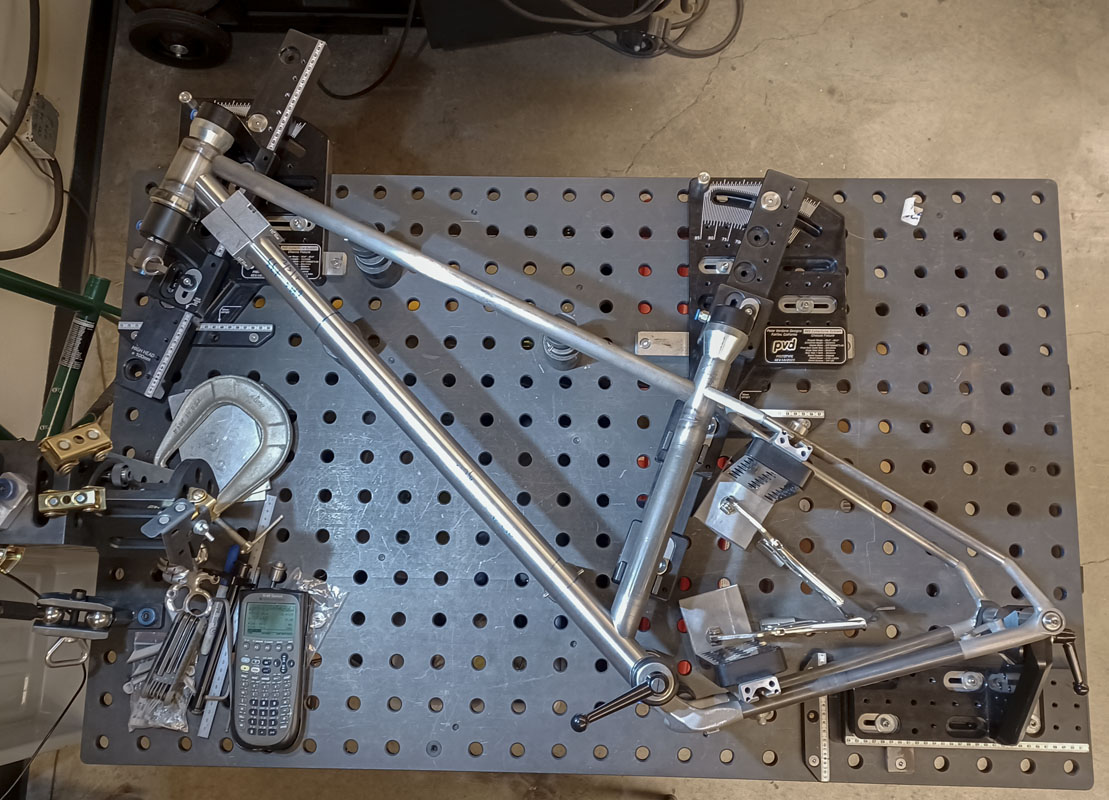
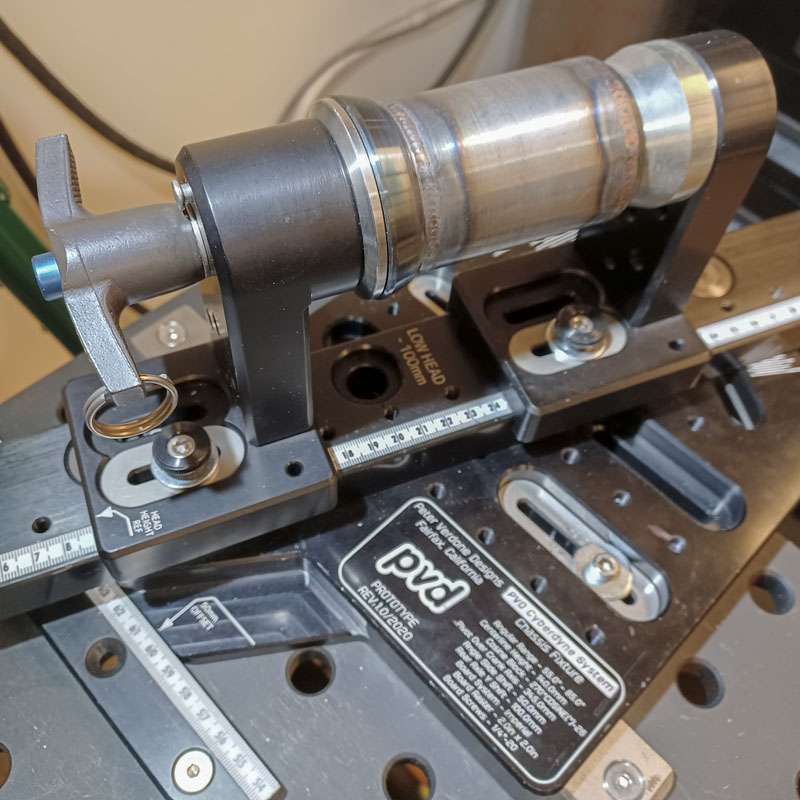
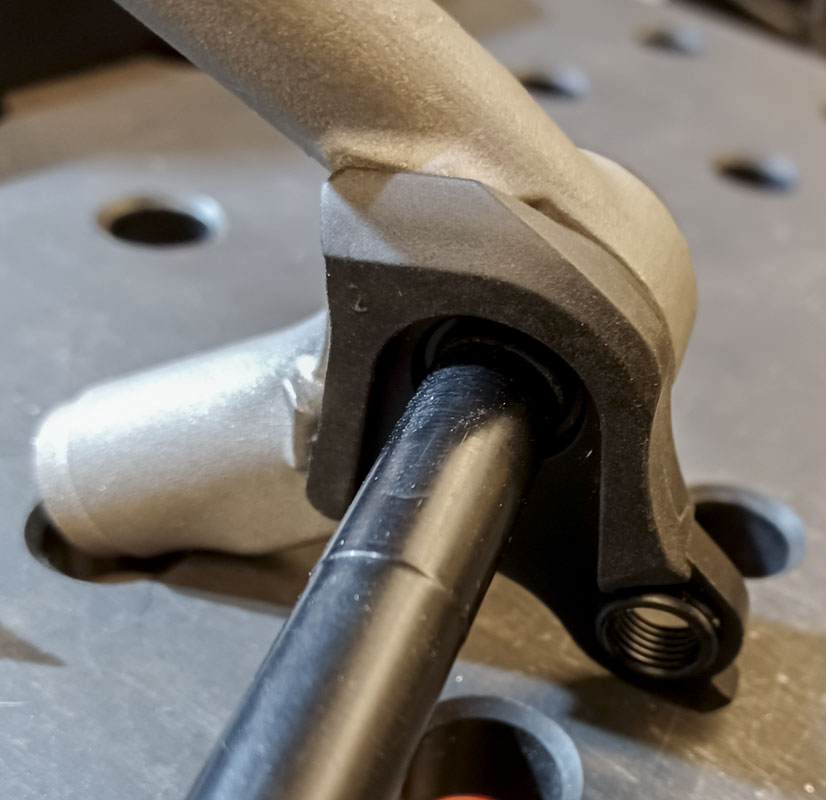
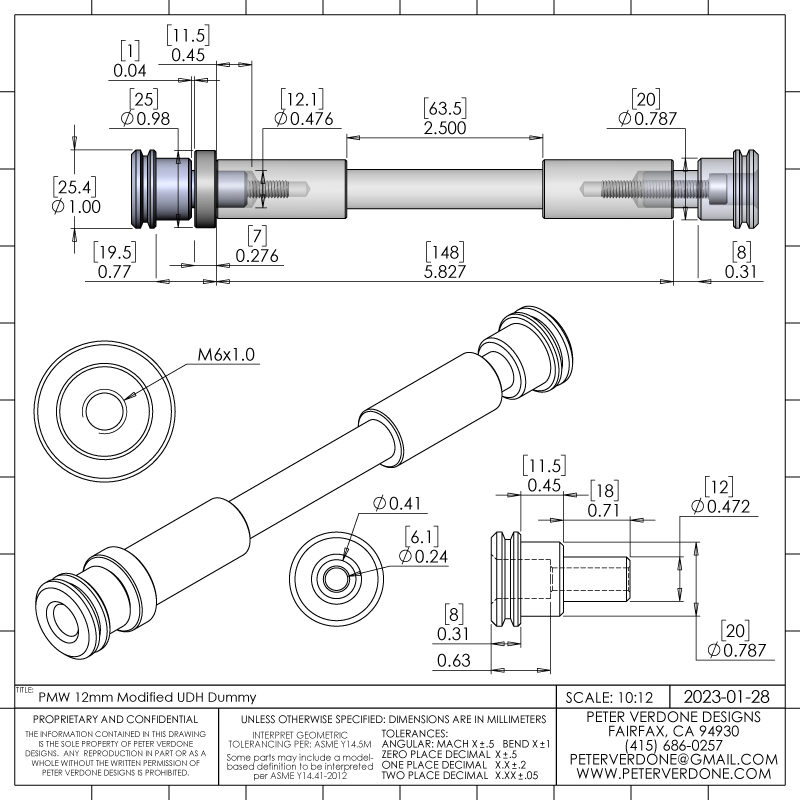
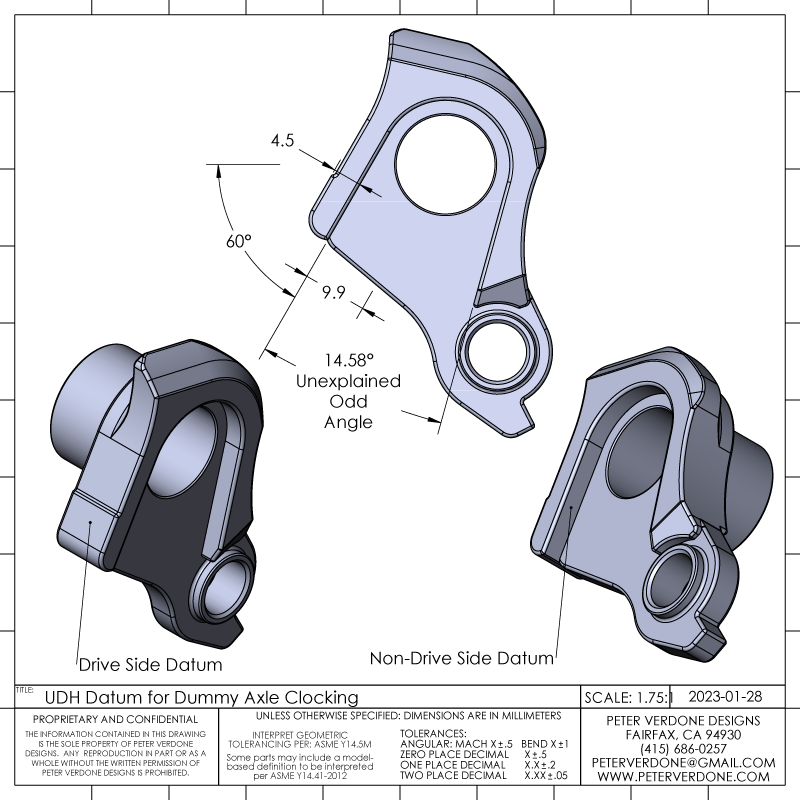
Using the new UDH dropouts meant I needed to upgrade my dummy axle system and fixture to hold the dropouts precisely. That cost another few days testing and troubleshooting. Another sidebar in this adventure full of sidebars. Every step forward helps!
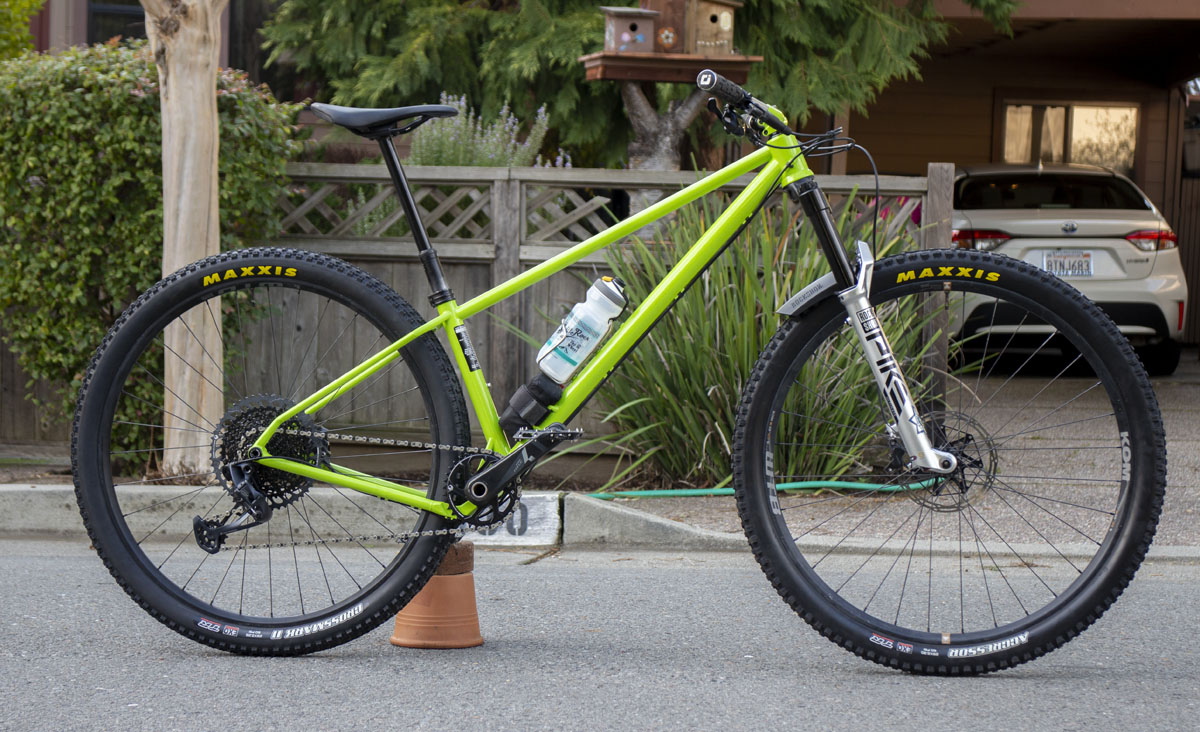
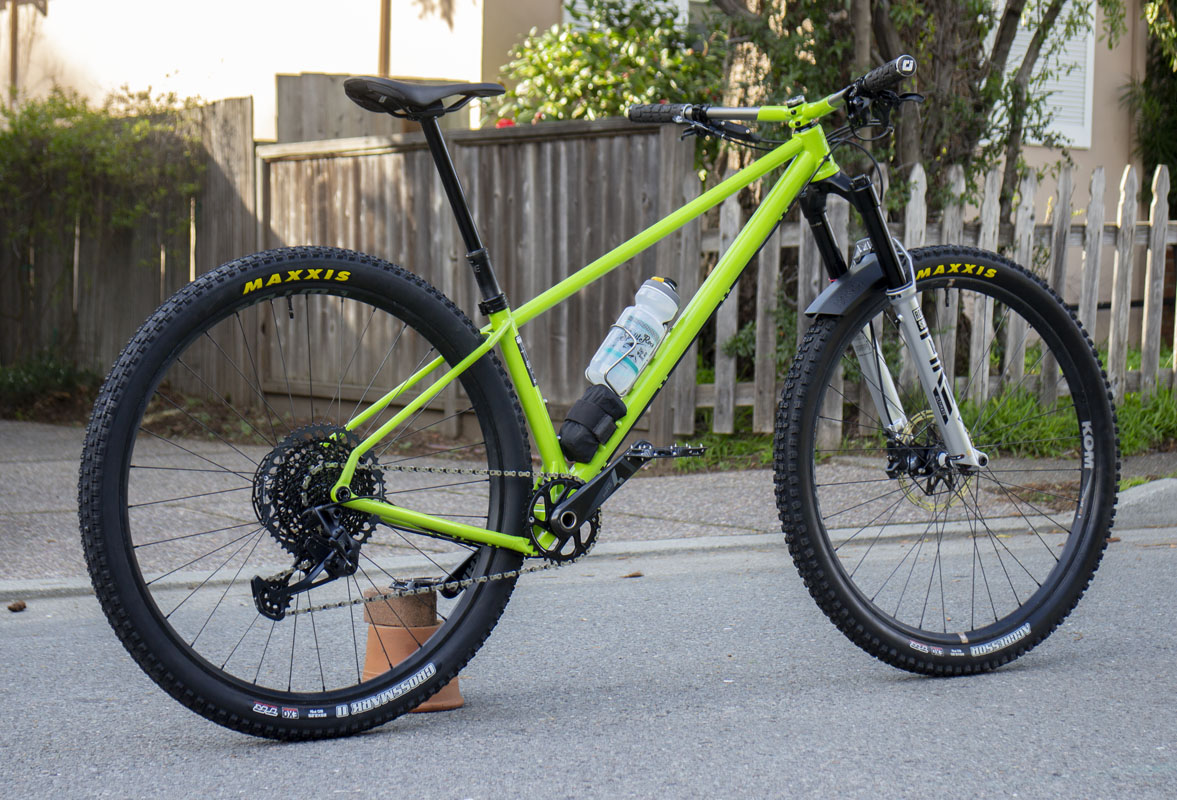
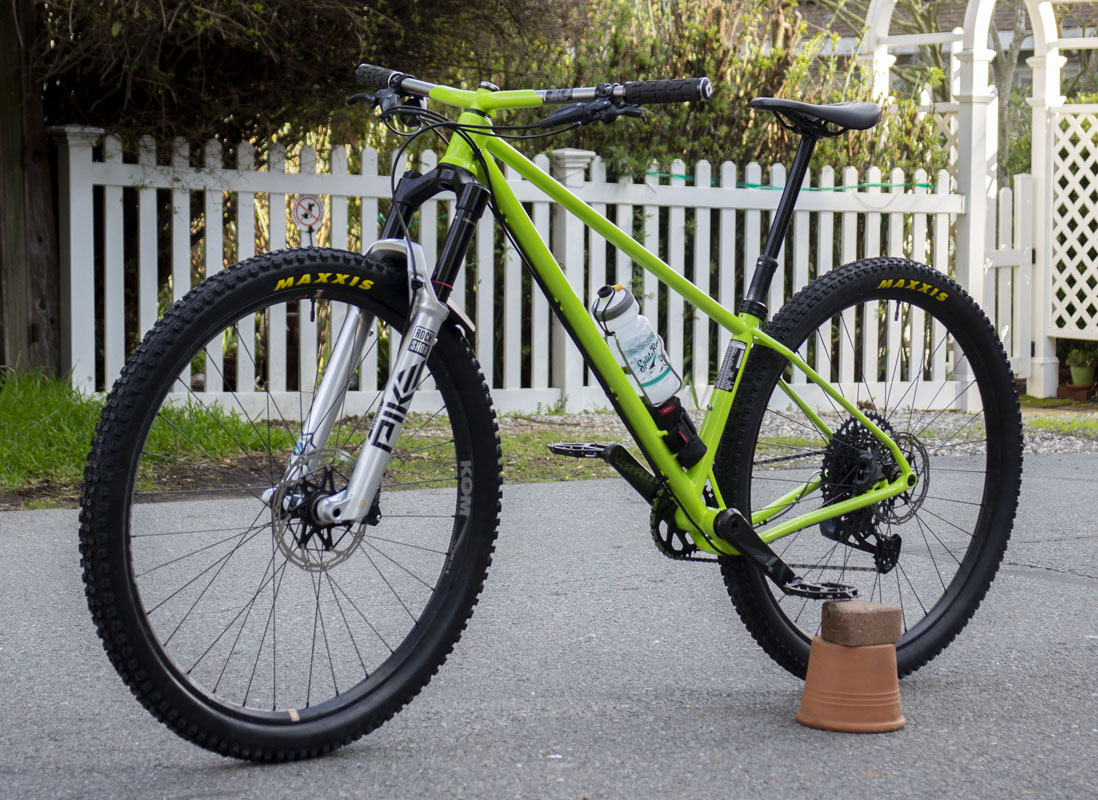
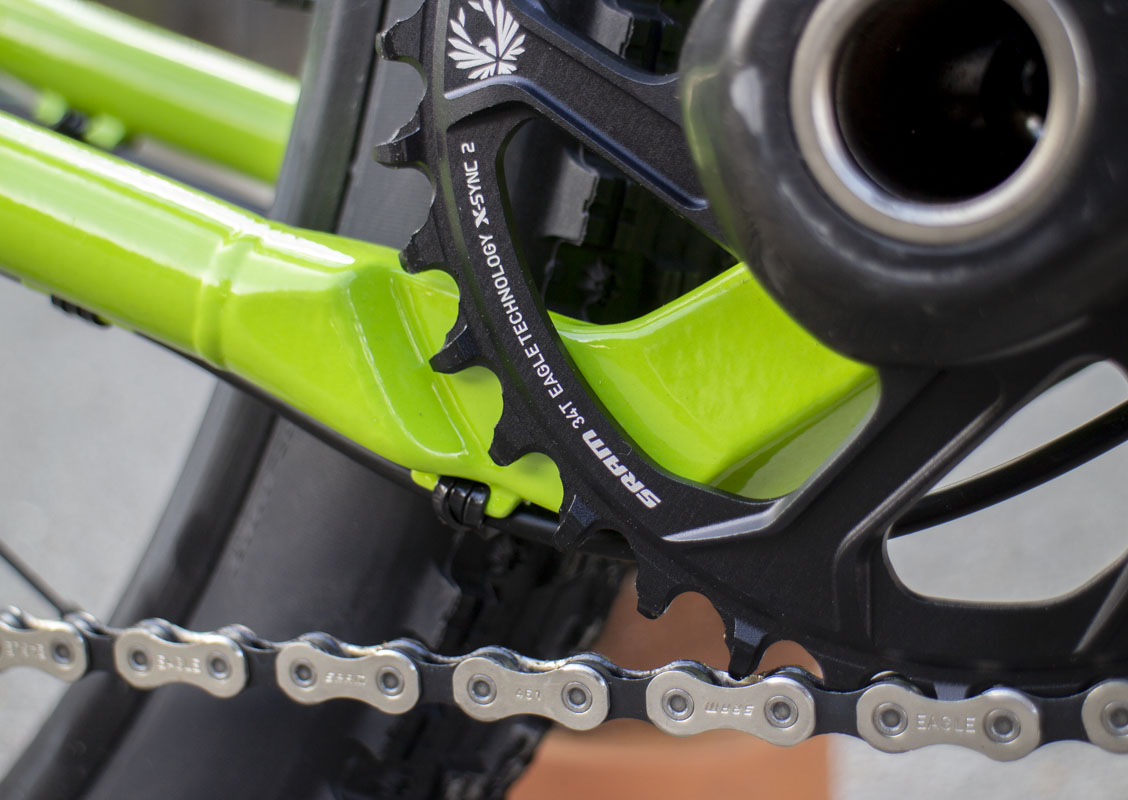
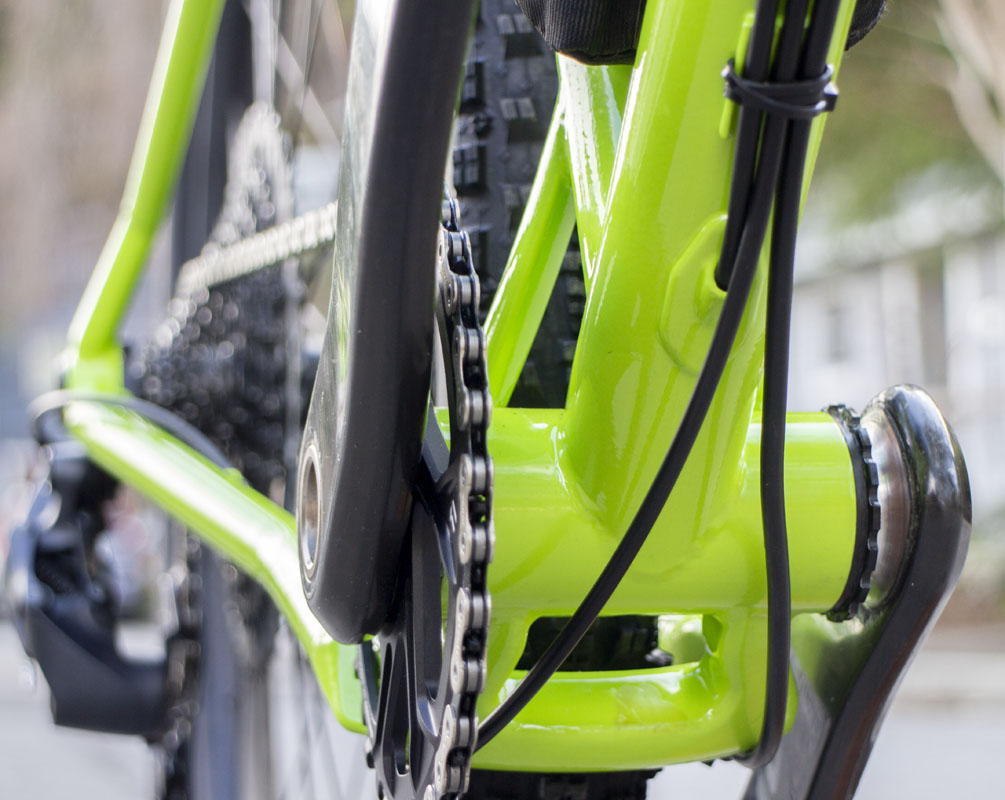
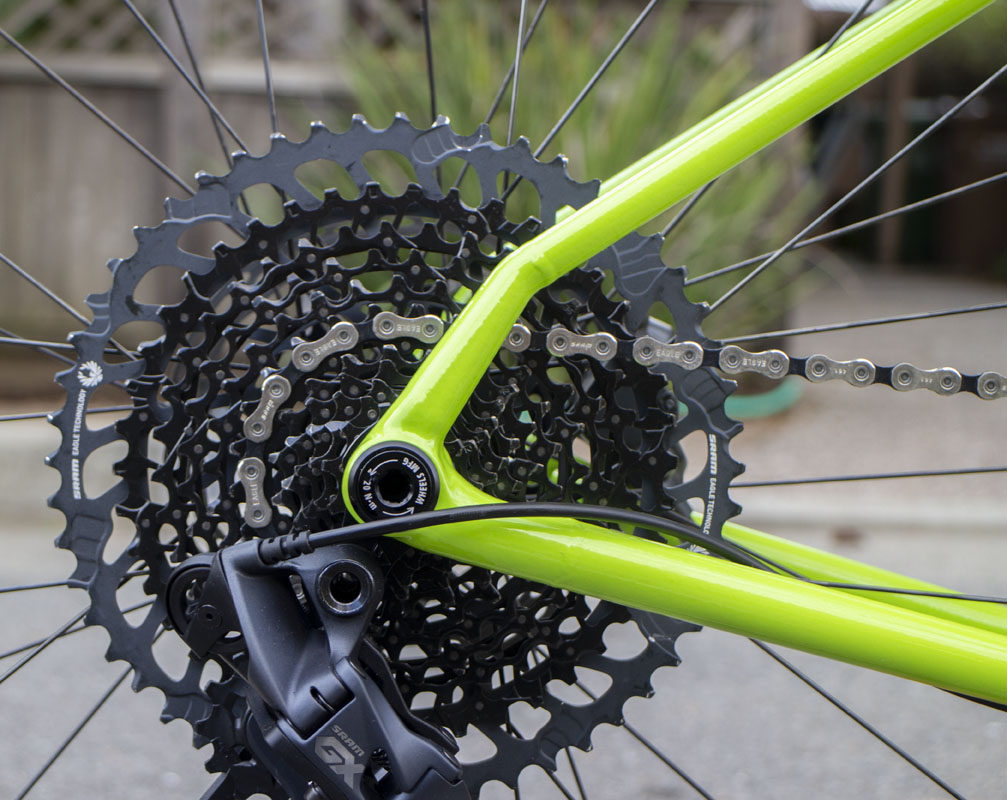
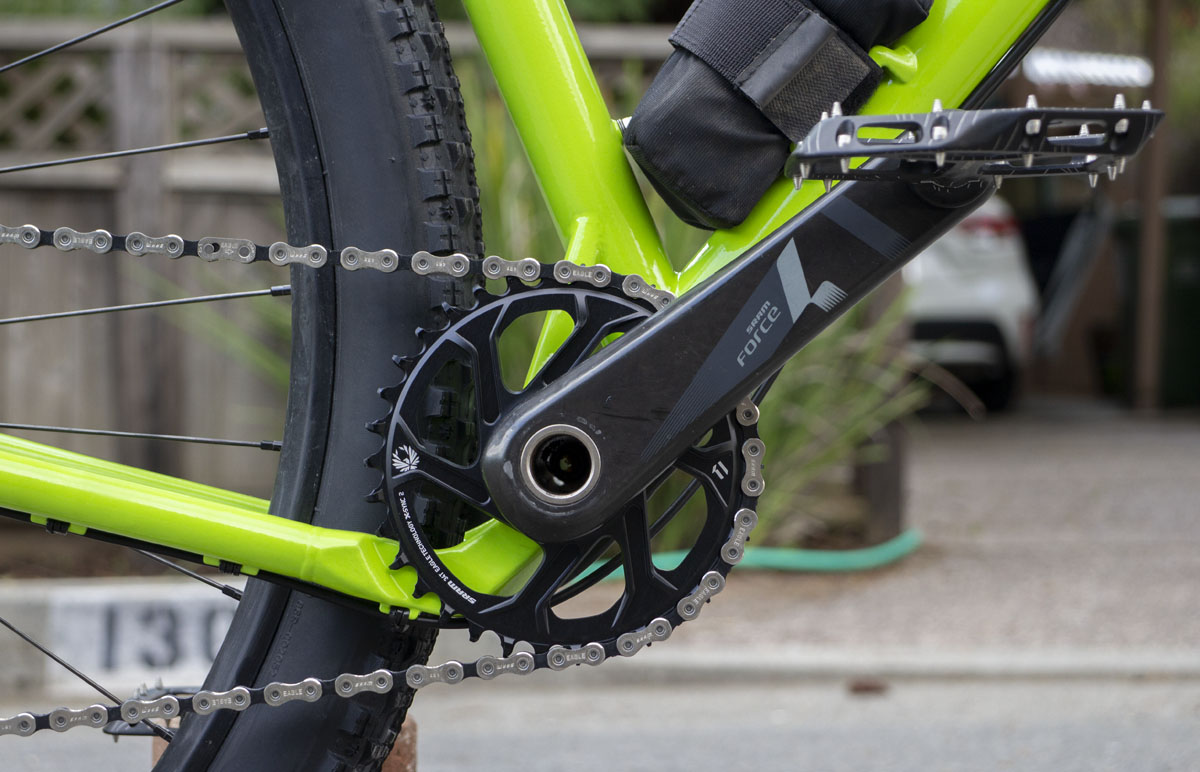
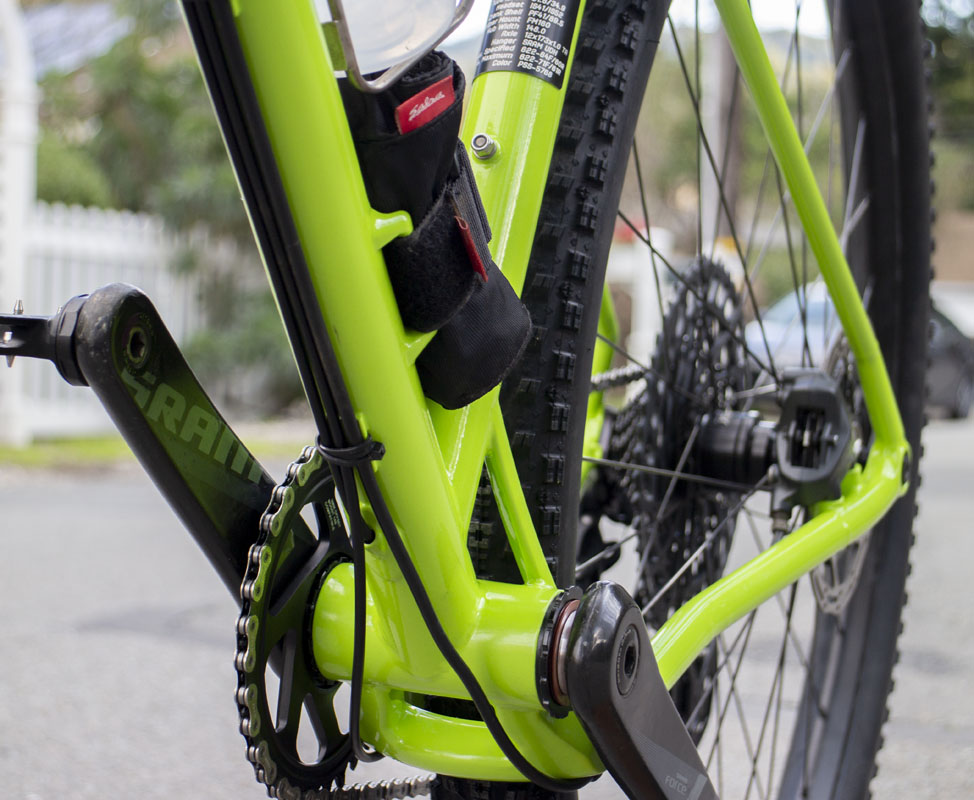
Windy chose Prismatic ‘Sublime’ (PSS-5768) to powdercoat the bike. It’s a mix of yellow and green, almost like a ‘grellow’ that many Fat Chance bikes were painted back in the day. Crystal clear top coat to protect the finish. It looks a little bright in the photos but the shade is a little greener in different light. While the color may be reminiscent of fat chance, looking at the bike on the trail, all I can think is Klien Attitude.
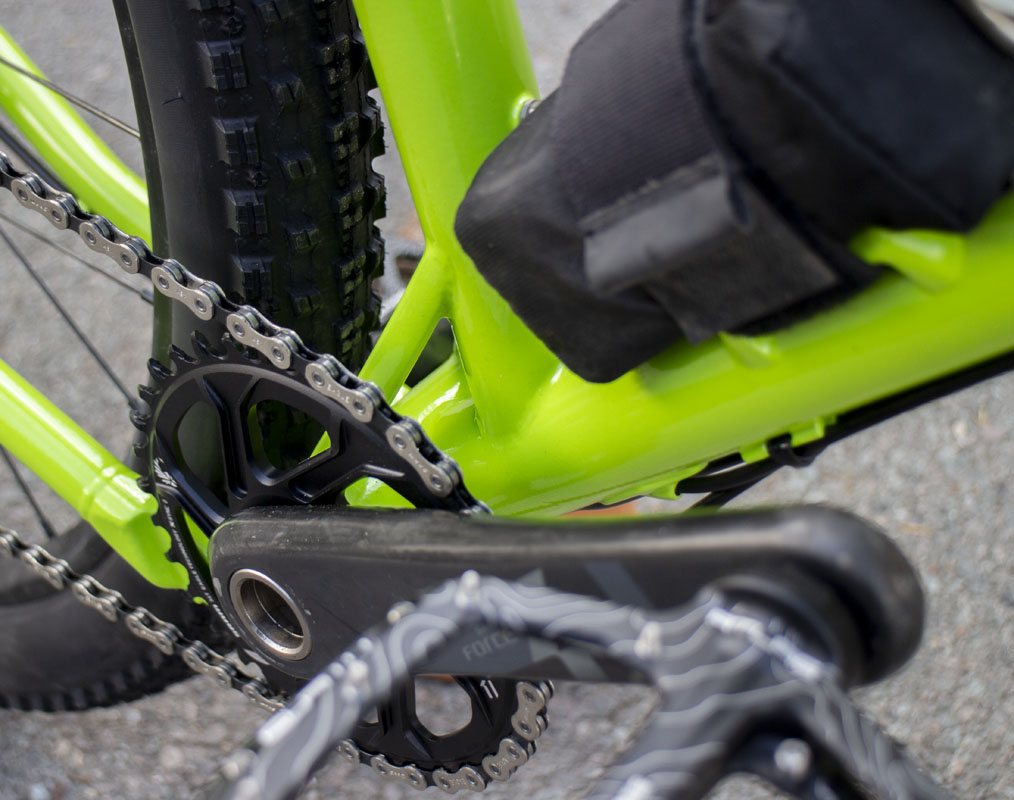
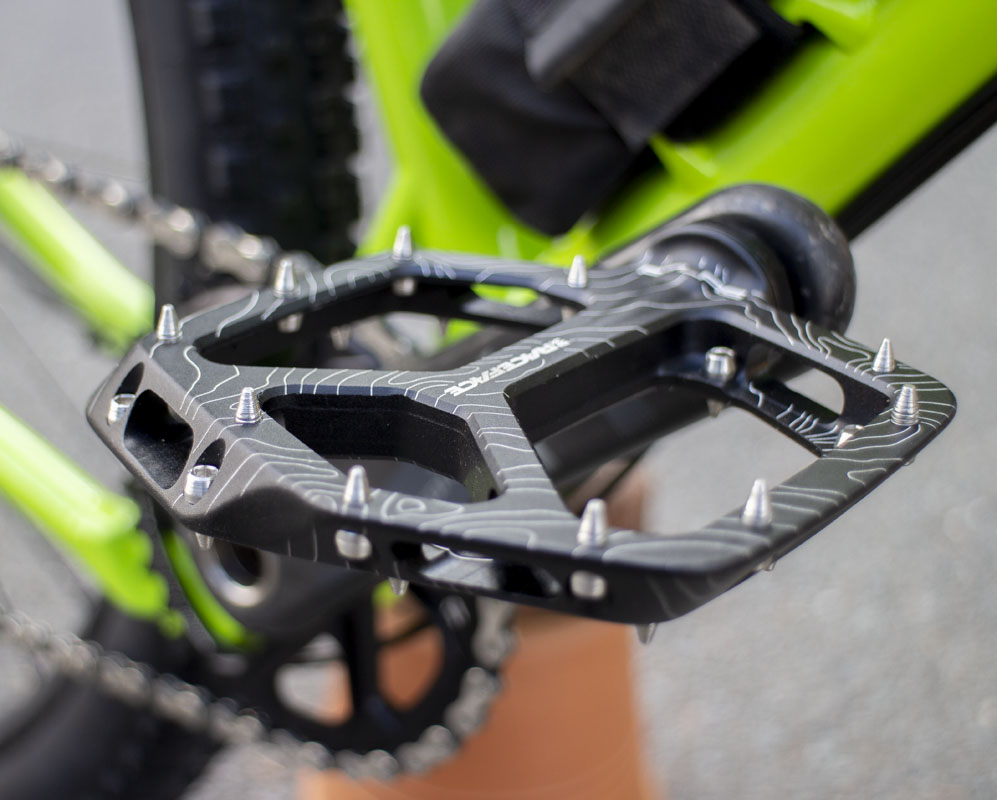
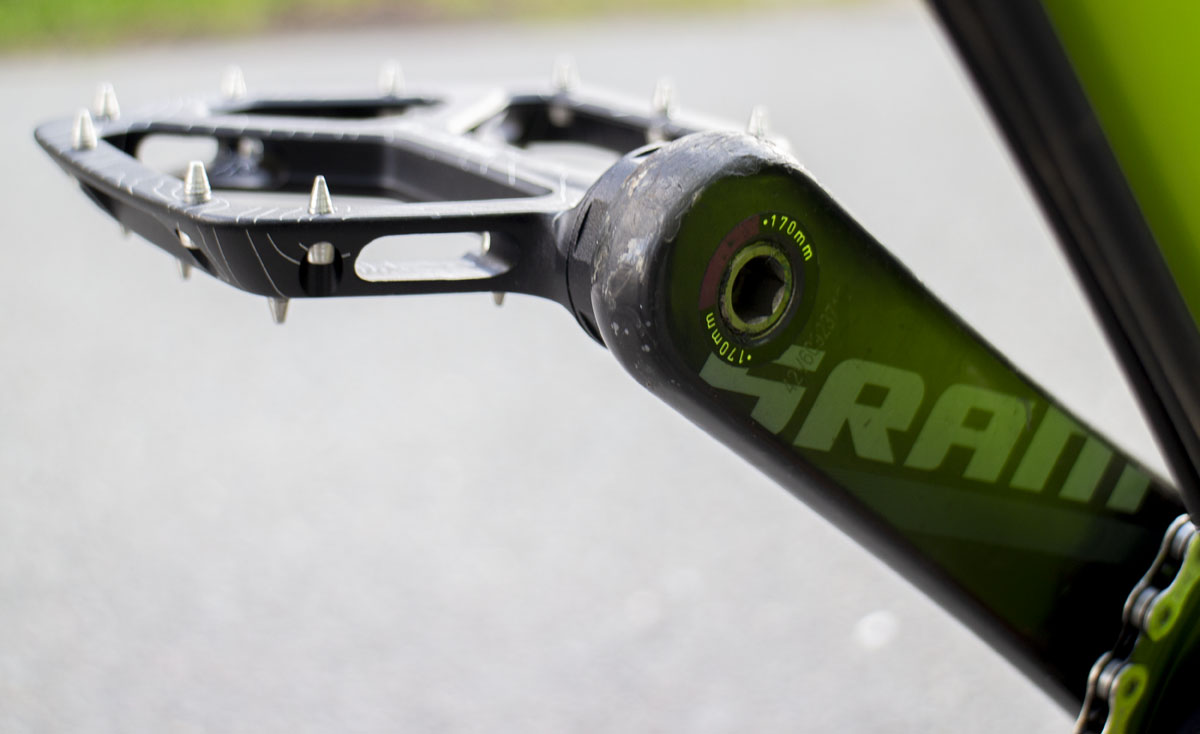
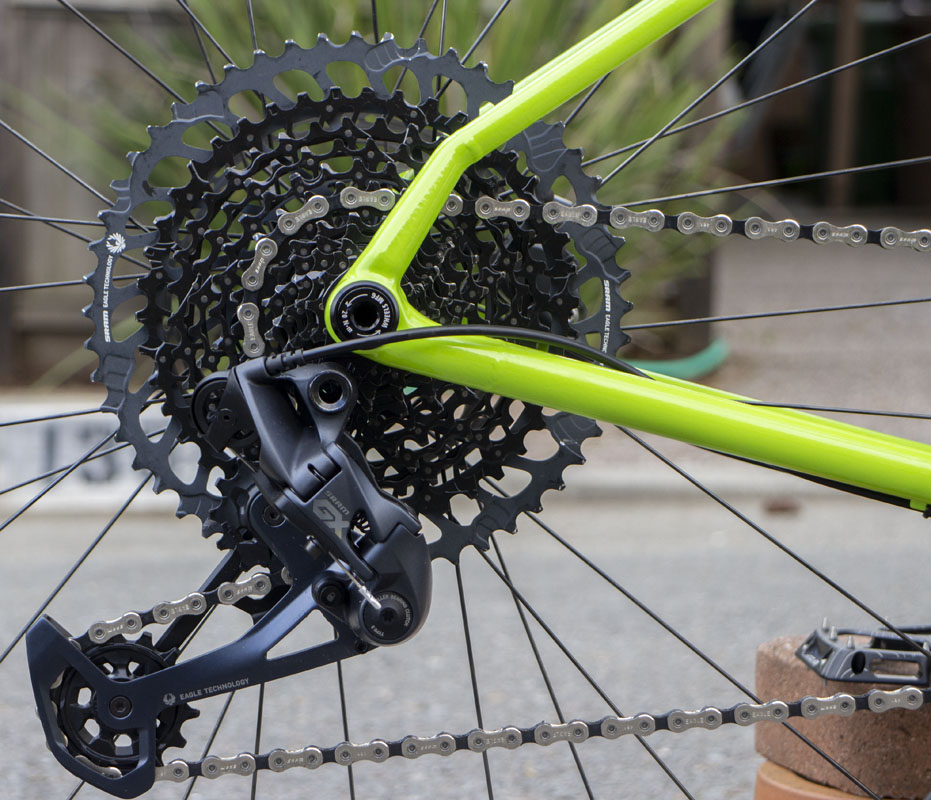
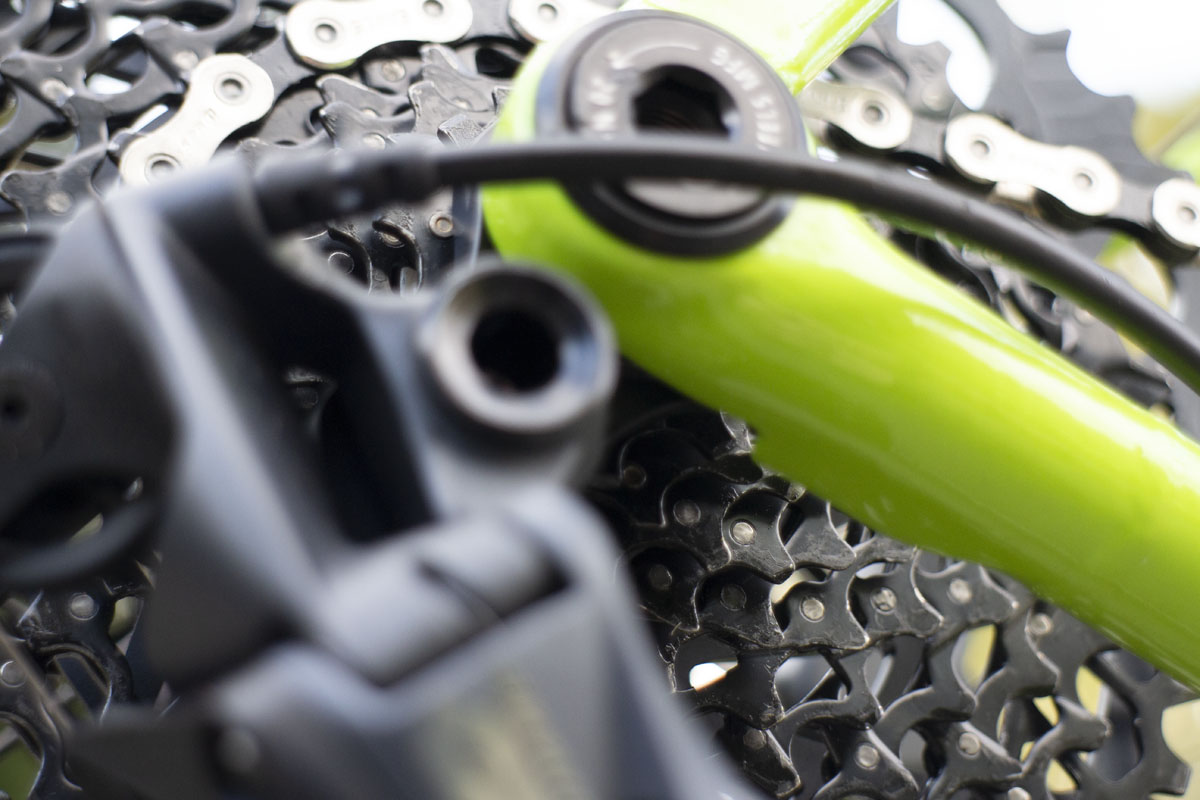
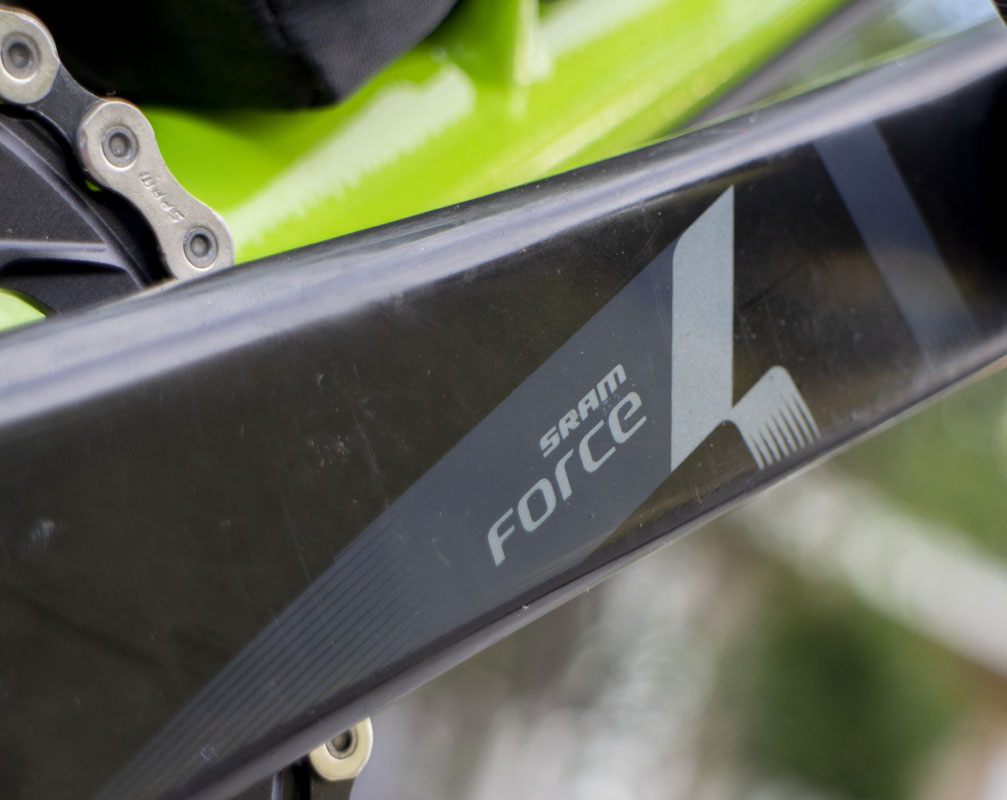
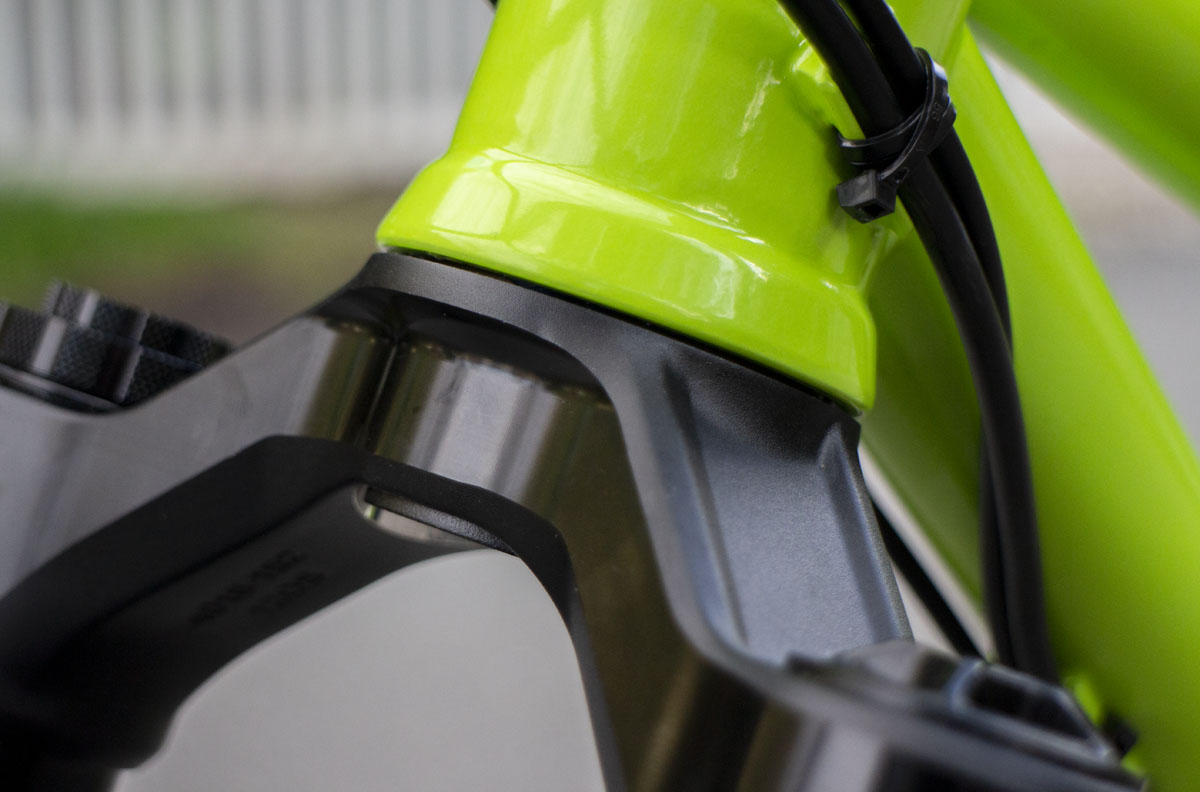
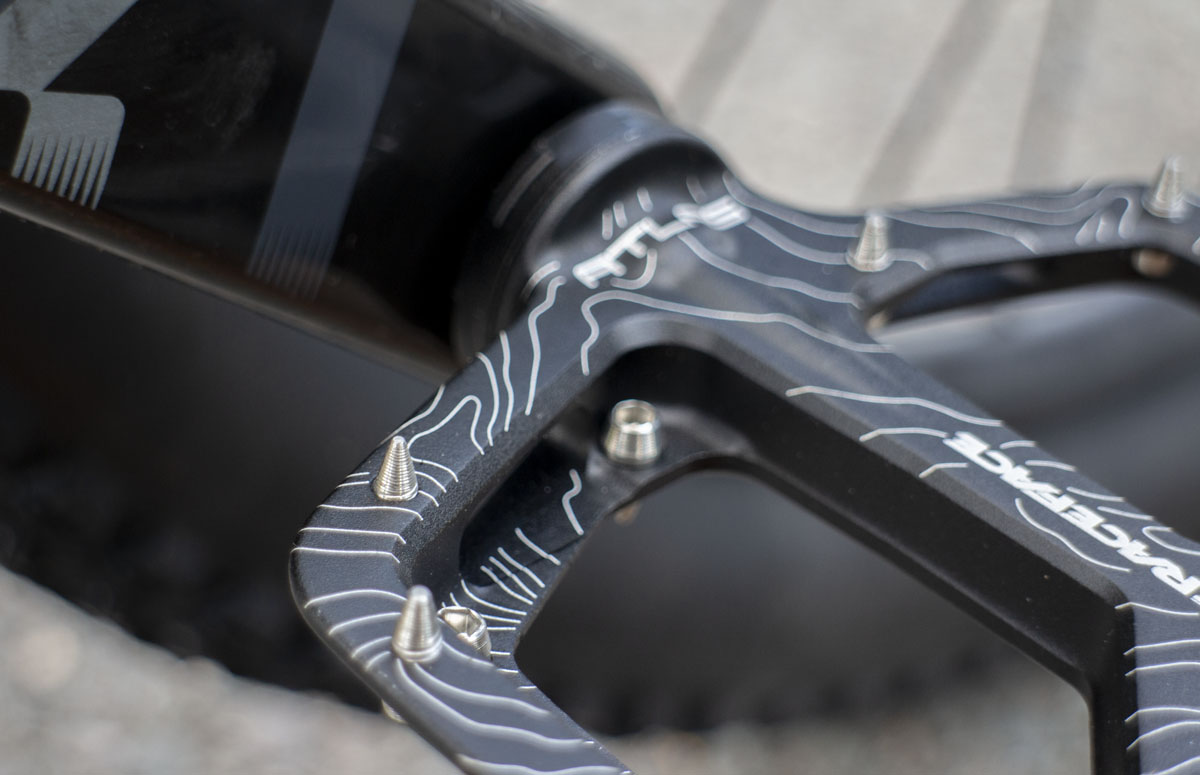
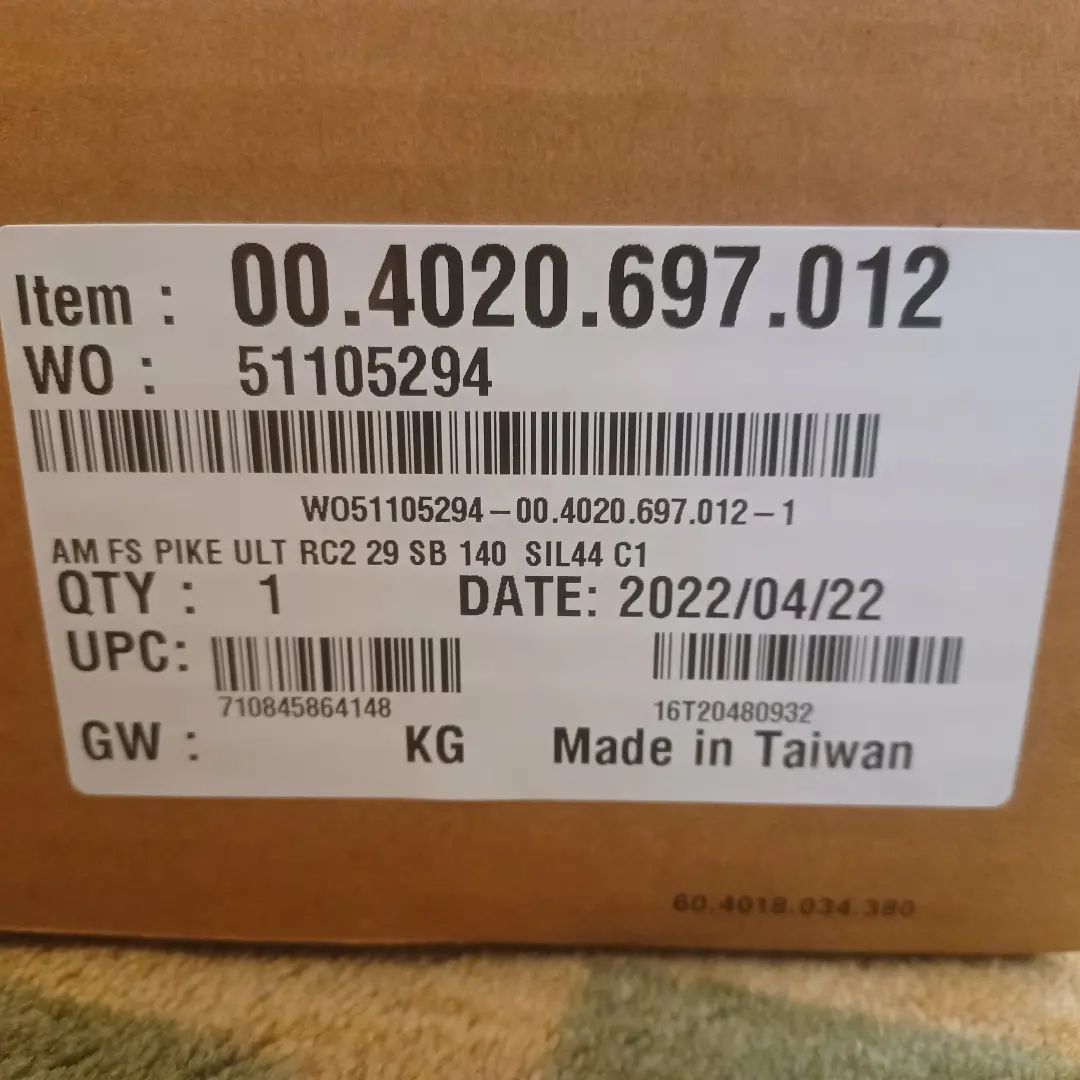
The bike setup is pretty standard fare for what I’m doing with hardtails these days. A great new fork, sweet brakes with a Force AXS rear caliper. Force Q150 cranks for awesome pedaling. It almost looks like an entirely brand new bike.
I was going to put a 240mm dropper in the bike for photos or for her to try. I thought that I had one in stash but it turned out that I didn’t, so she just got the 210mm post that she had been using. I think that I have the space for her to use something between 220 and 240mm of drop. I’ll try that at another time in the future.
We did a loop at China Camp to shake the bike down. It was an awesome day! On the trail the bike looked great beneath my wife. She looked quite relaxed. We tuned the lever position some, fine tuned the saddle. It seamed good. More riding will show more.
I brought the fork pressure down to 45psi for here to get some more out of the fork. I think that I’m going to have to reduce the damping viscosity some, maybe pull a shim, to get the pressure up some for more support. I’ll keep notes.